Maintaining a large garden can be a rewarding experience, but dealing with tangled garden hoses and moving them around can be quite a hassle. Luckily, burying a garden hose can provide a convenient solution. Discover the steps to burying a garden hose and creating an underground irrigation system that simplifies watering and eliminates the need for frequent hose adjustments.
Tools and Materials Needed

Gather all the necessary items before starting the installation process.
- Garden hose, preferably ¾ to 1-inch in diameter (provides good water flow)
- Combination tee (one for each hydrant or water outlet)
- Hose bib (one for each hydrant)
- Clamps for securing hose fittings
- 1-feet square concrete tile (two per hydrant)
- ¾-inch exterior plywood for hydrant caps
- Shovel or backhoe (for digging the trench)
- Rake (for leveling the trench)
- Screwdriver or clamping tools (for assembling fittings)
Steps to Bury Garden Hose Underground
Undertaking the process of burying the garden hose underground requires effort and planning. Here are the steps you should take.
Step 1: Make up Your Mind

Before burying your garden hose, weigh the advantages and drawbacks. Burying enhances aesthetics, reduces tripping hazards, and protects the hose from damage. It also offers insulation against freezing, improves functionality, and ensures easy access to water. However, assess your region's conditions, soil type, and potential for rodent damage. By considering these factors, you can make an informed decision.
Step 2: Planning and Trench Digging
Plan the route for your buried hose, considering the garden layout and the areas where you need easy access to water. Mark the path with stakes or string to guide your trench-digging process.
Now, start digging a trench along that route. Generally, you can dig a trench at least 4 to 6 inches deep. But, if freezing temperatures are a concern or if you prefer a more secure installation, a deeper trench of around 1 foot will be best.
Step 3: Installing the Hose and Fittings
Unroll the garden hose and carefully place it in the trench, ensuring it follows the desired path. To prevent the hose from rolling up again, use rocks or other heavy objects to weigh it down at intervals.
Step 4: Hydrant Enclosures

It is now time to set up a convenient water access system in your garden. First, decide where you want to have water outlets or hydrants along the hose. These are the points where you can access water for your garden. Then, install valves and faucets at these chosen locations. Valves are like switches that control the water flow, and faucets (also known as taps) are the fixtures from which the water comes out. You can think of them as the controls for the water.
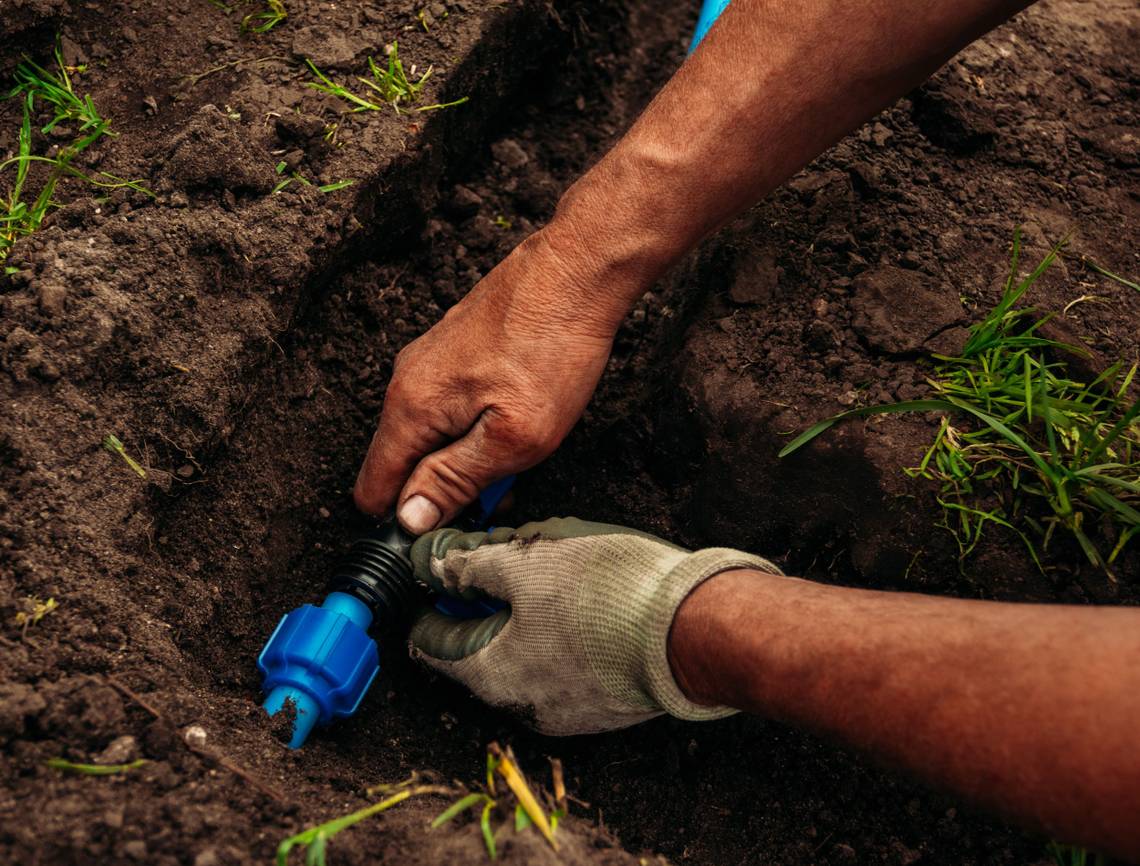
To connect the hose to the hydrant or water outlet, use a combination tee. It has three openings, arranged in a T shape that will ensure that water flows properly through the hose and out of the hydrant or water outlet. To connect the hose using a combination tee you will have to cut the hose at the desired location where you want to install the tee. Two outlets will be used to connect the hose, and the third outlet will be used to connect to the water outlet.
Next, you can also create an enclosure around each water outlet or hydrant. This enclosure is a protected space where the hydrant will be placed. It also allows easy access for maintenance. You can use 1-foot square concrete tiles on each side of the hydrant space. These tiles should be supported by 2x4 wooden boards placed around the tiles' perimeter. Think of it as building a small foundation for the hydrant.
Now, make a cover for the hole where the hydrant will be located. This cover will be made of plywood. Use ¾-inch exterior plywood that is sturdy and suitable for outdoor use. Make sure the plywood is large enough to completely cover the opening. Finally, cut a suitable-sized opening in the plywood cover. This opening should be big enough for the hose to pass through. It allows you to easily connect the hose to the hydrant when you need water for your garden.
Step 5: Filling the Trench

Now, it is time to backfill the trench with soil. Remove any rocks you prefer not to have in the trench as you backfill. After that, level the surface, ensuring a uniform depth along the entire length. Pay special attention to the area around the hydrant to ensure it is at the proper depth for easy hose attachment.
Once the hose is buried and covered, turn on the water supply to test the system for leaks or issues. Check all the connections and make adjustments if necessary. Your underground irrigation system is now ready for use.
Step 6: Maintenance
During winter, you may shut off the water and blow out the garden hose with compressed air to prevent freezing. Regularly detach hoses and open all hydrants to avoid damage from freezing temperatures. Over time, adjust the soil level as settling may occur, and consider painting the hatches for better visibility or camouflage.
Additional Tips
Keep these tips in mind for a successful and long-lasting underground hose installation.
- Soil conditions: Be prepared for difficult digging if you have rocky or compacted soil. Adjust your tools and approach accordingly.
- Hose selection: Choose a durable hose suitable for burial. Avoid vinyl hoses as they have a shorter life span. Do not use old hoses with kinks or bends, as these will be problematic when buried. Rubber hoses are a good option due to their durability, kink resistance, and ability to lay flat in the trench. Polyurethane hoses can also be a durable choice.
- Diameter matters: Opt for a larger diameter hose to ensure better water flow, especially if you need to cover long distances.
- Alternative options: PVC tubing is a durable choice for long-lasting water systems, while poly pipe is commonly used for irrigation systems.
Hassle-Free Watering
Burying your garden hose and creating an underground irrigation system offers numerous benefits, including eliminating the need for constant hose movement and repairs. Better access to water enhances the efficiency of garden maintenance. However, it's essential to consider factors such as weather conditions and soil type before deciding.
If you have experience with underground irrigation systems, share your tips and insights to help others make the most of their gardens.