You may take immaculate care of your lawn, but occasionally grass burn out happens. Whether from too little watering in one area, or the excess nitrogen found in dog urine and lawn fertilizer– brown, burned out grass is unsightly amongst an otherwise healthy patch of grass.
Watering solutions are easy to remedy if your grass roots aren’t dead, but what about those areas that have been burned out due to mineral issues? Pet urine causes browning due to the nitrogen found in it which causes vegetation to give water back to the soil rather than take it up- causing a drying out effect. Lawn fertilizer burn can be caused by excess nitrogen as well, or other mineral salts which essentially do much of the same- causing drying and a general brown, burned out look.
Luckily these areas are typically contained unless you’ve experienced widespread fertilizer burn from fertilizer application. The good news is they don’t spread on their own (it isn’t a disease and isn’t catchy) and you can begin to correct the problem fairly easily, although you may need some patience depending on the damage.
WHAT YOU NEED:
Depending on the depth of the damage, which I’ll explain, you may need all, or only some of the following. Before gathering up materials at the store, make sure to complete step one.

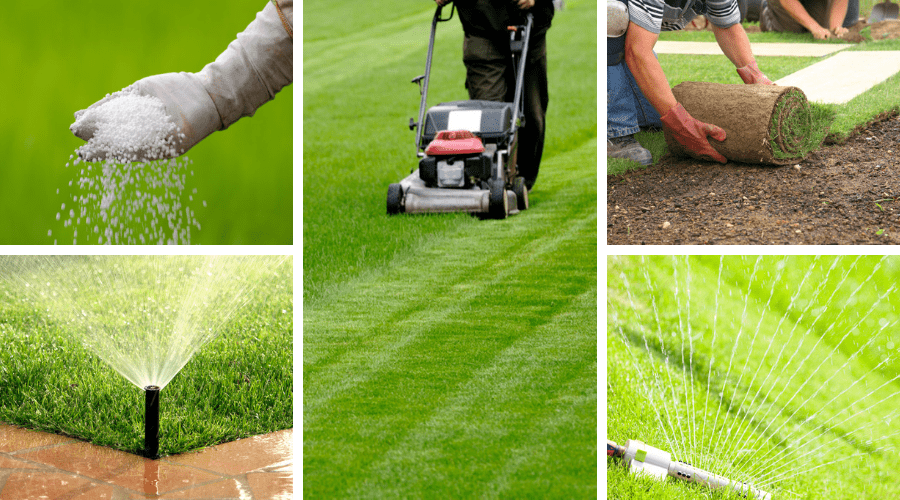
HOSE SPRINKLER ATTATCHEMENT

METAL RAKE

GRASS SEED OR SOD

TILLER
STEP 1: CHECK YOUR GRASS ROOTS

Burn out may only occur at the vegetative level, meaning your roots may still be healthy. This is especially true if you catch the burn as it begins and it hasn’t been occurring over a long period of time. Fertilizer burn is often noticed within the first few days of application, and when this happens, quickly check the roots.
If the roots are healthy and moist, then all you need to do is water- a lot.

What to Remember:
Some roots may still be healthy, while others are not. Make sure to check more than one area of the burn out to establish exactly how wide spread the damage is.
STEP 2: WATER, AND KEEP WATERING

No matter how extensive the damage, or what the cause is, you need to water, and then water some more. Water helps flush nitrogens and other minerals into the soils and allows them to more quickly dissipate into a less concentrated solution.
You’ll want to put down about an inch of water a day for at least a week to make sure that you’ve truly gotten the worst of it taken care of. This is especially true if your damage is caused by an accidental over fertilization. Hopefully if you have caught the burn early enough this will take care of the worst of the damage and you will begin to see some new growth occurring by the end of the week or soon after.

What to Remember:
Use sprinklers to more evenly water the areas in question, also applying water to areas not affected to help keep the culprit leaching through the soils more evenly throughout the yard
STEP 3: REASSESS YOUR ROOTS

After watering you’ve hopefully begun to experience new grass growth, but if not, or if it’s sporadic, it’s a good bet the roots were fired as well. If this is the case you need to start getting ready to replace these areas with either grass seed or sod to bring back the green.
Just make sure to check your roots are moist and healthy. I they are shriveled and brown there is no saving them- especially after a week of watering well.

What to Remember:
Don’t assume your grass is dead before trying to water. Even if you are positive it is dead, you still need to leach the remaining minerals from the soil before laying new sod or replanting or you will only start the cycle over again.
STEP 4: RAKE AND TILL THE AFFECTED AREAS
Rake up all the dead, brown grass, and then till the areas loosely to provide a good substrate in which your new grass can take root easily. Raking helps pull up any packed down grasses as well to allow for better water access to living roots. Tilling also provides better moisture access as well as places for grass seed to be protected if that is your choice of correction.

What to Remember:
Leaving the dead grass in place may inhibit new sod roots from reaching deeply into the soil beneath, plus the ground may have packed too tightly for grass seed to get a good start.
STEP 5: RE-SOD OR RESEED
Depending on the size of the burnt area, or your budget, you will need to choose to either re-sod or reseed the area. Smaller areas may benefit from reseeding rather than laying new sod, but larger areas may require sod if you don’t want to be staring at larger patches of brown for any longer than you already have.
Depending on the type of grass seed you have, be sure to follow the directions to get good coverage and growth.

What to Remember:
Be sure to push sod down well to make sure roots can get a firm hold on the soil beneath. You also may want to provide a thin covering of straw or something else to grass seed to protect it both from elements and critters.
STEP 6: WATER AND MAINTAIN
New grass seed and sod both need to be watered well in order to get started. Water sod daily and well to help get the roots growing and to keep them from drying out as water will initially leach through new sod pretty quickly.
New grass should be spread on well watered soils, and then kept constantly moist until new growth is at least a week old. Wait until your new grass, whether it be sod or seeded, is about three inches high until you cut it.

What to Remember:
Cut your new grass high to help it establish deep roots, and leave the cuttings to help keep the ground moist and provide natural nutrients to the newly growing vegetation.
STEP 7: PREVENTATIVE CARE

Make sure you are watering properly for your grass type, and that you mow high to help roots grow deep.
Water immediately after fertilizing to help get it into the soils and not linger on the surface where it may be more concentrated.

If you dog is your burn out culprit, feed them foods that do not exceed their protein requirements and encourage them to drink more water. You can also train them to go in only one area that is out of sight.

Make sure to spread fertilizer according to the directions. This includes using the correct type of spreader. Many times fertilizer types and spreaders, or liquid solutions, are the cause of a too highly concentrated application- which causes the damage.

Use a natural fertilizer rather than a chemical based one. These often have very soluble materials that more easily work their way into the soil.
CONCLUSION
If you have burned out a grassy area for any reason, do not despair! Hopefully it is a simple fix that can easily be remedied with a weeks worth of water. But if not, then a little bit of patience and simple care is all you need to get it looking like new. Preventative measures truly are your best bet, but even the most careful of lawn owners can have an accident occur.
Hopefully this article has provided you with some simple steps to follow to fix your lawn, and keep it looking great for years to come. If you have any questions or comments, please leave them below. And as always, please share!
*You might also like: Lawn Fertilizer Guide