Mastering how to water your plants can take a little trial and error. If you add too much water, your plant can suffer root rot, or the soil can attract mold. If you add too little water, your plant can die of thirst, especially if it's not drought-tolerant, and the soil can become compacted.
Bottom watering helps keep your plant's soil moist, but what are its other benefits and drawbacks? Can bottom watering be dangerous for your plants? Learn the benefits, drawbacks, and other tips to help you understand if it's right for your plants and how to do it correctly.
What Is Bottom Watering?
Image credits: melnikof via Shutterstock
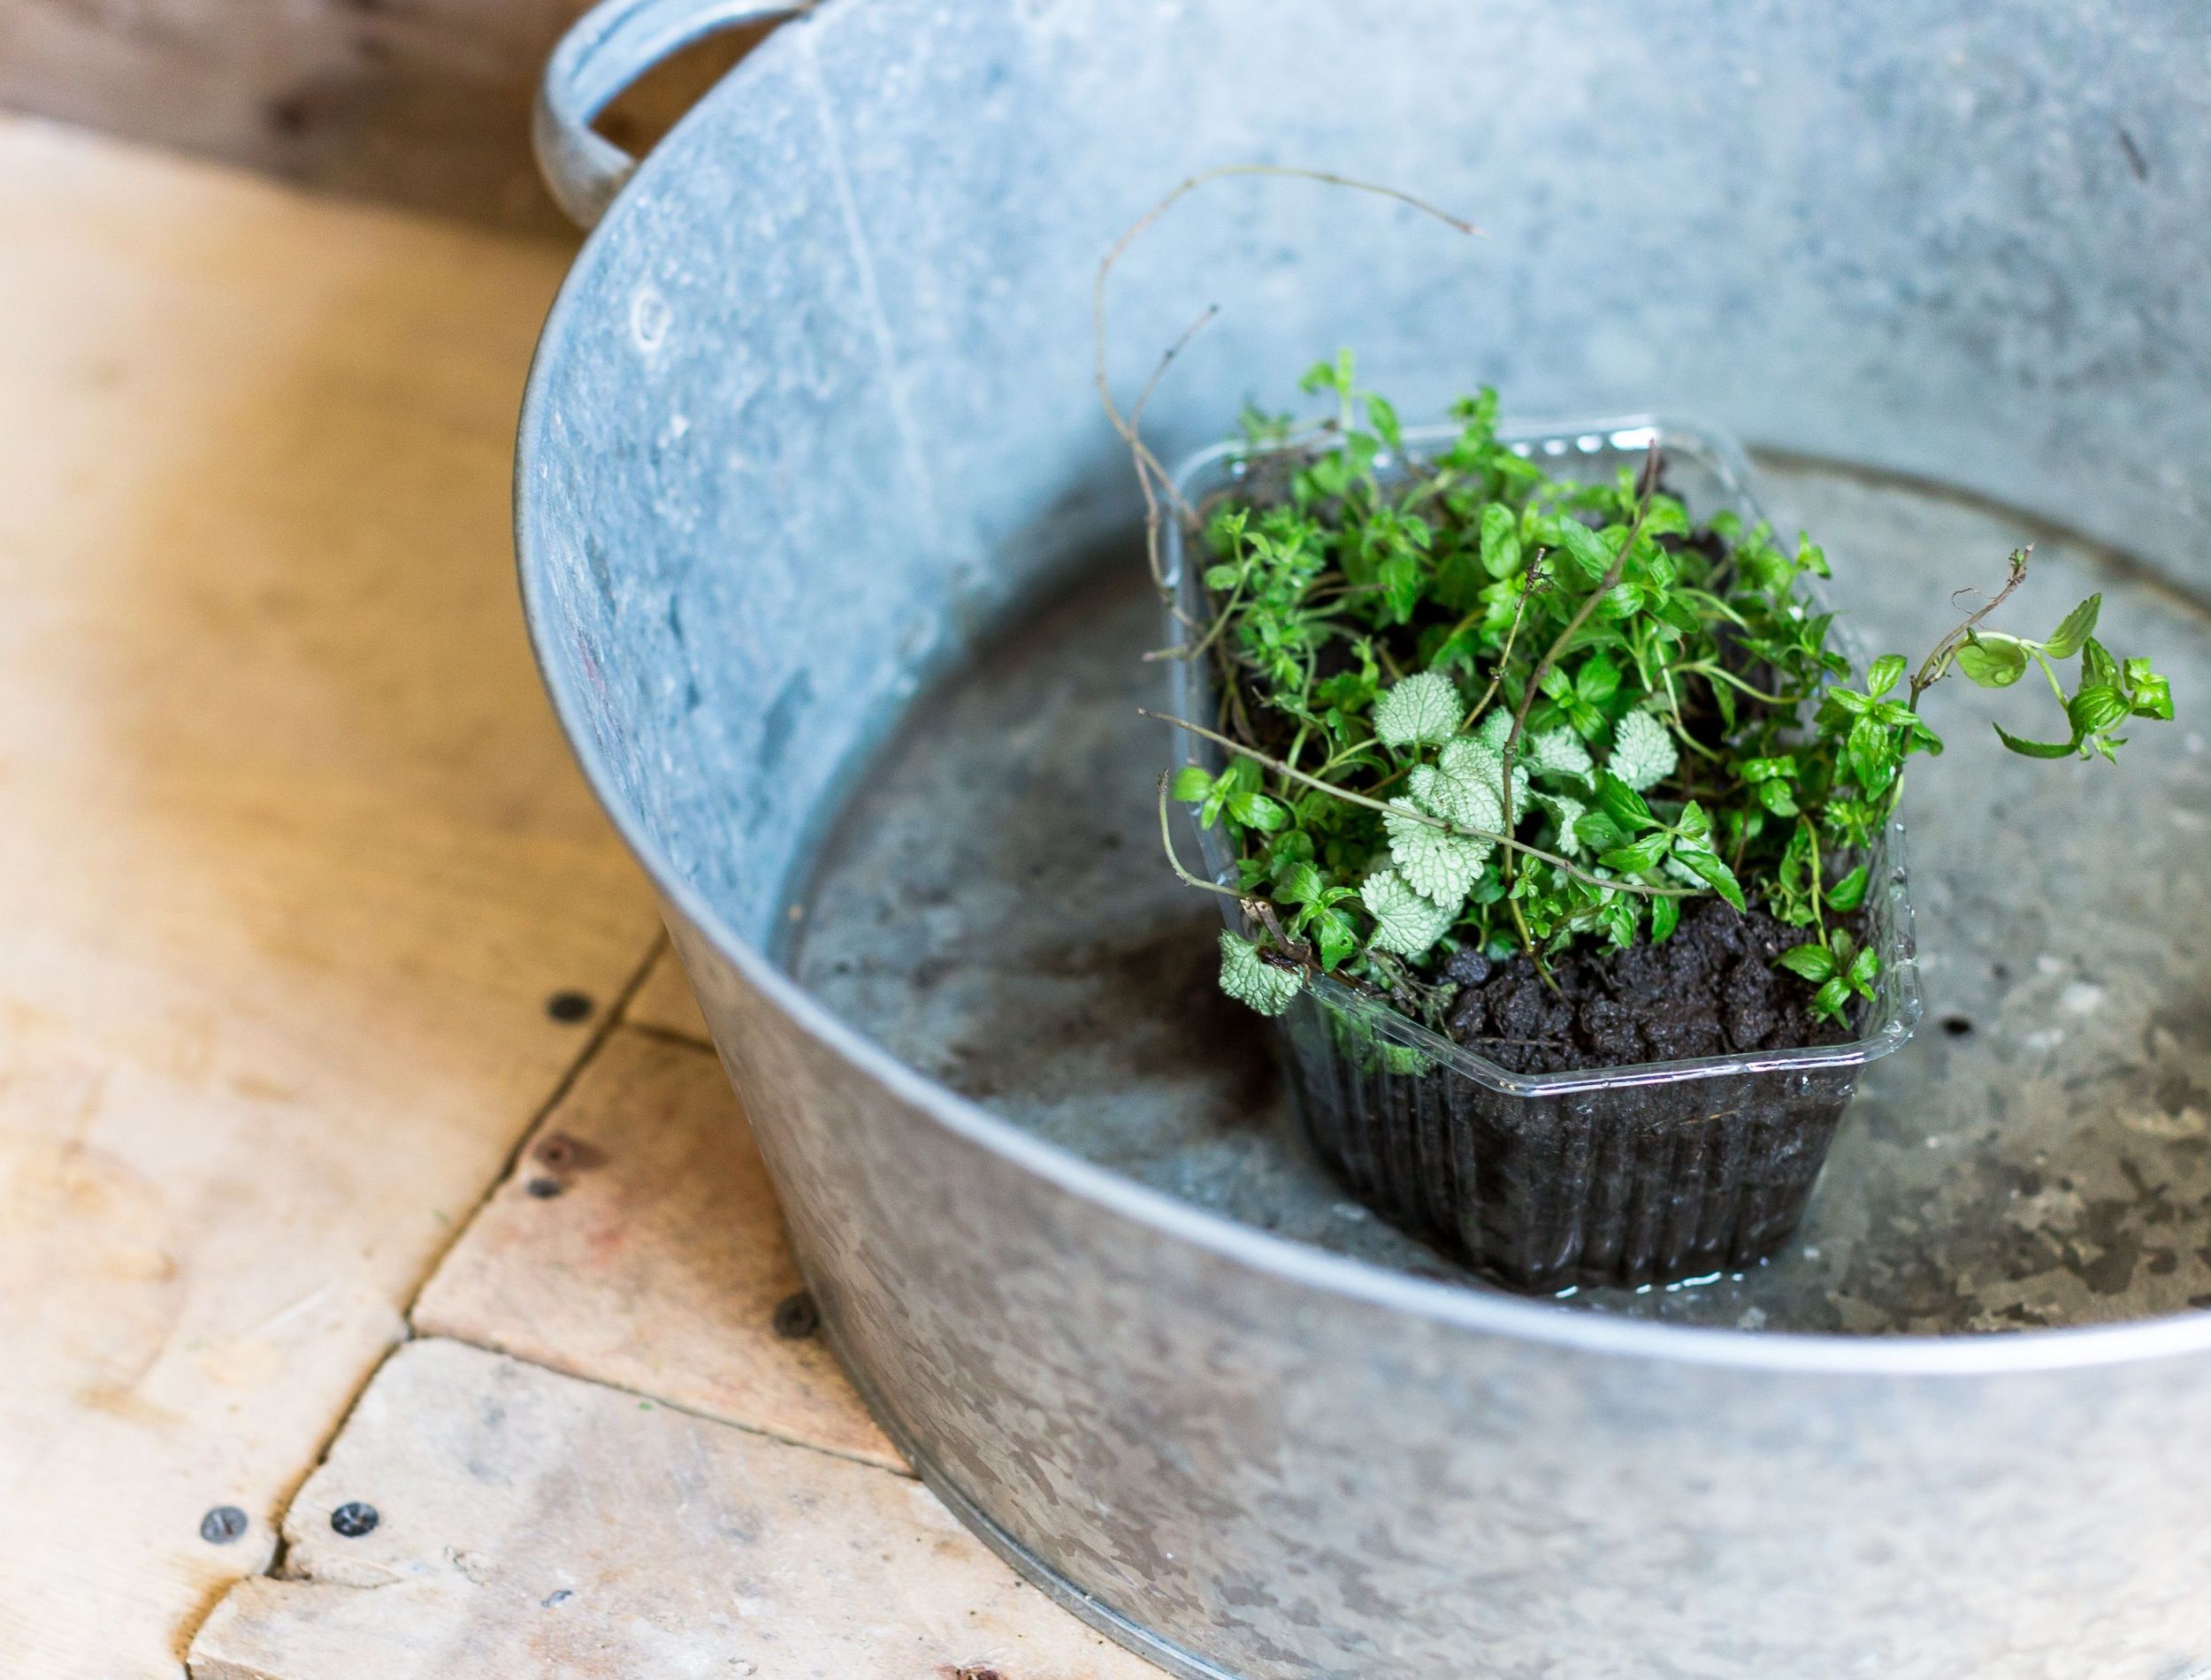
Bottom watering, or reverse watering, is when you let the plant's roots soak up the moisture from the bottom up. To bottom water, place your pot inside a plate, saucer, or bin, and fill it with a couple inches of water. Place the plants inside and let their roots absorb as much as they want. But, for that capillary action to happen, your plant's pot should have drainage holes.
Regardless of your expertise in gardening, maintaining a perfect watering schedule for your plant takes time and effort. You'll need to know how much water your plants requires and how frequently they need it. Apart from that, you'll have to take the weather into account. When it's warm outside, the moisture in your plant's pot will evaporate faster, and when it's cold, it'll do the opposite -- evaporate slowly.
To avoid costly mistakes, stick your finger in the soil to check moisture or invest in a good moisture tester to know if your plant needs a drink.
Pros and Cons of Bottom Watering Plants
Image credits: Huy Phan via Pexels
If you've been away from home and have missed a watering or two, bottom watering can help rehydrate the soil and restore a plant to its previous health. It is particularly helpful if your plant has started wilting. Since bottom watering prevents overwatering, your houseplant soil is less likely to mold and attract fungus gnats. Just don't leave your plant in that standing water! Remember to come back and check on your plant ensuring you remove your plant from it's water basin.
When you water your plants from the top down, you disturb the top of the soil and can accidentally dislodge newly-planted seeds. If your soil has perlite, top-down watering can cause it to float toward the top, thus disturbing the general soil structure you worked hard to create.
When you water your plants from the top down, the soil absorbs most of the water, which can leave the roots without enough to drink. When this happens frequently, hydrotropism (where the plant's roots grow upwards or towards moisture) occurs. Bottom watering can help prevent that and encourage the roots to grow downwards.
With reverse watering, your plant will take longer to absorb moisture. With top-down watering, your plant and most of the soil get water quickly because you're in charge of the water's speed and flow; This is why people tend to say water slowly and thoroughly. But, bottom watering leaves your plant's roots in charge, so the process takes longer.
However, bottom watering won't let your soil flush out extra fertilizer or chemicals that would otherwise damage your plant. A benefit of watering your plants top-down, is that gravity work to flush out any residue from leftover fertilizer through the pot's drainage holes.
In A Nutshell
|
Pros |
Cons |
|
Helps rehydrate the soil |
Takes longer for plants to absorb water |
|
Prevents overwatering and the spread of mold and fungus gnats |
Prevents the soil from flushing out toxins |
|
Doesn’t disturb soil structure or dislodge newly-planted seeds |
|
|
Prevents hydrotropism |
How to Bottom Water Your Plants
Image credits: Annie Spratt via Pexels
Bottom watering works well for vegetables, seedlings, and herbs. Here's a step-by-step guide on how to do it.
Step 1: Check if Your Plant Needs Watering
Check your plants twice a week to see if they want to be watered. You can stick your finger into the soil to see if it's moist or dry, or you can invest in a good moisture tester for accurate results.
Step 2: Fill a Container With Water
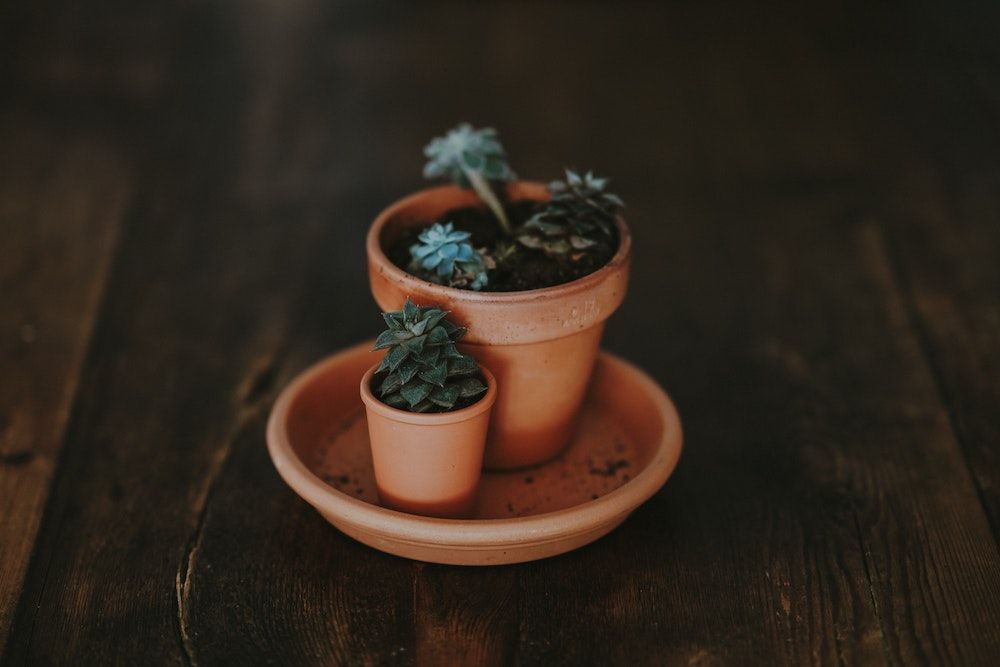
Some pots come with saucers and plates, but if your pot doesn't have one, pick any plate or container in which your plant can fit. Now, add between 1½ and 2 inches of clean water. The amount of water you put in your container will depend on the size of the pot.
Step 3: Place the Pot in the Container
Now place your plant's pot inside the container that you filled with water in Step #2. Ensure your pot has drainage holes to absorb the water. If your pot is too small, lower the amount of water so it doesn't float.
Step 4: Let it Soak
Leave your pot in the water-filled container for 25 to 30 minutes. However, this depends on the size of your pot, i.e., a small pot absorbs water faster than a bigger one. To avoid overwatering, check the topsoil every 10 to 12 minutes to see if it's moist or dry.
If it's moist, your plant has absorbed enough water. You can take it out of the water-filled container and place it in another tray or a stand where it can drain out excess water to prevent root rot.
Water You Up To!
Your plants need water to survive, but since they don't come with a manual, knowing when to water them is key to keeping them healthy. Bottom watering is a great way to prevent under and overwatering, which can cause root rot and mold growth.
Although time-consuming, your plant's roots will appreciate the much-needed attention to avoid growing upwards or sideways in search of moisture. That said, if your soil has chemical or fertilizer residue, flush out the toxins by top-down watering to prevent damage to your plants.
Leave your experiences, thoughts, and questions in the comment section, and as always, please share!
Happy gardening!


