There are many reasons to invest in a cold frame. Besides helping you extend your growing season, they protect your plants from climatic conditions, pests, and diseases.
Cold frames are a great alternative to elaborate greenhouses and hoop houses, and can be DIYed into your already existing raised garden beds -- They're shaped like a box with a glazed and transparent lid that slopes downward. Cold frames are great for backyards that lack space for a traditional greenhouse so take advantage of this opportunity!
Now, when should you use cold frames, and is there anything you need to consider beforehand?
What's the Purpose of a Cold Frame?

Image credits: Bildagentur Zoonar GmbH via Shutterstock
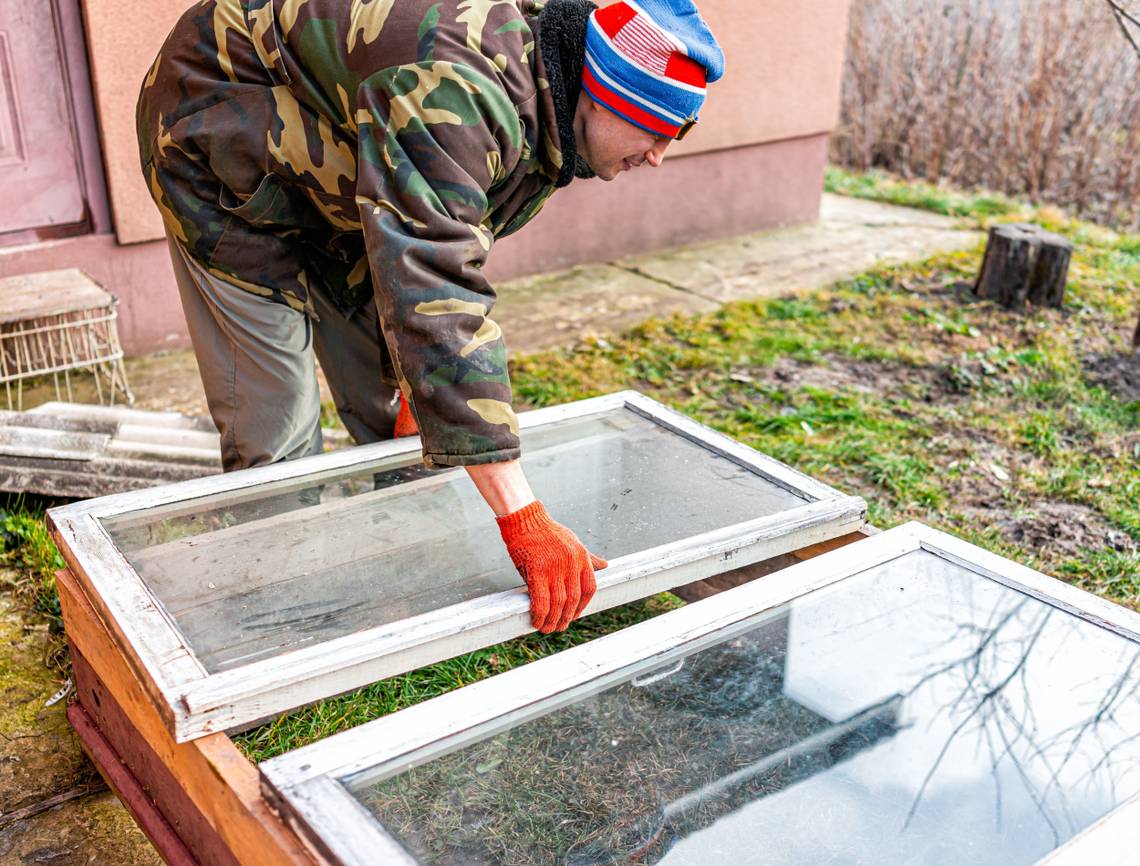
A cold frame is an outdoor box-shaped frame made from wood with a glass top. If using glass isn't an option, a thick transparent plastic sheet made from polycarbonate or corrugated plastic can be an alternative. A cold frame keeps plants safe from the cold, but the transparent top allows them to absorb sunlight.
When planning your cold frame, ensure you locate it in a place that receives at least four to six hours of direct sunlight for healthy plant growth. You can start seeds indoors inside tissue paper roll pots and move them to the cold frame when the seedlings have at least six to eight true leaves.
Pros and Cons of Cold Frames
|
Pros |
Cons |
|
You can combine this with your greenhouse to save space. |
Unlike greenhouses, you can't walk around in them. |
|
They'll keep your dormant plants safe during winter. |
You can't store your tools inside them. |
|
Depending on the plants you're growing, you can customize the size, shape, and height. |
You have to control the temperature to prevent overheating or freezing manually. |
|
They're cheaper than a traditional greenhouse. |
Soil tends to dry up faster, so it demands frequent watering. |
|
They're portable and help extend the growing season. |
It may require multiple cold frames of different heights and sizes for plants of varying heights. |
Materials and Equipment Needed to DIY the Cold Frame

Image credits: Paul Maguire via Shutterstock
Converting your raised bed to a cold frame is easier than building it from scratch. Since you already have a bed frame and a base, you'll need to DIY the top portion of the cold frame that opens and closes. Before you start, there are just a few materials and equipment needed to get the job done. See the list of them below:
- Measuring tape
- Pen and notebook
- Salvaged windows or clear shower doors
- Seven wooden boards of your preferred length
- Seven shorter boards for the sides
- Four 1-inch thick corner posts
- Hinges
- Screws
- Drill machine
- Screwdriver
- Two battens (a long and short one)
- Caulking gun and caulk (Optional)
Step-by-Step Tutorial to DIY a Cold Frame
Step 1: Measure And Take Notes

Image credits: Zen Chung via Pexels
Measure your raised bed and record the dimensions in your notebook. Do you want the cold frame to cover the entire bed or only a part of it? How high do you want it to be?
Depending on the veggies you're growing, you'll need at least 2 feet of growing space between your veggie and the cold frame. Measure the ideal length and height of your cold frame and note the dimensions in your notebook.
Step 2: Prepare Your Project

Gif credits: GrowVeg via YouTube
From the seven wooden boards, you will use four at the back and three in the front to give the cold frame its distinctive slope.
Now, take your seven shorter side boards, of which each side will have three full boards and a diagonally cut right triangle to match the slope.
Then, you'll need to cut four 1-inch thick corner posts. Since the frame will slant, the front posts will be shorter than the back posts by one board (four boards at the back - three in front).
Step 3: Make the Side Frames

Gif credits: GrowVeg via YouTube
Use two screws to attach both ends of the side boards to the corner posts. Screw one part of the side boards to the long corner post (back), and attach the other part to the short corner post (front). For the seventh diagonally-cut board, you'll need to screw the narrow part to the board below and the broader part to the corner post.
Step 4: Make the Front and Back Frames

Gif credits: GrowVeg via YouTube
Use two screws to attach both ends of the four wooden boards to the long corner post for the back. Then screw three wooden boards into the short corner post for the front. Your cold frame's frame is ready, and the result should look like a slanting box without a base or cover.
Step 5: Time to Position the Lids

Gif credits: GrowVeg via YouTube
Carefully position your lids to the top of your cold frame, and when they're aligned, mark the spot because that's where you'll screw the hinges. Depending on the length, you may need more than two hinges per lid.
Step 6: Screw in the Battens

Gif credits: GrowVeg via YouTube
Lightly screw the short and long battens inside your cold frame to help regulate temperature. Don't screw them in too tight, just enough for you to be able to swivel them.
Screw the short batten to the front of the cold frame and the long batten on the side. The short battens will help you vent the cold frame, and the long ones will help you keep it fully open on sunny days.
Step 7: Place the Cold Frame on Your Raised Bed

Image credits: megankhines via Creative Commons
Assuming you have your measurements right, you can rest your cold frame on your raised bed, which should fit right in. If you want additional safety against critters and pests, install hooks and fasteners to secure your cold frame to the raised bed. Finally, if there are any holes or gaps, you can use caulk to seal them, so critters don't use them as an entrance to your crops.
How to Use a Cold Frame

Image credits: best4garden- wood products via Creative Commons
While you can use a cold frame garden for various purposes, they have specific uses in the garden. You can use a cold frame to:
- Overwinter your plants,
- Start seeds or grow seedlings,
- Hardening off plants,
- Extending growing season.
Some vegetables you can grow include:
|
Carrots |
Leeks |
Radishes |
|
Spinach |
Lettuce |
Arugula |
|
Mache |
Chard |
Beet Greens |
|
Endive |
Escarole |
Turnips |
|
Claytonia |
Kale |
Broccoli |
|
Cabbage |
Mustard |
Green Onion |
Of course, you can grow many other veggies and herbs in your cold frame. The veggies mentioned above are excellent choices for gardeners willing to start early.
A Pane in the Glass!
Cold frames are a great alternative to traditional greenhouses and hoop houses. They help harden off plants, protect them from climatic conditions, keep them safe from pests and critters, and, most importantly, extend the growing season.
Since they are portable and customizable, they're an excellent choice for small gardens, too. If you already have a raised bed, converting it to a cold frame is easier than building one from scratch.
Leave your experiences, thoughts, and questions in the comment section! Share with friends and family who might find this helpful.
Happy gardening!