Temperatures are on the rise, and gardening season is just around the corner. For many gardeners, this is the time when you start to carefully plan everything out in preparation for spring. If you’re feeling creative, why not create your DIY tomato planter.
Not only is a DIY solution a fun way to include your personality and style in your garden décor, but it’s also a great cost-saving option. You can free up your finances for seeds and seedlings, allowing you to expand your vegetable garden even further. What could be better than that?
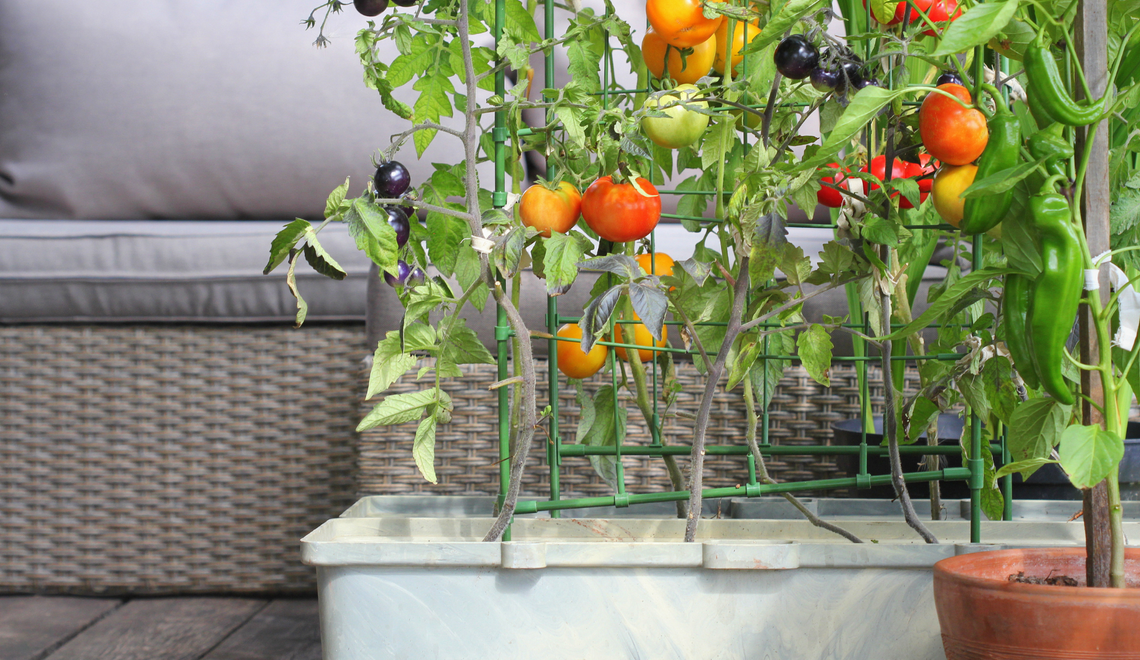
Celebrate the arrival of spring with these tomato planter ideas.
Basic 5 Gallon Bucket Planters
One of the simplest and most basic ideas on this list, with a little creative vision you can transform an old 5-gallon bucket into a decorative planter. This is a great option for gardeners that are considering growing their tomatoes on the porch or in an area where they are going to be highly visible to their friends and family.
To begin, use a hammer and a single nail to put a series of holes in the bottom of the bucket for drainage. Spray paint or otherwise decorate the exterior of your pails. It is your opportunity to make planters that will fit with the rest of your outdoor décor. Be cautious about using any glues or other chemicals, keeping them to the outside of the pail to avoid contaminating the soil. When the paint has dried you can fill your bucket with soil and add a wire tomato cage.
Upside-Down Tomato Planter from a Hanging Pot
Hanging planters are a great way to maximize the space that you have available. One effective way to grow tomatoes is to do so with them hanging upside down. The plant grows down, hanging from the planter, while the roots of the plant grow up into the planter holding the plant securely in place.
While you can purchase a hanging planter online or in your local garden store, a budget-friendly solution is to repurpose an old pot you have sitting in your shed or garage. Cut a hole in the bottom of the pot approximately 2-3 inches in diameter. If your pot is already a hanging pot, you can move on. If not, make 3 or 4 evenly spaced holes in the top lip of the pot. Feed a piece of string or twine through each of the holes tying a knot in the bottom of each to hold them in place. Bring them together above the pot and tie them together with an overhand knot for hanging.
Carefully feed the tomato plant through the hole so that the root ball remains inside. Slowly add soil to the pot, using your trowel to place it around the root ball. When you’re done, the pot is ready to hang outdoors.
Squared-Off Wooden Tomato Cage
The words “tomato cage” are generally associated with wire cages which can be flimsy, especially if you’re worried about your tomato pot being knocked or jostled. Gardeners with energetic pets or young children, this suggestion is for you! A wooden tomato cage is durable, effective, and will add to your patio décor. Use four 2x2 boards, one at each corner, as the posts and thinner strips of wood to add the horizontal supports evenly spaced up the sides.
After you have assembled your tomato cage, you can paint or stain it to complement your outdoor furniture or décor. If you want this to be part of the décor for your guests, consider adding a string of fairy lights around the cage to light it up at night.
DIY String Tomato Trellis
Another alternative for the traditional wire cage is a string trellis. These can be constructed small enough to support a tomato plant in a single pot or large enough for multiple plants in a garden space.
For this option, create an exterior frame with wood, including a central support beam that will run along the middle of the garden space and two parallel beams running along the bottom on each side. Using twine, run a single string from one ground support beam up to the central beam above and then back down to the ground beam on the other side, securing it at each point and keeping the twine taut. Repeat this, evenly spaced, along the length of the trellis.
DIY Hanging Tomato Planter from Plastic Bottles
If you are committed to living an environmentally friendly lifestyle, this is a tomato planter option that you will love. The planter is made from a recycled 2L plastic bottle, a small sick, strong cable or wire, and a coffee filter. Carefully cut the bottom off the bottle, approximately 1-2 inches from the bottom. Using a hammer and nail, pierce small holes evenly spaced in the bottom portion. It will be used to allow water through your tomato plant. Make 2 holes in the larger portion of the bottle near the opening that you have created opposite one another.
Pierce a hole in the middle of your coffee filter. Take a young tomato plant and feed the plant through the hole in the coffee filter until the filter is resting above the root ball of the plant. Next, place your plant into the larger piece of the bottle and feed the plant through the neck of the bottle, leaving the root ball inside surrounded by the coffee filter.
Fill the bottle with soil before placing the smaller piece of the bottle inside the end with the opening facing up to create a bowl-like top to the planter. Feed the small stick through the two holes before securing a length of wire to each side of the stick, creating a loop for hanging. Fill the top section with water, and the small holes will allow the water to slowly feed into your planter.
DIY Wire Tomato Cage
While the cost of wire tomato cages may not be high, it can add up quickly when you buy a large number to accommodate a large vegetable garden. One way to keep this cost down is to make your DIY tomato cages from welded wire caging or remesh sheeting designed to provide support and strength in the construction of concrete slabs. These can be purchased at most home improvement stores.
Wearing work gloves to protect your hands, carefully roll the remesh sheet up to create a cylinder. Overlap the two ends of the mesh to allow you to secure them together. Using zip ties, secure the two sides of the mesh together with a tie at each end and at least one in the center. If you have a second person, it can be easier to have them place the zip ties while you hold the remesh sheet in place.
If you are using metal zip ties, you can skip this step. However, if you temporarily secured your tomato cage with plastic zip ties, you should now exchange them for a more permanent, lasting solution. Using a thick galvanized hobby wire, weave it through the two pieces of the remesh sheet where you have zip-tied them, adding strength to hold them together. Twist the wire at several connection points along the way to secure it in place. When you are confident that it will hold cut the excess wire.
To place your tomato cage, either dig a small trench around the tomato plant to set the cage in or use garden stakes to hold the cage in place.
5 Gallon Self-Watering Tomato Planter
Maintaining a garden can be a challenge if you have a busy schedule. But that doesn’t have to stop you from exploring the world of growing your own food. Building your self-watering planter will allow you to grow strong, healthy tomato plants with a fraction of the effort. Whether you’re planning on a single tomato planter or a row of them on your patio, this is a surprisingly easy DIY project. You will need two 5-gallon buckets, a 20-inch length of PVC pipe, an old 100% cotton bath towel, and 2 kitchen sponges.
Cut your bath towel into 3” wide strips, approximately 3-4 feet in length. This will be used to help move the water up into your planter, as needed. In one bucket, drill eight drain holes in the bottom, a single hole in the center that measures approximately 1 ½ to 2 inches wide, and one hole off to the side sized to allow your PVC pipe to be snuggly inserted. In your second bucket, drill a single hole in the side of the bucket approximately 3 inches from the bottom to act as an emergency drain, preventing your planter from overfilling.
Make a slit in the center of each of your sponges, approximately 1” long. Feed your cloth strips through one of the sponges with 6 or 7 inches of cloth hanging on one side. The other side of the strips will then be fed through the center hole of the first bucket, allowing the sponge to sit against the bottom of the bucket. Feed the cloth strips through the second sponge inside the bucket, until the two are firmly set on each side of the whole. This will prevent dirt from being able to pass through.
Place the bucket with the sponges and cloth strips in place inside the second bucket. Cut one end of your PVC pipe at an angle to allow for water to freely pass through it in the bottom of the bucket. Slide this into the hole that was cut for it in the inner bucket with the angled end down. Spread out the cloth strips inside the bucket so that they are evenly spaced like spokes extending from the sponge in the center. You can then fill the bucket with potting soil and plant your tomatoes. The soil will also help to hold the PVC pipe in place.
To water your tomatoes, fill the reservoir using the PVC pipe. As your tomatoes need moisture, the cloth strips will draw it up from the reservoir into the soil.
DIY Tiered Trellis Planter
It is the most extravagant planter on the list. However, it’s a great choice for those skilled in woodwork and looking to use their creativity to decorate their outdoor space. It is a solid wood, tiered planter, allowing you to plant a variety of different vegetables or flowers in each of the levels to create a beautiful display.
On the top planter, build out a latticework design to create a trellis. It will give your tomato plants and any vine-style plants the support that they need to grow. You could also use the strong tomato trellis approach discussed above to create the necessary structure for your plants.
PVC Tomato Trellis
When discussing tomato cages, tomato trellis solutions, and tomato planters, most people immediately think about wire caging and wooden structures. But these aren’t the only solutions available. PVC piping is an incredibly versatile tool for DIY projects, and a tomato cage is no exception. To create your PVC tomato cage, you will need several lengths of PVC piping, elbow joints for the corners, cross joints for connections, and T joints for the top.
The best part about working with PVC is that it easily connects like assembling a puzzle. It’s also easy to customize to any space by adjusting the lengths of the PVC piping that you are using or including fewer or more sections of the tomato cage. If you want to give it a more polished look, take the time to paint your tomato cage before officially installing it. But, be cautious about what types of paint you are using closer to or in the soil of your planter to avoid soil contamination.
Triangular wooden Tomato Cage
Very similar to the squared-off wooden tomato cage that was already featured on this list, this option will provide a strong, sturdy source of support for your tomato plants in any weather. The difference is that these are constructed in a triangular shape or pyramid-style design. The four posts creating the outside of the structure come together at the top. While this minimizes the available space near the top inside the structure, if your tomato cage is built tall enough, that space won’t be necessary. This unique shape will free up your line of sight past your garden area. They also create a unique statement as part of your outdoor décor.
Multi-Pot Upside-Down Garden
Do you love the idea of an upside-down tomato garden, but you’re not sure where you will find the space to hang all your pots properly outdoors? One option is to create a wooden frame designed to hold all the pots in a row. Not only is this more organized by keeping all your gardening together in a single space, but it’s a great way to leverage the vertical space in your garden area.
You can create a simple frame to hang your pots from with hooks along the top support beam or get creative and engineer a design that holds each of the pots firmly in place while leaving the bottom of the pots free for the tomato plants to grow. You can install this raised tomato garden over a garden bed and plant other plants below. But, be aware of the shadow that your tomato planters are casting and choose other vegetables that will thrive with this in mind.
DIY Angled Tomato Rails
If you love the look of the wooden tomato cages but aren’t necessarily the most skilled woodworker, here is an easy solution. Hammer wooden posts into the ground at an angle pointing outward along the sides of your row of tomato plants. The bottoms should be relatively close to the plants while the top area opens as the posts point away from that central point. Taking additional posts, tie them using twine along the side of your support structure. A single post should extend between 3 or 4 support posts. Overlap your side posts to add strength to the areas where they connect.
You can use nails to construct the sides, but it’s not necessary. For those looking for an easy-to-construct option, the twine ties are strong enough for the needs of your plants. You could also scrap the side wood beams entirely by creating side supports of just the twine, tying it at each connection point with a support post.
The combination of the wooden posts and twine will create a fun, rustic look that will not only support your tomato plants but also take the appearance of your garden to the next level.
Self-Watering Tomato Planters from Storage Containers
Another great self-watering option, this design uses large storage totes, allowing you to grow multiple tomato plants in a single planter. These simple container gardens will help you to save water by delivering the water needed to your plants while eliminating the amount of water that is often lost to evaporation at the surface of the soil.
To create this, you will need a large storage tote, a corrugated, perforated flex-drain pipe, an old pair of pantyhose, stainless steel hose clamps, a long piece of 1-inch PVC piping, lots of potting soil, and a drill capable of drilling through the side of your container. To begin, extend the flex-drain pipe and weave it around on the bottom of the storage tote, trying to cover as much surface area of the bottom as you can. If necessary, cut some off to ensure that it all fits. Cut the bottom off each of the legs of your pantyhose and feed them over the ends of the flex-drain pipe, using the hose clamps to secure it in place. This will stop the soil from going into the pipe.
Create a hole in the flex-drain pipe in one corner just wide enough for the PVC pipe. Cut a length of PVC pipe tall enough that it can be inserted into the flex-drain pipe and reach up slightly above the surface at the top of your container. Cut a second smaller piece of PVC pipe approximately 12 inches long. Drill a hole in the side of your container that’s large enough for the PVC pipe, equal to the upper edge of the flex-drain pipe inside. Create a hole in the flex-drain pipe at the same point. Feed the PVC pipe through the side so that it extends from in the flex-drain pipe, through the hole in the container and will allow for drainage out of the planter. This is to prevent overwatering.
When everything is in place, fill your new planter with potting soil and plant your plants. To fill the water reservoir, pour water into the PVC pipe that extends up in the corner. When it has filled to the point of the top of the flex-drain pipe, you will see water drain out the drainage pipe on the side, and you can stop. The perforated holes in the flex-drain pipe will allow the water to be released into the soil as needed to water your plants effectively. You can also add support for your tomato plants as they grow by adding wire tomato cages or building a string tomato trellis to fit the top.
Enjoy Fresh, Homegrown Tomatoes with Your Own DIY Tomato Planter
Not only do homegrown tomatoes taste better, but they are also a great way to enjoy high-quality products on a smaller budget. This list includes a variety of options for any size or style of space, as well as projects for both first-time DIYers to experienced handymen and women. We are confident that you will find the right tomato planter ideas for your garden!
Tomatoes can be grown from seeds if you are familiar with growing and caring for tomato plants. But tomato seedlings can be finicky and unforgiving for newer gardeners. Another option is to purchase tomato plants that have already been started for you at your local garden center or from a nearby gardener that may have extra plants that they are looking to share.
Whatever you choose, have fun with it! After all, gardening is a great way to relax and enjoy the fresh air.