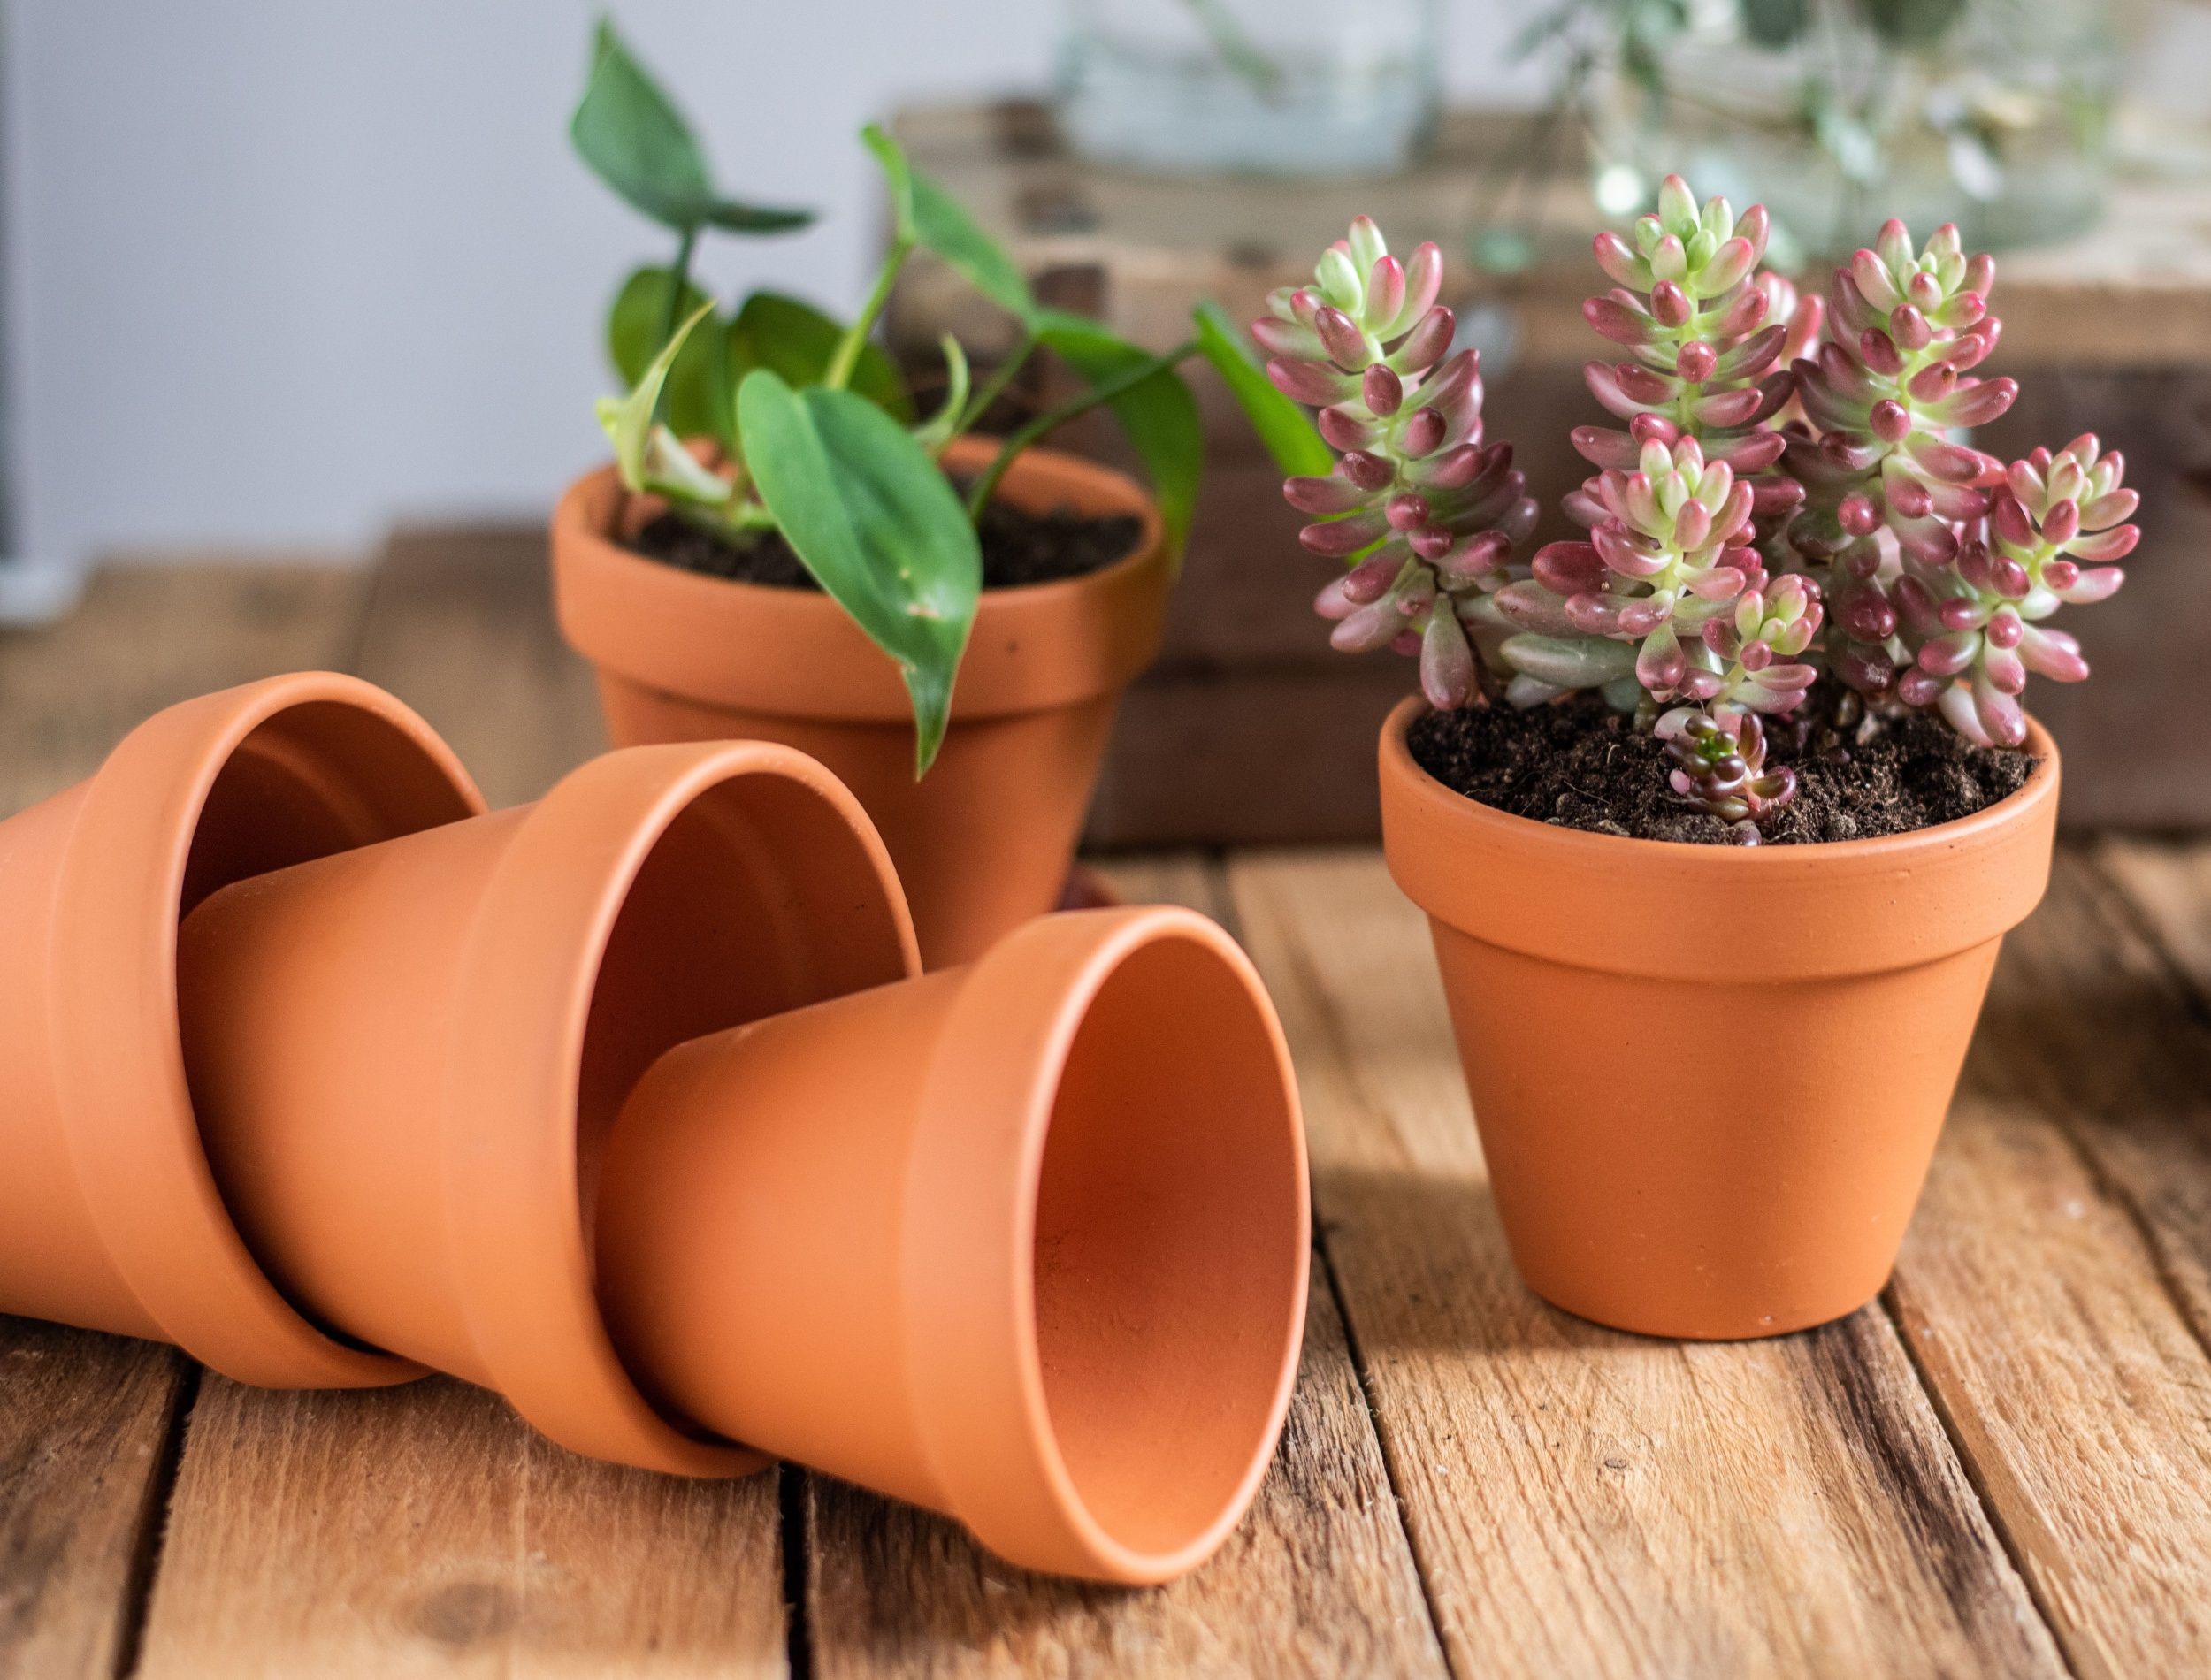
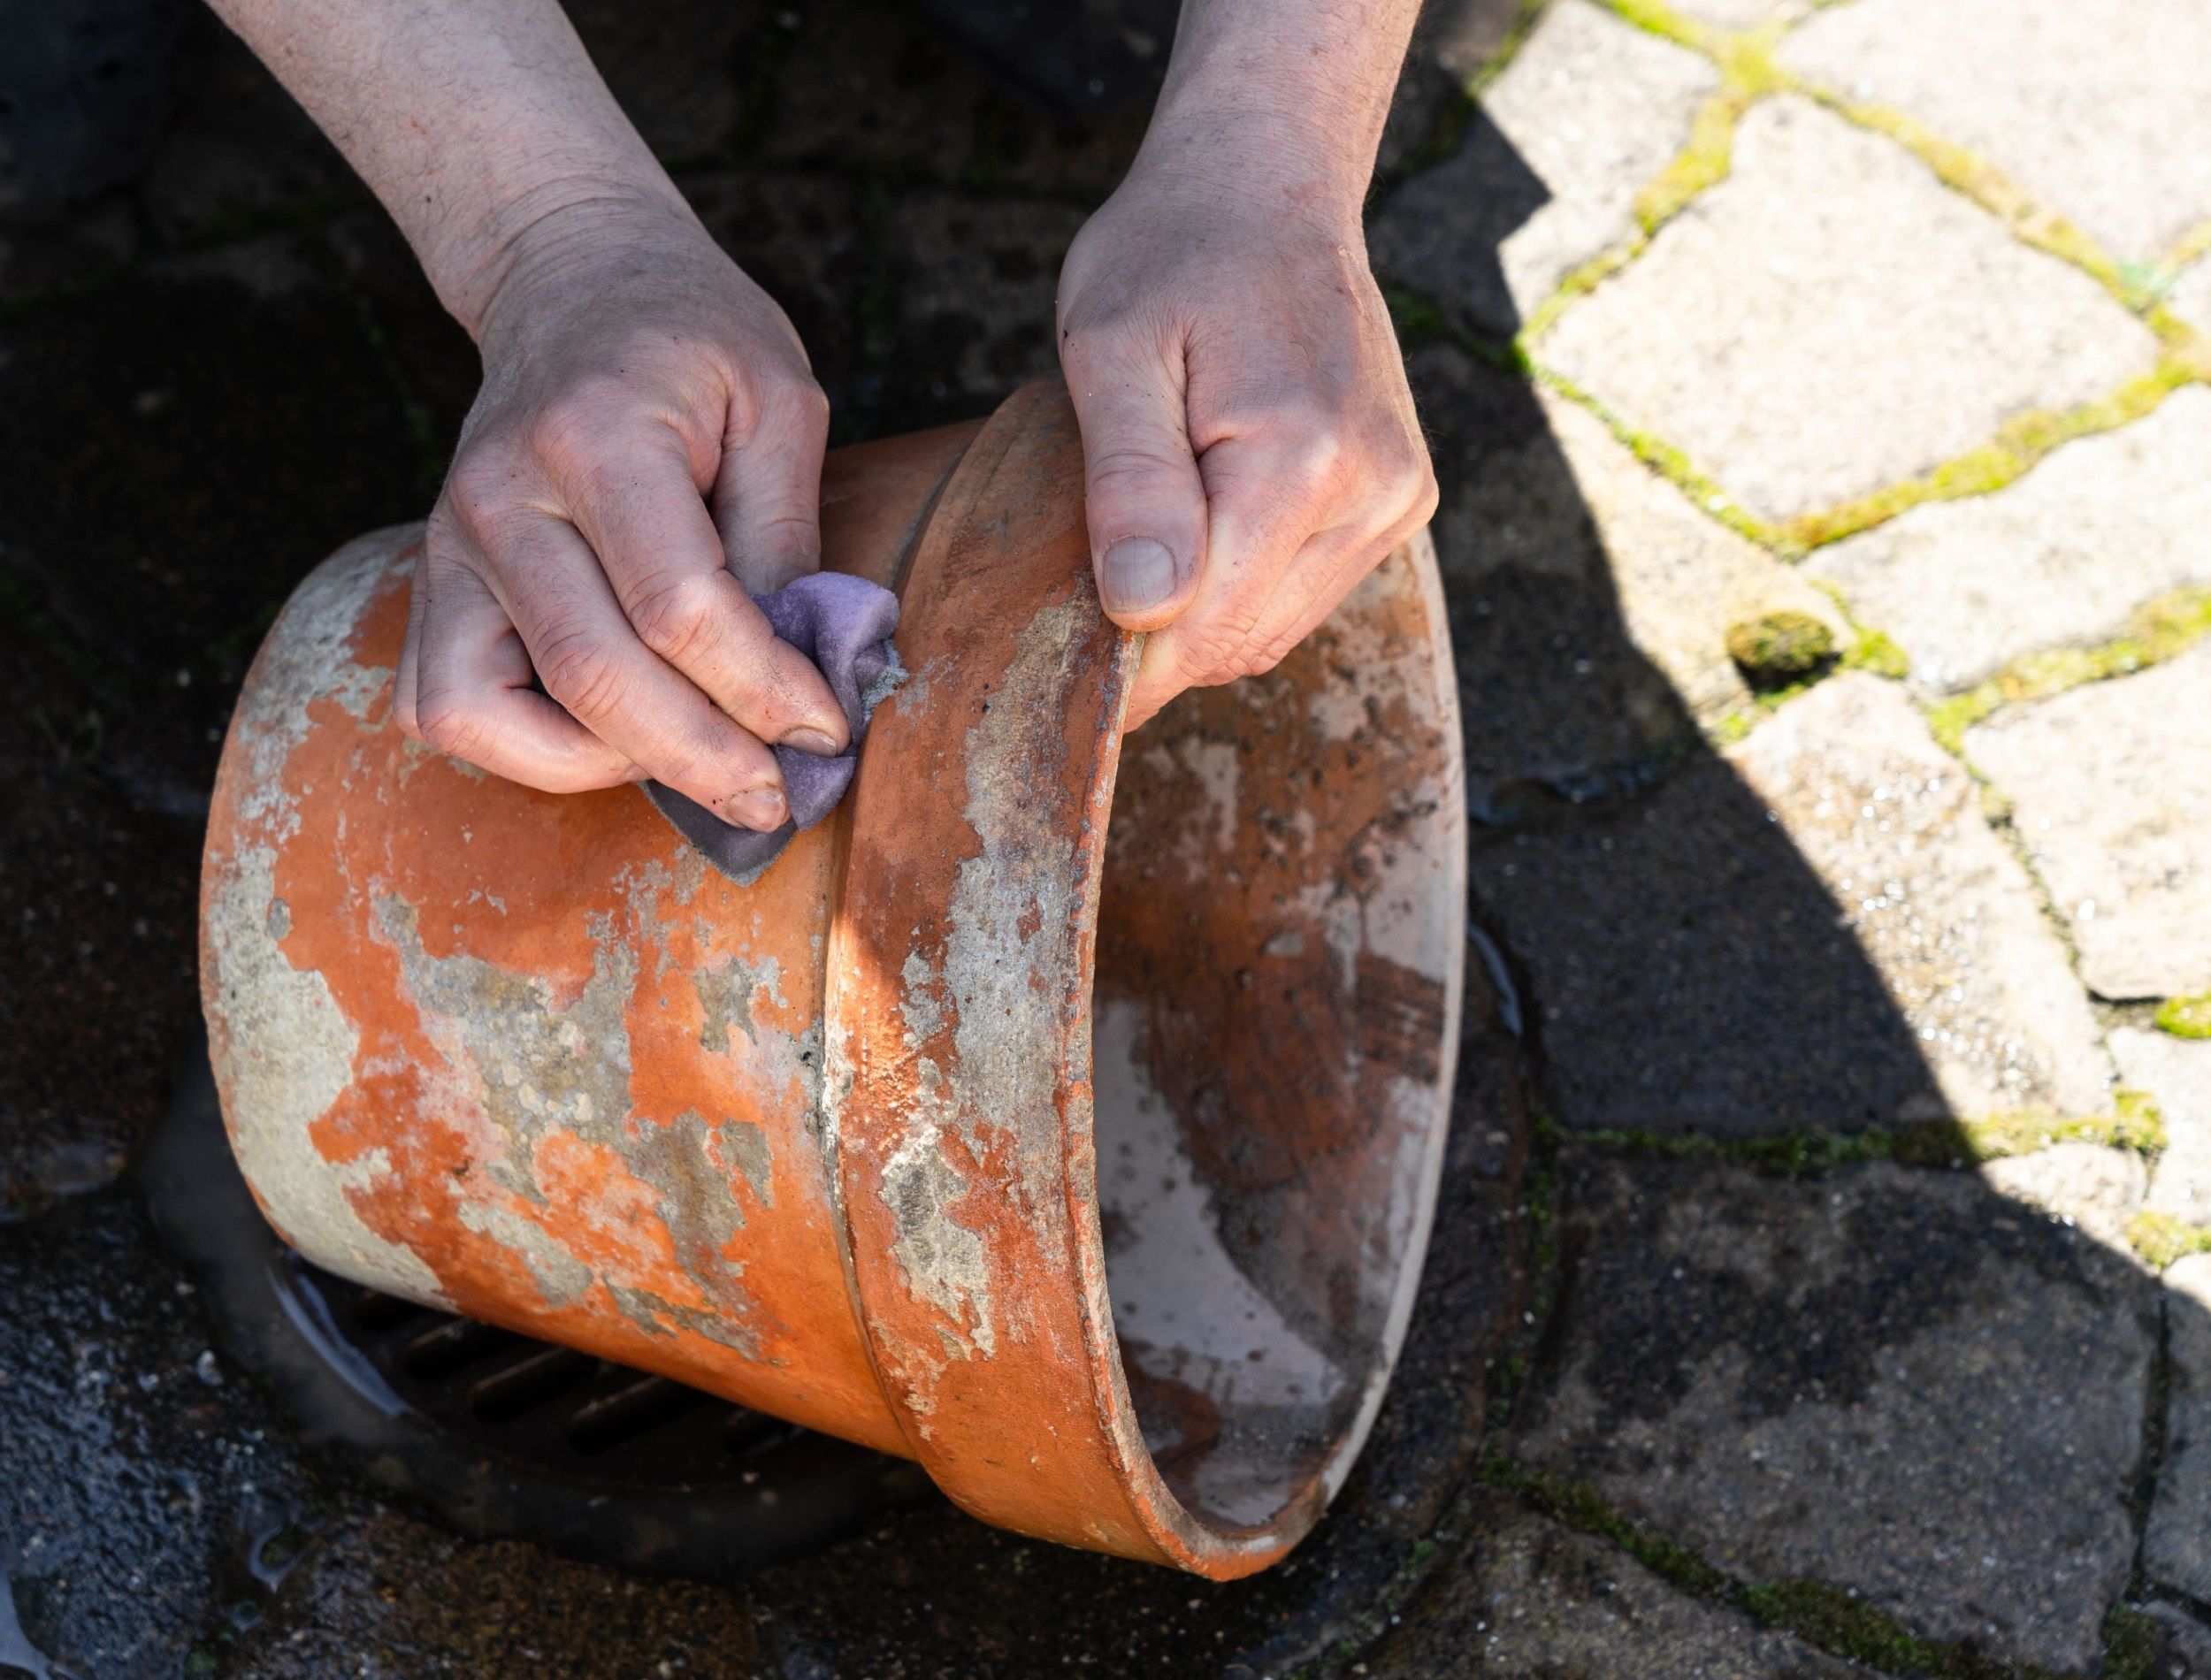
Salt stains on your clay pots are pretty common. They occur due to minerals and salt deposits from the water and fertilizer used to irrigate and feed your plants. Since clay is a porous material, moisture with salts and minerals leaches to the outside of the container and crystallizes as white patches on the pot's exterior.
Besides tarnishing your containers' pristine look, excess amounts of salt can affect your plant, turning the foliage yellow or brown and causing wilting. Therefore, regularly clean your clay and terracotta pots to ensure a happy plant life and a beautiful outlook for your green friends.
Why Clay Pots Develop Salt Stains
Image credits: melima via Shutterstock
There are two primary reasons for the mineral deposits on your pots. Firstly, the fertilizer you use to feed the plants contains salts and minerals the soil absorbs. With time, primarily due to over-fertilization, the excess residue ends up on the pot's insides. When you water the soil, the moisture travels through the clay, taking along the residues.
Another source of salt stains is the water you use to hydrate the plant. If you are using tap water, it may contain minerals such as calcium. When the water evaporates from the surface, it leaves behind the minerals as deposits, leading to stains. Consider using distilled water or rainwater for watering your plants.
You should clean your pots every six months, or whenever the pot looks especially dirty, to disinfect and remove the salt stains.
You Will Need
Image credits: cottonbro studio via Shutterstock
The following is a long list of materials you require to clean the salt stains from your clay pots. However, depending on the severity of the deposit, you may only need some of the materials listed below.
- Nylon-bristled brush
- Wire brush or steel wool
- Vinegar
- Alcohol
- Sponge
- Spray bottle
- Large buckets
- Bleach
- Gloves
- Knife
Step 1 - Empty the Pot
Image credits: cottonbro via Pexels
The ideal time to clean your pot is at the end of a growing season once your plants have died back. It also allows you to start your spring sowing in new-looking, disinfected planters to give your plants the best chance of survival.
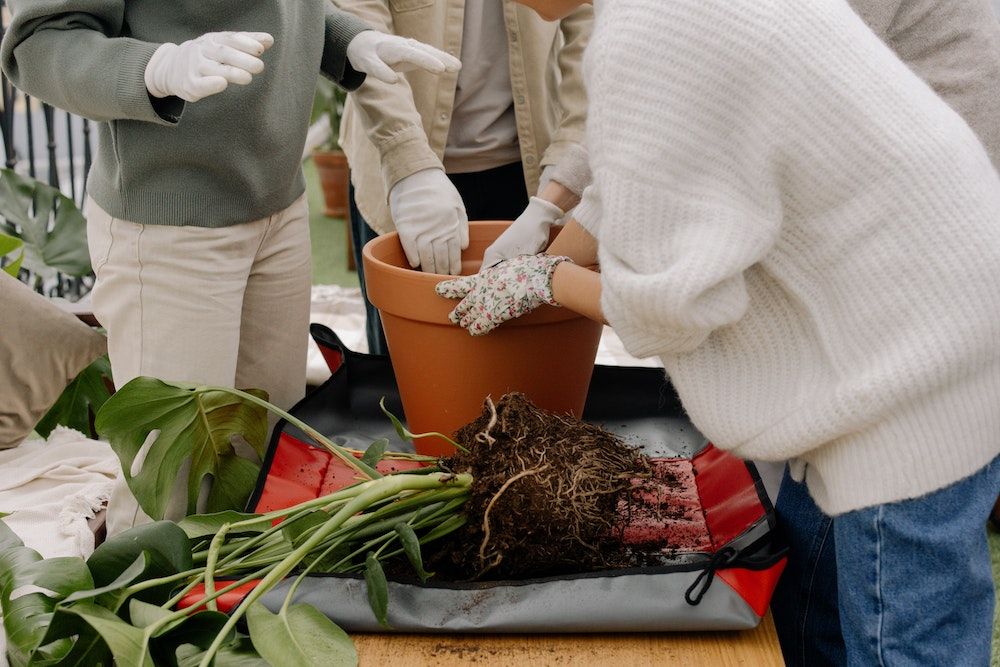
Before you start cleaning, empty the pot of all its content. Pull out any dead plants and roots and remove all the soil. Brush and tip out any dirt and debris from the sides and bottom of the container.
If your plant is still growing and thriving, replant it in another container.
Step 2 - Scrub the Stains
Image credits: Jana Loesch via Shutterstock
If the salt stains on the pots are not very stubborn, you can remove them with gentle scrubbing. Use a firm nylon-bristled brush to scrub the stains, applying light pressure. Vigorous scrubbing can damage the pot by scratching the surface. Use a wire-bristled brush or steel wool to scrape off the rest of the deposits while applying gentle pressure.
Step 3 - Soak the Pots
Image credits: Mehmet Turgut Kirkgoz via Pexels
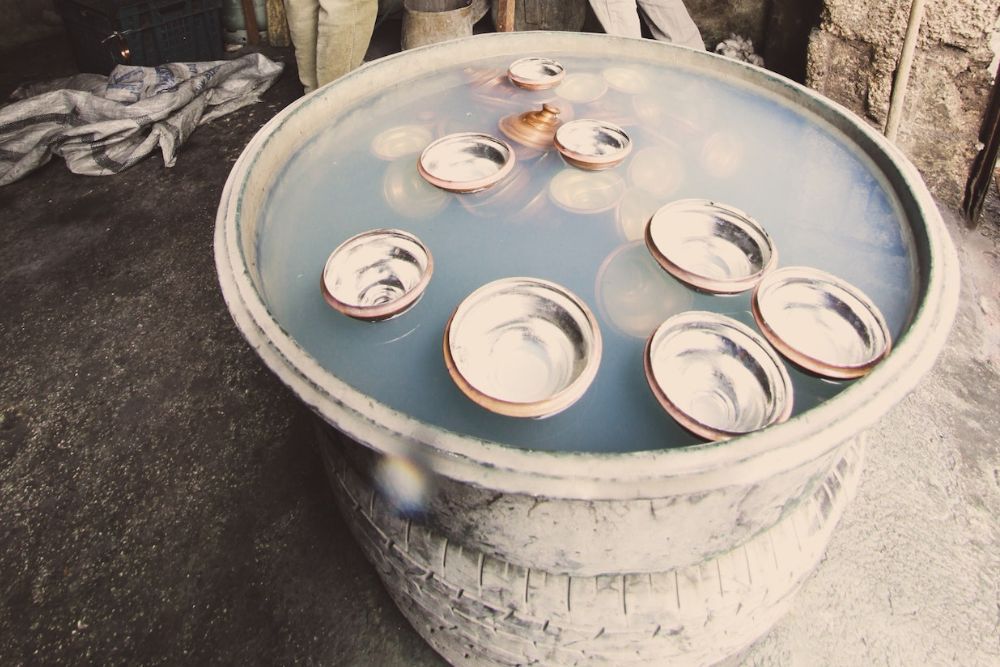
If the salt stains persist you can soak your pots as well.
Prepare a bleach solution by mixing one part of household bleach with nine parts of water in a large bucket or basin. Make enough solution to submerge the pots completely. Allow the containers to soak in the solution for at least ten minutes. Meanwhile, make another water and dish detergent solution in a separate bucket.
Take out your clay pots from the bleach solution and place them in soapy water. Wash them thoroughly and rinse them off to remove all the remnants of the two solutions. If you still see salt stains on your pots, scrape them off with a knife. Be careful when handling sharp objects.
Pro tip: Use rubber gloves when handling bleach for making the solution and removing the pots from the bleach solution. If your skin comes in contact with bleach, you can experience irritation or severe burns.
Step 4 - Use an Alcohol Solution
Image credits: Rosana Solis via Pexels
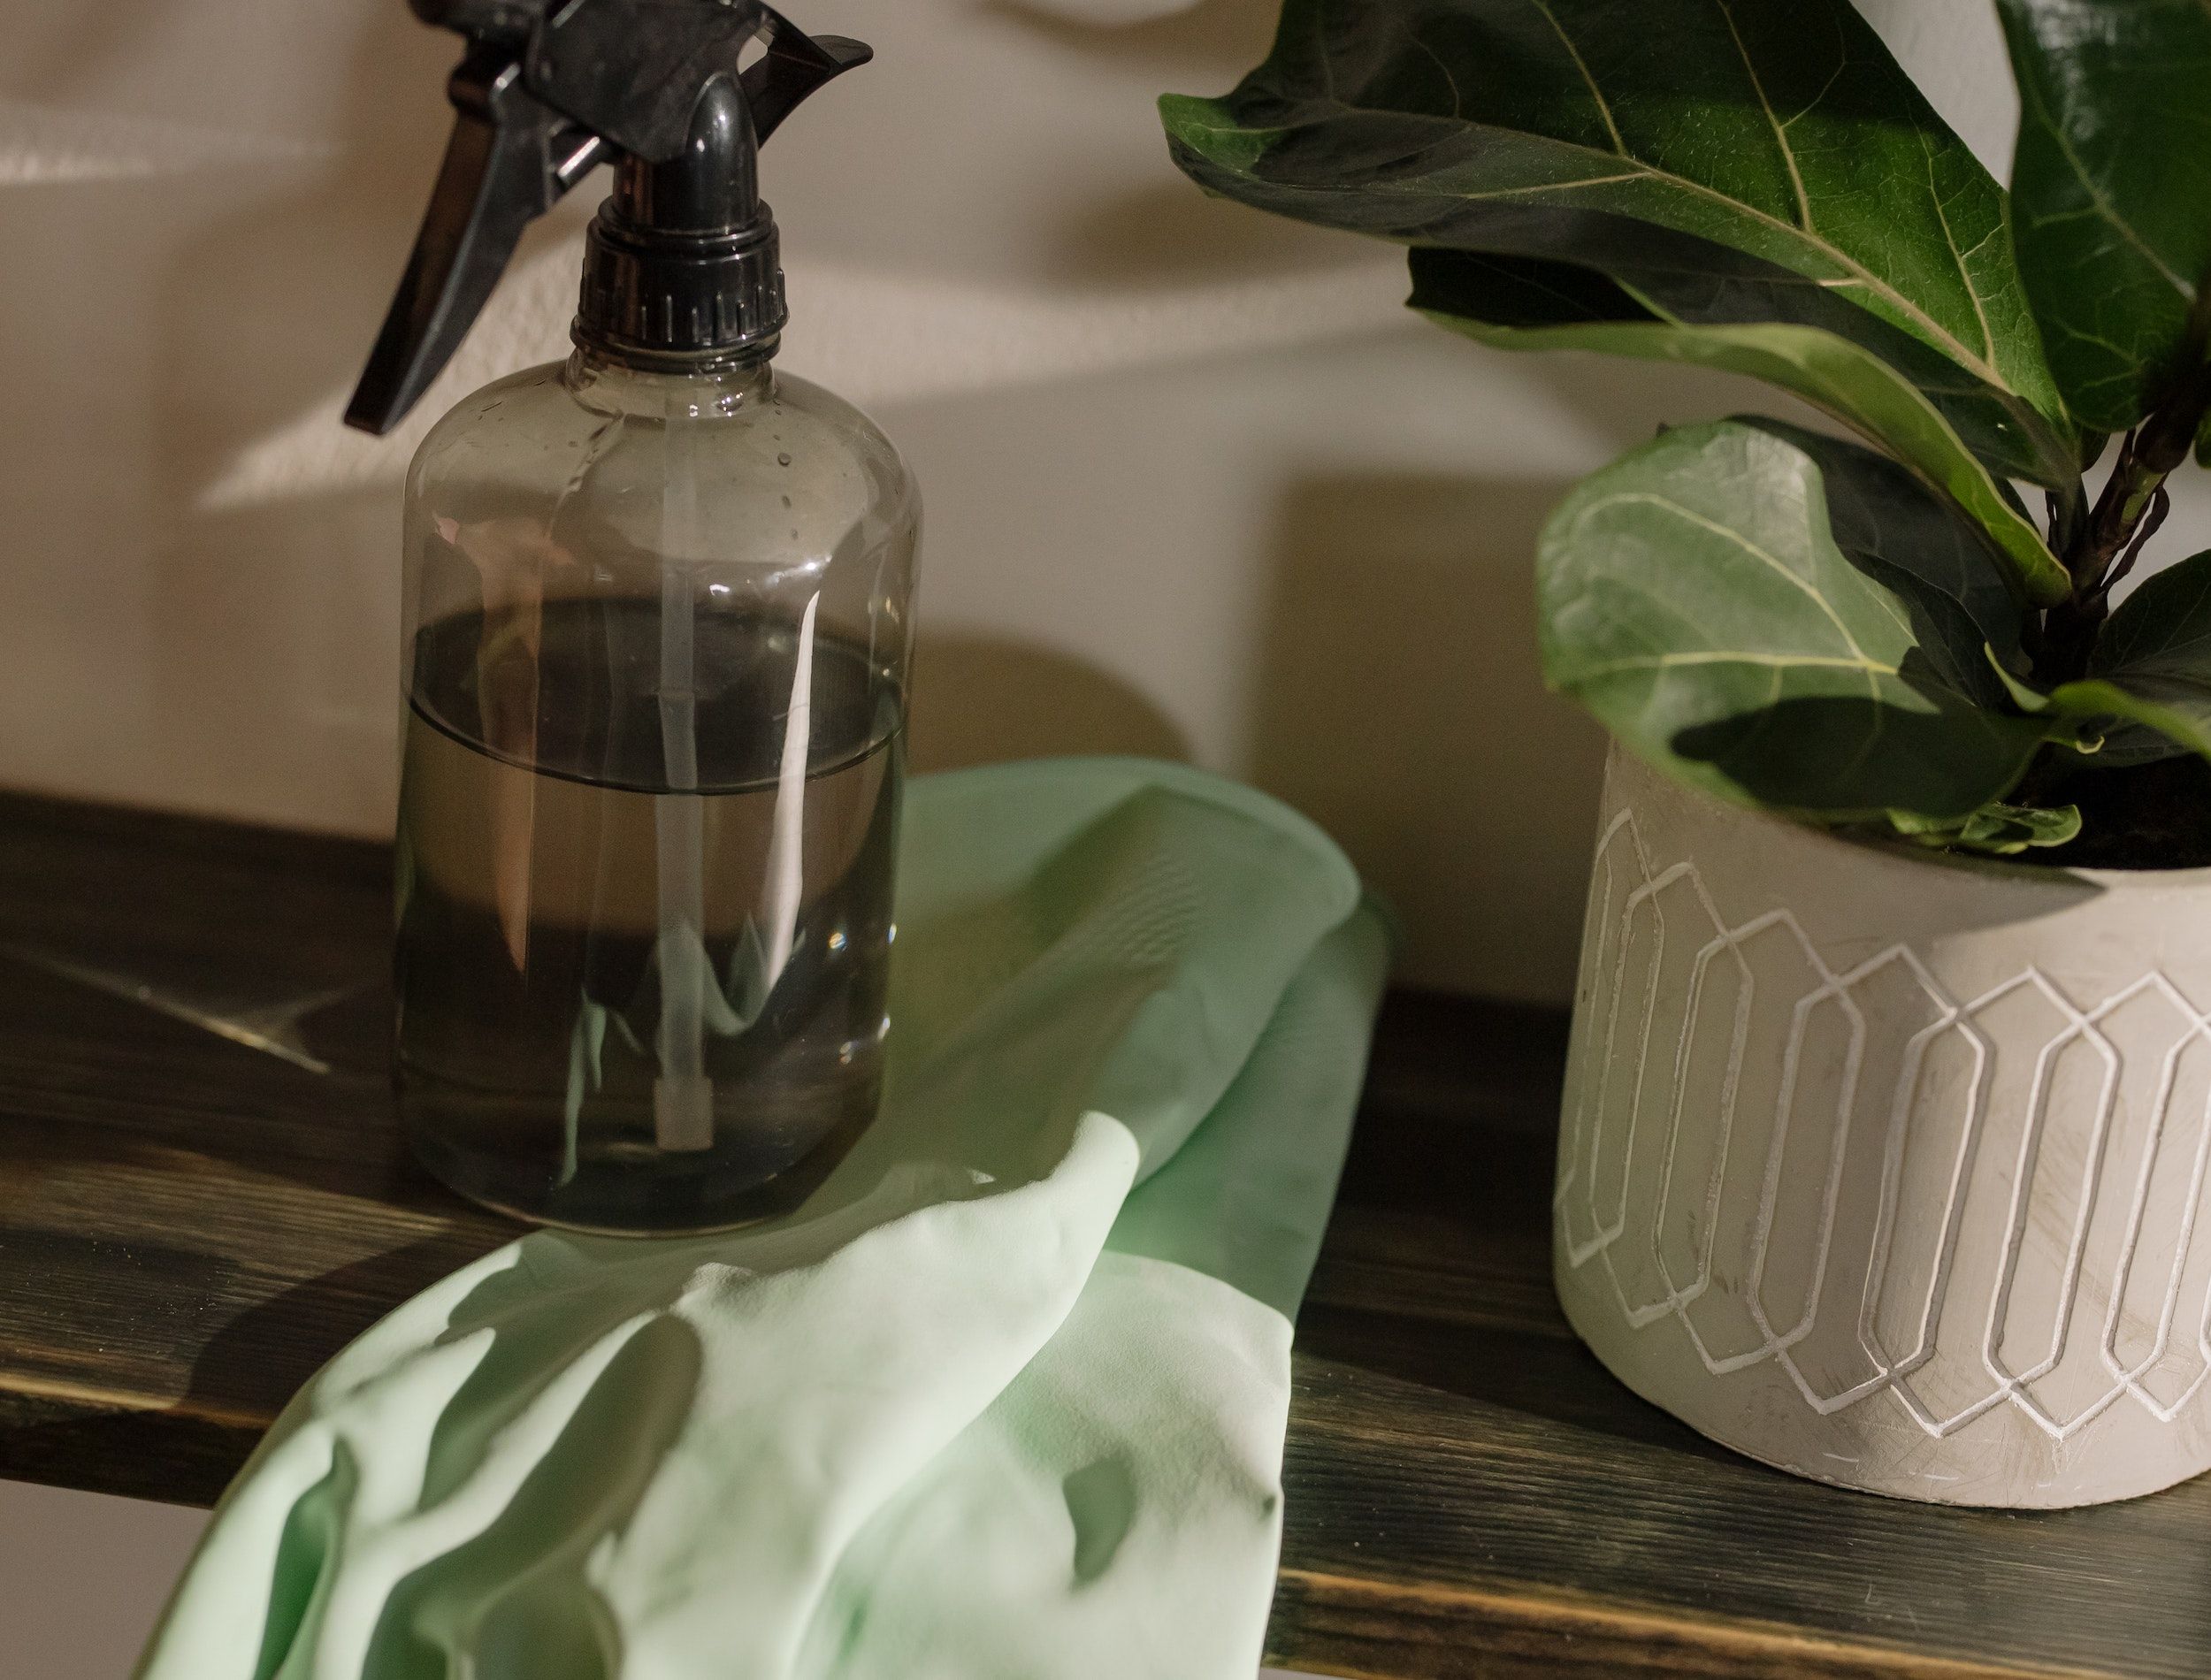
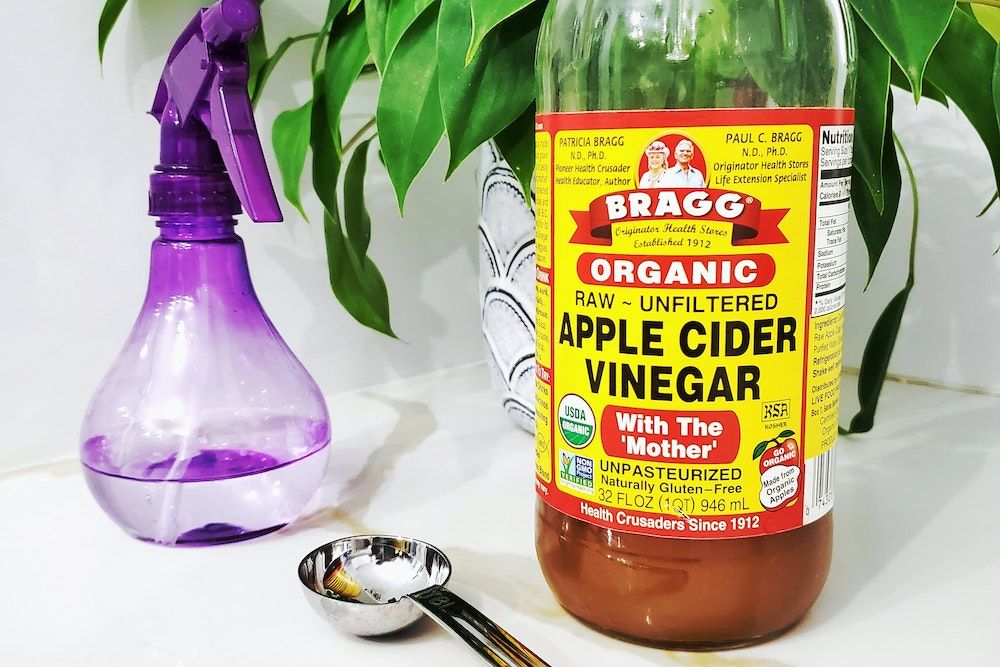
You can often clean off any remaining residue with a simple solution of water, vinegar, and alcohol. Mix equal parts of the three liquids and add the mixture into the spray bottle. Mist the stains generously and rub the pot with a sponge. Vinegar helps dissolve the minerals, while alcohol disinfects the container.
Step 5 - Simmer and Bake
Image credits: Aleksandra Berzhets via Shutterstock
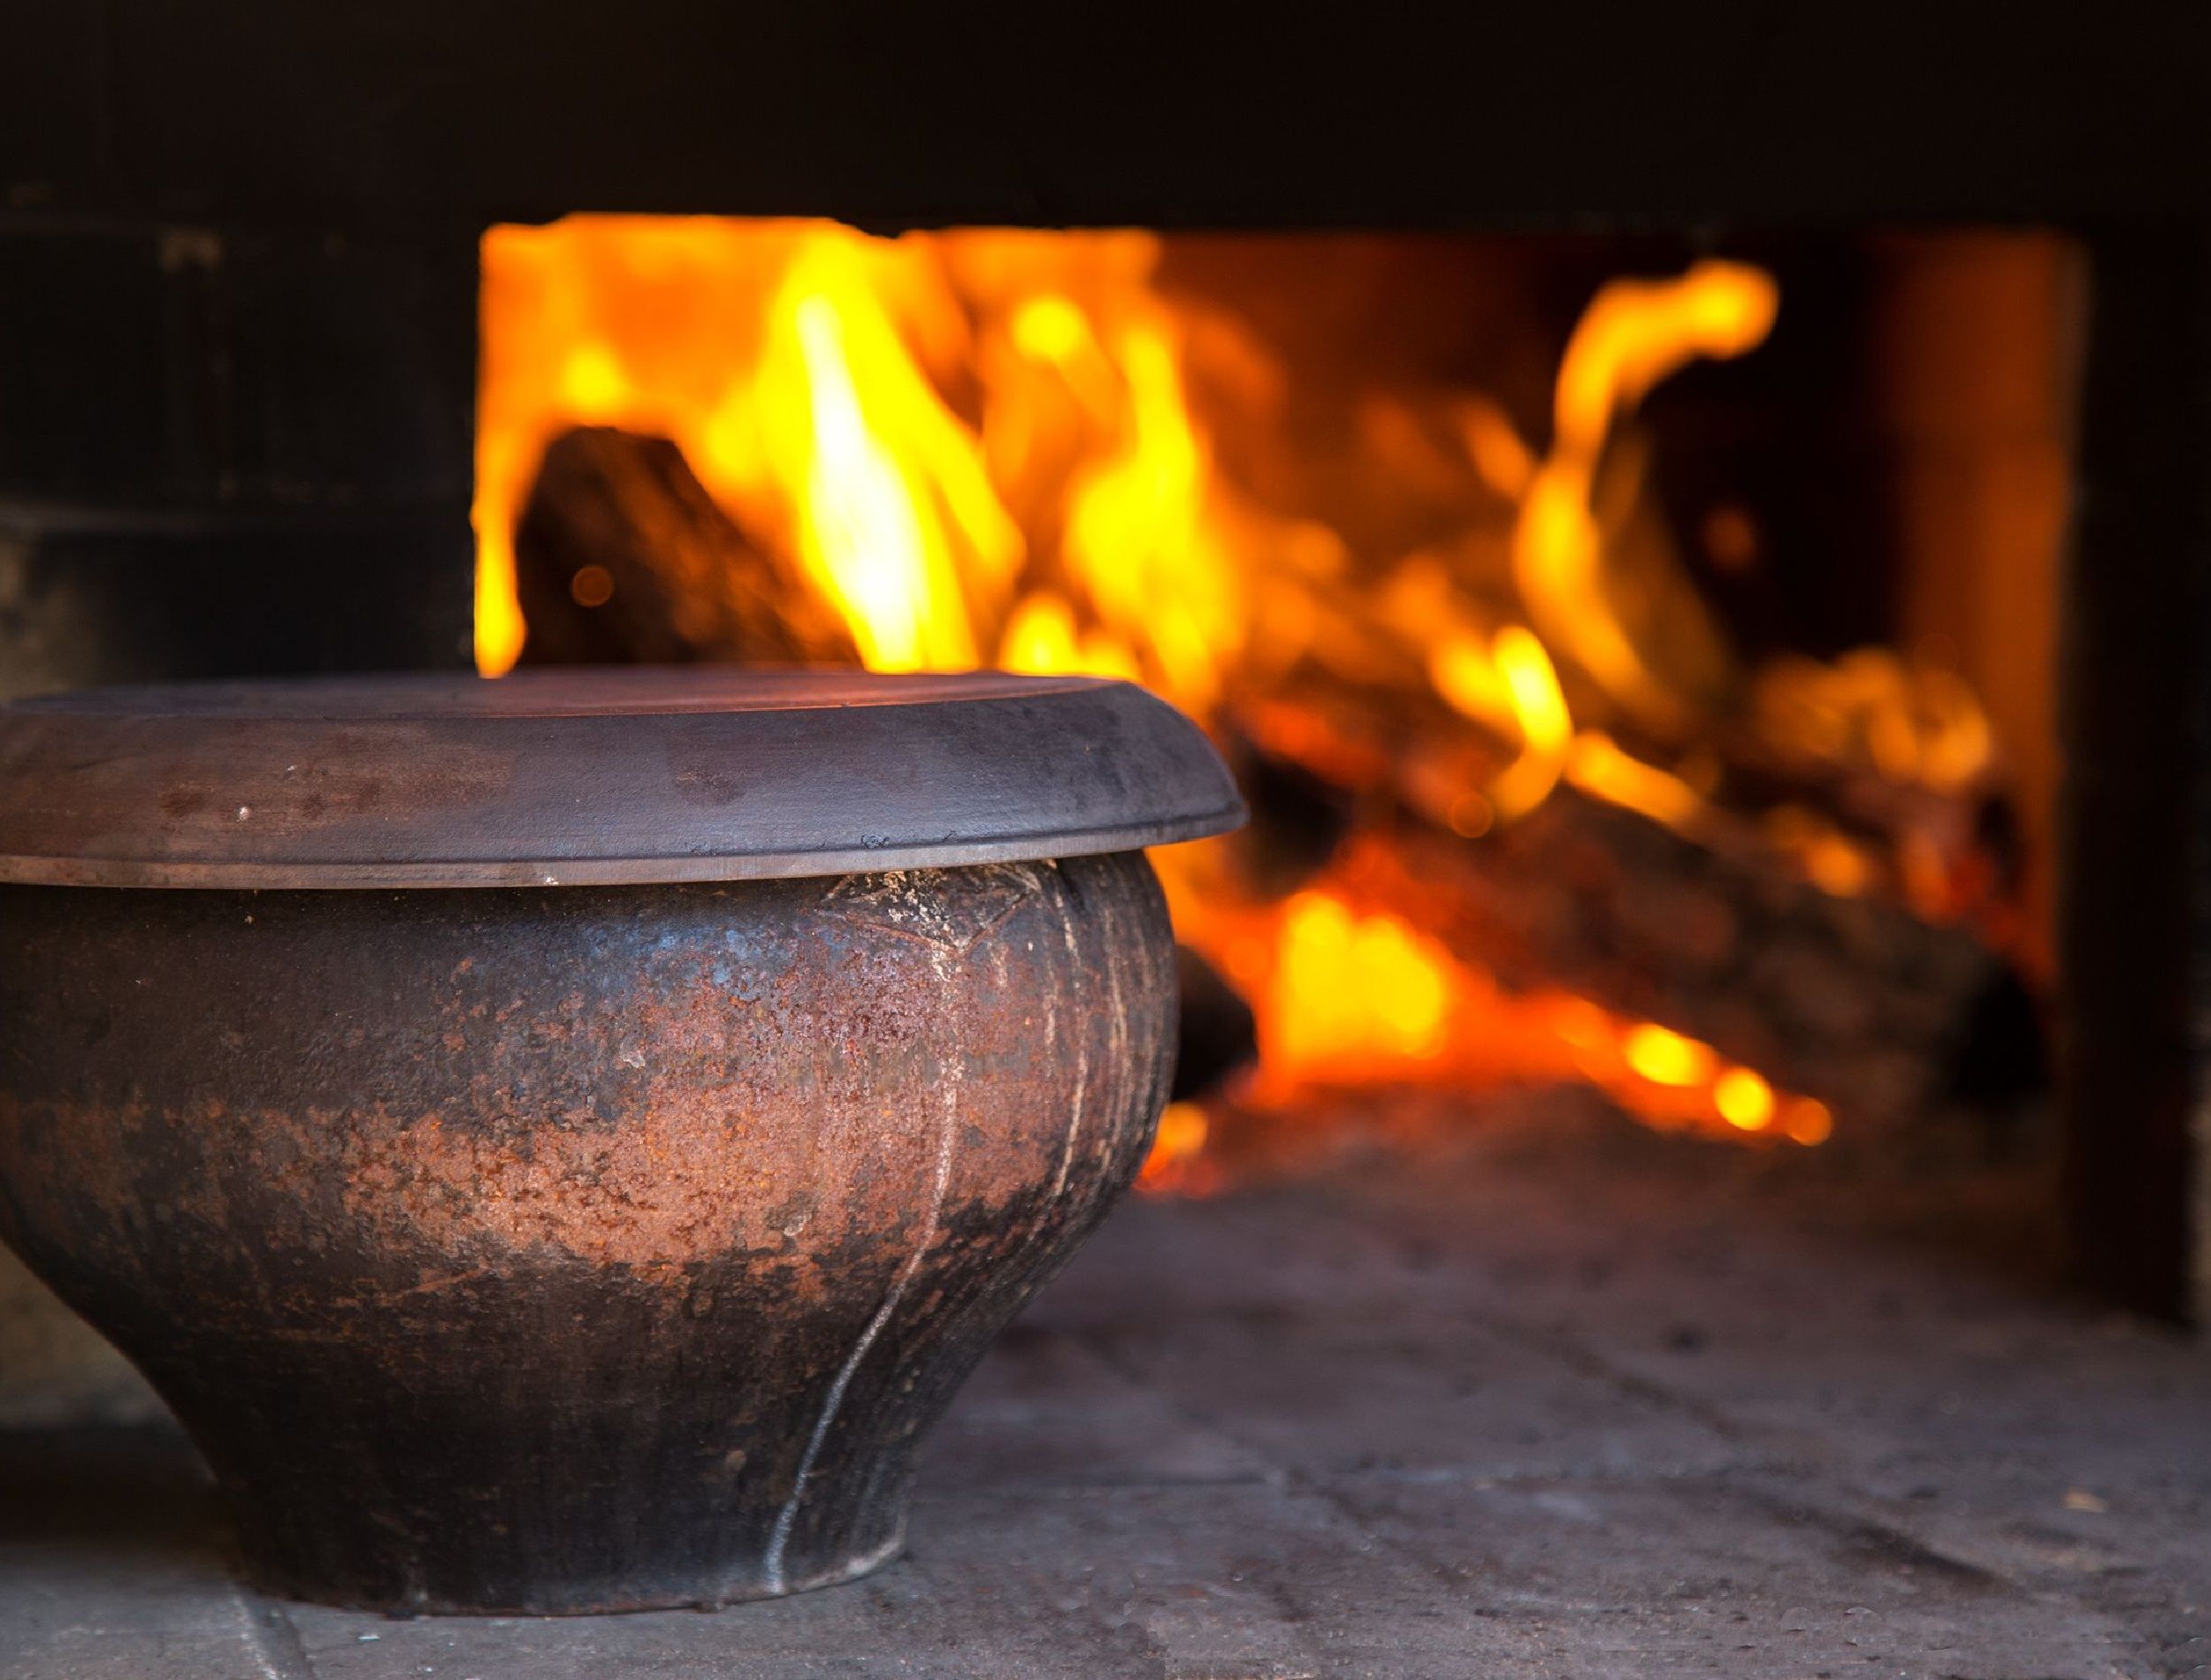
For the most stubborn salt deposits, put your containers in a large pot and fill it with water to the brim. Place the large pot on the stove at low heat and allow the water to simmer for several hours. The heat will draw out the salt from the porous material and remove it from the surface. You can also add vinegar or citric acid to the water to dissolve the salts into the water. Rinse off the pots to remove the acid.
Then, heat the oven to 500 degrees Fahrenheit and bake the pots for two hours. Turn off the heat and allow the pots to cool in the oven. Your pots should be good as new!
Step 6 - Store the Pots
Image credits: mirti via Shutterstock
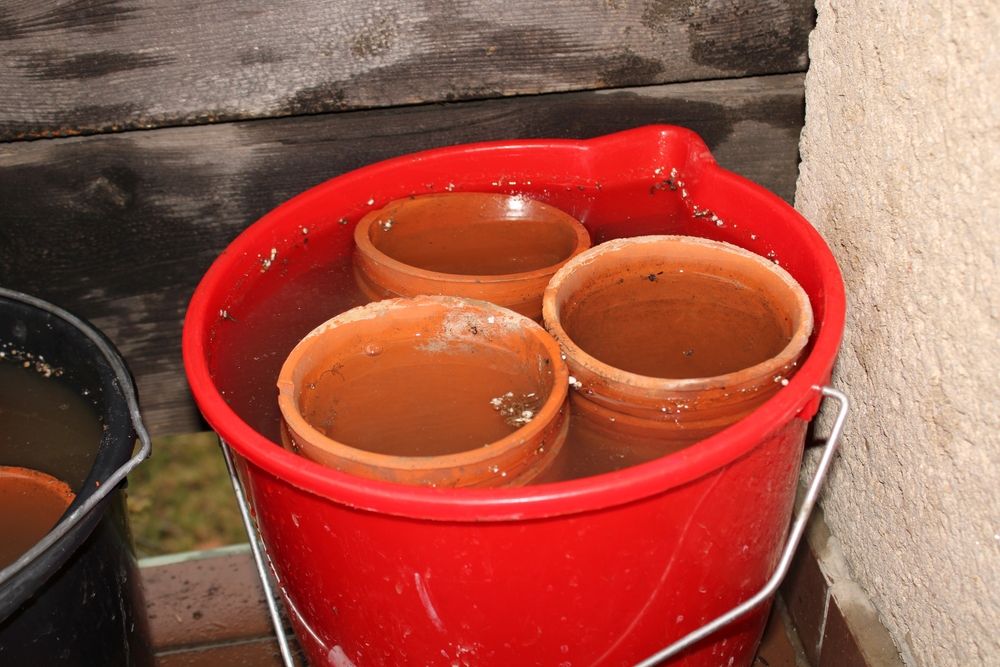
If you plan to use the pots soon, leave them soaking in a bucket with clean, distilled water. Once ready to use, remove them from the bucket and fill in your potting soil. Dry clay tends to wick away the moisture from the potting soil, which can dehydrate your newly potted, delicate plant.
To store them for winter, bring them inside to protect them from freezing weather. If left outside, clay can absorb moisture from the environment. The fluctuation in the temperature can cause the water stored in the pores to freeze and thaw, cracking your clay pots.
Restore Your Pot's Shine
A stepwise approach to cleaning your pots will ensure the removal of all the stains, even the most stubborn ones, leaving them as good as new. Start with gentle brushing, followed by a mild acidic solution. If the stains persist, move on to a strong bleach solution, and finally, use a knife to scrape the remnants. Tuck away the pots for winter or leave them soaking until you are ready to use them.
How many steps did it take for your clay pots to be free of salt stains? Share below in the comments.

