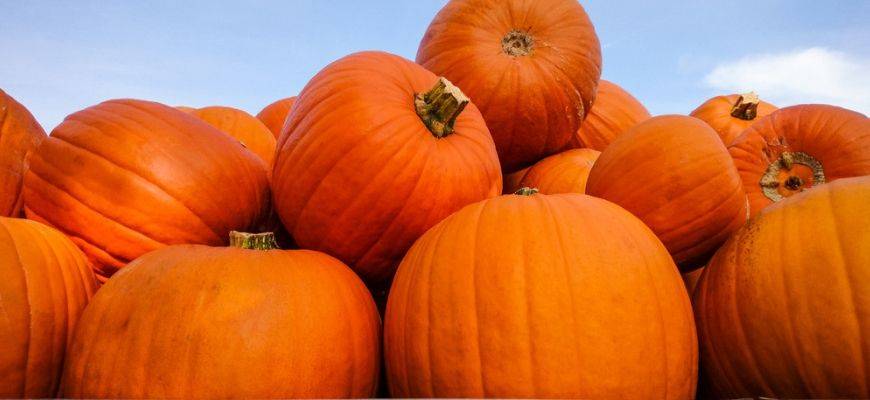
Giant, oversized pumpkins are always a focal point to those visiting pumpkin patches each autumn. These grand fruits grab the attention of all who see them, and are priced accordingly due to the care and attention they require to reach their large sizes. Because of this they often create awesome backdrops for fall-inspired photographs, but rarely make it home due to their weight and cost.
But what if I told you it was easy to grow your own giant pumpkin? All you need is a bit of information in advance to create an ideal growing habitat, a watchful eye through the growing season, and the excitement to harvest your own montrousity.
What a Giant Pumpkin Is
Although there are pumpkin plant hybrids designed to grow larger than many of their counterparts, these seeds come at a whopping cost and still require a ton of attention and care to produce a massive pumpkin. Unless you are involved in a fierce competition (which may allow you to recover some of your cost) you most likely aren't planning on breaking the current 2,528 lb North American record.

But if you still want to grow giant pumpkins that are still manageable, and make you the envy of the local neighborhood and farming community, there are affordable ways to do so. Growing pumpkins to weigh 150 pounds or more is quite common and don’t take as much effort as you would expect. You just need to have a plan and the space!
Soil and Sun Needs
You want to start preparing your pumpkin soil bed during the fall of the year before you plant. Take note of whether it is too sandy or clay-like and amend accordingly. Soil test kits are easily found both online and at local garden centers that can walk you through the process of making a healthy soil bed if you have concerns.
Till up a good 10x10 foot space for each plant in a full-sun area, creating a low, broad mound. Then spread a rich compost 6 inches deep over the top of it. Well-composed cow manure is an excellent choice for this, either as a stand alone or mix in with your own compost mix. This is going to provide a ton of the initial nutrients your plant will need as it vines, fruits, and begins to pack on the pounds.
Cover your space with a straw mulch or a cover crop, such as an annual legume, to protect and hold soils in place through the winter.
THE SEED!
If you want to grow a giant pumpkin you do need to pay particular attention to the type of seed you choose. Just your general run-of-the mill seed option from a local nursery probably won’t hack it, and you’ll need to do a little bit of looking around in advance.

No worries though, you don’t need to drop $100 or more on a single seed. Simply look for seeds from the variety called Dill’s Atlantic Giant or seeds derived and hybridized from it. All giant pumpkins are descended from this variety and will ensure you an overly large option. The seeds are easy to find online through various backyard growers and nurseries. One of my favorite places to look is on etsy.com.
Time of Year to Plant
Most of your planting takes place in the spring as the weather warms and moisture is high. You may also take advantage of sunny windows or greenhouses and start your seeds indoors to transplant after the fear of frost has passed. This is very popular in areas that have shorter growing seasons.
If you want to grow a giant pumpkin, you will need to pay close attention to when you plant your seed, and you definitely want to start it indoors to transplant into your prepared soil bed. Approximately one month before the estimated last frost, plant your seed (or seeds) in peat pots in a nice sunny, indoor area. The use of growing lights for germination can be used to for additional nutrient support.
As soon as your seedling is hardy and has several leaves, and the fear of a deep frost is gone, transplant it into the soil bed and water well. Cover it with a small cold frame that is approximately 4 foot x 4 foot to help keep the soils warm and to protect against any late frosts. You can also lay down black plastic over the soils to help hold heat and deter any weeds from growing through the season.
Watering and Fertilization

Check soil moisture daily (a good hydrometer makes this an easy task). You want an evenly moist, but not soggy ground, and you should always water at ground level. Pumpkin growth is highly dependent on water and it needs to be available at all times. A drip system is a good option for watering pumpkins to avoid getting water on the leaves which can cause fungal problems.
The soil preparation you created in the fall is going to provide a lot of initial nutrients, but you will still need to get it on a regular fertilization schedule due to the amazingly fast growth of a pumpkin. Fertilize weekly with light doses, concentrating on high nitrogen sources for the first third of the growing season. Fish emulsion is an excellent choice for this.
Increase your phosphorus content as the plant reaches maturity and begins to prepare to produce. Try bone meal at this stage as it is easily worked into the soil surrounding the plant. Once the plant is actively putting growth into pumpkins, increase your potassium using products such as greensand.
Throughout the season you can also add trace mineral and other rich organics as a constant source of feed.
Choosing Your Vines and Flower Removal

The biggest and best pumpkins grow from a single vine chosen from a single plant. Allow your vines to trail out a minimum of 10 feet, removing all flowers that may begin to appear until it reaches this length. This allows the leaves to grow larger which will help support the rapid growth of the pumpkins due to the nutrients provided through photosynthesis.
As your plant puts out multiple vines you will want to trim them at about 8 foot lengths. The excess vegetation and leaves is an excellent way to feed your fruit, but if the plant keeps putting energy into growth, rather than pumpkin production, you won’t get the size you desire. Keep all vines other than your main vine well trimmed as it is crucial for fruit size.
After your vine has reached 10 feet, allowing it to begin flowering and producing. Watch developing fruits closely, only allowing 3 to 4 to begin to really grow. Once they are about the size of your hand, remove all but the largest, strongest looking one. Remove all subsequent flowers one you have a good pumpkin established.
Vine Care and Protection

Pumpkin vines begin to root at the base of each leaf, and you will want to trim these roots off as they appear to avoid it from taking hold in the ground. Do this for a few feet around the pumpkin. As pumpkins grow they need a vine that will lift and move, and if it is anchored down you run the risk of the stem coming loose from the vine, thus halting all growth. Cover new roots that are further down the stem to encourage growth so they take up more nutrients to feed your fruit.
The vine is just as important to protect as the fruit itself, and is essentially the life line of the entire process. The large leaves help shelter the pumpkin when it is young and provides an amazing amount of nutrients for growth.
If you live where it is windy you should place a low fence around the plant to help keep leaves from becoming wind-whipped and torn. Also watch for insects that may like the cool underside of leaves, as well as fungus or molds that prefer moist conditions and will wreak havoc on leaves in no time. Provide treatments of Neem oil if you have concerns as it works as a powerful broad spectrum insecticide, miticide, and fungicide. Plus it is naturally source. Be sure to treat the underside of leaves.
Pumpkin Growing Protection

As your pumpkin grows you need to take into account a few details if you want it to reach its maximum size. To start, you want to make sure the vine and stem are not in an awkward angle. You can watch this and foster it from the start of the fruit’s growth. Look for a stem that comes perpendicular off the vine to allow it to move freely as the pumpkin grows.
Ground Protection
Spreading a thick layer of sand below your pumpkin is a must to keep it dry and well drained. A heavy pumpkin that sits on moist soil will begin to rot, thus negating all your hard work up to this point. Spread the sand while the pumpkin is still easy to gently lift, and make sure enough is layered to support the weight that will eventually be on top of it. Generally 4 inches is enough.
Fruit Protection
Although pumpkins love the sun, it hardens the skin and will keep the fruit from reaching its full potential. Because of this you need to provide a shade canopy so it receives a strong indirect light all day, but does not toughen under direct sunlight.
Harvesting

Keep up your fertilization schedule and observations until just before the first frost, or right after. At this time you can trim the stem and harvest your pumpkin! Many people like to take weekly measurements to show the growth through the season. Some pumpkins have the ability to put on 50 pounds or more a week!
Conclusion
If growing a giant pumpkin has been on your bucket list, hopefully this article has provided all you need to know to get going. Space, sunlight, water, and some regular TLC is all you need to keep your plants thriving and your fruit growing to its full potential. Remember to get a good seed stock and an early start with your seedling before placing it in a rich, prepared bed. Also crucial is water and sun protection to harvest the largest pumpkin possible.
If you have any questions or tips to offer, we’d love to hear about them below! And, as always, please share!
Check out our infographic and don’t forget to share!
