Kale is a highly nutritious, leafy green vegetable powered with plenty of rich antioxidants and vitamins. It comes in many colors, textures, and flavors, making it a fun veggie to use in recipes.
For this reason, it’s a great idea to grow your kale so you always have some on hand. In case you’re running low on garden space this season, you’ll be happy to learn that you can easily grow kale in pots. Follow these three steps to get started!
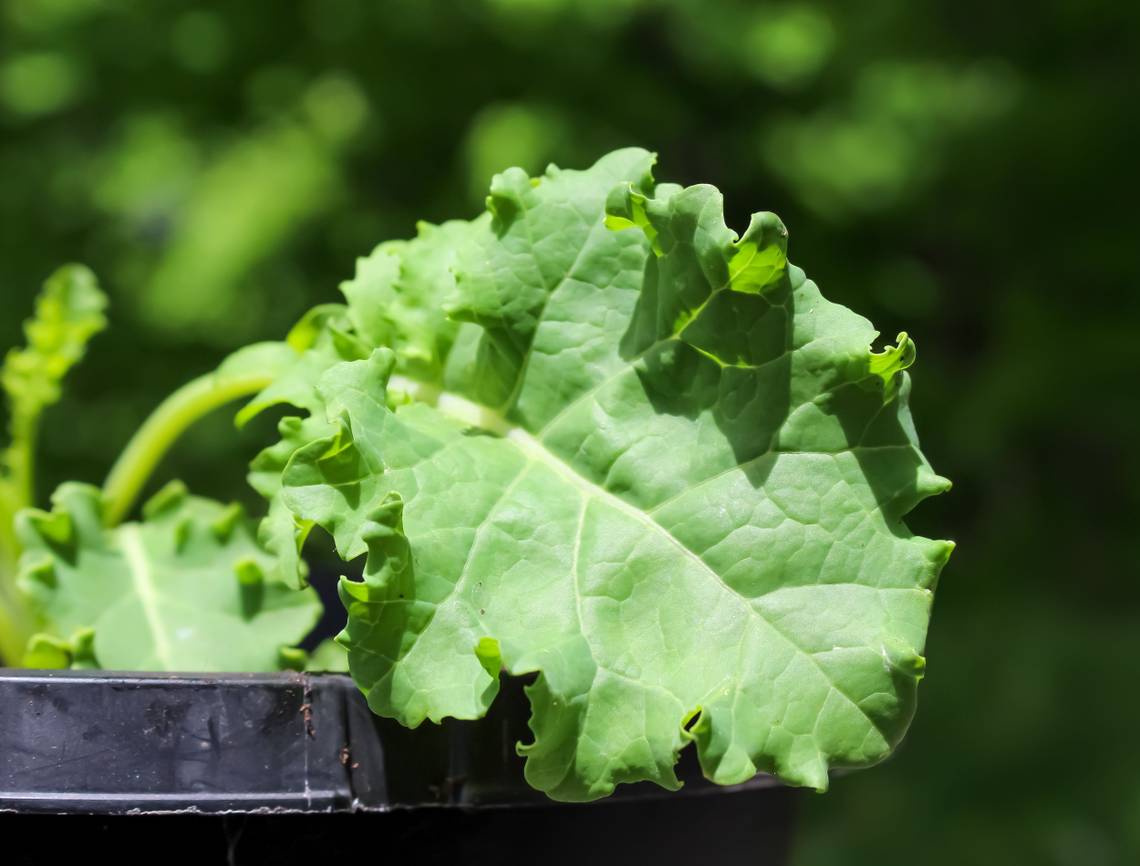
Materials You’ll Need

Image credits: Gary Barnes via Pexels
Before starting the kale planting process, make sure you have the right gardening materials. Here’s what you’ll need:
- Gardening gloves
- Kale seeds (some recommended varieties include 'Red Russion,' 'Premiere,' and 'Dwarf Blue Curled')
- A large pot and drainage tray (a minimum of 6 inches wide and 6 inches deep, but the bigger, the better, as these veggies like to have lots of space to grow)
- Well-draining potting soil (a mix of compost, peat, and perlite with a near-neutral pH)
- Watering can
3 Steps to Grow Kale in Pots
Step 1 - Sow Your Seeds

Image credits: Hans via PIxabay
When you’re ready to sow your seeds, start by filling your pot with room-temperature (about 70 degrees Fahrenheit) soil up to an inch before the rim. Make a 1-inch hole in the center of the soil and place two to three kale seeds inside since they do not all have a 100 percent germination rate. Adding extra seeds will increase the chance of sprouting more plants. If you end up with multiple seedlings in one pot, you can gently pull them apart once they have gained some strength and height (approximately 3 to 5 inches) and move the additional plantings to a new pot.
Once your seeds are in place, tuck them in with a light layer of soil to cover them fully. Next, water your seeds so that the top inch of the soil is thoroughly moistened. You’ll know you’ve given your kale enough water once it starts seeping out of the drainage tray. Germination for kale seeds takes roughly 7 to 14 days.
Step 2 - Pick a Spot for Your Pot

Image credits: Anna via PIxabay
One of the benefits of growing kale is that it’s quite tolerant of many conditions. However, it will appreciate a mix of sun and shade. Too much sun will evaporate much-needed moisture from your plant, leading to a bitter taste. This can also cause your crop to bolt.
If you’re planning on keeping your pot indoors full-time, a windowsill or kitchen corner with bright but indirect sunlight will work well. If you live in a warmer climate, you can keep your pot outdoors through the spring, summer, and even fall. Aim to find a spot with a good balance of sun and shade throughout the day.
Kale is a cold and frost-tolerant veggie, so even if the temperature drops while your pot is outdoors, this won’t damage your plant. Exposure to cold or even frost will make it taste sweeter!
Step 3 - Keep Your Kale Healthy

Image credits: Greg Reese via PIxabay
Water your kale weekly or whenever the top inch of the soil is dry. If you choose to fertilize the soil, do so weekly and use a 5-10-10 NPK fertilizer (5 percent nitrogen, 10 percent phosphorus, 10 percent potassium).
Keep an eye on your kale for any signs indicating it needs extra care. Kale is generally resilient if left without water for a few days. However, there are a few harmful things that it may not bounce back from as quickly, including pests and mildew.
Protecting kale in a pot indoors will lower your chances of developing a sick plant. However, it’s still a good idea to watch out for insects such as aphids and flea beetles, which can easily find their way indoors in the summer. Mildew can appear due to overwatering or highly humid conditions. If your plant develops either of these, applying a natural insecticide or fungicide such as soap or neem oil should do the trick!
How to Harvest Your Kale

Image credits: Ulrike Leone via PIxabay
Your kale should be ready for its first harvest about seven weeks after sowing your seeds. Once the leaves are roughly as long as your hand, you can start cutting them off. Harvest only one-third of the plant at a time, so it can keep its strength to support new growth.
Once harvested, wash the plant, cut it, and put it into the fridge, where it will stay fresh for about one week. You can also place your kale in an air-tight container and freeze it to enjoy later.
Your Kale-in’ It
Kale is a delicious and nourishing vegetable that grows in pots outdoors and indoors. With just a few materials, you can start the kale planting process and enjoy this leafy green fresh from your indoor garden in just a few weeks.
Have you tried growing kale in pots? Share how your experience went in the comments below!