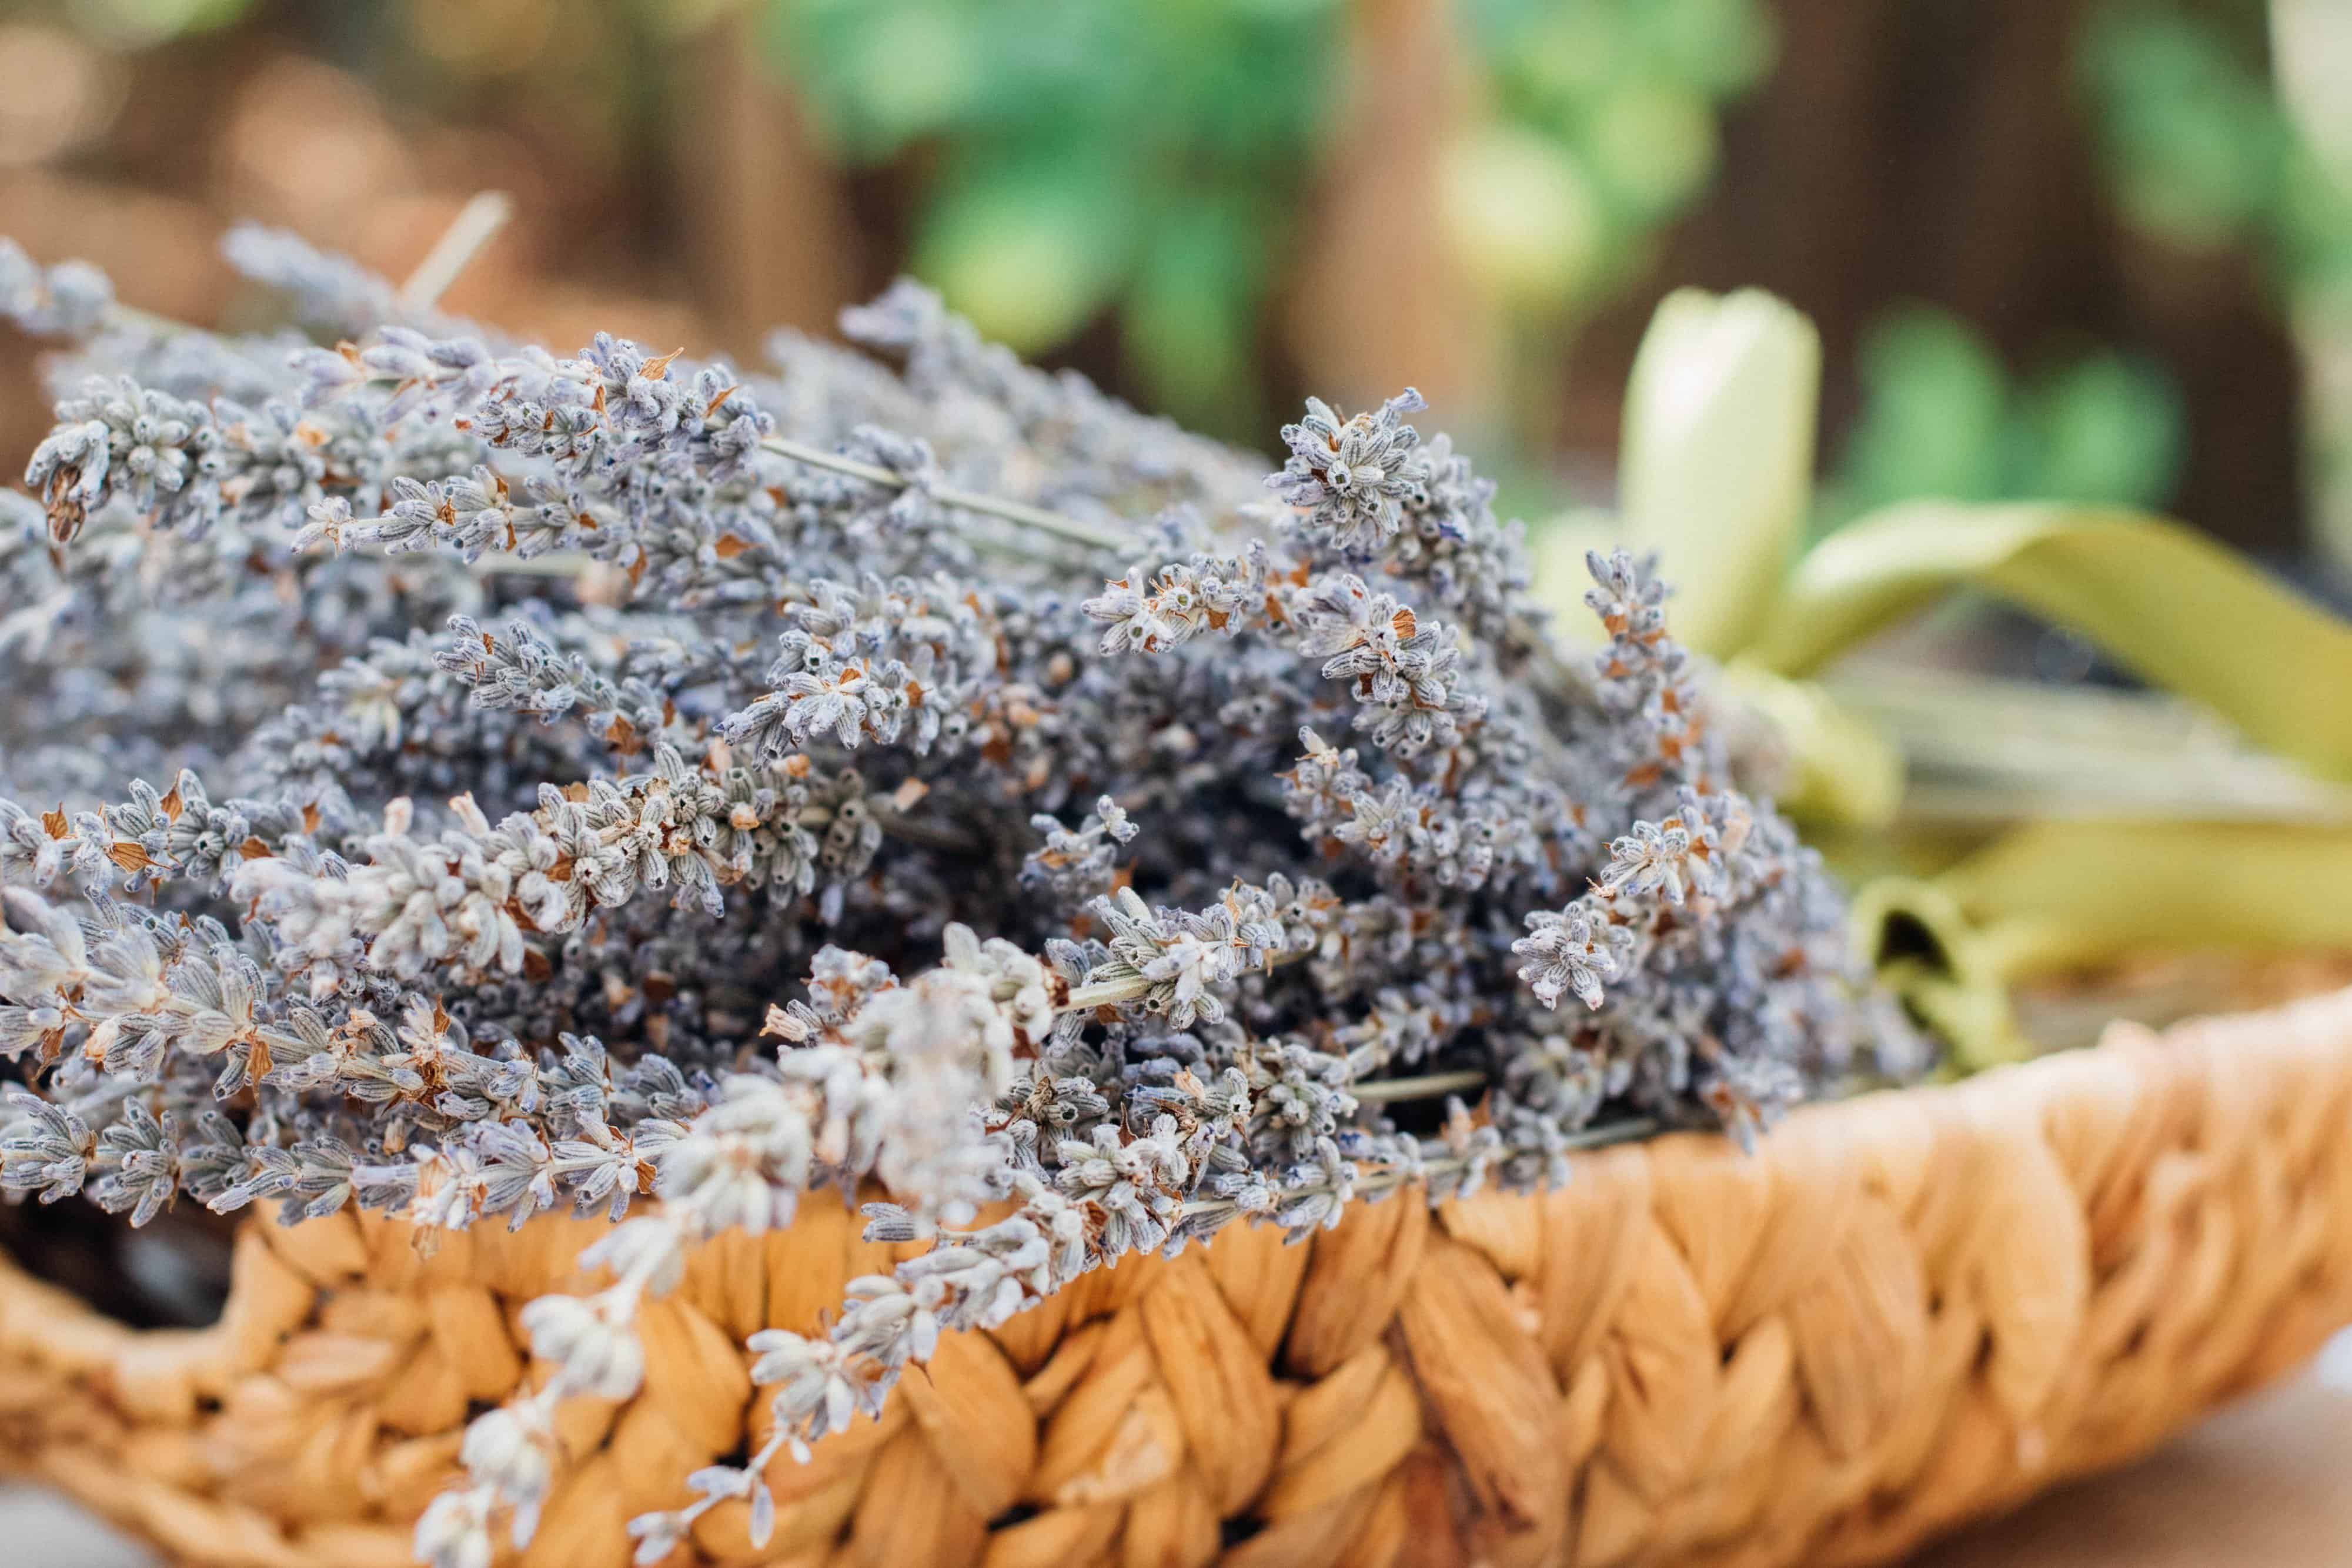
Lavender is a beautiful, fragrant herb that is used in a variety of ways. You can make lavender tea, coffee, and even ice cream. Lavender is also great for pot-pourri, sachets, and soaps! Additionally, it's also easy to grow from cuttings, so you can have a fresh supply anytime you need it.
So, whether you are a beginner or an experienced gardener, follow these tips and you will be able to grow beautiful lavender plants in no time!
What You’ll Need
Image credits: New Africa via Shutterstock
Here’s what you’ll need to grow your own lavender from cuttings. This herbs aroma will soon be the stunning scent of your home!
- Healthy lavender plant
- Clean and sharp pruning shears
- Rooting hormone
- Growing medium
- Pots with humidity domes
Step-by-Step Guide on How to Grow Lavender From Cuttings
Do you want to bring the beauty of lavender into your home this season? Growing lavender from cuttings is a great way to do just that! With an easy step-by-step guide, you can be sure to achieve success.
Step One - Gather the Right Cuttings
Image credits: Natallia Ustsinava via Shutterstock
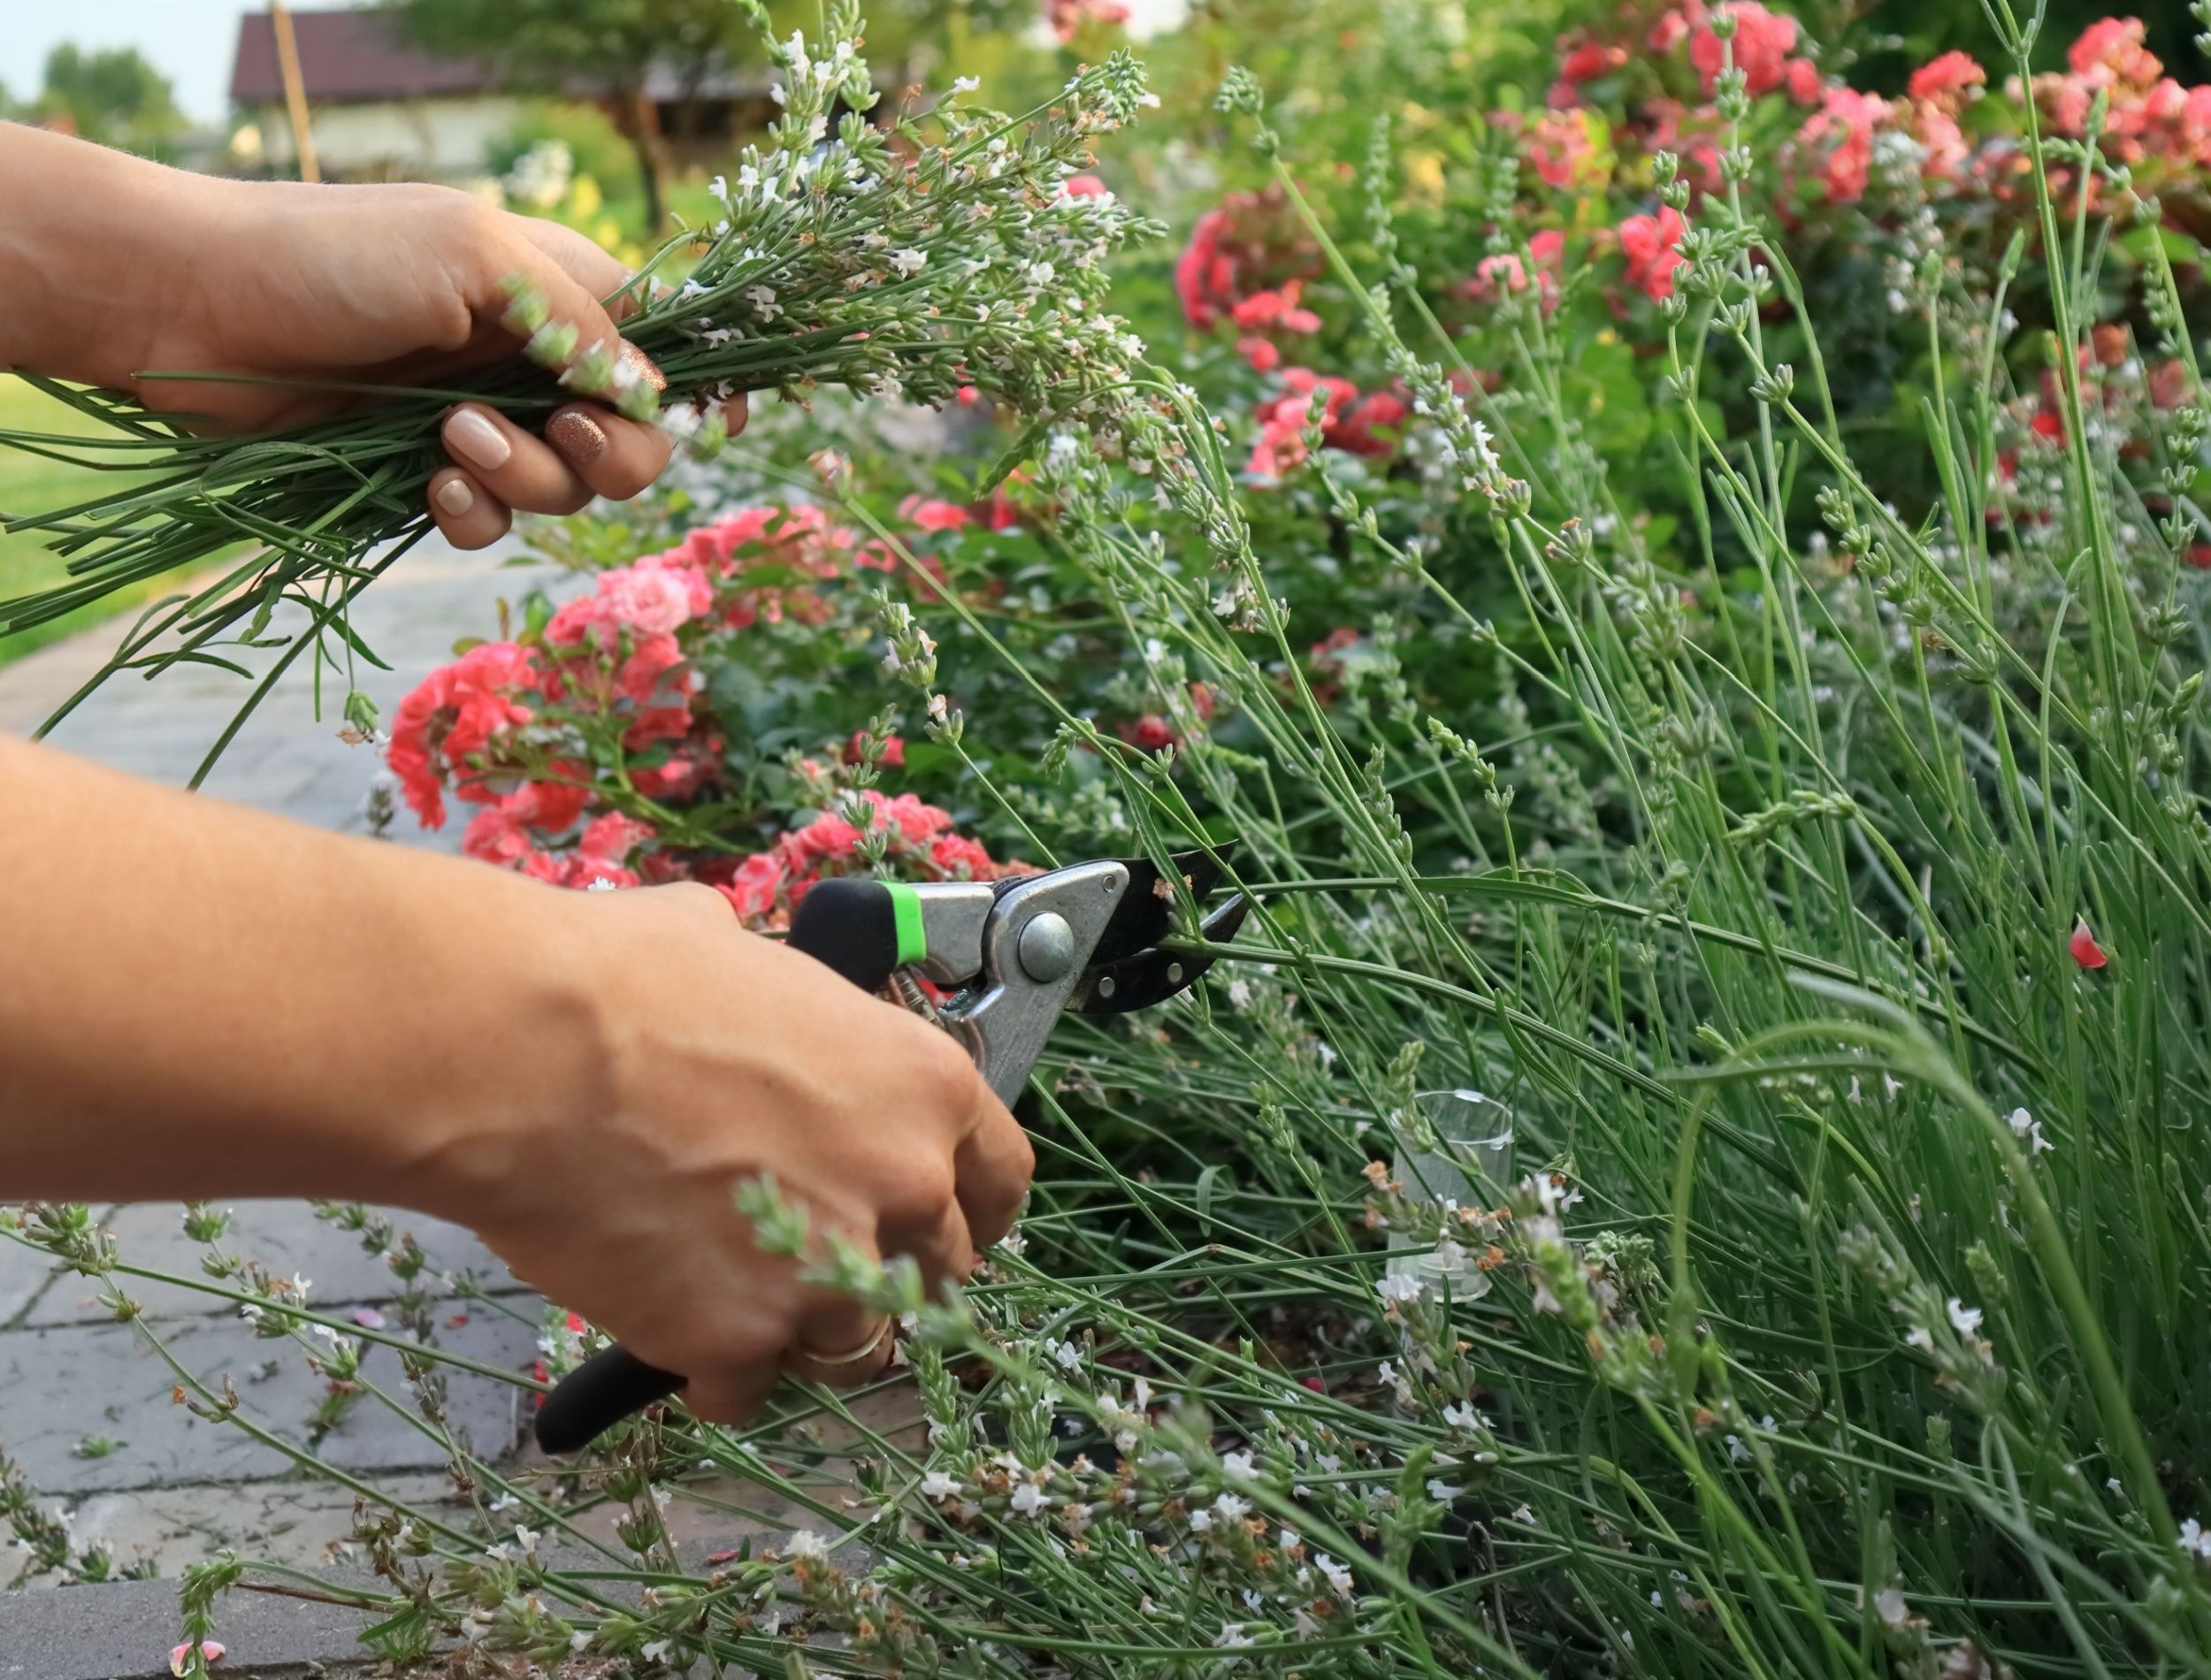
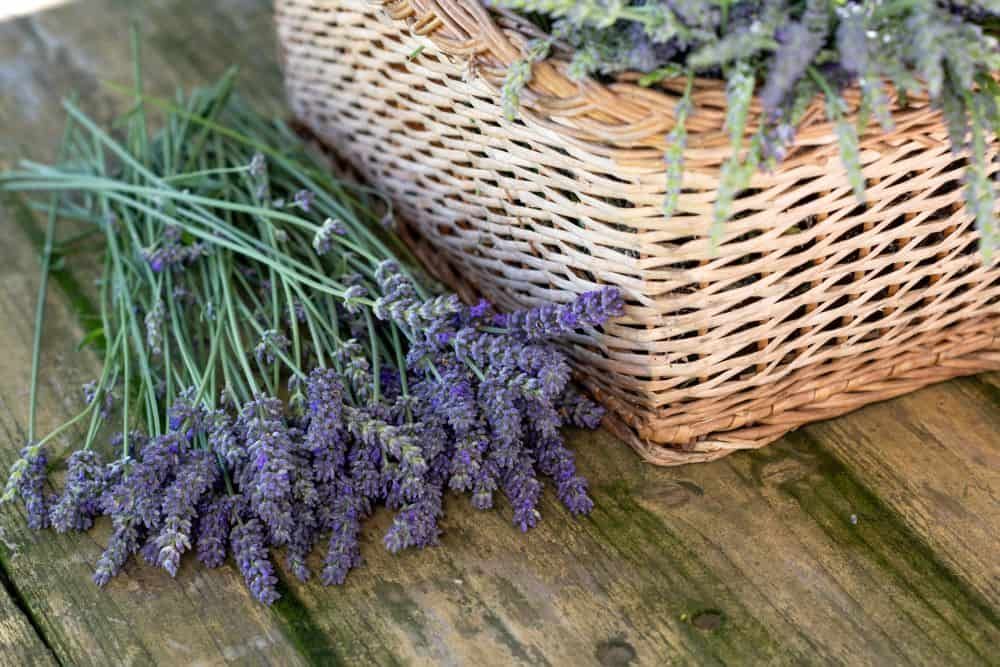
To get started on growing your own lavender, first choose the right cutting from the mother plant. Look for healthy growth with tight buds and vibrant leaves.
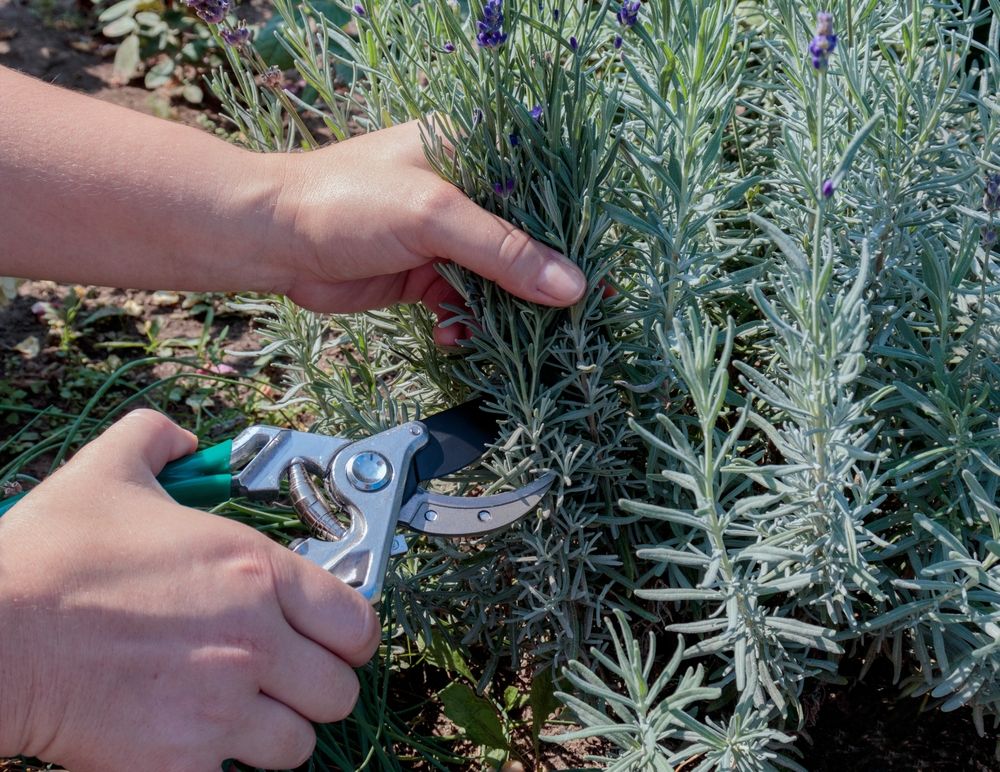
If you’re propagating during a warmer season, opt for softwood cuttings from recent growth. Select a branch that is pliable, not hard or brittle, and at least 1.5 to 2 inches long. Trim off all leaves except for two at the very top of the cutting, and then carefully spread these two leaves apart to reveal any tiny inner buds. Trim those away as well to help stimulate growth.
If you’re propagating during a cooler season when there’s no new growth, use hardwood cuttings instead. Search your plant for a healthy branch and cut about 6 to 8 inches off. Once you have the branch in hand, strip off all side growth, making sure there are 2 inches of top growth left. This will help reveal the nodes where leaves grow, which is where you should make your cut.
Step Two - Prepare Your Container
Image credits: Jessica Ruscello via Unsplash
Now that you have your cutting ready, it's time to prep the container for the lavender.
Choose one with drainage holes, washing and drying it before use. Then, fill it with well-draining and sandy soil. This type of soil is ideal for lavender since it will help with drainage and air circulation, which is essential in helping your plant thrive.
Step Three - Rooting Hormone
Image credits: Elena Kloppenburg via Unsplash
Once your pot is ready, be sure to use rooting hormone on the base of your lavender cutting before you plant. This will give your cutting a fighting chance as it takes root.
Start by sprinkling some of the rooting hormone into a small dish or container. It's better not to dip your cutting directly in the hormone!
Then, dip the end of the cutting into the mixture, covering it completely. Finally, stick it in your soil. Softwood cutting can take up to four weeks to root, so patience is key!
As always, be sure to follow the instructions on the packaging, and don’t forget to wear gloves!
Step Four - Watering
Image credits: Skitterphoto via Pixabay
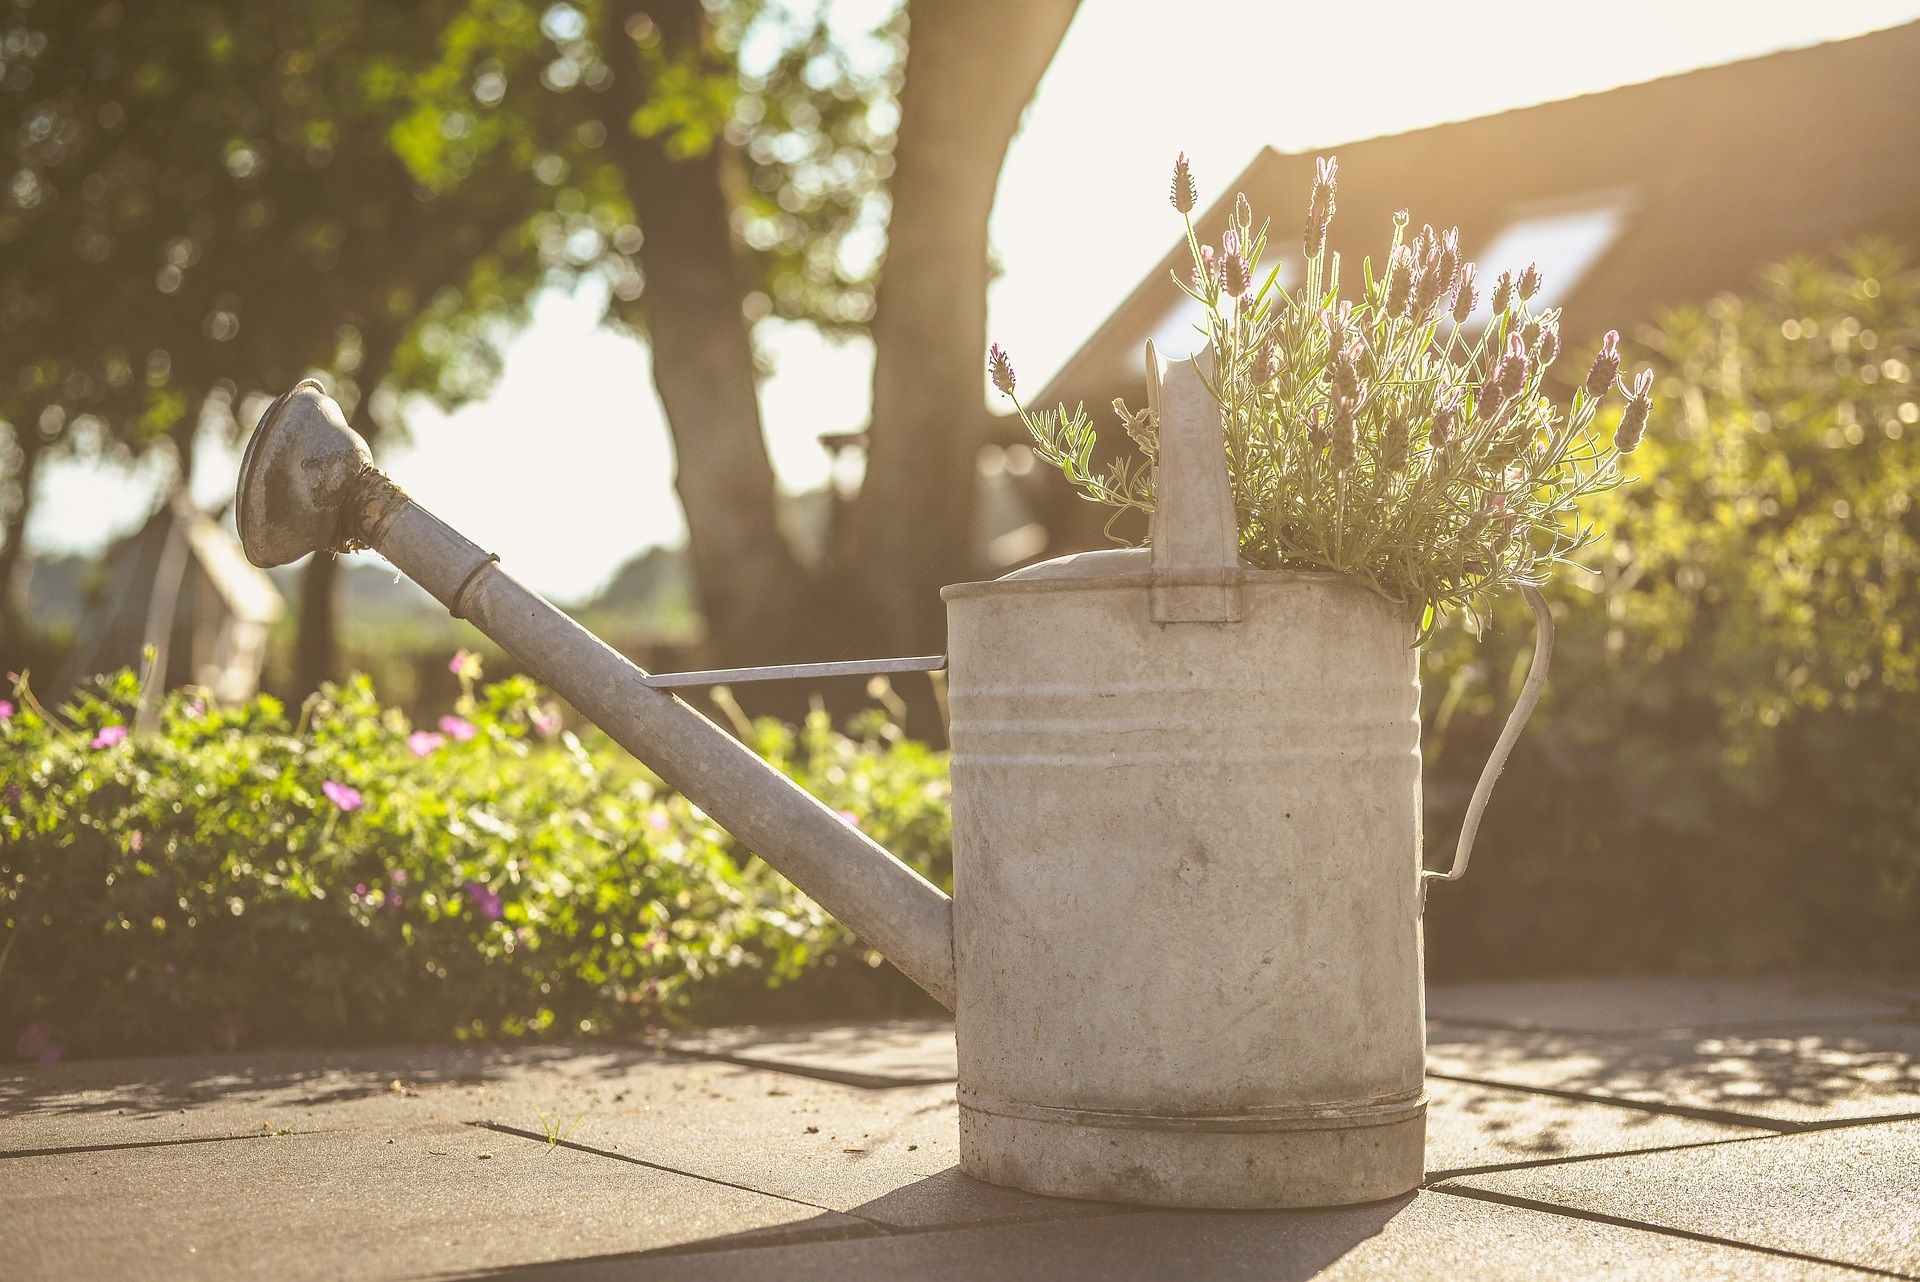
Next comes watering your lavender. This requires just a bit of care. You want to make sure that the soil doesn’t become soggy or dry out too much in an effort to keep roots healthy and hydrated. If you’re having trouble finding that balance, try using a moisture meter which can help measure how wet/dry the soil. This can help you determine when it’s time to water and ensure you don't overwater.
Experts also recommended using a spray bottle to keep your lavender cutting lightly moist between waterings.
Step Five - Humidity Dome and Lighting
Image credits: eurobanks via Shutterstock
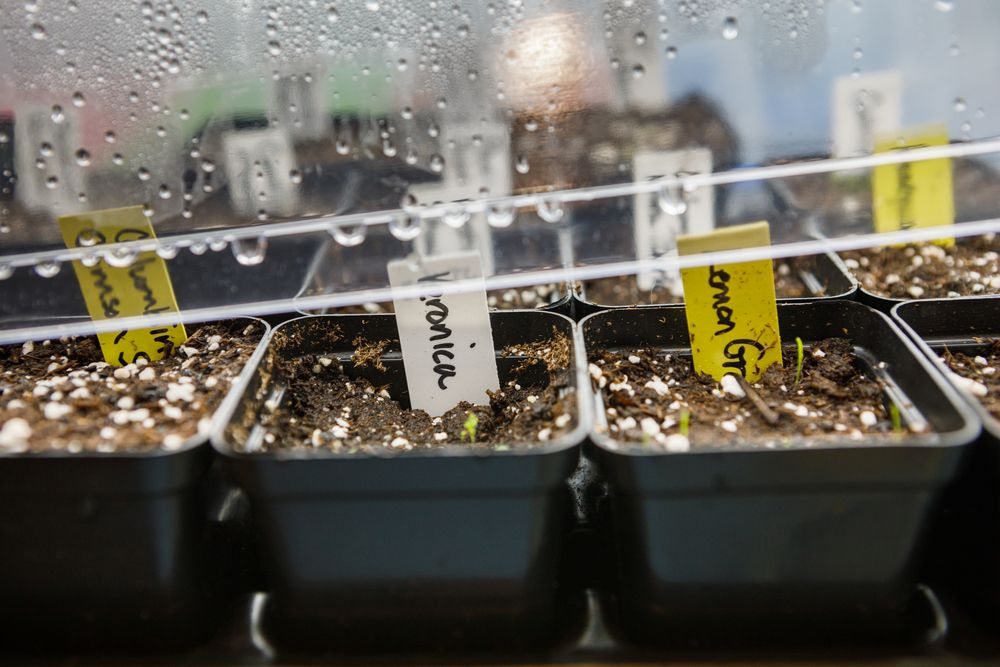
Lavender seedlings also need a humid environment in order to keep growing and prospering. Keeping them under a humidity dome helps you regulate the levels of moisture around them, creating an ideal climate for your lavender babies. You'll want to check the conditions inside the dome every few days to make sure that it doesn't get too moist or dry. Lavender enjoys high humidity levels above 50 percent.
And don't forget to give your lavender seedlings plenty of light! A good rule of thumb is seven hours per day under a grow light will help ensure they stay healthy and vibrant.
Step Six - Transplanting
Image credits: ir_abella via Shutterstock
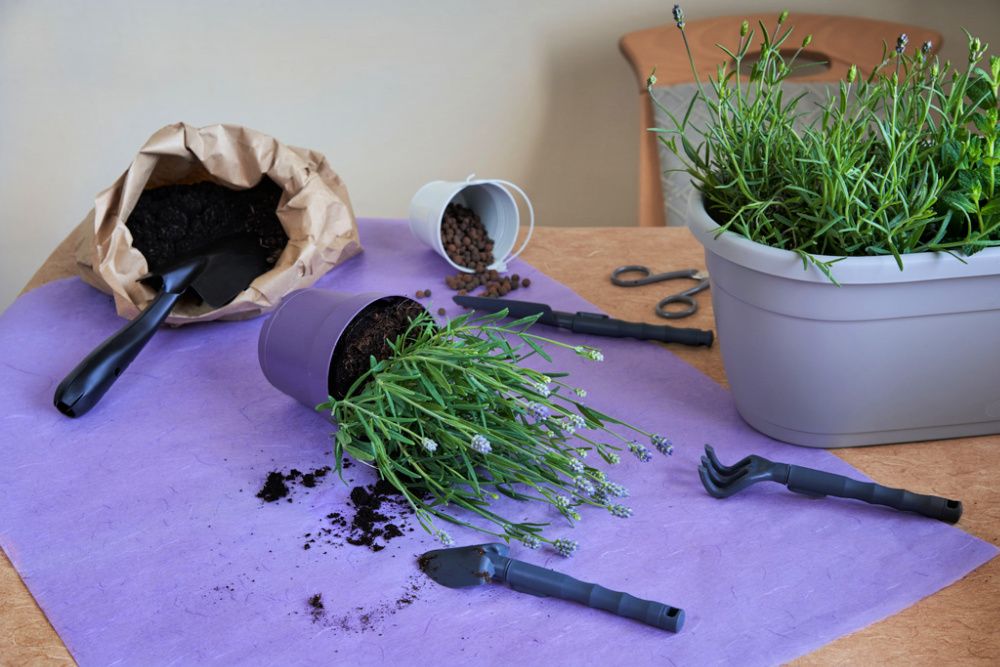
When the time is right for transplanting your lavender into their permanent garden spot, choose an area with plenty of good drainage and sunlight exposure. These are essential for successful growth.
The best time of year to do this is between late spring and early summer, as the days have warmed up enough for the plant to establish itself before winter.
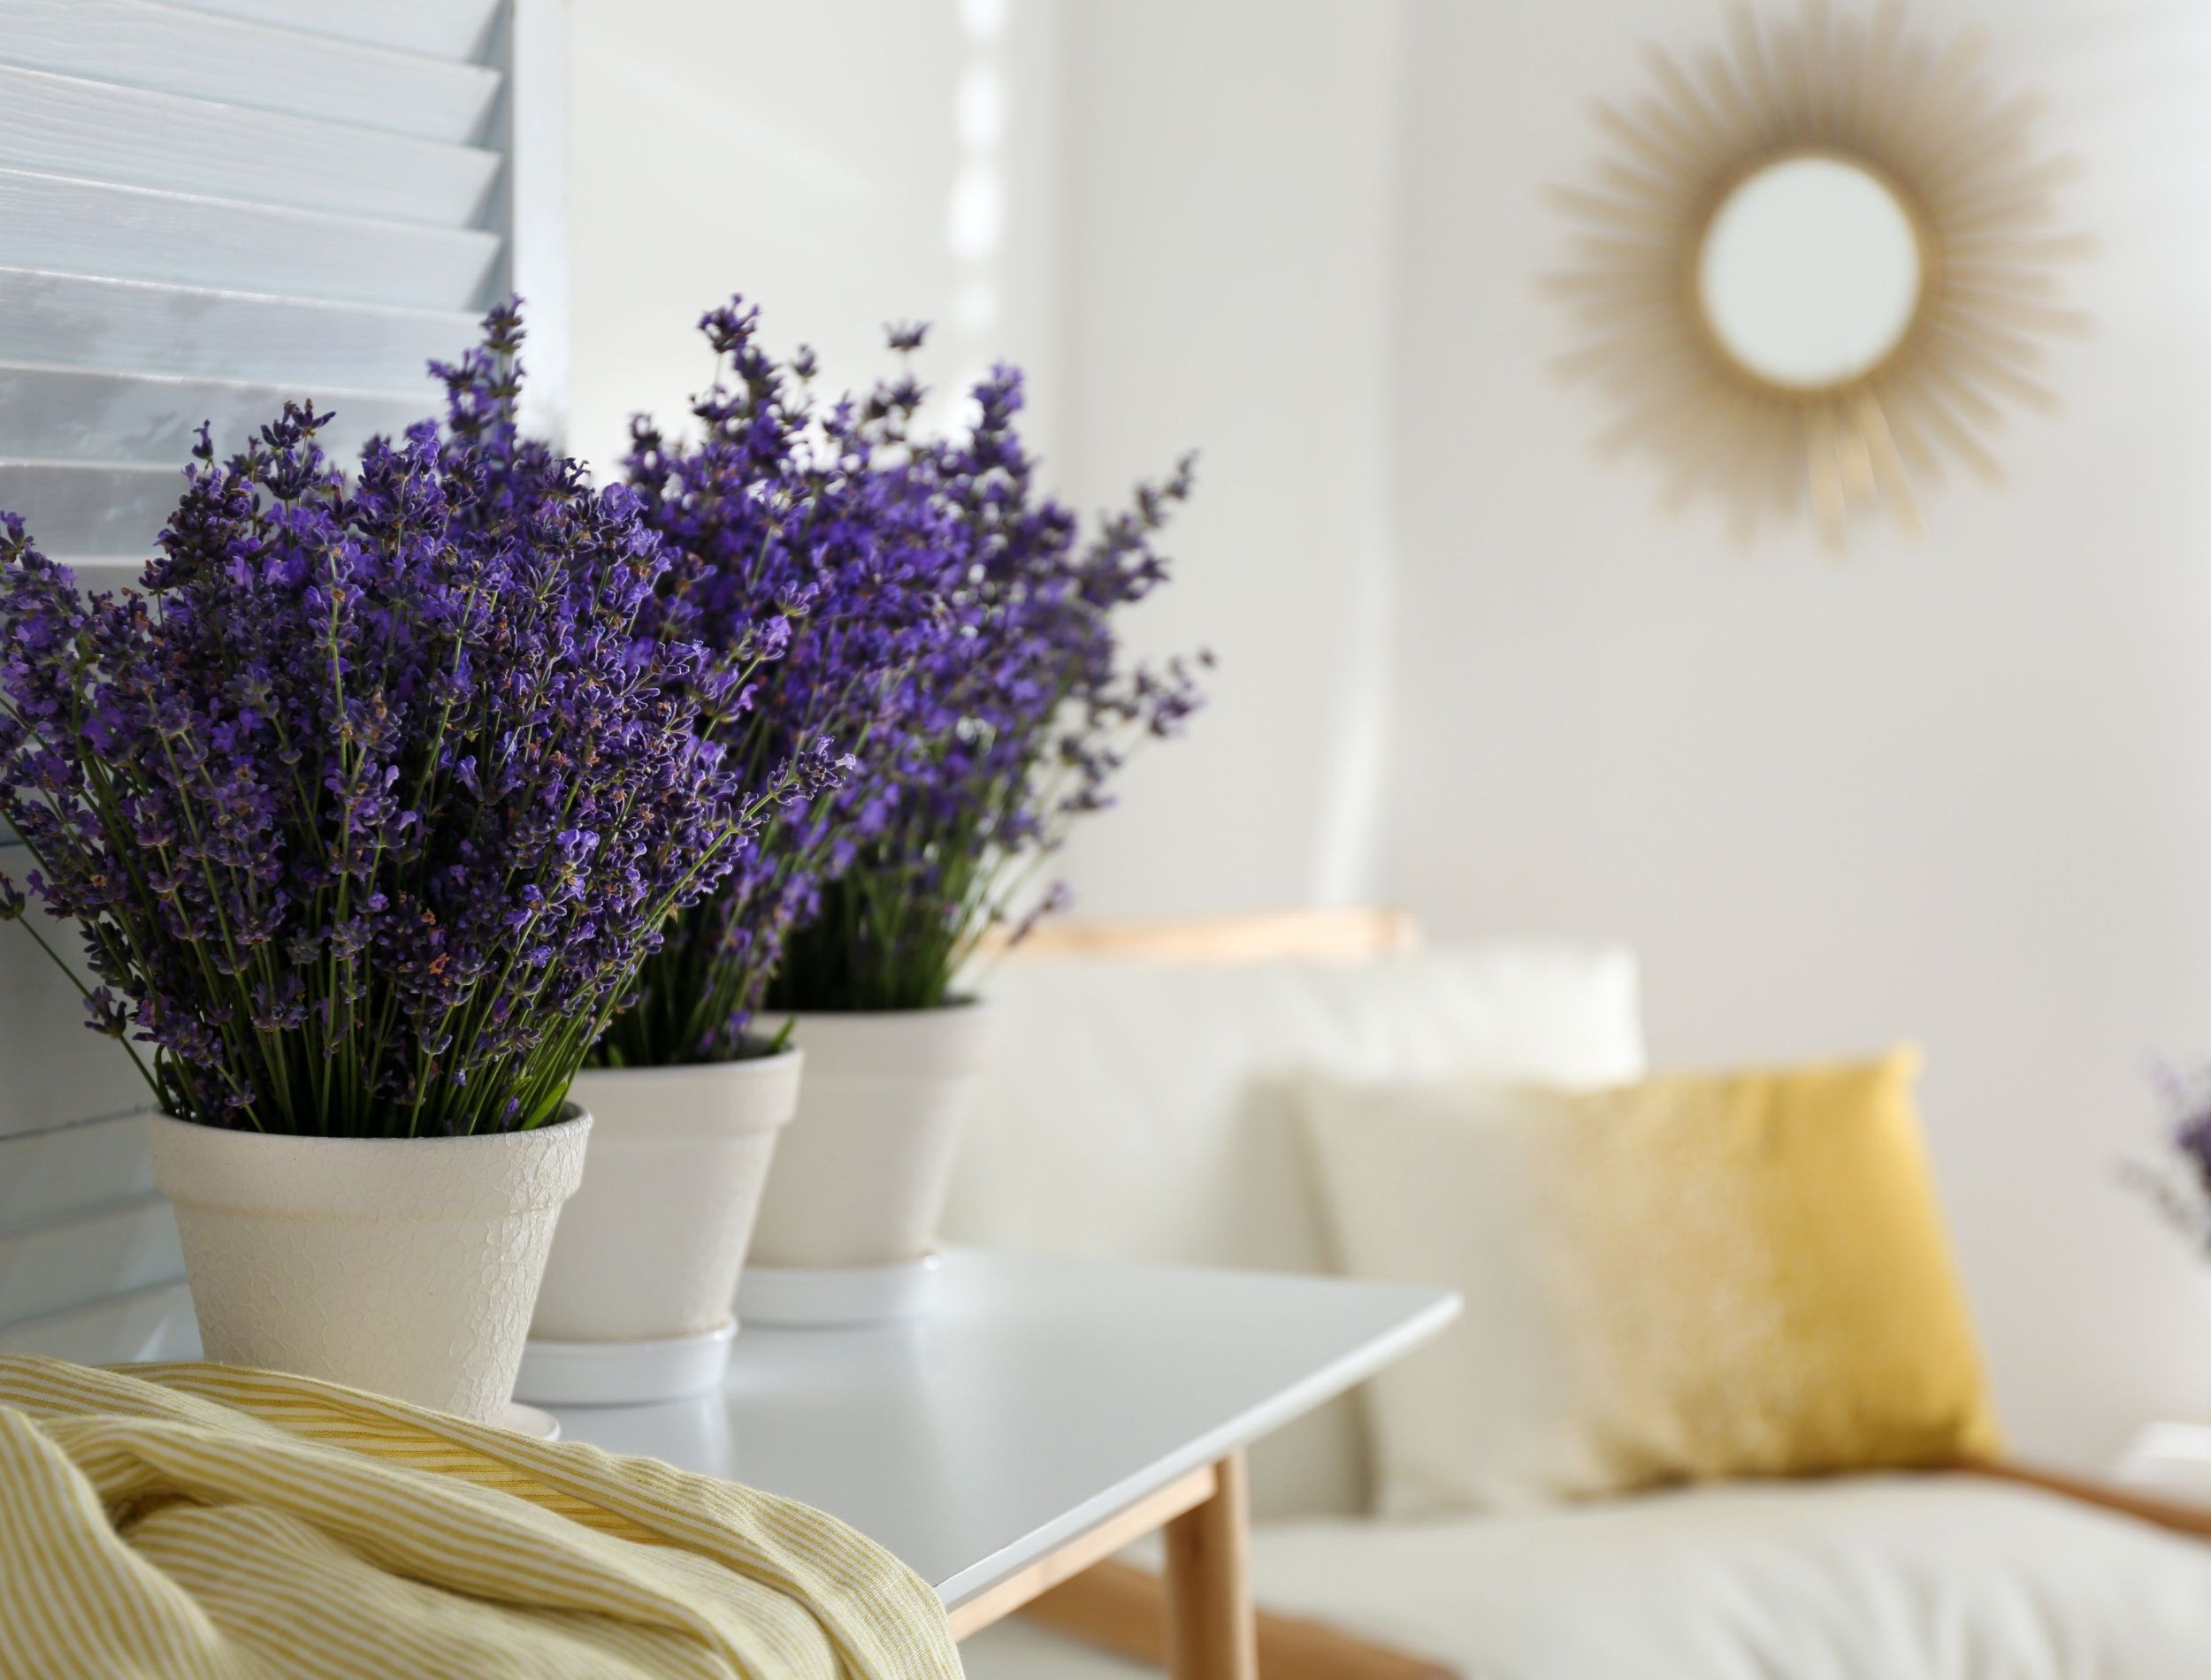
Now, you have another gorgeous established lavender plant that you can choose to keep inside! Add it to your bedroom for heavenly aromas while you sleep, or gift it to a friend. Propagating lavender from cuttings is a great way to share their grace!
Love-ander
Now that you know how to propagate lavender from cuttings, there’s no excuse not to give it a try. With preparation and knowledge, you can be on your way to growing your own lavender plants.
Share this article with your gardening friends, as well -- It will amaze them how simple it is to double your lavender blooms! And if you have any questions or tips on how to grow lavender via cuttings, please leave them in the comments below! Happy gardening!

