Growing potatoes from seed is a great way to get delicious homegrown potatoes while saving money. Plus, it's a fun and rewarding activity the entire family can enjoy! Even though growing potatoes isn't a complicated task, there are a few essentials you must be aware of for the best harvest. Those requirements include choosing the best spud, preparing the seeds and the soil, watering, monitoring for pests, and harvesting.
Here are some best tips for successfully growing your potatoes from seed, whether you're an experienced vegetable gardener or just starting.
What You'll Need
Image credits: Agenturfotografin via Shutterstock
Here's what you'll need to grow your own potatoes from seed. Get started today!
- Soil
- Potato seeds
- Trowel
- Pot (optional)
Step-by-Step Guide on How to Grow Your Own Potatoes From Seed
Step One - Choose Your Spud
Image credits: mindwhisperings via openverse
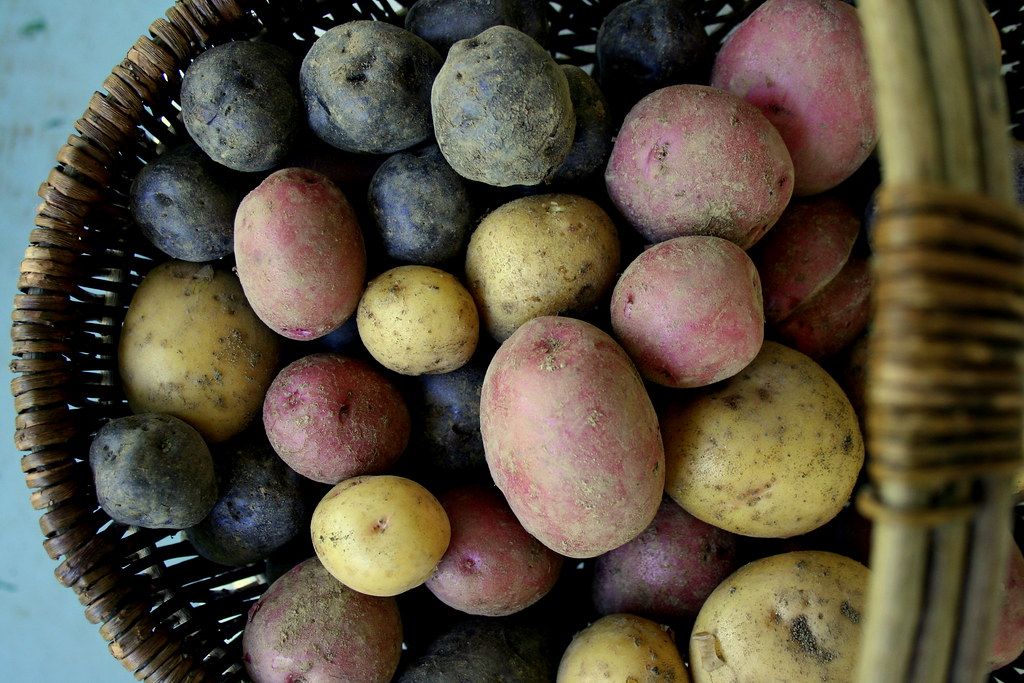
When getting started, you'll need to choose your potatoes wisely. Consider the size of the area where you plan to grow your potatoes and decide whether you want to grow them in the ground or in a container.
Equally important, calculate how much time and resources you have available for maintenance. From there, you can select your favorite varieties. Whether it be reds, whites, or Russets, with the right soil and climate conditions, your potatoes will thrive!
Step Two - Prepping Your Potato Seeds
Image credits: J Davidson via Shutterstock
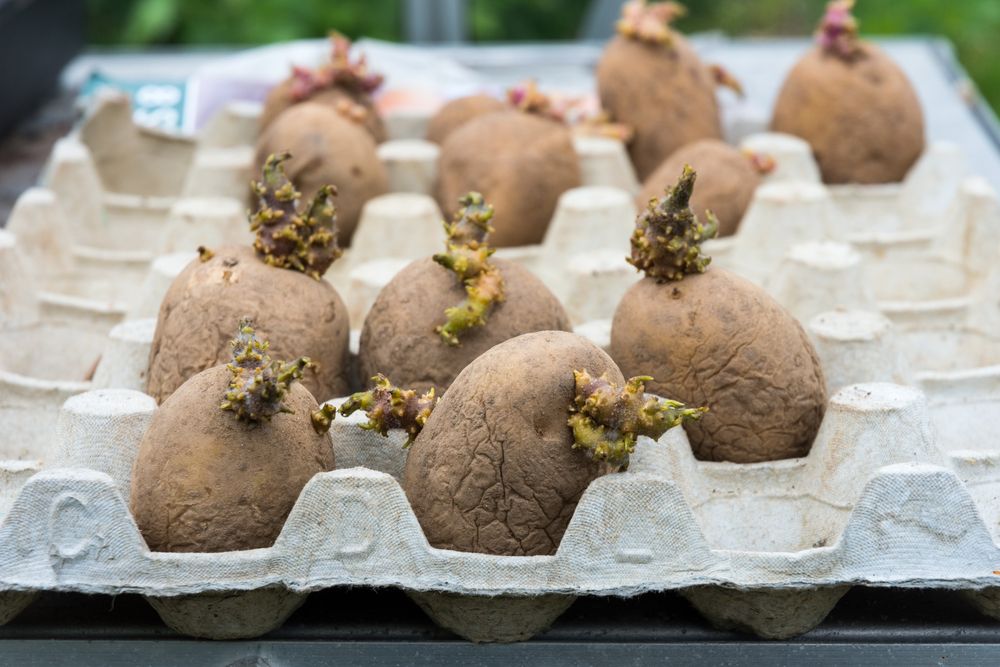
Before you plant, pick out the best seed potatoes. Potato tubers should be firm and free from disease or rot. Then, a week or two before planting time, set them in an area with plenty of light and temperatures between 45 to 60 degrees Fahrenheit. This pre-sprouting process called "chitting" will help your plants get established before planting.
When it's time to plant, use a sharp knife to cut your larger seed potatoes into 2-inch pieces, and make sure each piece has at least 1 or 2 buds. If your seed potatoes are smaller than a golf ball, you can plant them whole. After cutting, leave the pieces out for a day so that they form a thick callous over the cuts.
Step Three - Prepare Your Soil and Plant
Image credits: Deyan Georgiev via Canva
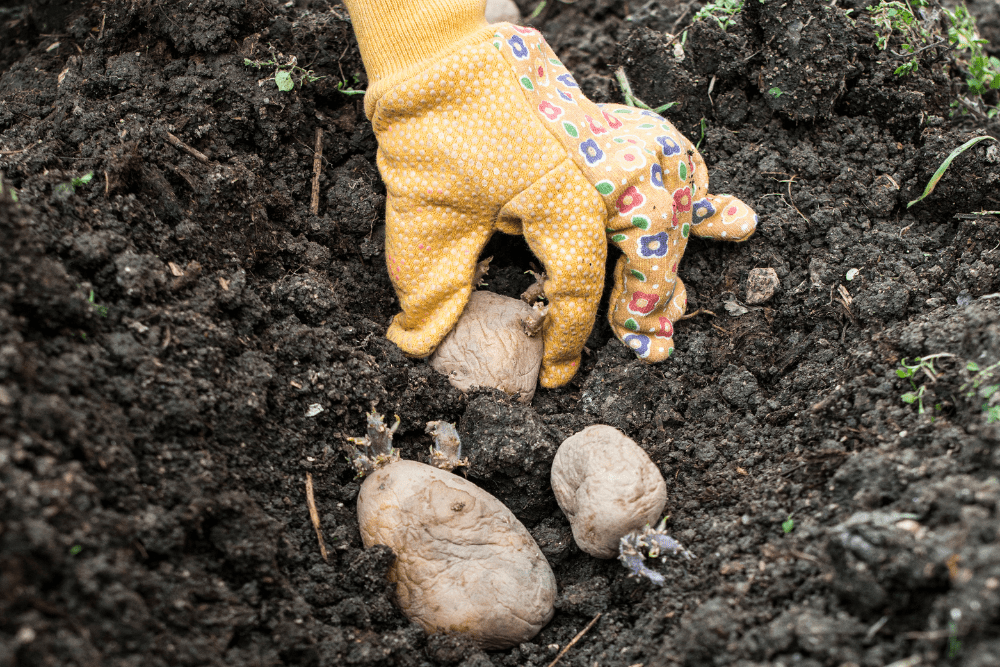
Dig a trench 6 to 8 inches deep in an area where the soil is fertile and well-draining. Plant the seeds with the eyes pointing up by placing them every 12 to 15 inches, with the rows spaced 3 feet apart.
Add only 4 inches of soil at first. You can mound it up around the plants as they grow later. Don't forget to cultivate the soil before planting to remove any unwanted vegetation, such as weeds.
If you opt for growing your potatoes in a container, choose a pot that can hold at least 5 to 15 gallons. Fiber growing bags are ideal as they allow excess water to drain naturally away. If using a different pot, ensure it has multiple drainage holes for optimal growth and health.
Adding nutrient-rich compost or well-rotted manure to the soil will help provide essential micronutrients to the potato plants as they develop. Not only will this give them an extra boost of nutrition, but it also helps add organic matter, which improves the overall quality of the soil.
Place around eight seed potato pieces onto the 4 inches of soil in the bottom of the 15-gallon pot. Only the top leaves should be showing, so cover anything else with a 2-inch layer of soil mix.
Step Four - Watering
Image credits: Alexa via Pixabay
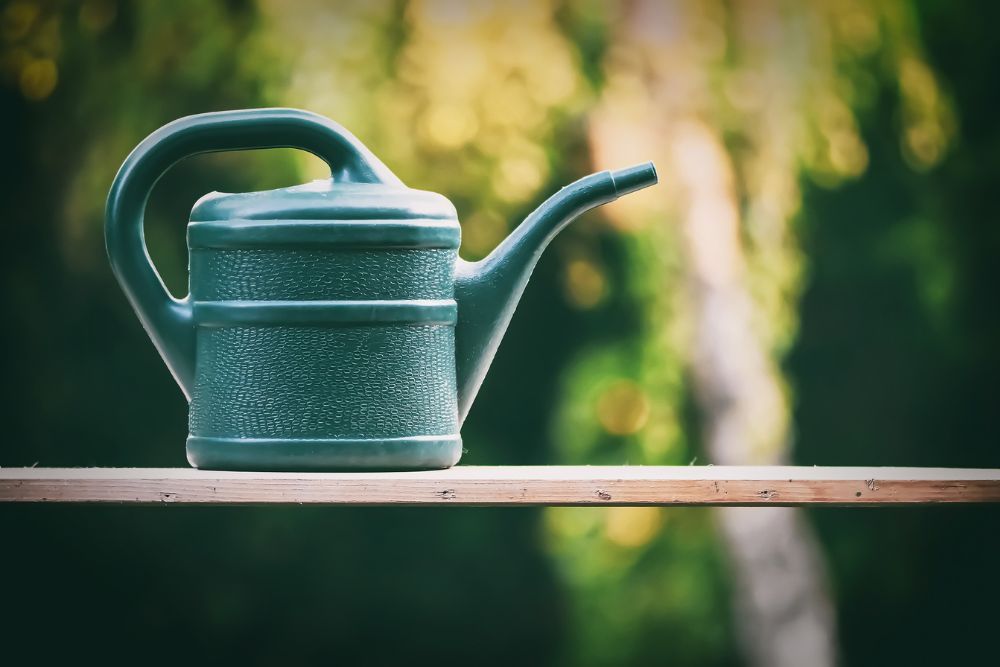
Once the plants grow well, keep them watered during their flowering stage for optimal tuber growth. Provide 1 to 2 inches of water per week through rain or manual watering. Once the foliage yellows and dies back, stop watering altogether. It will help cure the potatoes.
Step Five - Monitor Pests & Diseases
Image credits: Diyana Dimitrova via Shutterstock
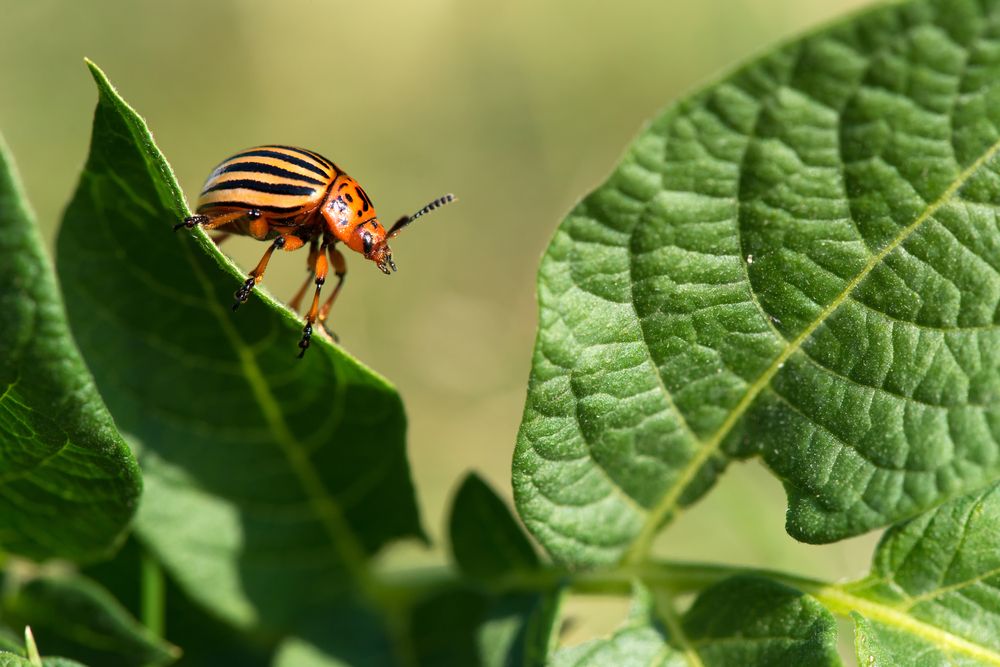
Check regularly for signs of any insect or pest infestation. Many bugs like aphids, flea beetles, Colorado potato beetles, and wireworms will feed on the foliage of your potato plants.
If you notice wilting, yellowing of the leaves, or see these critters on your plants, act immediately by treating them with an organic pesticide. You can also try hand-picking the insects off the plant if there are not too many.
Another common problem with potatoes is a fungal disease. If you notice yellowing, wilting, or white or brown spots on the leaves of your potato plants, this could be a sign that they have a fungal disease such as early blight.
To prevent fungal diseases from spreading, try controlling/lowering humidity levels around the plants and removing any affected parts of the plant. Also, rotate crops in your garden so that different plants aren't being grown in the same place every year. It will help prevent the recurrence of fungus and other diseases, as well as keep your soil amended.
Step Six - Harvest Your Potatoes
Image credits: Pexels via Pixabay
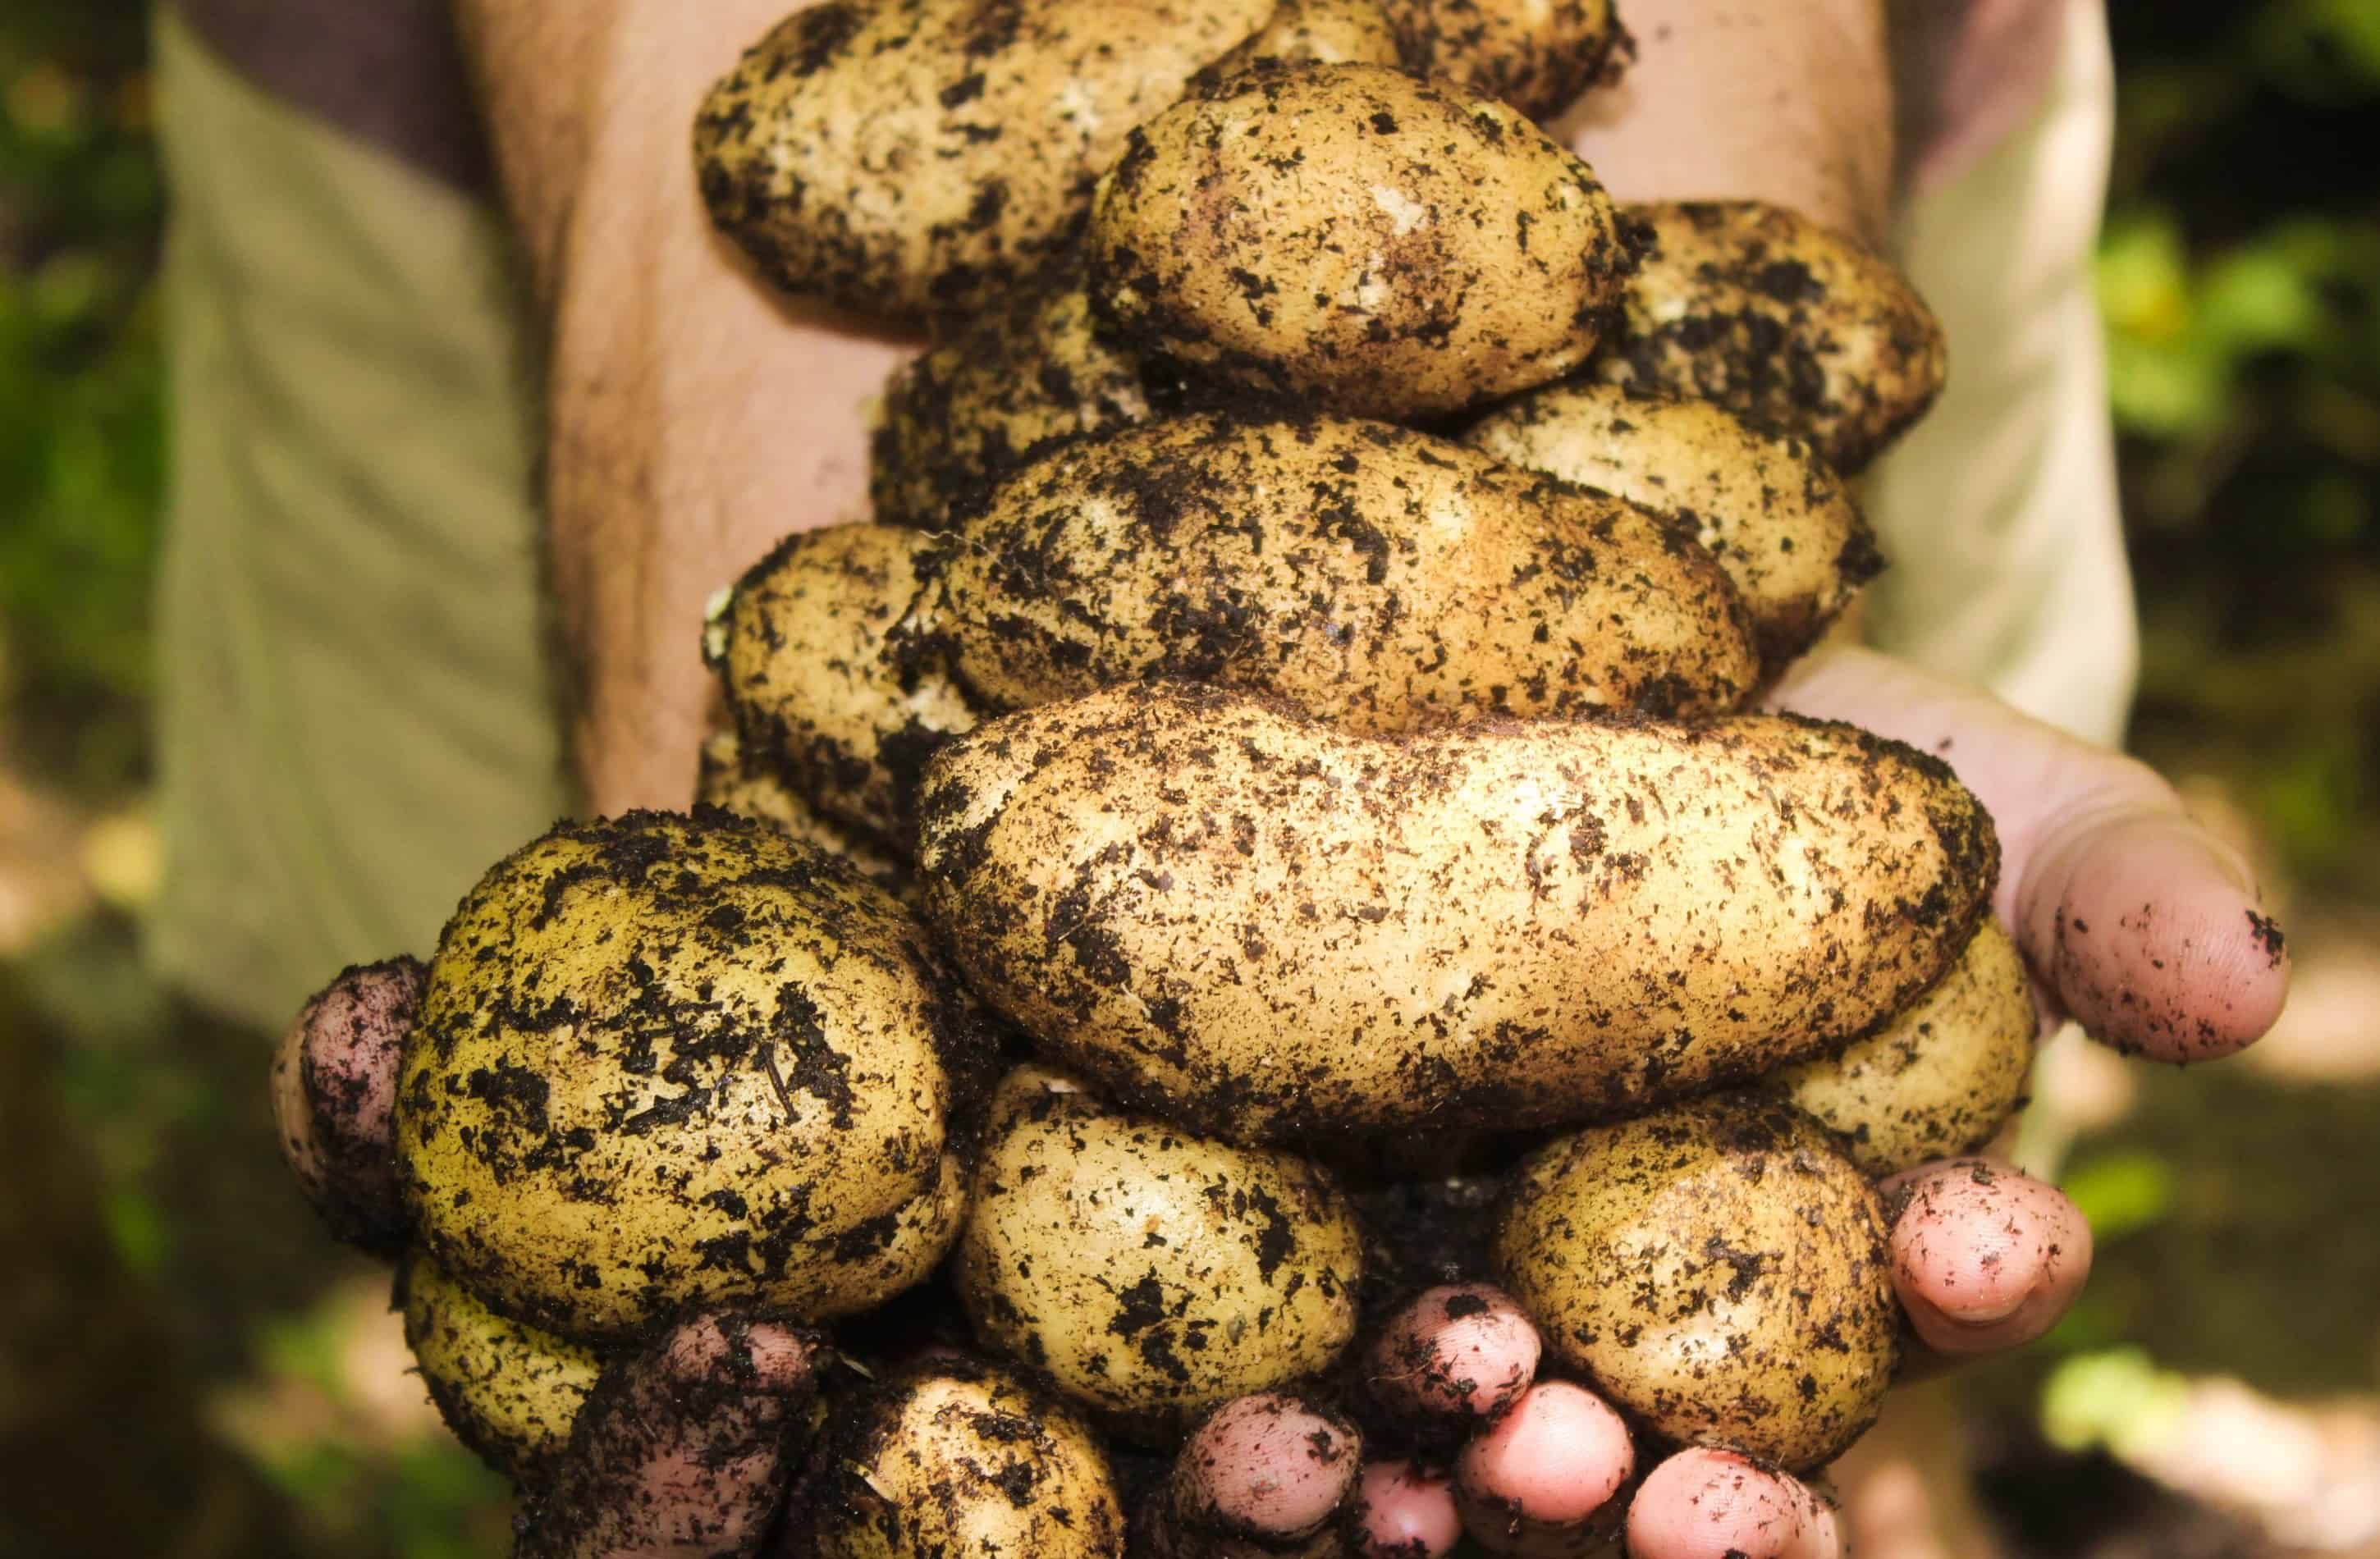
When the plants have finished flowering, you are ready to harvest! You'll know it's time to dig up your potatoes when the leaves begin to yellow and wilt in spring and summer. The harvest of baby potatoes typically takes place two to three weeks after flowering, so monitor your crop's progress.
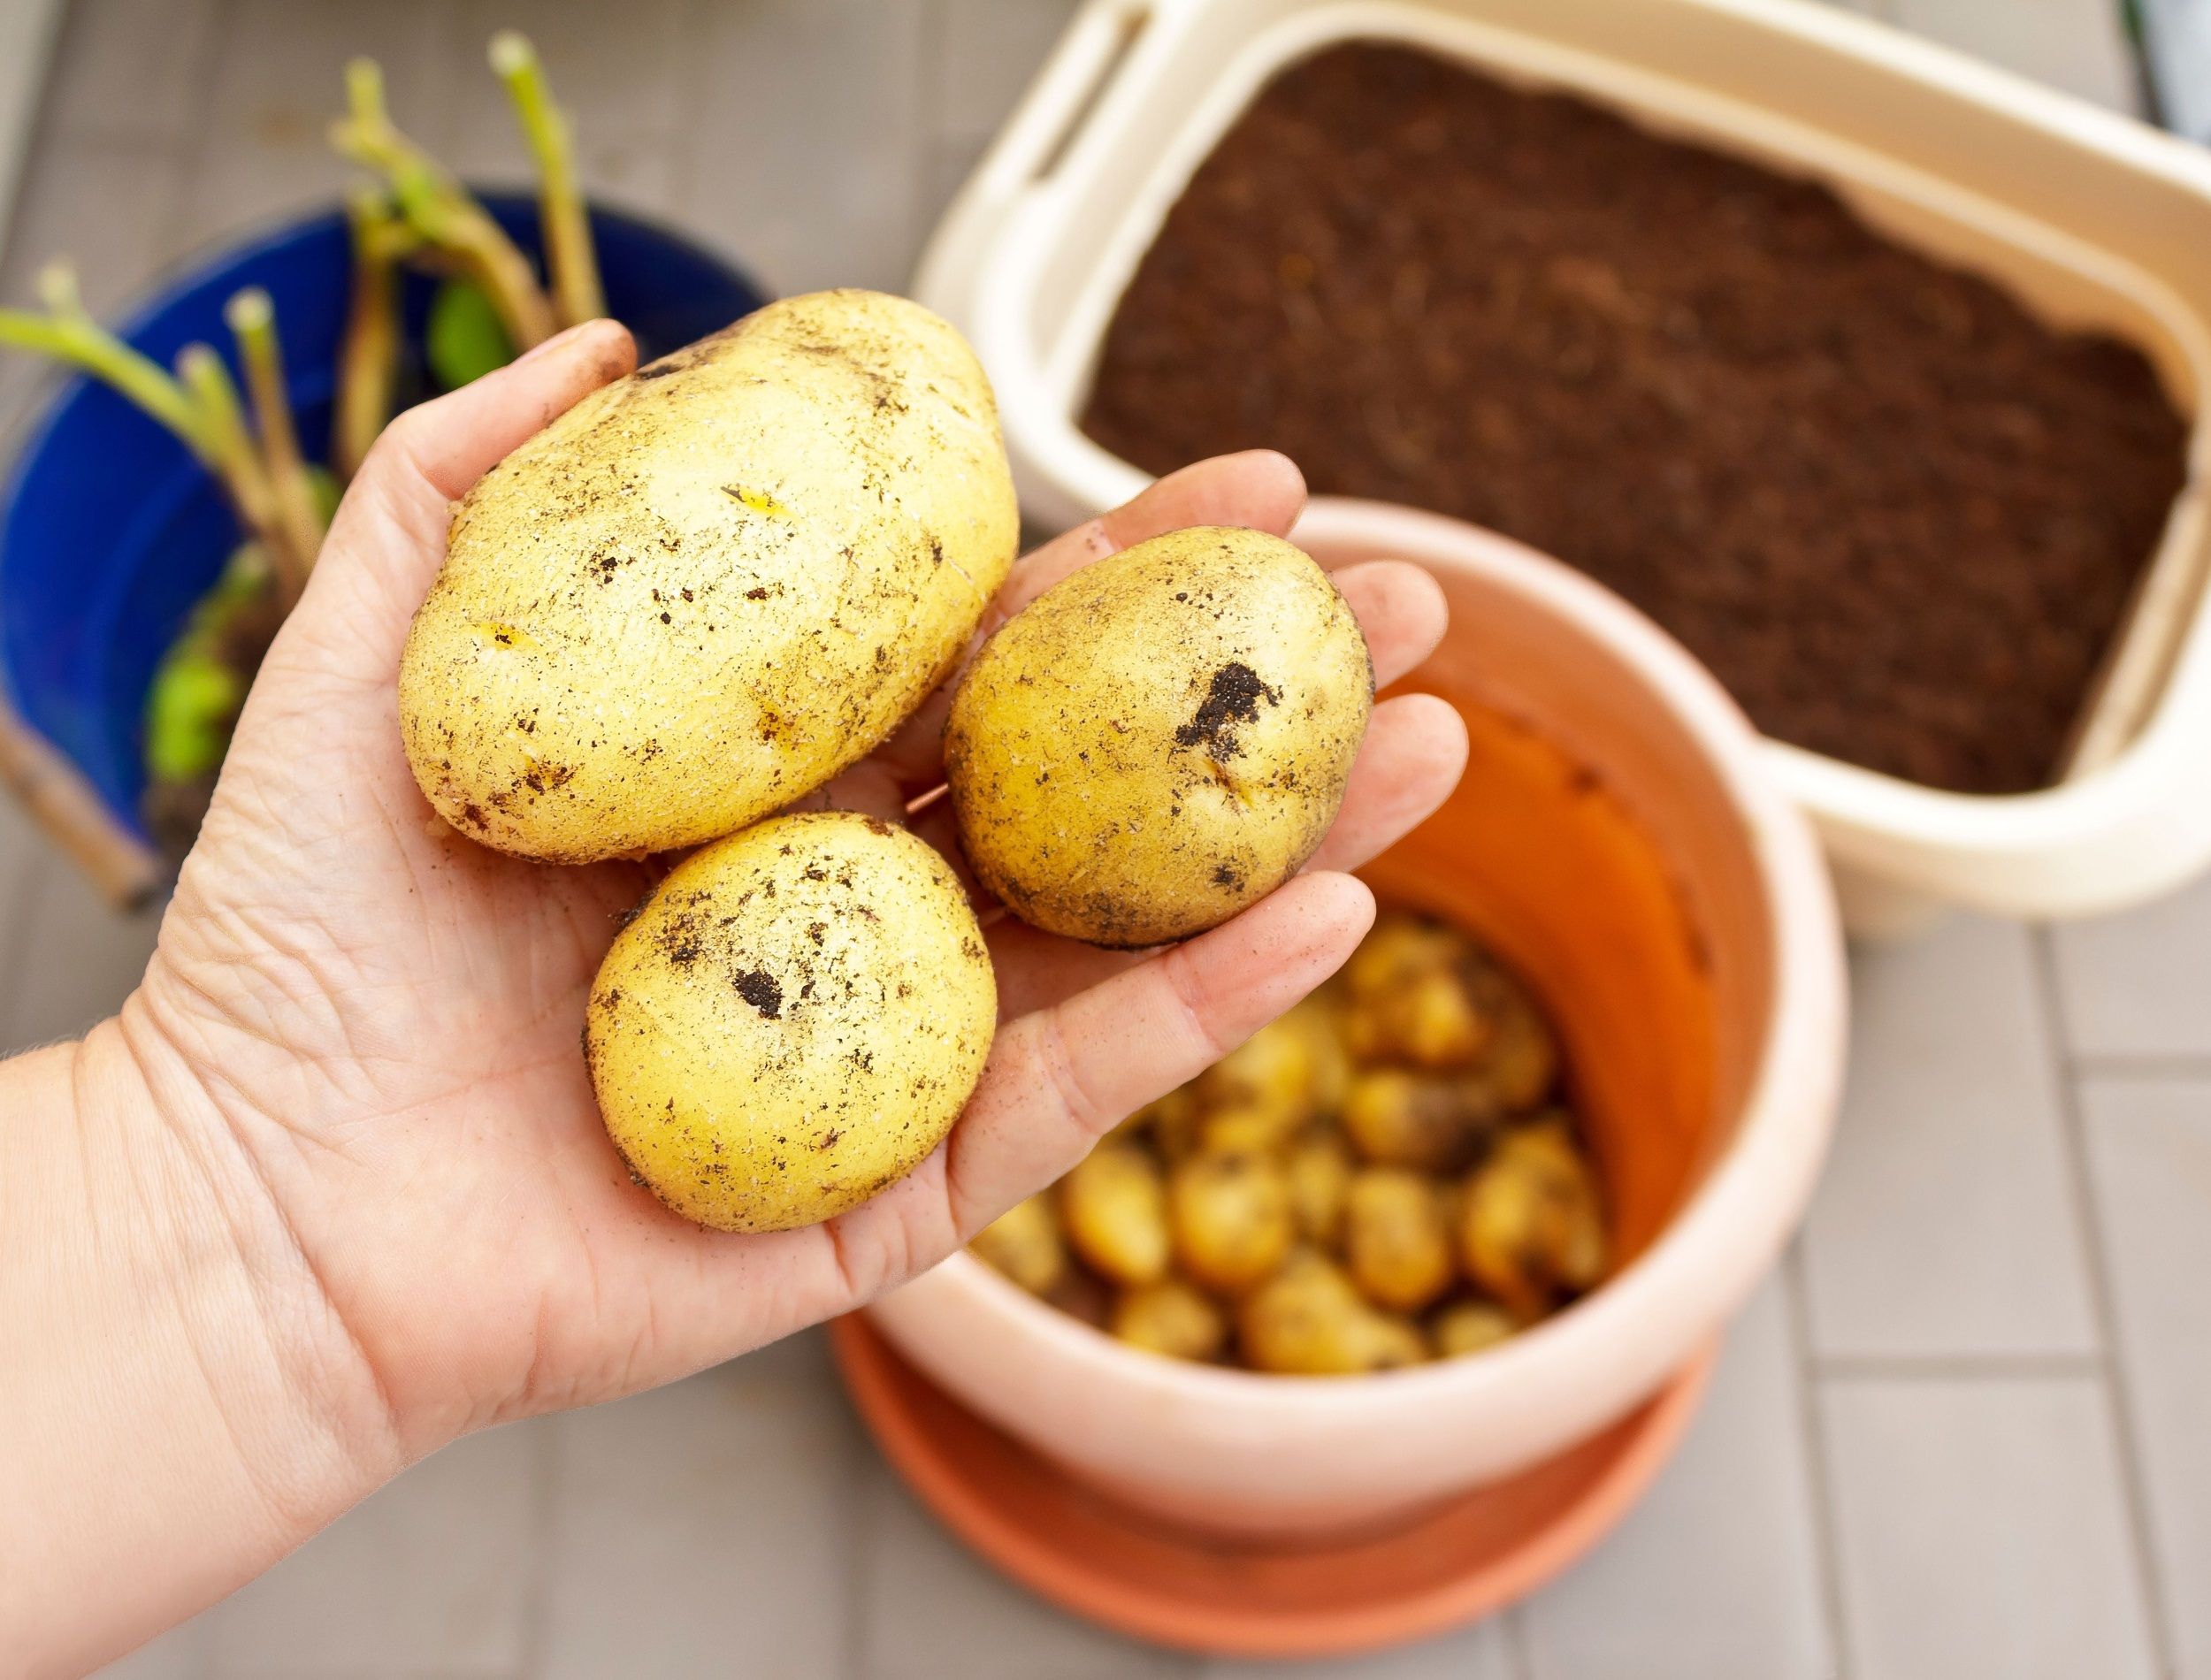
Take great care when digging around the plants to avoid any damage. Choose only the biggest potatoes and let the smaller ones remain in place so they can continue growing.
Botanical Potato Seeds
Image credits: Anne Elizabeth Mitchell via Shutterstock
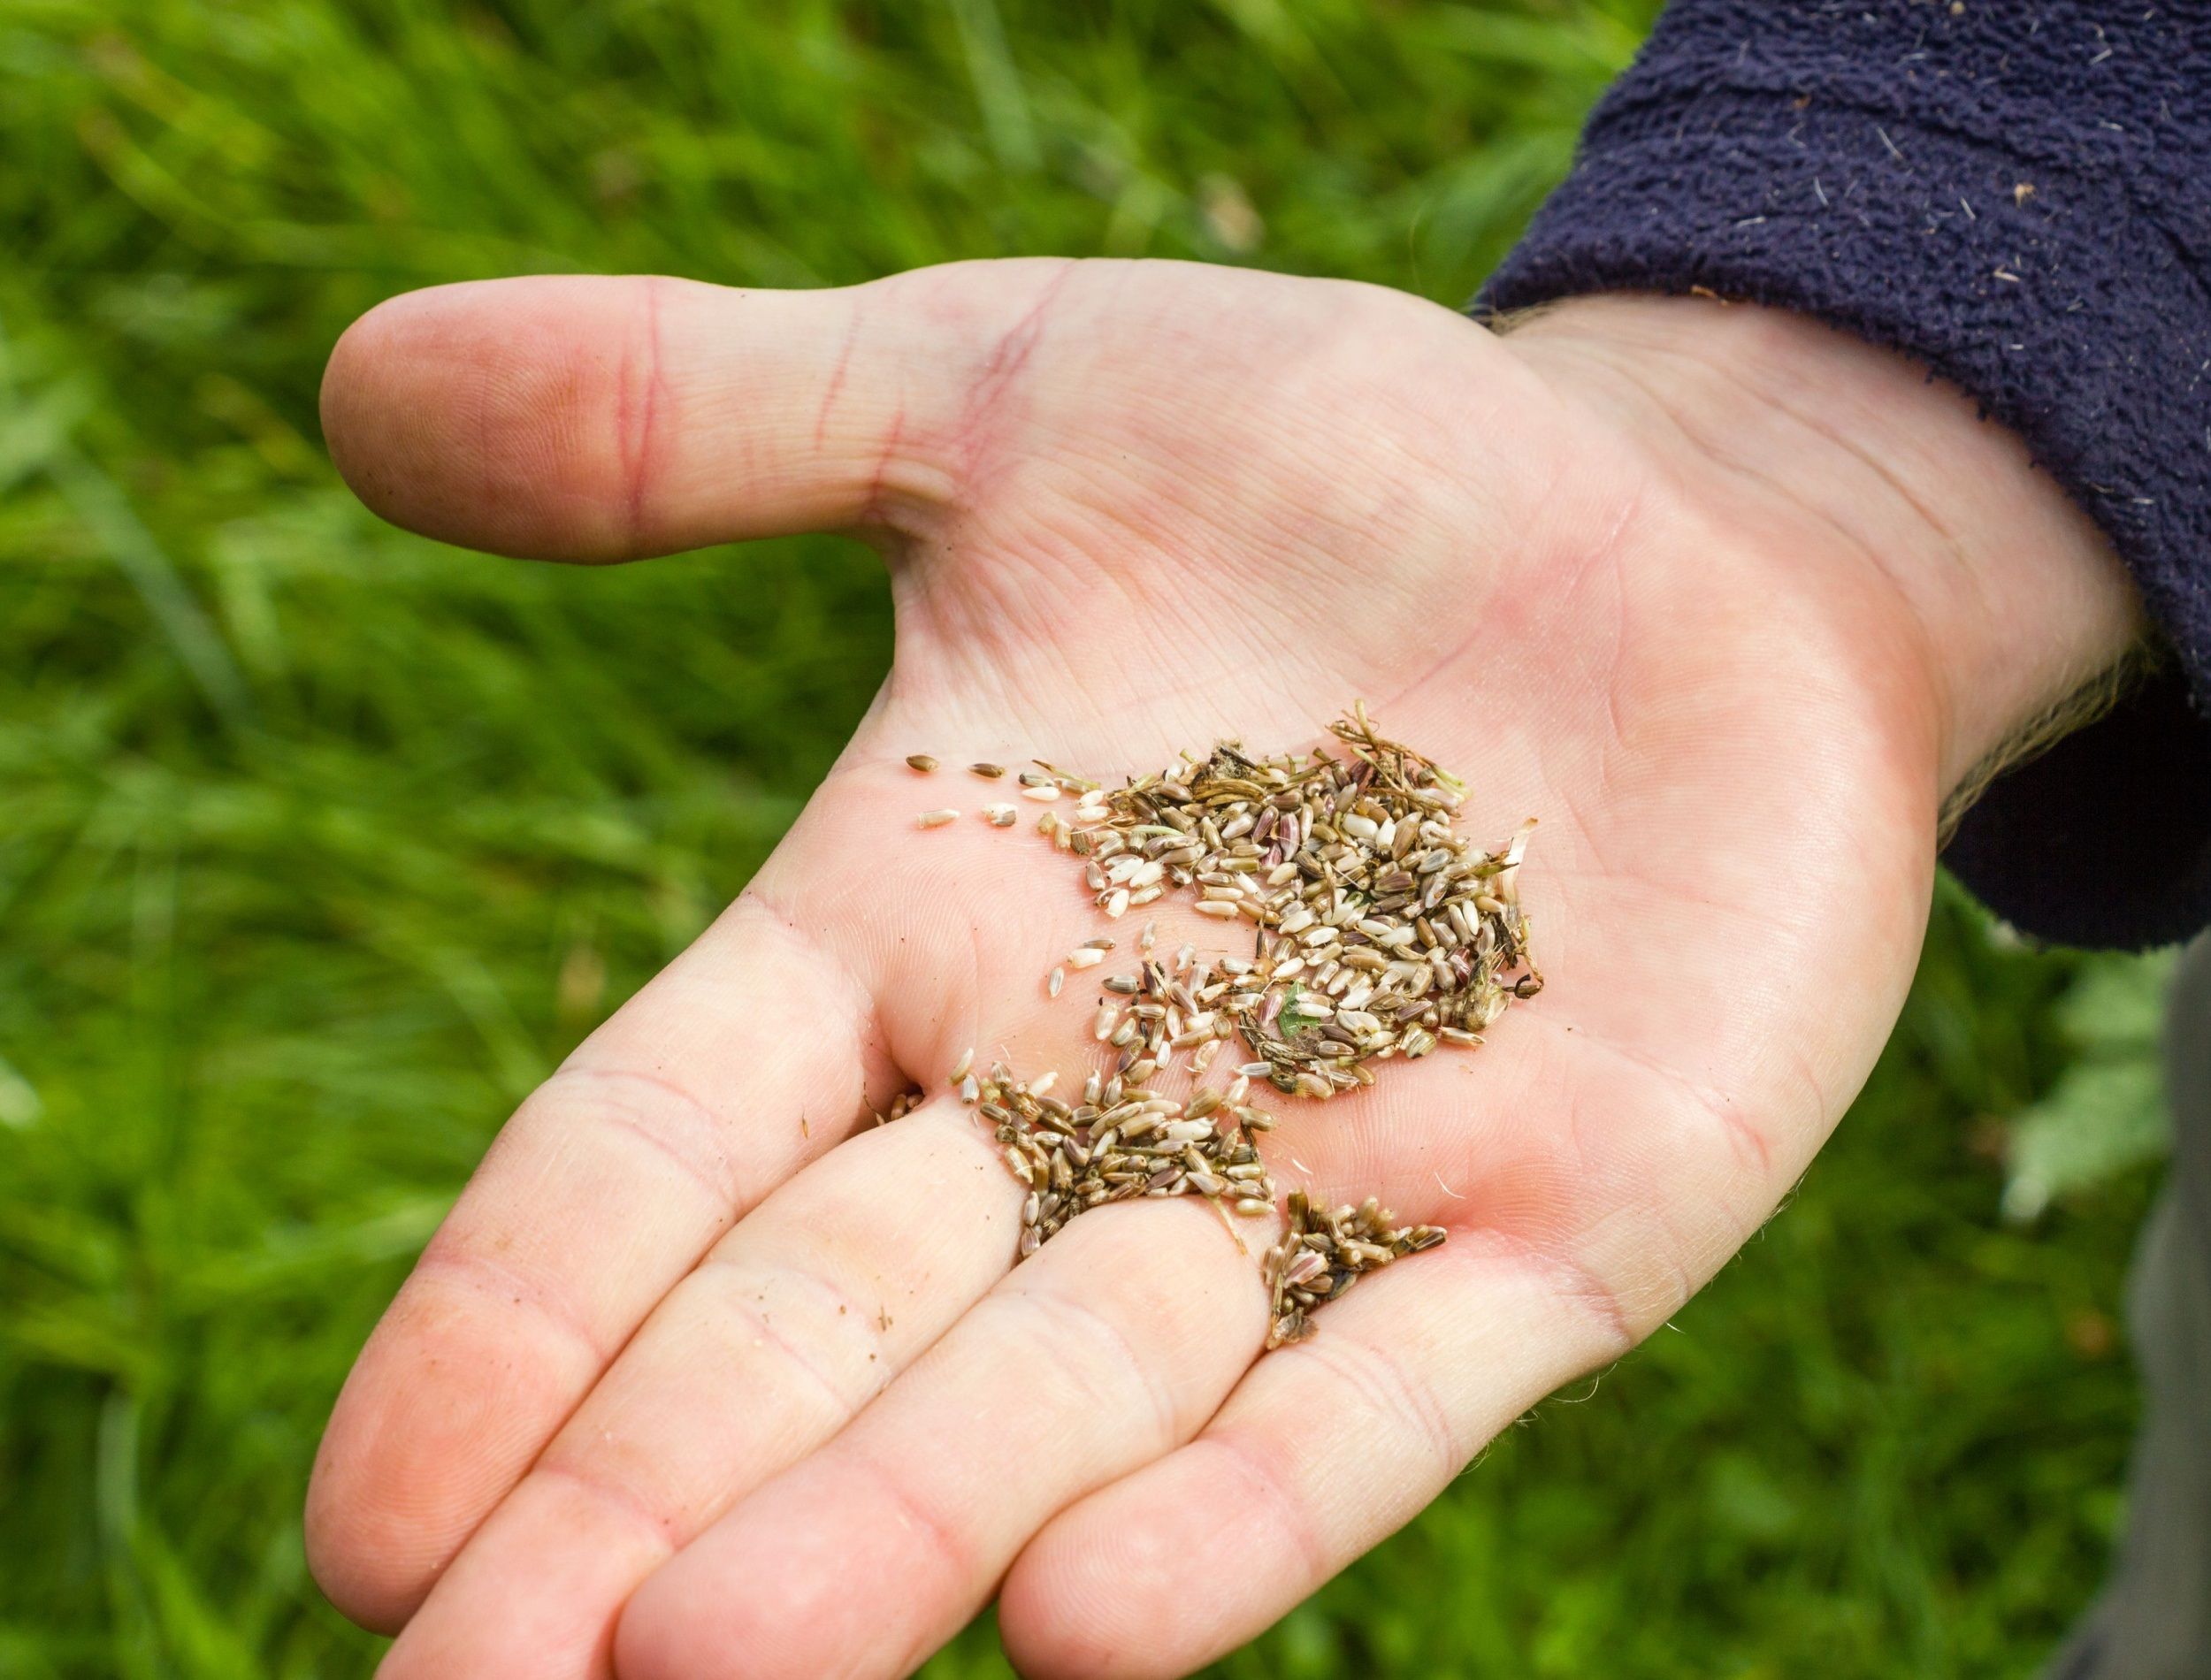
It's best to use seed potatoes rather then true seeds because true seeds produce a smaller harvest and few potatoes. But, both methods show success.
Although, botanical potato seeds are revolutionizing the way farmers plant potatoes. Instead of using traditional seed potatoes, which are clones of their parent plants, botanical potato seeds offer a chance for genetic renewal and can produce healthier, more resilient crops.
The process is simple. Farmers harvest the seeds from the potato, which contain all new genetics distinct from the original tuber. With this method, growers can avoid transmitting diseases and pests associated with tubers while protecting against crop losses because of genetic homogeneity.
Many farmers have embraced botanical potato seeds as it offers an alternative to traditional planting methods, allowing them to grow unique varieties of potatoes while still getting great yields.
Don't Be A Couch Potato -- Start Gardening!
Growing your potatoes is one of the most rewarding activities. Whether you go with the traditional method or try innovative techniques, the result will be delicious potatoes that all your friends and family will adore. Your garden plot can yield high-yielding, flavorful potatoes in no time.
With planning, some elbow grease, pest control, and proper harvesting techniques, you'll be off to a good start in achieving success in growing your potatoes.
Have you grown your potatoes from seeds already? Share in the comments below!

