Perhaps you have never thought of “fresh” and “potatoes” in the same sentence. And that’s fair. We often think of potatoes as greasy, thinly sliced chips, french fries covered with oozing cheese, or baked potatoes smothered in sour cream and crispy bacon.
As good as those things are—and when I say good I mean mouthwateringly transfixing—they lack the oomph that fresh potatoes, ones grown in your backyard, can carry.
This guide will teach you how to grow potatoes, explain the optimal conditions to plant them in, the different methods for growing them, and how to carefully harvest them.
Plant a new vision of potatoes in your mind, and then try growing your own!
What You Will Need
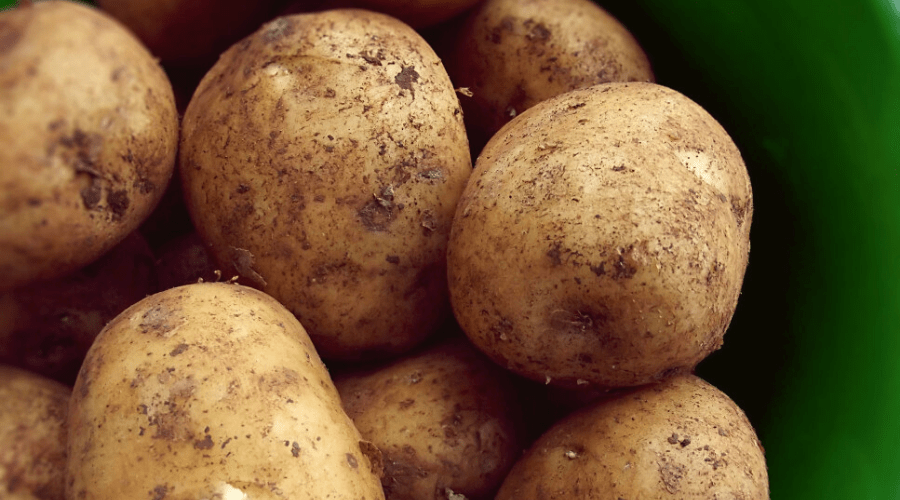
- Potatoes or Potato Seedlings
- Soil
- Fertilizer
- Common Garden Tools
- Straw (optional)
Alternative Method: How to Grow Potatoes in a Container
Potatoes are an excellent plant to grow in containers.

When picking out your potato growing container, bigger is better. The bigger the container, the bigger you potatoes will be, and the bigger the crop they will yield. Also, make sure that the container has drainage holes on the bottom. This is important because soil that is too moist will cause the potatoes to rot.
Place the container in a spot with lots of direct sunlight either outside or on a porch. Frequently water the potatoes, keeping in mind that plants in containers need more water than their counterparts grown in gardens.
Cover the bottom of the container with soil, placing around five inches of soil inside of it. Then place the potatoes in, and then add another four inches of soil on top of those potatoes.
As the potatoes grow, and their stem starts to peek above the soil, continue to cover it until you reach the top of the container with soil. The more of the stem you cover with soil, the more potatoes you will harvest.
Types of Potatoes
Starchy: Starchy potatoes received such a title because they have a notably higher starch content than other potatoes. They have a fluffy consistency that makes them ideal for cooking. Starchy potatoes are delicious boiled, baked, or fried, however, they do not keep their shape well through the cooking process. Two examples of starchy potatoes are Idaho Russet and Katahdin.
Waxy: Waxy potatoes have a creamy, firm, moist consistency and a low starch content. They contain more moisture than starchy potatoes and hold their shape well throughout the cooking process. They are excellent roasted or boiled and, because they hold their shape, they are great in potato salad. Some examples of waxy potatoes are red bliss and new potatoes.
All-Purpose: These potatoes have only medium levels of starch and moisture, or in other words, they are the “just right” potato of Goldilocks’s dreams. They have the best of both worlds, having a fluffy texture while cooked and holding onto their shape well. Because of this, they work well in all recipes and cooking styles. Some all-purpose potatoes are Yukon Golds and Marcys.
What to Should I Plant?
There are two kinds of potatoes you can plant: normal grocery store potatoes or seed potatoes.

The benefit of using “normal potatoes” is that they are easy and cheap to acquire and give you something to do with the potato in your cabinet that has just sprouted a little too much. The downside is that they are not guaranteed to grow when planted. Some companies treat potatoes with a chemical to keep them from sprouting.
You can also use seed potatoes. While a bit harder to acquire, they are guaranteed to grow and you can even get them “certified disease-free” to combat the many diseases that can plague potatoes.
Benefits of Potatoes
Potatoes are unbelievably, very nutritious.
They are low calorie, on average only containing 110 calories. They have vitamin C, fiber, B6, iron, and more potassium than bananas. They also contain 26 grams of carbohydrates and 3 grams of protein.
Because of all of this they can be an excellent source of energy.
This, however, does not give you a free pass to eat cheese fries for dinner.
Potatoes stop being a nutritious food when they are covered in oil, cheese, butter, and fat.
Although, of course, they become more delicious, they just become a carrying vehicle for all of those things into your body, their nutrients becoming as important as the nutrients of a common spoon.
How to Grow Potatoes
Step One: Planning for Your Potatoes
Potatoes can be planted any time between early spring to early summer. They should be planted two weeks after the last possible frost when the soil has reached a temperature of at least 50 F. If you are in a warmer place you may be able to plant your potatoes as early as January.
Potatoes can thrive in many different containers in numerous different locations. However, they should be in a spot with lots of sun and with loamy soil. The soil should be a bit dry and not moist enough to stick together. Potatoes grow best in slightly acidic soil that has a pH of 5.0-7.0.
Decide whether you want to plant potatoes or potato seeds. The potatoes that you do plant should have at least a couple of buds, also referred to as “eyes.”
Cut potatoes so they are the size of small eggs, unless they are already that small, in which case leave them intact. Dry them indoors for a couple of days after you cut them to reduce the risk of them rotting.
Pro Tip: A potato planting tradition is planting them on March 17, Saint Patrick’s Day, every year.
Step Two: Plant the Potatoes
Time to plant your potatoes!
In your chosen spot with your chosen soil dig holes that are 8 inches deep. The holes should taper, being 5 inches wide at the top and 3 inches wide at the bottom. Try to leave a foot of distance between the holes.
Add fertilizer to the bottom of the holes before adding the potatoes. Then, plant the potatoes cut side down and eyes facing up.
Refill the holes using half of the soil you excavated from them. Keep the rest of the soil on the side. You will use it for hilling once the potato’s stems start to grow.
What is hilling you ask?
Be patient, dear reader, you will learn in due time.
Step Three: Water Your Potatoes
Water the potatoes thoroughly when you first plant them. The potatoes should be consistently moist but not so drenched they rot.
Potatoes need 1-2 inches of water a week. Be sure to take into account rainwater before watering your potatoes.

If you are having weed control issues add mulch to the potatoes during this stage. It will also help the soil retain moisture.
Step Four: Hill the Potatoes
Finally! The most important topic when it comes to growing potatoes: hilling!
When potatoes peskily pop up over the soil, hilling keeps them down.
Why do we need to keep them down?
Because when potatoes are exposed to sunlight they turn from a delicious innocuous root into a green, poisonous monster.
Hilling is incredibly important for avoiding this transformation.
Your hilling duties will start 2 weeks after planting the potatoes. Add the rest of the soil you dug out back on to the potatoes. Continue to do so every couple of weeks until the soil is 6 inches above ground level. The leaves and flowers at the tip of the potatoes stem should always be left uncovered
Pro Tip: Hill in the morning. This is when the plant is at its tallest because throughout the day, due to the drying effects of sunlight, it begins to droop.
Step Five: Harvest Your Potatoes
Harvest “new” potatoes after the potato plants stop flowering. Sometimes this only takes a few months, but keep in mind that new potatoes have a short maturation time and shelf life. Quickly eat them after you harvest them.
Harvest large, mature potatoes 2 weeks after the plant’s leaves and flowers die back, turning yellow and then brown. If it has been 4 months and the plants are still not turning yellow, cut them down and let them dry out for a few days.
Be careful not to cut or nick any of the potatoes when you dig them up. If you nick any of your potatoes while digging them out of the ground eat those first since they will go bad quickly.

Pro Tip: Harvest your potatoes on a dry, cloudy day. If you do harvest them on sunny day, avoid leaving them out in the sun too long after they are dug up because they may turn green.
Step Six: Enjoy!
You know better than anyone that your potatoes were just sitting in fertilizer and soil for a few months- make sure you wash them before you eat them.
Then enjoy baking, broiling, frying, or whatever other way you plan on enjoying your fresh potatoes. Potatoes are a very versatile food that can be incorporated into many delicious recipes.
If you need to store potatoes, let your potatoes sit at a temperature of 50-60 F for two weeks to allow their skins to harden. Then, keep them in a cool, dark dry place. They can be stored for a few months but should be regularly checked up on.
Conclusion
Now you know all about how to successfully plant, grow and harvest potatoes, opening up a world of potato possibilities for yourself. These awesome root vegetables are versatile in the kitchen and have great health benefits- just make sure you aren’t only eating them fried. And if you enjoyed growing your potatoes and would like to try growing other veggies at home, we've collected the easiest vegetables for the lazy gardener.
Did you enjoy this tutorial? Be sure to let me know what you think in the comments and share this article if you liked it!