While they are typically kept indoors as a houseplant, spider plants can easily be grown outdoors and make a great addition to your garden space. They're known for being one of the best air-purifying plants out there, and require minimal care and upkeep growing outdoors during the summer months.
In this guide, follow along and learn how to grow and properly care for your spider plants outdoors.
Tools You'll Need

RODNAE Productions via Pexels
Here is everything you need to grow and care for your spider plant outdoors.
- Spider plant
- Potting soil
- Fertilizer
- Trowel
- Watering can
- Gardening gloves
- Pots (optional)
How to Grow Spider Plants Outdoors

Image credits: generated via Shutterstock
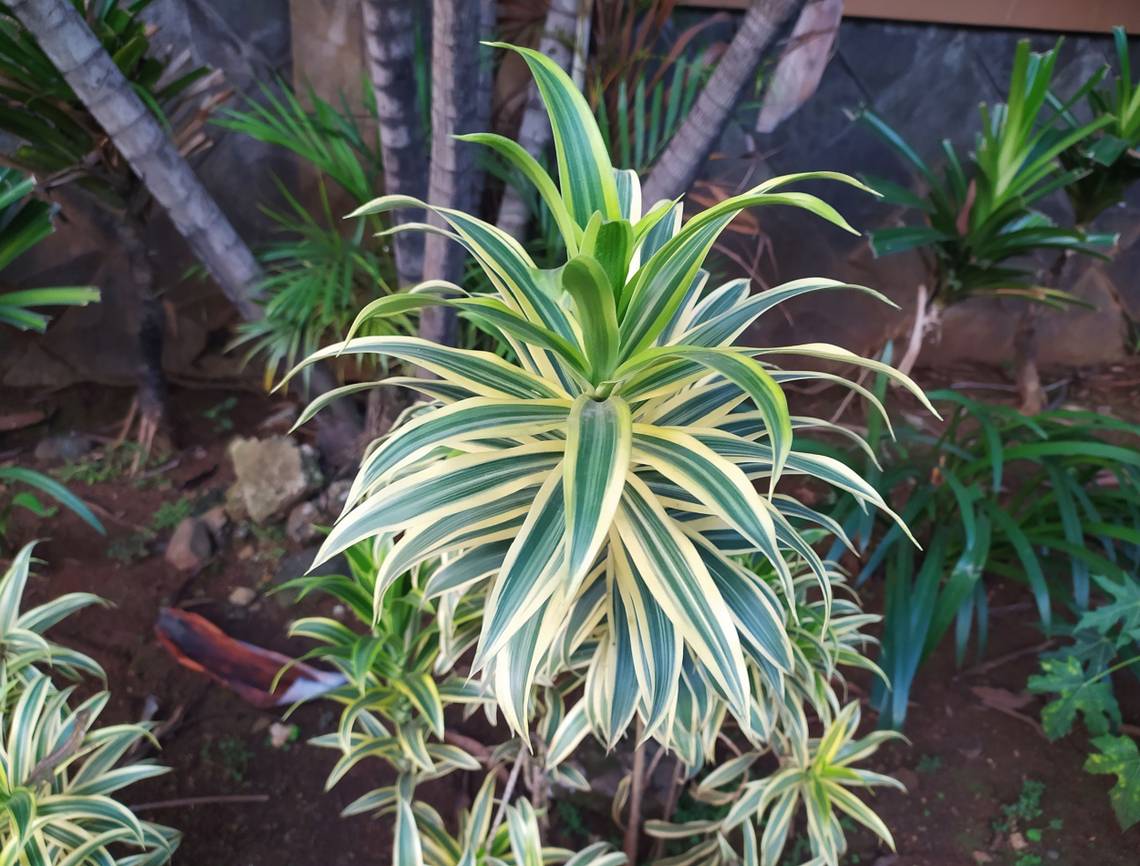
Native to South Africa, spider plants (Chlorophytum comosum) are popular ornamental plants that bring those tropical vibes! The most popular variegated varieties of spider plants include, 'Vittatum,' 'Bonnie,' and 'Variegatum' which feature an off-white stripe down the entirety of the leaves. There are also non-variegated varieties like 'Solid Green' and 'Shamrock' however these spider plants are considered rare and harder to find.
Step One - Choose an Ideal Location
The first thing to consider when planting your spider plant outdoors is location. Luckily in zones 9 to 11 these beautiful plants can be grown in the ground outdoors as perennials. Other zones below 9 will have to bring their plant indoors for the winter.
Because of this it's suggested to grow spider plants in containers so you can quickly bring them indoors before the temperature dips. Their ideal growing condition is between 55 and 80 degrees Fahrenheit, anything lower will ultimately damage your plant.
An ideal location in your garden is one that receives indirect sunlight, between six to eight hours a day, and an area that has well-draining soil.
Step Two - Prepare the Soil for Planting
Once you have decided on the right location, it's time to prepare the soil. Start by clearing out any rocks or debris and using a trowel and gardening gloves. Simultaneously loosen and till the garden soil while applying compost if necessary.
You should test your soil before hand to make sure it is nutritionally good for your plants.
Step Three - Transplant Into the Ground or Container
In your garden dig a hole 8 to 12 inches deep and place the plant inside. Cover the plant with soil, burying all of its roots. If you decide to grow multiple plants in the ground, make sure to leave proper spacing. Spider plants can grow up to 2½ feet wide, so leave at least 2 feet in between each plant.
You can also grow your spider plant in a medium to large-sized pot with drainage holes. Containers dry out much faster than the ground, so opt for a pot at least 2 inches larger in diameter than its current pot. Fill the container around the plant with high-quality potting soil.
Step Five - Water Your Spider Plants
The last step is to water your spider plant. Give your plant a good drink of water after transplanting. If needed, mulch around the plant to help retain moisture in the soil. You can use straw, fallen leaves, bark, and more!
If in a container, water until the soil is evenly moist and begins to leak out of the drainage holes.
Spider Plant Care Requirements

Image credits: Anna Khomutova via Pexels
After transplanting your spider plant outdoors, taking proper care of the plant in its new environment is so important. Keep your spider plants growing healthy and strong with these guidelines.
Lighting and Temperature
This type of plant likes indirect sunlight and should be grown in a location that receives filtered light. So, try and choose a spot that protects the plant from the harsh afternoon sun. Spider plants cannot tolerate direct sunlight which can stunt their growth and damage the leaves.
The best temperatures for growing spider plants are between 65 to 75 degrees Fahrenheit during the day and 50 to 55 degrees Fahrenheit at night.
Watering Needs
Spider plants need regular watering when planted outdoors, typically once a week. Check on the plant often and water thoroughly when the first few inches of soil feel dry to the touch. Be careful not to overwater your plant, however, as overwatering is the main cause of death for spider plants. If you are unsure, measure the soil moisture using a moisture meter.
Avoid watering your spider plant with regular tap water. This type of plant is sensitive to chemicals like chlorine and fluoride which are often found in tap water. Instead, collect rainwater or use filtered water on your plant.
Fertilizer
Spider plants need to be fertilized regularly. Fertilize one to two times a month during its active growing season (spring and summertime) with an all-purpose fertilizer. Be careful you do not overfertilize your plant -- Overfertilizing spider plants can lead to brown leaf tips and stunted growth.
Tropical Paradise Right at Home
No matter what you're growing outdoors, place a few spider plants around the garden and create a tropical paradise in your backyard. Spider plants look great planted in raised garden beds, in a hanging planter, or a pot -- add one to your garden this spring!
Have you tried growing a spider plant outdoors before? Leave a comment down below with your experience.