A backyard garden is a great place to relax and admire the beauty of nature. If you want to do it right, it's good to have a great garden bench. If you don’t have it yet, don't worry. They're incredibly easy to build yourself in just a couple of hours with a minimal amount of tools and skill.
The nice thing about building your garden bench is that you can make it whatever size or color you want. You can customize it to match the plants in your garden and create something special and unique. You can also have fun building it and feel like you're exercising your creativity out in your backyard.
What You Need to Build a Garden Bench

Image Credit: meineresterampe from Pixabay
You don't need many tools or materials to put together your DIY garden bench. You can replace the power tools on our list with hand tools. They're usually cheap, and you can buy them for around $20. However, power tools will make the job much easier, and you won't get tired during work.
Always be sure to use precautions when handling power tools. Wear protective eye gear and earplugs to safeguard against any projectiles and loud noises. If you've never used power tools, it's a good idea to practice a bit first before you start cutting into the materials for your backyard garden bench.
Tools
- Circular Saw
- Jig Saw
- Electric Drill
- Tape Measure
- Paintbrush
Materials
- 10’ Length of 2x12
- Deck Screws
- Sandpaper
- Wood Stain or Paint
Step-By-Step Guide for Building a Garden Bench

Image credits: Sung Jin Cho via Unsplash
Building a garden bench is quite simple, and our design is one of the easiest ones available. If you like, you can add trim and specially cut ornaments to this design to create something outside of the box. However, if you don't want to build anything too complicated, follow these steps carefully. Thank's to this guide, you'll get a bench that will last for years.
Step 1: Cut the Legs
Cut your piece of 2x12 board into two 16.5 inches long pieces. This is a proper height for a garden bench, and it'll be accessible to anyone that wants to sit in it. You shouldn't make it too high because your feet won’t touch the ground. This certainly won’t be very comfortable. After you cut them to length, cut a “V” shape into the bottom edge to give the appearance and stability of individual legs.
Step 2: Cut the Stringer
The stringer is a piece of wood that will go between the legs and underneath the seat. It will be attached vertically instead of horizontally to give the legs and seat stability and support. Without the stringer, the legs would be dependent on the seat screws for support, and the bench would easily collapse. Cut the stringer to 30” in length to allow enough room for two people to sit on the bench if needed.
Step 3: Attach the Stringer and Legs
Screw the stringer in between the legs to create the basic structure of the bench. Make sure to use 2-3 deck screws to attach these pieces as they will be the main supporting parts and will need as much security as possible. Sink the screws into the legs as far as they go to make sure the heads are flush with the leg pieces.
Step 4: Cut and Attach the Seat
Cut another piece of 2x12 board to 42” for your seat section. Screw this to the top of the stringer and legs using at least six-deck screws. Make sure that the seat is perfectly centered on the stringer and legs with 3” overhanging on the sides. It will give you a nice, stable balance and a solid foundation that you can sit on for a long time. It will also support a lot of weight.
Step 5: Finish the Bench
After you put together your bench, it's time to finish it. Before you apply any finish, sand the entire bench. However, pay extra attention to the seat. The last thing you want is splinters in a place where you will be sitting.
Finish your bench with whatever type of topcoat. If you would like to paint it to match the colors of your garden, be sure to use latex-based exterior paint. It will protect the bench. Make sure that the color stays bold and bright, even if it's left out in the rain.
After you paint the bench, put a polyurethane topcoat on it to encase the paint job and give it an extra layer of protection. Let your bench cure for at least 48 hours before you place it out in your garden and sit on it. Find a place where you can feel comfortable and have a good view of your whole garden.
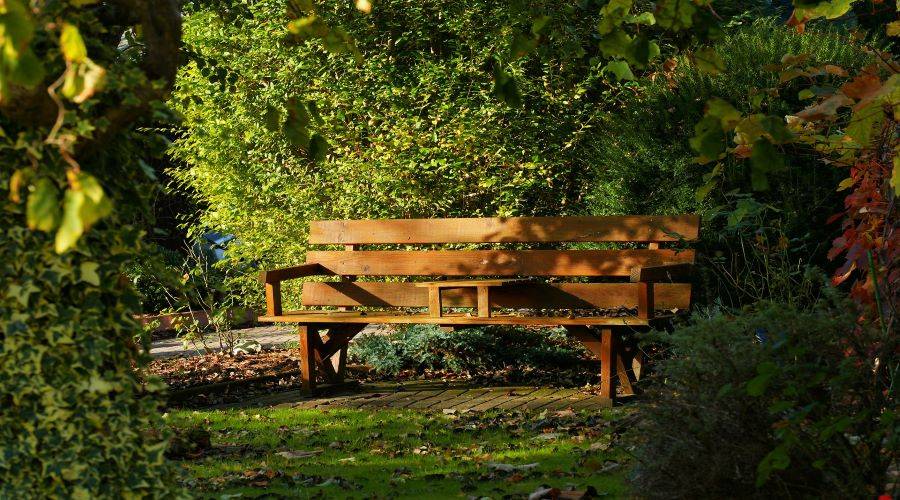
Enjoy Your Garden With Your New Bench

Image Credit: Monsterkoi from Pixabay
Building a garden bench and customizing it to match the style of your garden is a great way to create an excellent accent and conversation piece. You can even use reclaimed wood if you want to be more eco-friendly and create something that has a more rustic feel. The possibilities are endless with what types of materials and colors you can use for this project.
Have you built your garden bench and have some tips that you would like to share? Be sure to let us know about it in the comment section below!