Most of the Backyard Boss staff live in colder regions. Collectively, we've got about a hundred years' worth of snow-fort building experience. Epic snow fort building skills allow for the highest level of bragging rights, and frankly, we've got 'em. If you're looking to level up your snow fort building game this winter, these construction pro tips will position you as king of the hill. Here are our real-life, real-world, kid-tested, mother-approved pro-tips for building a truly fortified and impenetrable snow fort.
How to Build a Snow Fort: The Basics
This is a pro-tip article, but so we're clear, there are a few simple steps in snow fort construction that do not change. First, the basics:
Smooth or clear a ground area.
Outline the shape you'd like to build using a stick to scrape into the snow, a pour of colored water, or (if you're really fancy) a yardstick or measuring tape and chalk or a snap line.
Build your bricks.
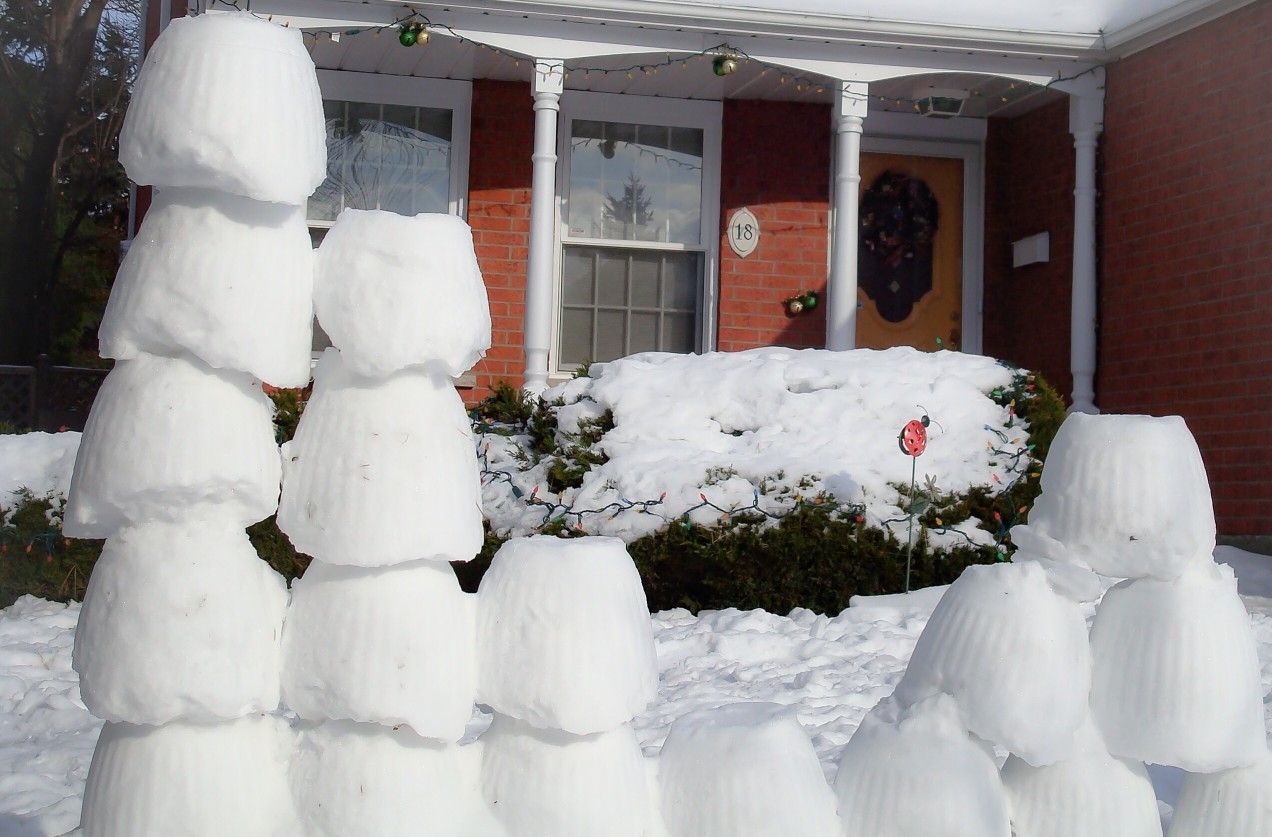
We prefer brick molds—whether they're from a snow fort kit or your kitchen cabinet—to create uniformly dense and appropriately sized bricks quickly. Anything works here: Tupperware, Lego containers, a bucket from the garage, a storage tote... whatever suits your needs and is on hand.
Build the fort walls.
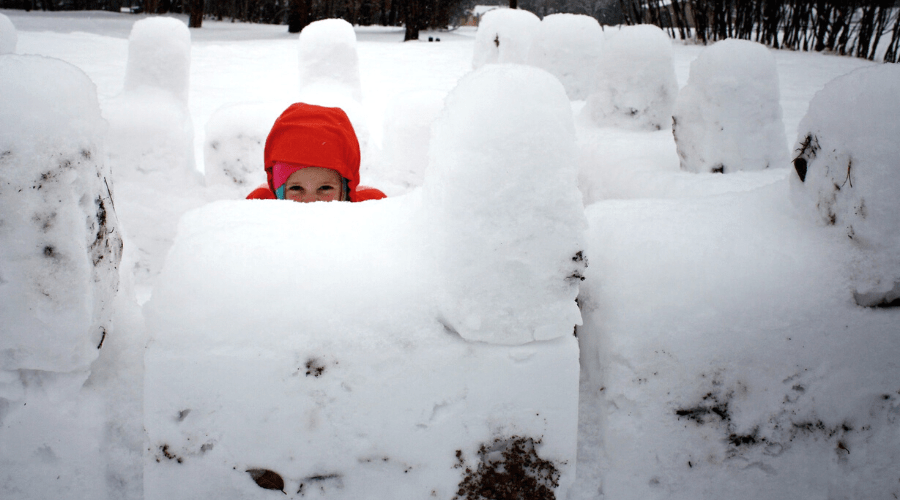
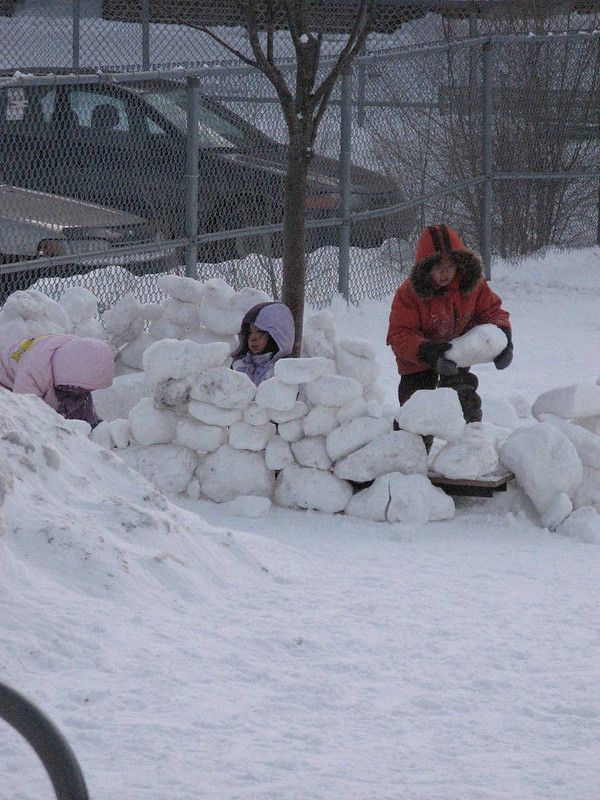
Stack those bricks along the lines you've made, as high as they'll go, and add more bricks as needed. Consider scooping out turrets for strategic snowball-hurling locations, or if your walls are quite high, a few narrow slots for visibility without risking exposure to the enemy camp.
Freeze.
When you're satisfied with the size and shape of your fort, wet the snow with a spray bottle or gently with a pour of water, starting at the base and working upward. Give it time to solidify; this can take a couple of hours if it is very cold, or overnight if your freezing temps are only just cold enough to hold the snow together.
Go to war.
Have fun! You can add to your fort over time, or tear down and rebuild as needed. Repair gouges and minor collapses with a handful of fresh snow and a spritz of clean water.
How to Build a Better Snow Fort: The Pro-Tips
We said we know snow forts, and we do. Luckily for you, we're generous, too, so you can share in our advanced winter fortification expertise. Here are 5 exclusive BYB epic snow fort building tips that will help you make the best snow fort in the neighborhood.
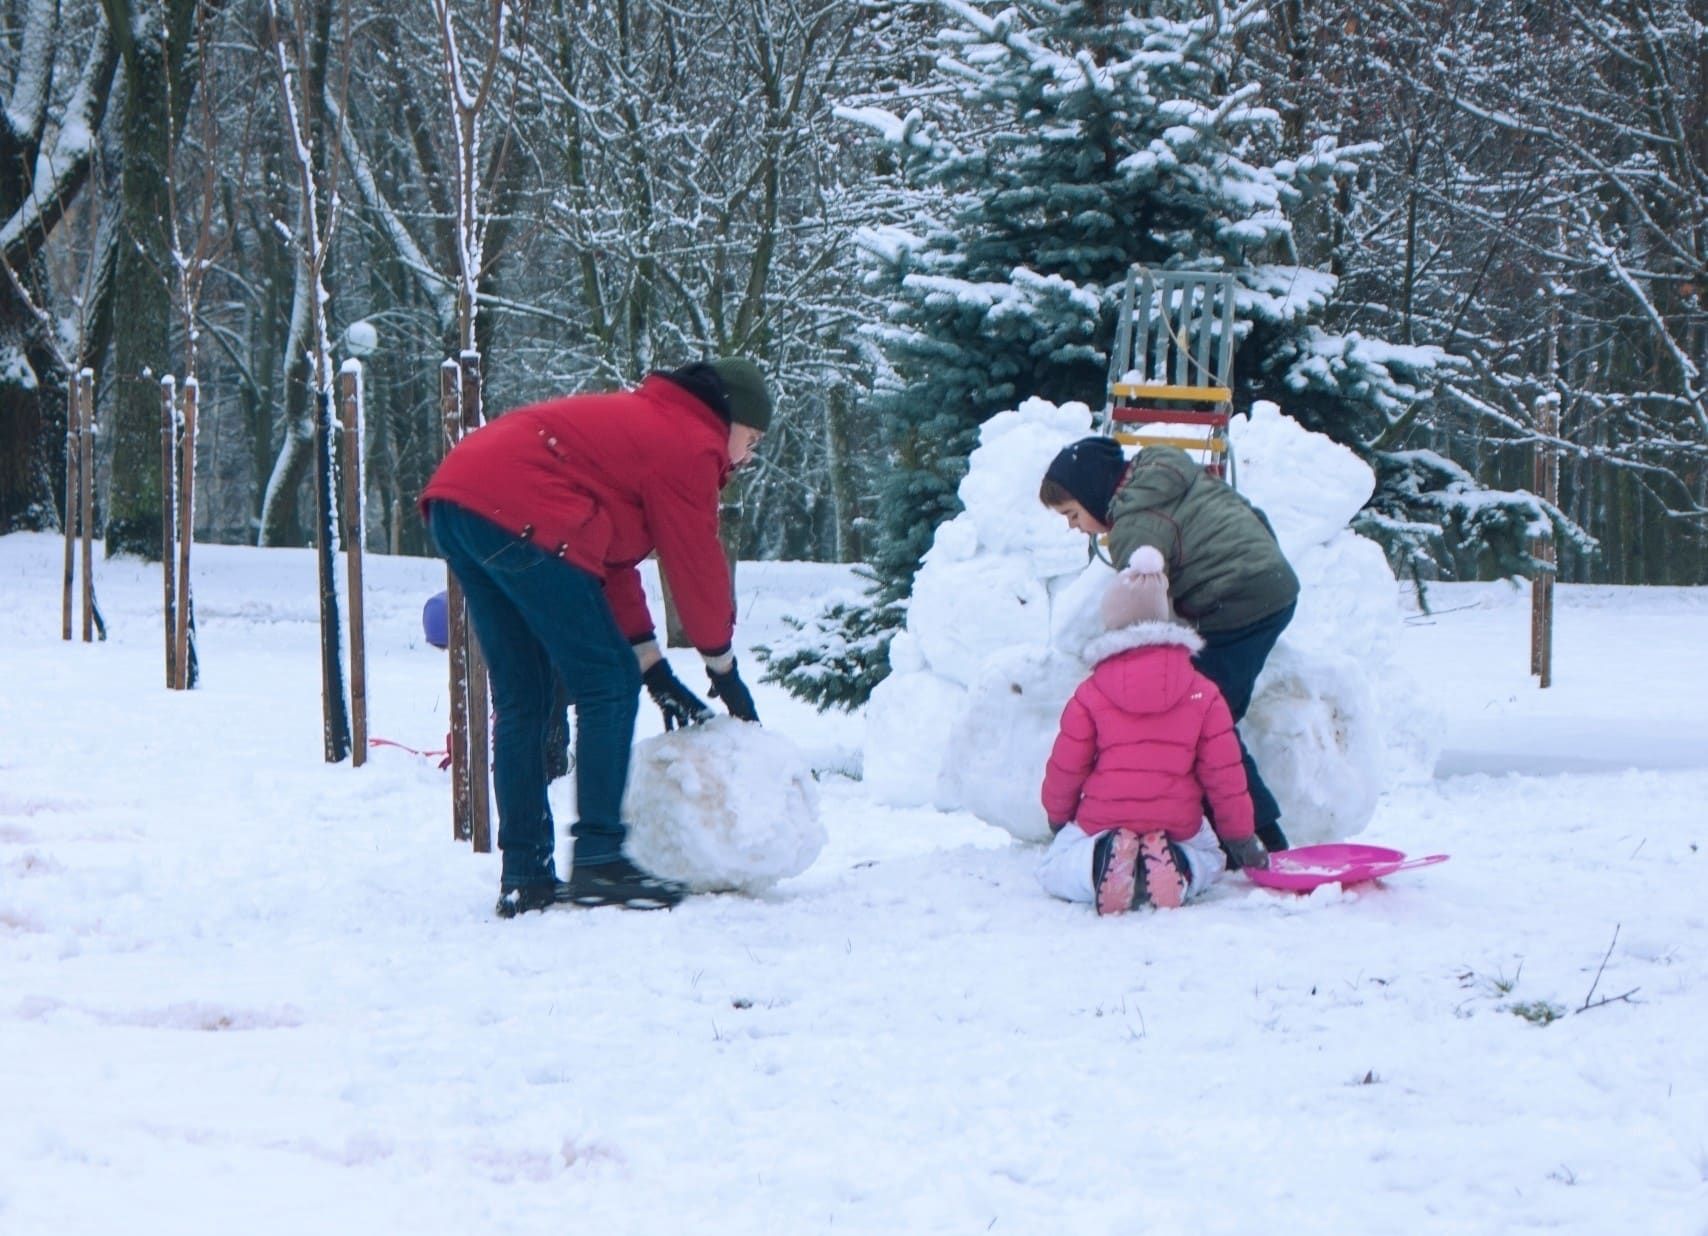
Credit: Susan van Gelder
Snow Fort Pro-Tip 1: Build a Variety of Bricks
One of the biggest secrets to creating an epic snow fort is to be original. The more creative you are, the more unique and memorable your snow fort may be. For a genuinely diverse snow fort, you will need a variety of building blocks. Think of it as you would in building any structure. The foundation, walls, and entryways all use different shaped blocks. Your fort should as well.
Having a plan helps. If you don't have a plan yet for how you will build your snow fort, take a few minutes and think about what you can use to mold a variety of differently shaped snow bricks before moving forward.
For heavy exterior walls, we prefer very large bricks made with an 18-to 20-gallon storage tote. These are heavy, hard to move, and must be unmolded in place. However, the durability of a frozen tote-sized snow brick is not to be sneezed at. (Our editor's favorite childhood snow fort memory involves an El Camino and a frozen-solid snow retaining wall; the story ends with a copper-colored boat of a car in an auto repair shop while kids played happily at home behind an undamaged shield of ice.)
For interior walls, you'll want a larger foundation brick than wall brick. Think cinder block versus standard red brick. Again, storage totes work well here—the shoebox/photo storage size is great for laying foundations—where plastic milk or juice cartons (tops removed and cleaned thoroughly) can be employed for smaller units. Whatever you use, make sure it can be packed tightly and unmolded with minimal damage to the brick or the mold.
Snow Fort Pro-Tip 2: Harden Snow Bricks Overnight
Once you've chosen which shapes you want and have created a reasonable number of snow bricks, leave them out to harden overnight.
When your bricks come out of their molds, simply pack them with your gloves and then top them off with water (if necessary). If the bricks are already turning to ice just from the pressure of your hands packing them, adding water may be overkill.
Bricks created with the use of too much water become essentially oversized ice cubes. These large ice cubes are heavier and harder to shape into your fort.
Snow bricks that harden overnight are similar to ice bricks in strength, in the long run, but are easier to work. You can break them in half, or even cut them at odd angles, which is really hard to do with ice blocks.
Snow Fort Pro-Tip 3: Use Loose Snow and Water as Mortar
When you begin the construction phase of your snow fort, gather as much loose snow as possible. You'll also want a bucket of water or two, or three… or ten, depending on the size of your overall structure.
As you place each layer of snow bricks, add a few inches of loose snow on top of them and pack it down nice and tight. After you add the snow, lightly top them off with some water before adding the next row of bricks.
We highly suggest using a spray bottle with water for this part. But, any containers that hold water will suffice. Just make sure not to go overboard with the water, and not to use hot water that accidentally melts your hard work.
Snow Fort Pro-Tip 4: Build Ramparts and/or Turrets
No basic defense structure is quite as impressive as one with ramparts. If you’re ready to take your snow fort building skills to the next level, consider adding working ramparts on the interior side of your fort walls.
Ramparts take up space on the inside of your snow fort, but they are well worth it. Rather than restricting your maneuverability, ramparts give you a major strategic and defensive advantage.
To build ramparts, draw an outline on the ground where you want your structure to be and begin adding layers of snow. Make sure to pack the snow down tightly, you'll be walking on these ramparts and need them to be extra sturdy.
In a snowball war, a fort with ramparts is sure to repel invaders with ease. But, don’t leave yourself open to a return-fire attack from the enemy, make sure to install turrets as well.
Depending on the size of your fort, you can install turrets on the corners of your wall, and every couple of feet down the length of your fort's walls or ramparts. That way, you can dodge snowballs by taking cover behind turrets in between sniping would-be invaders.
Snow Fort Pro-Tip 5: Create Cubby Holes
For quick access to firepower (or, in this case, snow power), creating a cubbyhole system works wonders. With multiple cubby holes in place, no matter which direction the enemy approaches from, you'll have a full arsenal of snowballs at the ready and within arms reach.
To make cubby holes in your snow fort, simply hollow out an area (we enjoy 20in by 15in cubbies) around waist height on the interior walls and fill them with snowballs.
When your snow fort begins to thin out, the cubby holes will become your choice of windows or snowball ports (like gun ports but better).
Snow Fort Construction Using Ice
Depending on the type of snow you have at your disposal while building your snow fort, and your intended design, using ice can indeed be a crucial aid in creating the best snow fort possible.
Ice helps “cement” your snow fort. Once the structure is complete, simply dousing the walls (from the bottom up) with water will transform the packed-snow into an icy exterior. Ice walls come in very handy during a snowball fight to thwart potential structural damage.
That said, icy walls may also create more weight. That means that they can be the source of structural damage such as walls tipping over or partially collapsing.
Further, packed snow exteriors have their own advantages. They are easier to build than a decent ice wall, and they also absorb enemy-thrown snowballs which in turn create thicker and more durable walls for your snow fort.
Awesome Snow Fort Examples
Still not sure which approach to take for building an epic snow fort? Here are a few awesome snow fort examples to have a look at for inspiration.
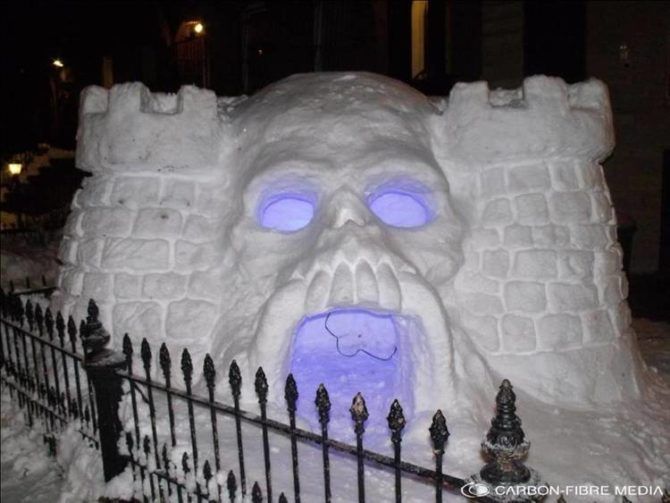
Castle Grayskull via carbon-fiber.me
This epic snow fort is definitely in the category of one of a kind. The creators based the skull-shaped snow fort with glowing eyes on the infamous Castle Grayskull from the late 20th-century cartoon series Heman.
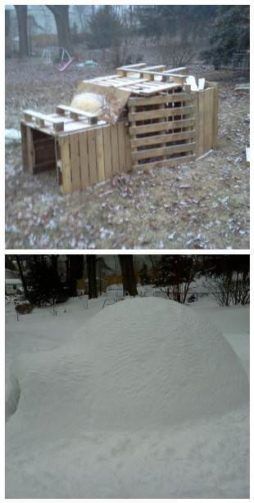
Epic Pallet Snow Fort via 1001pallets.com
This pallet-based igloo-shaped snow fort is one of the coolest (and easiest to make) that we've come across. All you need is a handful of pallets, an imagination, and of course some snowfall.
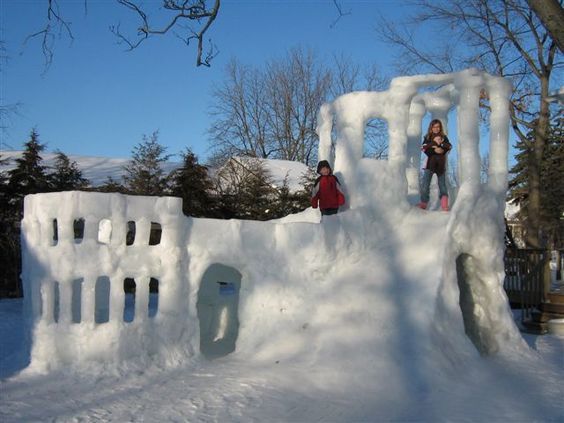
Family Size Snow Fort via njfamily.com
This genuinely amazing snow fort is not only epic in nature, it is as creative and unique as they come. Columns, multiple entryways, circular windows, ramparts, and more make up this fantastic family-sized snow fort.
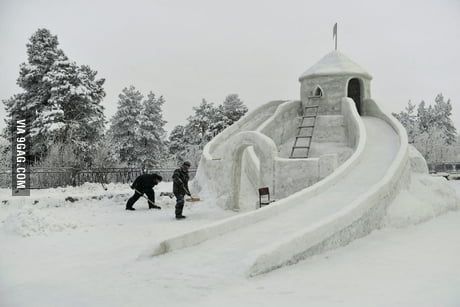
Epic Snow Fort with Slide via 9gag.com
An ingenious snow fort design if ever there was one, this snow fort is multiple “stories” high with plenty of interior space on the ground level as well as a dome-roofed mini fort on the very top. The design incorporated a central archway and two snow slides (one on each side of the fort).
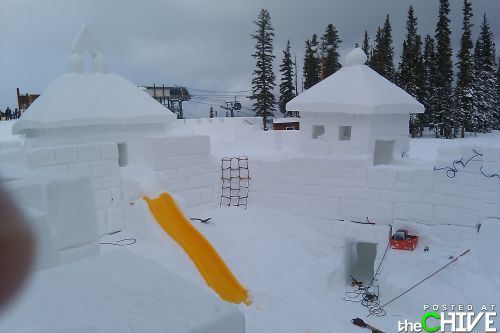
Snow Fort Playground via thechive.com
If this snow fort playground with a real children's slide isn't epic, we don't know what is. The snow fort playground also includes two forts and other defensive structures including walls made from snow bricks and banners.
Snow Igloo with Colored Bricks
Every pro-tip need not be utilitarian. It's fun to have fun, right? This snow igloo (the creation of which is documented over at Build the Ice Fort Today) is a great example of ingenuity and craftiness in construction.
Final Thoughts About Building an Epic Snow Fort
If you're new to building snow forts or simply want to increase your snow fort building skills toolset, the 5 pro tips above will definitely give you an edge. Also, why not brush up on snowman building skills? That way you can man your fort with a permanent sentry.
Do you have an epic snow tip for our audience? If so, please feel free to leave us a comment in the section below. Good luck building the most epic snow fort in the neighborhood this year!

