Vertical gardening is a great way to have the lush, green garden you have always wanted without having to sacrifice all the space needed for a traditional garden. By planting your garden upwards instead of outwards, you can grow your garden even if you live in an apartment with a small back patio. There is almost no limit to what you can grow, as long as you know how to structure your vertical garden and have the right tools.
In this article, we have laid out everything you need to do if you want to build a vertical garden using an ordinary wooden pallet. These are readily available and can usually be found for free from local businesses. With a little bit of care and ingenuity, you can be growing your plants in no time.
What You Need
This project is relatively easy and can usually be done in a couple of hours. You don’t need any power tools for this project and can probably do most of the work without helpers. All you need to get started is:
- Wood pallet
- Plywood
- Landscape fabric
- Hammer and nails
- Sandpaper
- Hand saw
- Soil
- Plants
Step 1: Clean and Prep the Pallet

Image Credits: PublicDomainPictures from Pixabay
The first thing you have to do is clean and prepare your pallet. Most of the time, pallets will have been used for shipping and will be a little bit banged up by the time they get to you. Thoroughly clean and sand down your pallet before you do anything else. You don’t want to get any splinters while tending to your garden.
If the planks of your pallet are very close together, you are going to want to remove some of them. You will need room to plant and water your garden, and the plants will also need room to grow. Remove the excess planks, as well as any nails holding them in with the claw side of your hammer.
Step 2: Attach Plywood Back and Bottoms

Image Credits: Joshua Williams on Unsplash
Once you have removed your extra planks, you will have two parallel planks on each section. Cut your plywood to the size of the space between these planks, minus 2 inches. Then, attach these plywood pieces to the underside of each section to create the bottoms of your planting sections. Leave a two-inch gap on one end for drainage and stagger these gaps with each section.
After you have done this, cut more plywood to the size of the entire backside of the pallet. Attach this to close up one side of the pallet and create the back of your vertical garden. It will keep water from draining out of the back and not settling in the soil.
Step 3: Add Landscape Fabric

Image credits: FOODLANDER.COM via Creative Commons
Landscape fabric is a porous material used underneath sod and soil to help contain it. However, it still allows it to breathe and drain. Use this fabric to fill in the bottoms of the planting areas as well as the backsides. You can secure the fabric with a hammer and nails and trim to excess size.
This fabric will help protect the wood from moisture as you water your plants. It will also help hold the soil in the planting areas, so you don’t end up spilling it all over your backyard.
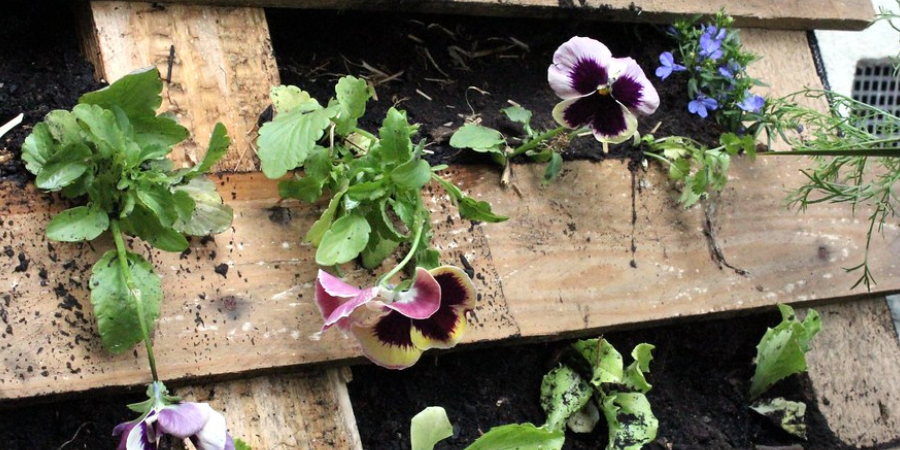
Step 4: Fill Pallet Planks with Soil and Plants

Image Credits: Nikola Jovanovic on Unsplash
Once your pallet is prepared, you can then fill it with soil. It is best to use high-quality potting soil with this type of project. Regular garden soil will be too heavy, and it won’t allow enough drainage for your plants to stay healthy.
Make sure to pack the soil in as much as you can. Then, you can add the plants you want to grow and pack them in tight. Don’t add water yet, as you will still need to move the pallet around.
Step 5: Mount the Pallet

Image credits: feesable via Creative Commons
You can mount your pallet garden in a variety of ways. You can mount it directly to a wall if you like. However, be aware that water will seep out the back no matter what, and this can cause damage to your wall or fence.
One of the best ways to mount your pallet garden is by building plywood feet. Simply cut two large triangles out of plywood and mount them to either side of the pallet. Then, you can place your pallet garden wherever you want and can even move it around to give it access to the sun during different times of the day.
Vertical Gardening Made Easy
While there are all kinds of ways to set up vertical planters, this one is the easiest, as well as the cheapest. It also has a rustic look that will match up with almost any kind of backyard decor. If you want, you can even paint your pallet garden to give it a little bit of extra style.
Do you have a vertical garden that you have built yourself and love? Let us know all about it in the comment section below.