Here at Backyard Boss, we are all outdoor lovers who enjoy working in our backyards and carrying out various DIY projects. However, we also know how to relax. One of our most favorite ways to relax is playing backyard games with our family and friends.
Have you ever played cornhole? It’s easy, doesn’t require a lot of equipment, and is great fun. If you've never played it, go ahead and read our article, where we explain how to play cornhole. However, if you know the rules but are looking for the best cornhole set, we also got you covered.
For us, the best way to play any outdoor game is by making it by ourselves. It helps us to enjoy it more when we can build it. The same was with cornhole, and that’s why today we want to show you how you can make it from scratch. It’s simple and doesn’t require a lot of items or skills. For this reason, we are confident that anyone can build it.
What You Need To Build A Cornhole

Image credits: University of Delaware Alumni Relations via Creative Commons
Tools
Before starting any DIY project, make sure that you have everything that is needed. You don't need many tools to build your cornhole. However, there are a few that are required, and they can speed up your work significantly. Those tools are:
- Circular saw
- Clamps
- Compass
- Drill
- Jigsaw
- Tape Measure
Materials
The list of required materials is also short. You can buy them in your local store or order online. Everything won’t cost more than $50-$60. The needed materials are:
- 1-in x 4-in Boards (4)
- 2-ft x 4-ft. Plywood (2)
- Bolts (4)
- Constructions screws (20)
- Nuts (4)
- Paint
Cutting List
The last thing before we move onto the step-by-step guide is the cutting list. Measure and cut all of the materials accordingly to this list. Otherwise, the project can be difficult and take more time.
|
Quantity |
Part |
Material |
Dimensions |
|
2 |
Sides |
1x4 Pine |
¾” x 3-½” x 48” |
|
2 |
Ends |
1x4 Pine |
¾” x 3-½” x 22-½” |
|
1 |
Top |
2’x4’ ½ plywood |
½” x 24” x 48” |
|
4 |
Legs |
1x4 pine |
¾” x 3-½” x 15” |
Step-by-step Instruction

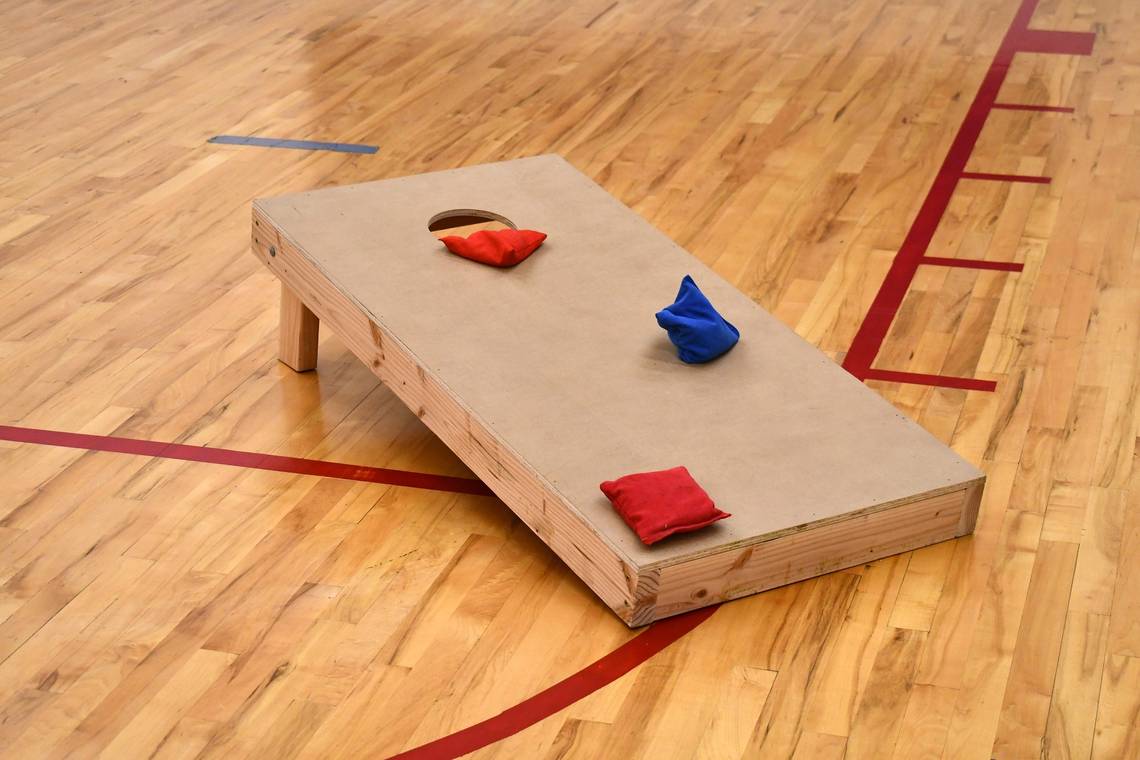
Image credits: Ryan Snyder via Creative Commons
Building cornhole isn’t too complicated. Once you have prepared all of the materials and tools, simply follow this short step-by-step instruction. The whole process shouldn’t take you too much time. However, we recommend you not to rush to avoid potential mistakes. Also, try to have as much fun as possible while making it.
Step one: Cutting the boards
During this step, you will have to do some cutting, so prepare your saw. First, make your sides boards by cutting 1x4s into four 48-inch. Next, cut four 22-½-in boards that you will use for the front and back. In the end, cut four 15-inch boards that will be used for the legs.
Step two: Constructing the box
Once the boards are cut to the proper lengths, it’s time to construct the box. It’s an easy step, so take your drill and put together the 1x4s into a box with pilot holes and screws.
Step three: Cutting the holes in the plywood
Here you will need to use a lot of precision, so take your time if you don't want to make any mistakes. First, take your 2-ft. x 4-ft piece of plywood and put it on a flat surface. Next, use the pencil to mark a point, 12 inches from a side edge and 9 inches from the top edge. Use the compass to draw a 6 inches diameter circle around the mark. Once you have made a precious circle, take your drill to make a hole along the edge of the circle. The last thing you have to do is to cut the rest of the hole with your jigsaw. Apply all of the safety issues while doing that.
Step four: Attaching the plywood to the box
Now you have to attach the plywood to the newly created box. At the beginning of that step, use a countersink bit to drill pilot holes. Take your time to make them as precise as possible. When you are done with this, fasten the plywood using the screws.
Step five: Cutting the leg arcs
Use your tape measure and the pencil to mark 1-¾ inches down the length of the 15 inches legs. Now take your compass, and from that mark draw an arc. Double-check if it's correct. If yes, take your jigsaw and cut the arc with it.
Step six: Fitting the lex
Once your legs are ready to be attached, start by turning the box upside down. Now just lay the legs parallel to a side of the box, with the arc you have just made in the corner of it. Check if everything fits. Once you are sure it fits, drill a 1-½ inch hole through the leg. Do the same with the second leg, and fasten both of them to the box using the nuts and bolts.
Step seven: Cutting the angle for the legs
Now you will have to assemble everything. Lift your platform with anything you want. You can use a piece of wood or a bucket to be 12 inches from the ground. It has to be positioned on the edge of your workspace. Now fold out the legs and mark the angle on both of them. Before cutting, detach the legs for a moment and cut them along the line using your saw.
Step eight: Sanding and painting
Now it’s time to use your imagination. However, before putting on the paint, sand the whole set. When it comes to painting, you can put any colors and make any shapes as pleased. It’s your project, so it has to match your style and requirements.
Conclusion
Being able to spend time outside with your family and friends is a great thing. To make it as fun as possible you can play various games together. If you are a DIY fan, we recommend you use this guide to create your cornhole.
I can assure you that playing the game you have created on your own is going to be even more enjoyable. If you have children and you want them to learn how to make things, try to build this cornhole together. Because this project isn't complicated, it's perfect for educational purposes. While you will do all of the cutting, they can take care of sanding, painting, or assembling everything.
Let us know if you find this article helpful, and as always, please share!