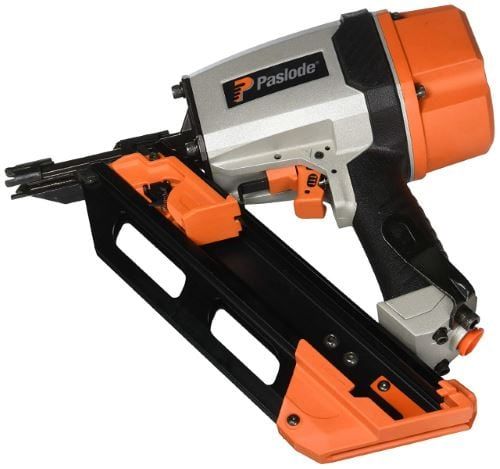
Nail guns, or nailers, are a great tool to have handy if you build or work with wood on a regular basis. They have the capability of shortening your work time, and cutting your effort in driving a nail by more than half- creating efficient work scenarios for both professionals and weekend building warriors. Durable, professional nailers are a popular pick for regular use as they are made for heavy, durable situations.
Paslode is a name well respected in the building industry for their specialized nailers that last. The construction of these products are of such that they require regular maintenance, perhaps more so than other brands due to how they work. The how to clean a paslode nail gun instructions below hopefully can provided you with a quick guide to maintaining your Paslode nailer for years of reliable work.
What is a Paslode Nail Gun?
The Paslode company created the world’s first pneumatic nailer, and for the last 50 years have been an industry leader in specialized nailers. These are reliable products with a wide variety of choices to choose from pertaining to the jobs you need taken care of. Nail guns require regular maintenance, with a recommendation of a full oiling and maintenance schedule taking place every 50,000 shots, or 6 months- whichever comes first.
Types of Paslode Nailers
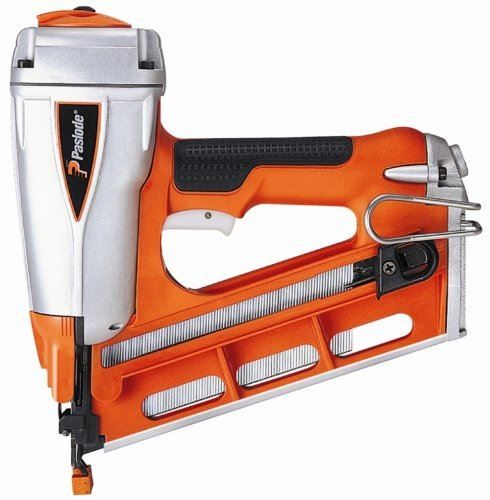
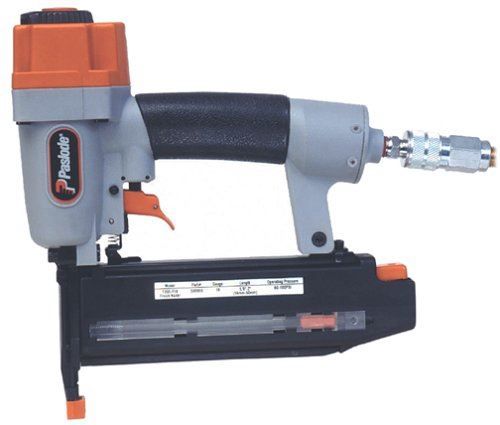
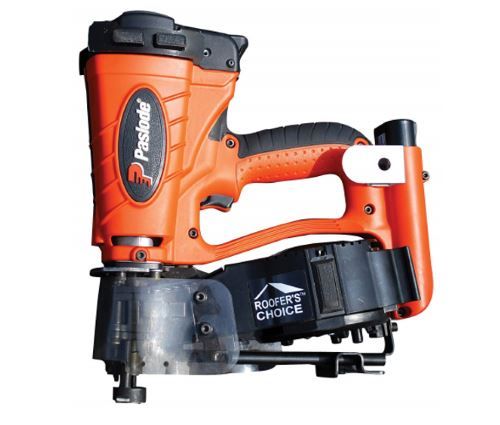
Paslode manufacturers two different type of nailers for various jobs. Pneumatic nailers, and cordless gas powered nailers. These are powerful choices that require a knowledge of the tool, as well as how to care for them to keep them working as they should. These are not complicated steps, but the nature of these products- and what they are used for, exposes them to a lot of elements that can eventually build up and create a poorly running gun. TO avoid misfies and jamming you want to take care of your investment.
Pneumatic
Pneumatic nailers are powered by an air compressor that builds up behind the piston that drives the nail. In order to run they must be connected to a compressor through an air hose. These are considered powerful go tos for professional use to drive large nails deep into framing and roofing materials.
Cordless Gas
Cordless gas options are the answer to powerfully driven nails without the use of air hoses or electric power. They work with the use of a rechargeable, lithium ion battery that charges the spark plug that works in tandem with a small gas canister to create a small, combustible explosion to drive the nail.
What You Will Need:
Cleaning a pneumatic vs cordless Paslode nailer do require a few different steps, but not any different tools. In fact, cleaning a Paslode nailer is quite simple and only requires a few simple products to get the jobs done. It is suggested that you do use Paslode oil and cleaner as it is specially formulated for their tools. This is to help avoid a buildup of combustion residue, and to avoid chemically damage the working parts.
- Correct Hex or Allen wrench : A 5/32 inch for cordless, a 9/64 inch for pneumatic
- Lint free rag: to avoid spreading dirt and scratching internal parts
- Paslode lubricating oil
- Paslode degreaser cleaner
How to Clean a Cordless Paslode Nail Gun
A nailer is simple to take apart and clean. Before getting started always be sure your battery is removed, as is the fuel canister to avoid accidental firing.
Step 1: Remove Handle from Magazine and Clean Grill and Air Filter
With the hex key wrench, remove the two socket head screws from the nose piece and pivot the handle/magazine away from the motor assembly. Tilt the handle/magazine and gently pull to separate the two parts of the gun. Now you can access the grill and air filter under the cap. Remove them and wash them in soapy water to get rid of any dust and oil that may have accumulated.
Step 2: Degrease the Cylinder Head
Place a rag or towel under the cylinder head and spray it with degreaser- allowing the dirt build up to run off. Using a lint free rag, wipe any remaining dirt and cleaner from the blades and make sure the seal rings and spark plug are clear of dirt as well.
Step 3: Lubricate Seal Rings
Nailer maintenance is not just about cleaning, but oiling your tool as well. How to oil your nail gun is simple, and should be done as you clean. After making sure your cylinder head and seal rings are clean, you need to lubricate the seal rings. To do this make sure the oil is applied applied evenly around the ring before being placed aside before finishing the job. By taking care to oil at this step you won’t forget to do so later.
Step 4: Clean the Motor Assembly
To get started with this step, first push the piston into the ‘down’ position using a narrow piece of wood, or screwdriver handle. Spray the inside of the sleeve and combustion chamber with a liberal amount of cleaner, and then invert it and let the dirt drain out over a rag or towel. Use a lint free rag to wipe any remaining cleaner and dirt off.
Step 5: Oil the Motor Assembly
Tilt up the assembly and put 4 to 5 drops of lubricate into the sleeve, and 5 to 6 drops into the lower lip of the combustion chamber. Rotate manually the motor assembly to distribute the oil around the sleeve and lip. Then hold the assembly upright and push down and release to allow oil to evenly distribute on the lip of the combustion chamber. Do the same with the driver blade to make sure the oil in the sleeve is distributed evenly.
Step 6: Reassemble
If at any point you feel that your parts are not as clean as they should be, feel free to use more degreaser and repeat any steps you feel are necessary- and wipe your parts free of debris before oiling properly.
Prior to putting your nailer back together, make sure you manually push the driver back to the top. Then tilt the motor assembly upright and spread a few drops of oil around the top of the combustion chamber with your finger. Now reassemble the nailer reversing the steps you took to take it apart.
How to Clean a Pneumatic Paslode Nail Gun
Cleaning a pneumatic Paslode nailer is as simple as the cordless was despite it being built slightly different. Always be sure to have all hoses and power disconnected from the gun prior to starting any cleaning steps. And make sure it is put back together properly before using again after cleaning and oiling.
Step 1: Remove Screws and Lift Out Cap, Filter, and Grille
Using your hex wrench, remove the 6 socket head cap screws that attach the cap assembly. Beneath that lie your cap, filter, and grille which can be lifted out all as one assembly. The filter is then removed by lifting the grille off the cap. Then you can clean the filter with soap and water, or replace all together if you want.
Step 2: Unplug the Electrical Connector and Lift out Cylinder Head
Wires run to the fan motor circuit board and and spark plug wire. These are contained in an electrical connector that you can unplug. Do this carefully as the positions of the wires in the wire clip are very specific in their placement and any change to them can cause electrical damage to your tool.
Now rotate the cylinder head assembly clockwise approximated ⅛ if a turn and lift free from the motor assembly. You now have two seperate parts and have accessed the places that need cleaning and oiling.
Step 3: Repeat Steps 2 through 5 Above
At any point in time you can repeat the degreasing steps to ensure that all heavily soiled materials are washed clean from the working parts of the tool. Just be sure to wipe all parts clean prior to lubricating, and make sure your parts are moving smoothly through those steps as well for even oil distribution.
Conclusion
If you were unsure of how to clean a Paslode Nail Gun prior to this article, you now know exactly how easy it is to clean up and maintain. These are fairly simple tools overall and require regular care, but nothing that is strenuous or difficult. For the most part you can apply the basis of these steps to just about any nail gun to ensure it works as it should.
If you have any questions or comments about the information provided above, let us know below. And if you found this to be a helpful article, please share!

