Solar lights are a very convenient way to extract light from the sun and convert it into energy that can be used to power a light bulb. One of the many advantages of having solar lighting in your yard is the fact that they are quite low maintenance. Even so, one of the things that you will have to look after is making sure the lights are clean. What does this mean and how is it done? Read on to find out how to fix cloudy solar lights!
Why Do Solar Lights Require Cleaning?
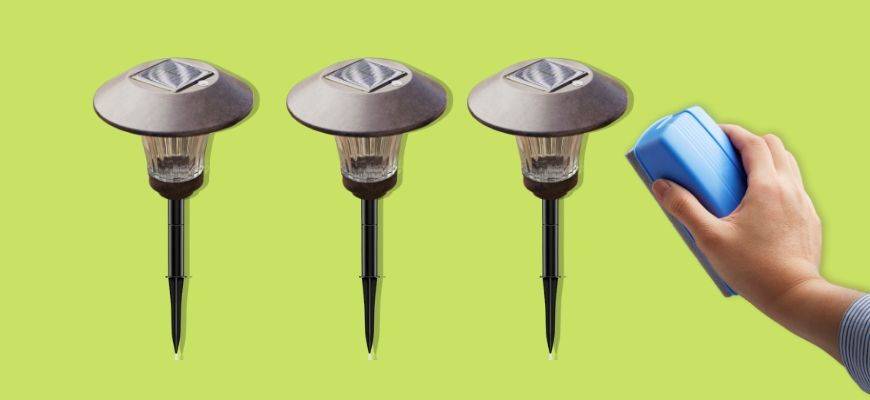
Solar lighting is made up of a variety of components linked to one another in order to perform their roles and distribute light over an area in your yard. Since solar lights are designed for outdoor use, that means that they are exposed to nature’s elements and can easily get dirty and yellowed because of that.
It doesn’t even matter where your solar lights are placed: wall-mounted lights can just as easily get dirty as solar path lights. Cleaning your solar lights on a regular basis can prolong their lifespan but can also ensure that each of the parts is functioning properly to deliver the highest light output possible for your garden or walkways.

Overall, there are three main components of solar lights that require maintenance: the solar panels, the batteries, and the plastic or glass cover. Even if these three components have a general maintenance period specified for each, it’s best if you clean the lights after major weather events, like heavy rainstorms.
It’s not uncommon even for solar lights who claim to have a good waterproof rating to show signs of water leakage that can easily damage the lights once it reaches the internal components. As a general note, the more often you inspect and clean your solar lights, the better the odds of increasing the lifespan of the product.
Step One: Cleaning the solar panel
Solar panels are the actual part of the system that absorbs sunlight that can later be converted into energy. Depending on the design of your solar lights, these panels may be parallel with the ground, creating a favorable surface for dust, debris, snow, or other stuff to stack on top of it. When solar panels are obstructed, then the panel is no longer as efficient in absorbing sunlight because the sun’s rays no longer reach their destination.
Knowing how to repair and clean the solar panel of a light fixture is a very easy process and one that you should perform at least once per month, even more often if the situation demands it.

- To clean the solar panel, you can use a damp paper towel or a clean cloth.
- Wipe the surface of the solar panel clean, making sure that you don’t apply too much pressure or use any amount of force that could damage the surface. If you’re cleaning your solar panel free of debris, note that using force might lead to scratching the protective case of the lights.
- Once the surface of the panel is clear of any loose debris, feel free to pour a small amount of mild detergent (dish soap should normally do the trick) on the solar panel’s surface.
- Grab a clean damp cloth once again and gently rub the surface of the panel. Think of the process as if you were washing a very fragile plate.
- Once you’re done with this step, proceed to remove any soap from the surface of the panel using a damp cloth or paper towel.
- If need be, use a dry towel to completely dry the solar panel and thus prevent any dust from building up onto its surface.
Step Two: Cleaning the batteries

When dealing with a solar light that basically “lives” outdoors, the chances of the batteries residing in a humid environment are very high. As a result, they are prone to oxidizing and, if they aren’t removed in time, they could permanently damage the light fixture.
Common sense dictates that you should check the batteries at least once a trimester, although it’s better if you check them more frequently (especially if you live in a humid climate or if rainfall occurs on a regular basis).
- Open up the battery compartment on your solar lights and carefully examine the batteries inside.
- If you notice a white powder on the metal surface, that is a sign of battery corrosion.
- You have to remove the battery from its slot and use a soft brush to brush it. You should do the same with the interior of the battery compartment, as this fine white powder might be in there as well.

- If you are having difficulties in removing the white powder, you will need something more abrasive than a brush, like fine-grit sandpaper. Whichever method you use, you need to make sure that both the battery and the housing compartment are clean of any corrosion.
- Before placing a new battery inside the compartment, you need to make sure that the housing is completely dry, as further humidity will only cause more corrosion.
NOTE: After having cleaned the batteries of corrosion, you can also choose to put it back inside the compartment. However, if you notice that your solar lights aren’t working even after the battery and housing have been cleaned, that means it’s time to replace the old battery with a new one. Make sure that the batteries you buy are compatible with your solar lights (the user manual should provide all the information needed in this case).
Step Three: Cleaning the Light Cover

Just as the panel uses some kind of protective case that will shield it from the external environment, the actual lights of the fixture are also protected. This protective case is known as the light cover, and as it gets dirtier, the lights will change in intensity and no longer shine as bright as you’d like them to. The steps for cleaning the light cover are identical to those for cleaning the solar panel.
Restore Complete!
Aside from these three main components that require cleaning on a regular basis if you want the lights to function properly, you will also have to clean the entire light fixture from time to time. It would be a shame to have dirty solar lighting when everything else in the yard looks so neat and organized. Thankfully, you can use a damp towel for most types of outdoor solar lighting.