A lush, green lawn gets lots of love for both its beauty and as a magnet for family fun. However, it also provides a host of other benefits. It traps dust and debris your family might track into the home, releases oxygen into the air, and controls stormwater runoff. But there are times when a jumble of clippings, grass stems, roots, and debris — or thatch — takes over and it might be time to dethatch it.
A thin layer of thatch isn't a cause for concern, but a thick layer will steal your lawn’s luster and ability to perform those all-important functions. If dethatching is in order, the best time to tackle it is in late summer or early autumn, periods when the grass is in full growth mode.
WHAT YOU NEED
- A ruler
- Gloves
- A trowel or hand spade
- Mower
- Hose or sprinkler
- Thatching rake or electric dethatcher
- Wheelbarrow
- Garden bags
- Regular garden rake
- Aeration tool
- Seeds
- Fertilizer
STEP ONE: ASSESS THE THATCH

Image credit: tookapic via Pixabay
It’s best to measure how thick the layer of thatch is before you start to dethatch. A thin layer of thatch can actually benefit your lawn, protecting it from heat and helping to retain moisture. If the thatch layer is thicker than 0.75 to 1 inch, it’s time to remove it.
Use a trowel or hand spade to dig up a patch of thatch. If you don’t have one handy, put on a pair of gloves and try to pull it up with your hands. Gauge the thickness by looking at it or by measuring it with a ruler.
STEP TWO: MOW YOUR LAWN

Image credit: MariuszBlach via Canva
For the best results when you dethatch your lawn, the grass should be short. However, because you will be dethatching when your lawn’s growth is at its peak, odds are it will be standing tall and proud and you will need to mow it.
Mowing enables the dethatcher to dig down deeper and also helps to break up some of the thatch, which will make your job easier. Using a manual or power mower, follow the directions for the lowest height setting for your lawn’s grass variety, and then start mowing.
STEP THREE: WATER YOUR LAWN

Image credits: george tsartsianidis via Canva
Thatch can be rugged and resistant to efforts to remove it. But water softens the thatch and makes it more prepped and pliable for the dethatcher. Also, moisture lessens the stress on the grass.
Water the lawn with a hose or sprinkler just enough for it to be wet, not soaked. Then wait for a day or two before you begin to dethatch your lawn. Naturally, if it has rained during that period, you will need to wait again.
STEP FOUR: IT’S TIME TO DETHATCH

Image credit: aotoj via Openverse
Put on your gardening gloves to prevent blisters. If you are using a thatching rake — or dethatching rake, the two terms are used interchangeably — begin to rake up the thatch by pulling toward you. Be careful not to dig too deeply into the lawn and soil. Use just enough force to remove the thatch. To release the thatch from the rake, push away from you.
A power dethatcher is a better option for midsized and large lawns. Before you use it, place it on a hard surface such as a stone walkway or concrete. Make sure the tines are just nuzzling the ground or are just a little above it. You don’t want it digging too deeply into the grass and soil.
Once it is set to the correct height, operate it in the same way you would a lawn mower, pushing in straight lines. Stop the mower after you have completed each line to rake and remove debris so you’re not going over them again.
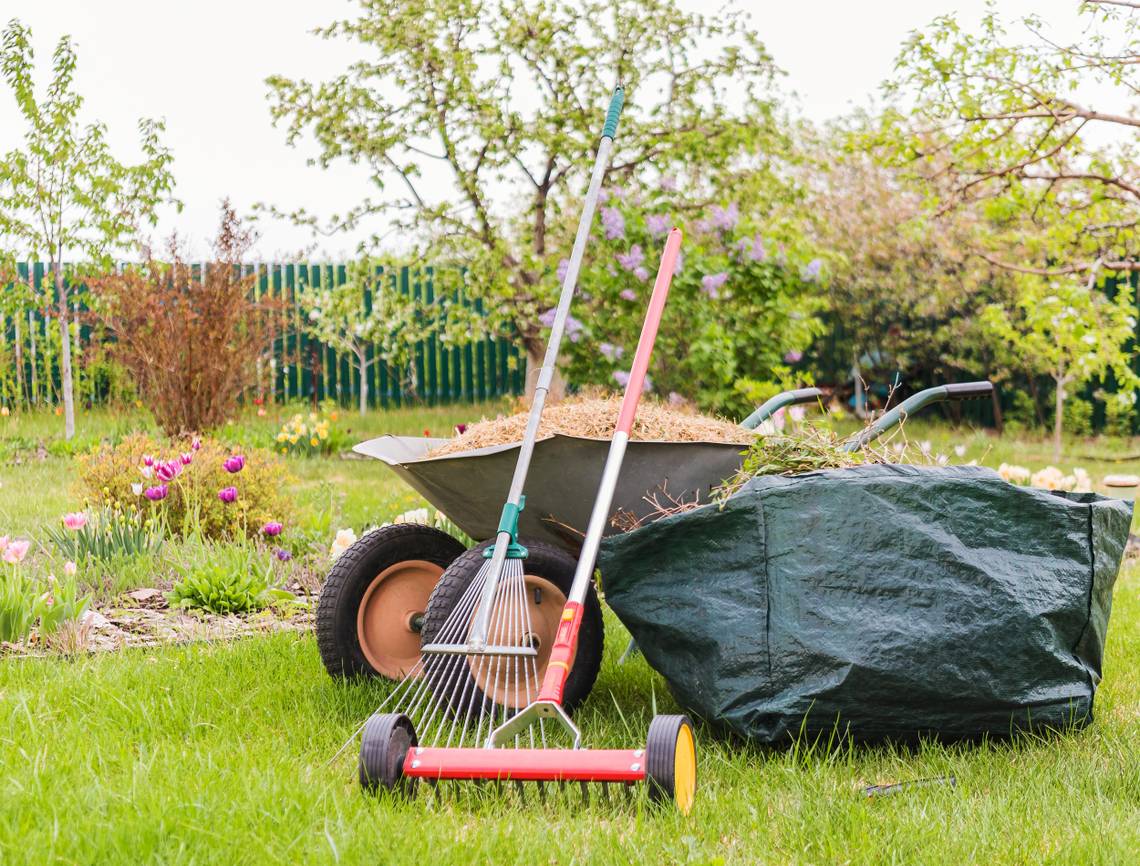
STEP FIVE: CLEAN UP

Image credit: Bru-nO via Pixabay
Whether you use a thatching rake or a power dethatcher, there will be a lot of debris left behind. Use a standard garden rake to collect it into piles and then place them in a wheelbarrow.
You can add the thatch to compost but be aware that it takes longer than other garden waste to break down. Alternatively, place the debris in eco-friendly garden bags and discard it.
STEP SIX: AERATE, IF NECESSARY

Image credit: allispossible.org.uk via Openverse
After you have dethatched your lawn, you might also need to aerate it. Some telltale signs that aeration is needed include compacted soil, water pooling in spots, and brown or pale blades of grass.
A variety of aeration tools are at your disposal. They include lawn coring and rolling aerators and aerator shoes with spikes. Use any of these tools to bore holes into your lawn to create a stronger root system and make it easier for your lawn to absorb nutrients and water.
STEP SEVEN: FERTILIZE, RESEED, AND WATER

Image credits: Amanda Mills via Pixnio
Right after you dethatch your lawn it will be stressed and weakened. So, give it a good feed with lawn food and starter fertilizer. If you notice thin patches throughout your lawn, take the opportunity to seed it after fertilizing, never before.
Wait a day after fertilizing and adding seeds to water your lawn. Moisture feeds the lawn’s roots and new seeds. It also breaks down the fertilizer so it’s more easily available to your lawn. Keep grass moist for several days afterward.
DON’T BE DAUNTED WHEN IT'S TIME TO DETHATCH
While dethatching your lawn can be a time-consuming and tiring job, the good news is that it’s unlikely you’ll need to do it more than once a year. It depends on what type of grass your lawn is. Thatch builds up faster in warm-season grasses such as Bermuda and zoysia, but slower in cool-season grasses such as bluegrass and ryegrass. So, have you dethatched your lawn before? Let us know how it went.