Key Takeaways
- Growing and drying herbs at home is a rewarding and low-maintenance way to enjoy fragrant and flavorful leaves in your kitchen for months to come.
- Drying herbs preserves their delicate leaves while still adding a burst of flavor to your dishes. Harvest your herbs at their peak flavor before they flower for the best results.
- There are several methods for drying herbs, including hanging them to air-dry, using a dehydrator or air fryer, oven-drying, or even microwaving herbs for a quick solution.
Growing herbs in your home garden is a fun and rewarding experience for any gardener! Not only do homegrown herbs require minimal upkeep in comparison to other plants, they also smell incredible and leave behind a lingering scent in your garden. Most herbs grow in abundance, providing you with fragrant, flavorful leaves to harvest and use in the kitchen.
But, what happens when you grow too much to realistically consume? Well, don't let those tasty herbs go to waste! Instead, try drying your herbs in a variety of different ways and continue using them for months to come. All herbs can be successfully dried indoors, including classic choices like parsley, basil, rosemary, thyme, and oregano leaves.
Drying herbs preserve the plant's delicate leaves and still adds a wonderful burst of flavor to your dishes. For the best results, harvest your herbs at their peak flavor, which is right before the plant begins to flower. When stored correctly, herbs will last for one to three years. Discover how to dry herbs for long-term storage with these four simple methods.
Prep Your Herbs Before Drying

Regardless of what drying technique you will be using, there are a few steps you need to follow first. To begin the drying process, head outside to your garden and harvest your fresh herbs using sharp pruning shears.
- Trim or prune herbs directly at the soil level, leaving the stems still intact.
- If you want to continue growing your herbs outdoors, trim no more than ⅓ of the plant at one time. If not, harvest the entire plant.
- Before drying, thoroughly wash and dry the herbs to remove any dirt or debris.
- Wash several times under running water. Pat the herbs dry with a paper towel, or use a salad spinner to remove all traces of water.
- It's important that your herbs are completely dry to prevent the risk of mold growth. Once dry, select your desired drying process from the options below.
1 Hang to Dry
Air-dry your fresh herbs for optimal flavor

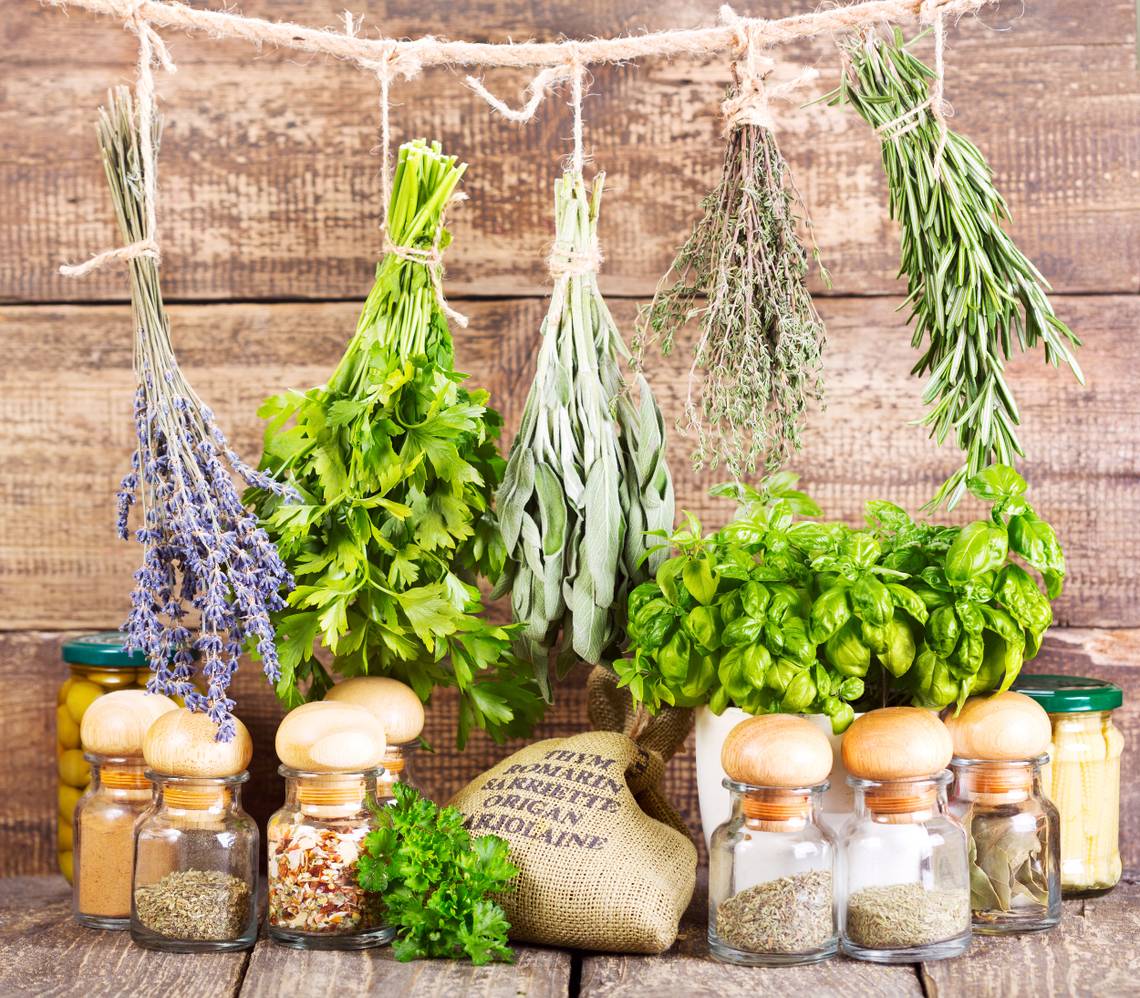
One of the best ways to preserve garden-fresh herbs is by hanging them to dry indoors. Air-drying herbs is an effortless way to maintain their flavor, requiring only a few materials, along with a little time and patience.
Step 1: Gather Your Materials
Gather the following materials to air-dry your herbs indoors.
- Fresh herbs
- String
- Brown paper bags (optional)
- Airtight containers
Step 2: Secure Into Bundles
- After washing and drying your herbs, begin by making multiple bundles. Gather the herbs into bundles and secure them together by their stems with a piece of string. After securing, tie another long piece of string around the end for hanging purposes.
- At this point, if you'd like to provide additional protection to your herbs, cover them with a brown paper bag. Puncture the bag, adding several tiny holes for air to pass through. This step is optional but is highly recommended to prevent dust build-up and to catch any fallen leaves.
Step 3: Hang to Dry
- Hang herbs to dry in a dark, warm place in your home that has a room temperature of 70 to 80 degrees Fahrenheit and low humidity.
- Hang the herbs upside down by their stems and allow for adequate space in between the bundles. Doing so allows for proper airflow while they dry.
Step 4: Transfer into Airtight Containers
- Herbs will take anywhere from one to two weeks to thoroughly air-dry.
- Once dry, the leaves will be a more dull color and crumble quite easily. Remove the leaves from their stems and transfer them into an airtight container. Store in a cool, dark place.
2 Dehydrate Herbs
Remove water from your herbs with a dehydrator or air fryer

Another viable option is drying herbs in a dehydrator, or drying herbs in an air fryer. Most air fryers have a dehydrator setting, so if you don't want to purchase a new kitchen gadget, simply use your air fryer instead! Herbs that are dehydrated are said to be more potent and better-tasting than other methods, as it better preserves their flavor and aroma. This makes it a popular method to preserve protection herbs.
Step 1: Gather Your Materials
For drying in a dehydrator or air fryer, gather the following materials.
- Fresh herbs
- Dehydrator or air fryer
- Airtight containers
Step 2: Set Your Temperature
- Dehydrators are popular kitchen devices that preserve food, including herbs. They work by slowly removing all moisture, using a very low heat setting.
- Set your dehydrator or air fryer to the lowest possible temperature, typically between 95 and 110 degrees Fahrenheit.
Step 3: Arrange Herbs on Racks
- Carefully place the herbs on multiple drying racks. Be careful not to overcrowd the trays and leave adequate space in between the leaves for airflow.
- For air fryers, repeat the same steps. If your air fryer only has one or two racks, you may have to dry your herbs in several batches.
Step 4: Dehydrate for Two to Four Hours
- Dehydrate herbs for two to four hours. Continuously check in on your herbs every hour to see how they are doing, as devices may vary.
- Once they feel dry to the touch, remove the herbs, and place them into an airtight container.
3 Oven Drying Herbs
Keep a close eye while oven-drying your herbs

While it is a little more difficult, you can also dry your herbs in the oven. When drying in the oven, it can be harder to control the overall drying process as oven temperatures will vary.
This method can more easily destroy the oils and color of some herbs, especially if the temperature is not low enough. Consistently observe and check on your herbs while using this drying method, to avoid burning or over-drying.
Step 1: Gather Your Materials
To dry herbs in the oven, gather the following materials.
- Fresh herbs
- Oven
- Baking sheets
- Airtight containers
Step 2: Set Your Oven Temperature
- To begin, set your oven to the lowest possible temperature. Since the lowest temperature will vary depending on the type of oven, aim for 170 to 180 degrees Fahrenheit.
- Always leave the oven door slightly ajar, leaving an area for warm air to escape during the drying process.
Step 3: Place Herbs on a Baking Sheet
- Place your herbs on a baking sheet, leaving sufficient space in between the leaves. If necessary, use multiple baking sheets to evenly space out your herbs.
Step 4: Dry Slowly in the Oven
- Place your tray of herbs in the oven (leaving the door slightly open) and allow them to dry for up to one hour. Follow up every 15 minutes, to ensure nothing is burning.
- If you feel your oven is getting too hot throughout the drying process, immediately turn off the oven and allow your herbs to continue to dry from the residual heat.
- Remove from the oven when they feel dry to the touch. Allow the herbs to fully cool, and place them into airtight containers for storage.
4 Dry Herbs in the Microwave
Quickly dry herbs in your microwave

While it is not commonly recommended, in a pinch, you can also try drying herbs in a microwave for a speedy solution. This method is only suggested for those with a microwave wattage of 1000 or lower, or you risk ruining your herbs.
The wattage of your microwave determines how powerful the microwave is. A higher wattage will cause your herbs to heat up too rapidly. Those with higher watts should avoid this method altogether.
Step 1: Gather Your Materials
You only need a few items to dry herbs in the microwave.
- Fresh herbs
- Microwave
- Paper towel
- Airtight containers
Step 2: Microwave Your Herbs
- Place your homegrown herbs on a single layer of paper towel, spacing evenly, and layer with another paper towel on top.
- Microwave on high for one to two minutes, stopping every 30 seconds to check on your herbs for dryness. Continue cooking until the herbs feel dry and are easy to crumble.
- Be very careful with this drying technique, as paper towels can easily catch fire. Always monitor your herbs while microwaving.
- Once completed, allow it to cool and transfer into airtight containers.
Get Drying Your Homegrown Herbs!
Drying your own herbs allows you to utilize and enjoy every last leaf you have growing in the garden! When the growing season begins to wind down in your area, harvest herbs and try any of these drying methods to extend the shelf life of your homegrown goodness. After drying, properly store your herbs in an airtight container away from any heat or light. With these techniques, you'll have plenty of flavorful herbs to use all fall and winter!