As summer retreats behind the clouds on the horizon, grills are getting put to bed for the winter. Outdoor grill covers are coming out, gas lines are being disconnected, and many of us are saying goodbye to our favorite method of preparing food.
BUT, you don’t have to say goodbye to grilled food. Just because the cold weather keeps us all inside, it doesn’t mean you can’t grill up a steak indoors. If you do it right, you can be dishing up grilled meals, complete with smoky flavor and grill marks, all winter long without burning the house down.
Backyard Boss is here to show that although grilling in an outdoor space is a summer activity, eating grilled food can be a year-round event without compromise. Read on to learn everything you need to know about how to grill indoors.
Things You Need
- Stovetop
- Grill pan (cast iron for best results)
- Ventilation
A Step-By-Step Guide On How To Grill Indoors
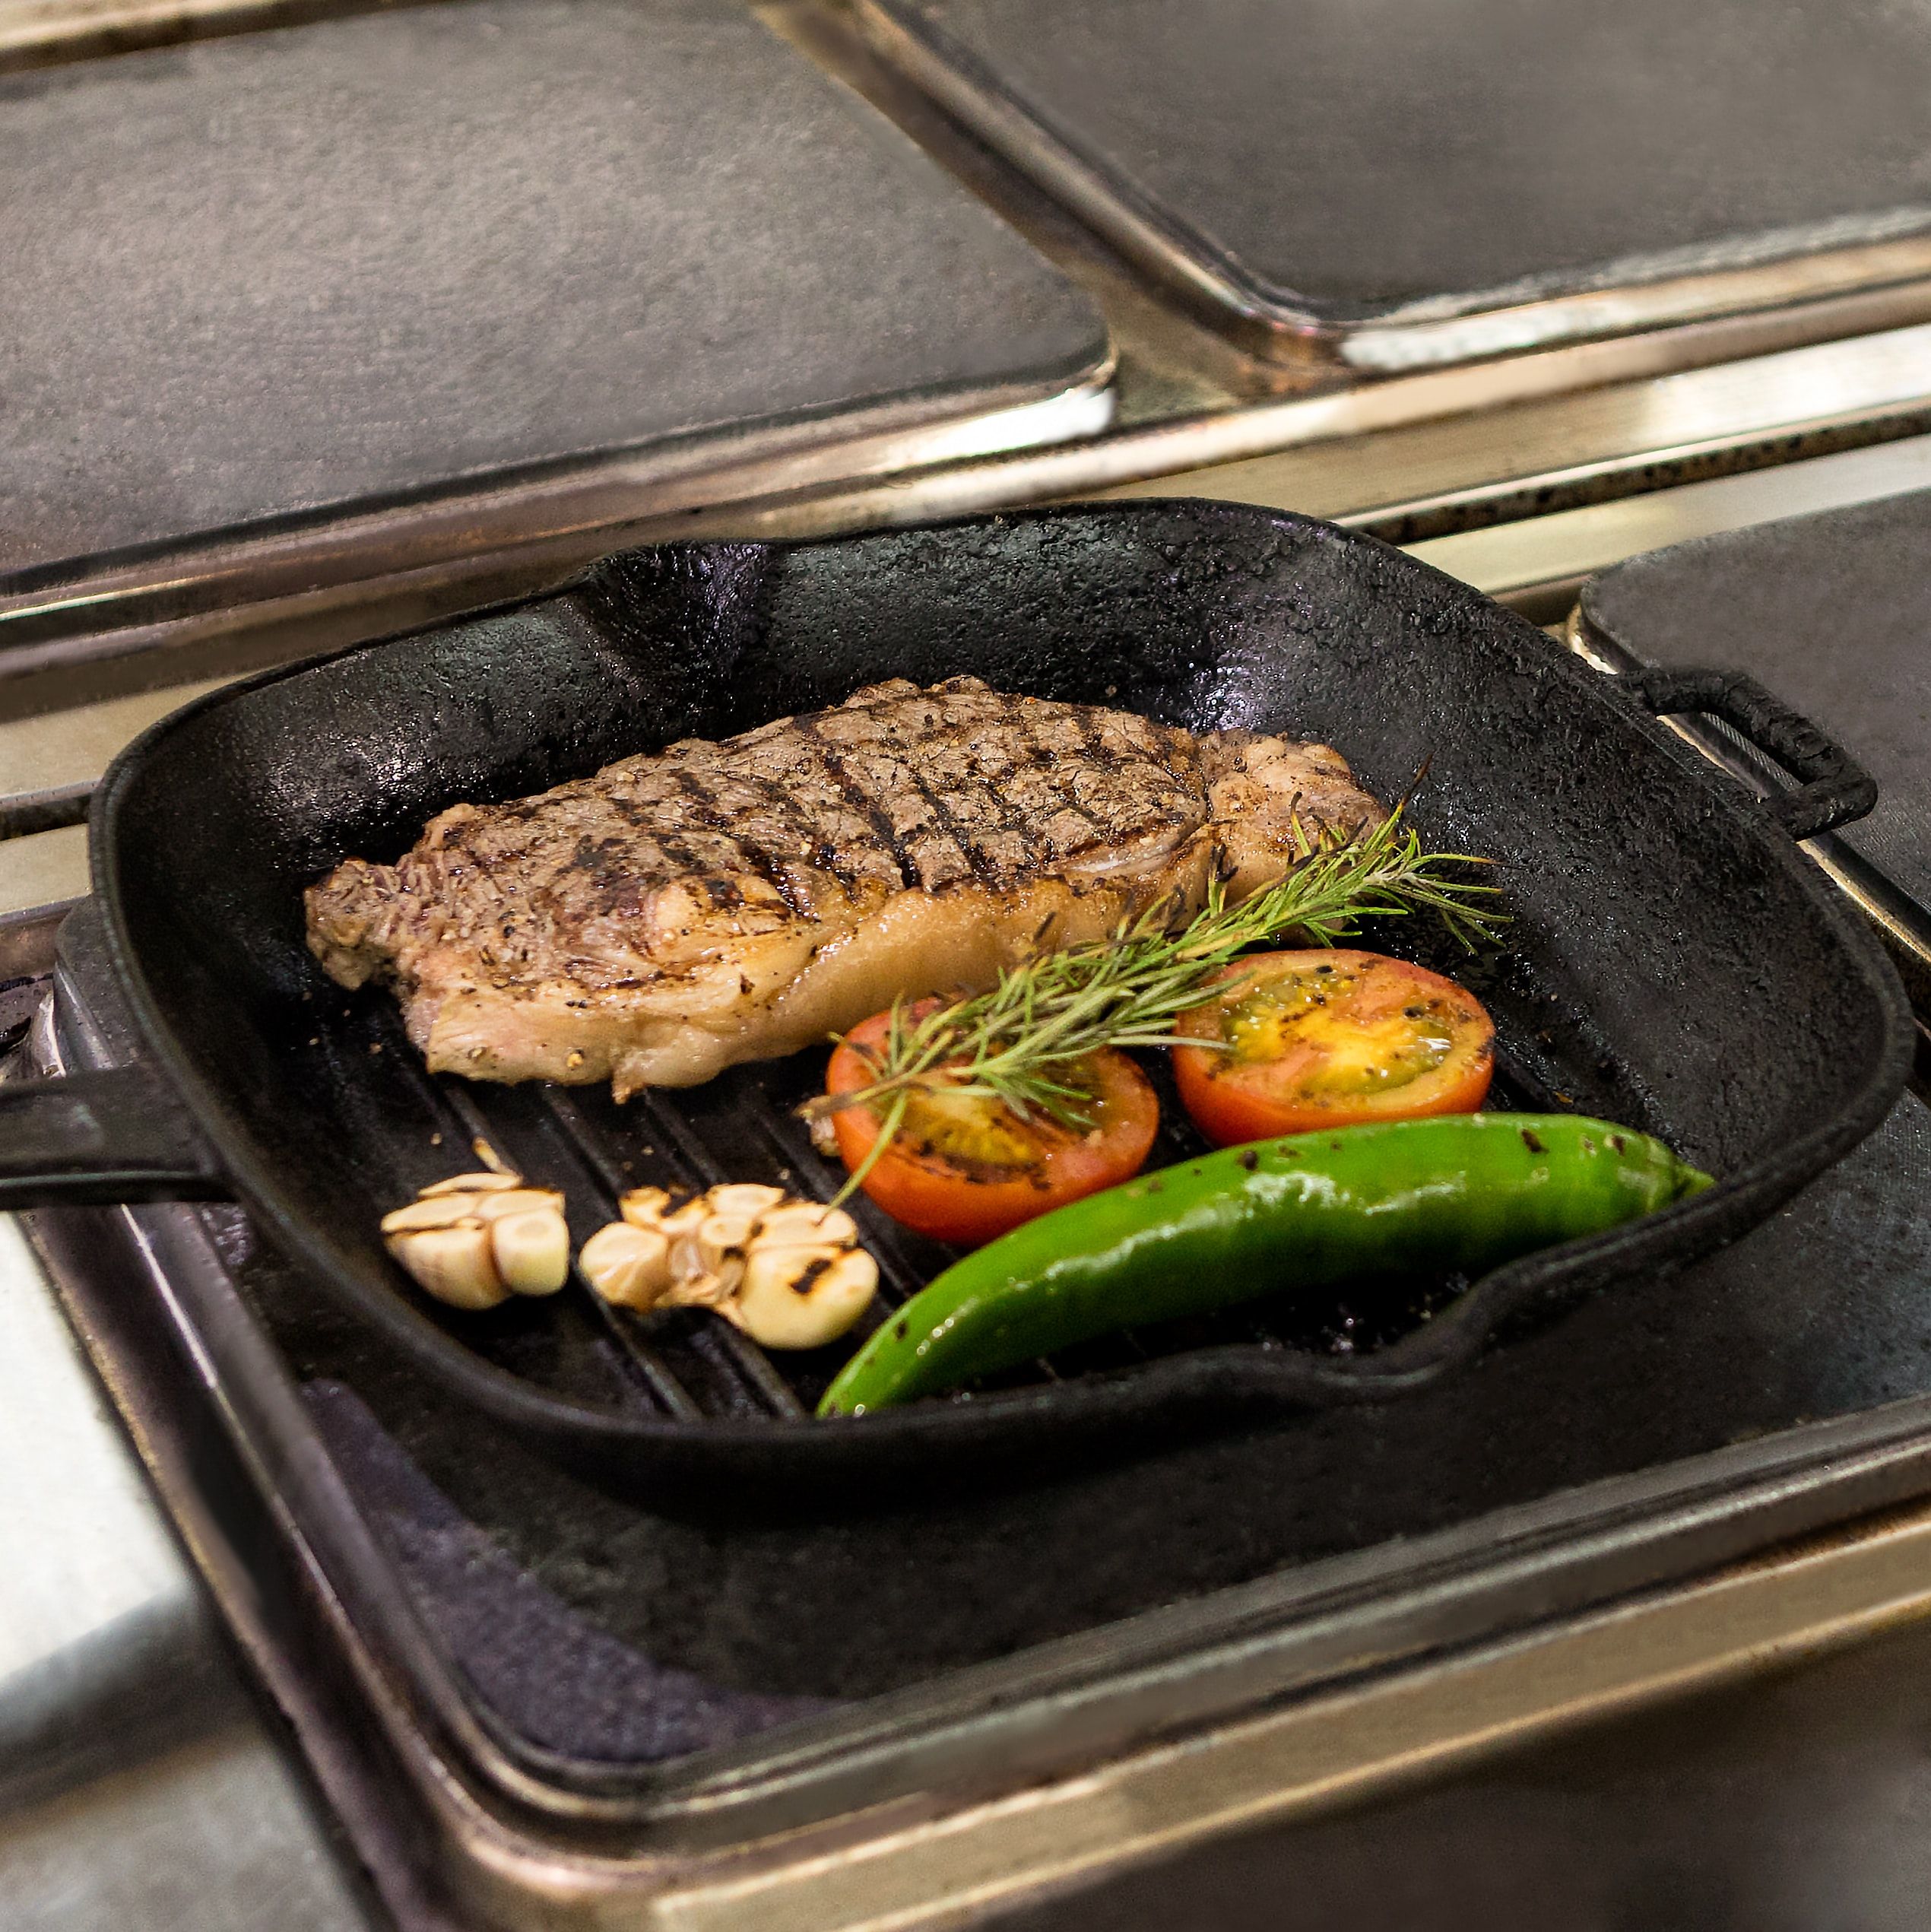
Step One: Choose Your Pan
Image Credits: Farhad Ibrahimzade on Unsplash
When it comes to indoor grilling, the pan is one of the most important parts. The pan replaces the entire grill as your cooking surface. Unless you're using an electric grill, in which case, read our collection of the best indoor electric grills to get started. Choose a sturdy grill pan that has the grill marks at the bottom. Read our roundup of the best indoor grill pans for the full scoop.
As any grill master will tell you, cast iron is the best material for your grill pan. Cast iron heats up evenly and retains heat for a long time. You also avoid toxic non-stick chemicals present in most non-stick pans. For a more in-depth look, read our deep dive on is indoor grilling healthy?
If you’re using a cast-iron pan, first make sure it’s seasoned according to the manufacturer's instructions. Then coat the pan with a thin layer of oil before starting.
For any other pans, a light coating of oil will be sufficient.
Pro Tip: When seasoning a cast iron pan, season the whole pan. Including the outsides and the bottom.
Step Two: Open A Window
Image credits: Katerina Pavlyuchkova via Unsplash
It’s important to remember the biggest difference about grilling inside; you’re inside! It means that all that smoke coming off your grilled food has to go somewhere. With outdoor grilling, this isn’t a problem. Inside, though, inadequate ventilation will smoke up your house and may become a health hazard.
Before you grill indoors, make sure all that unwanted smoke has somewhere to go. Turn on the range hood or any other forced ventilation systems you may have in your home. Even opening a few windows will make a world of difference. Open two windows on opposite sides of the room for optimum cross-ventilation.
If you have a smoke alarm in your kitchen or adjacent rooms, you may want to disable it for now. Make sure you leave a clear reminder for yourself to reconnect it once the cooking is done.
There is also the option of putting your grill pan in the oven to contain the smoke. It would be a good idea in a house that has poor ventilation and minimal windows. Make sure your pan will be able to handle being in the oven. A completely cast iron pan would work here.
Heat the oven as high as it will go with your pan inside. Once the pan is hot, continue cooking as normal with the pan and your food in the oven. Keep the door closed as much as possible to contain the smoke and heat.
Don’t place any pans in the oven that contain plastic, wood, or other heat-sensitive material.
Pro Tip: Safety first. It would be a good time to familiarize yourself with the location of the nearest fire extinguisher or any other fire suppression system you may have. If you don’t have a fire extinguisher, turn off the grill and buy one.
Step Three: Prep The Food
Image credits: Dimitri Karastelev via Unsplash
Prepping food for an indoor grill fest is much the same as doing it for any other cooking method except for one main difference. You want to burn-proof your food as much as possible since it’s going on a piping hot grill pan.
To do this, make sure your food isn’t damp. Pat the food dry if it is.
Next, brush your food with a light coating of olive oil. If your food has been marinating, make sure you brush any herbs or spices with olive oil to prevent burning. You can add olive oil to the marinade. It depends on the cuts of meat for the same effect.
Step Four: Fire It Up
Image credits: Ayesha Firdaus via Unsplash
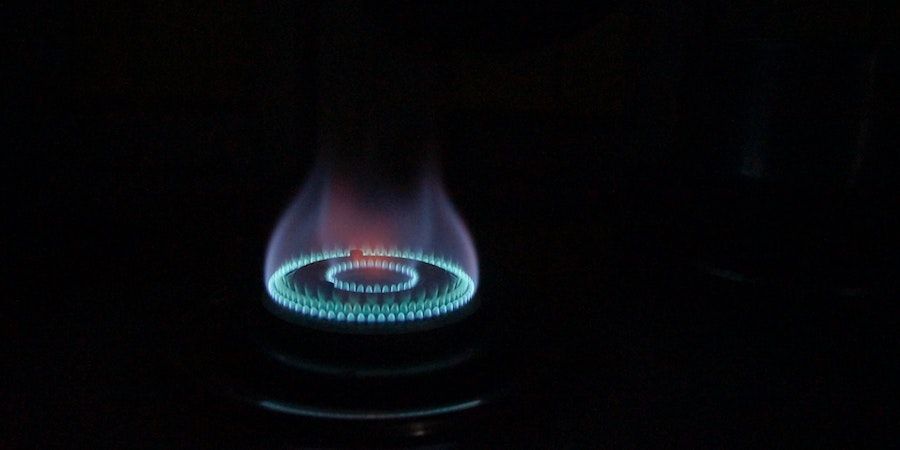
Here comes the fun part. Fire up the stove and place the grill pan on top of the burner. Heat the pan until it’s very hot, then reduce the heat to your desired temperature and maintain it for the rest of the cooking time.
Place your food onto the hot grill pan. This initial searing will seal off the outer layer of meat if you’re cooking meat and will provide those grill marks that everyone goes crazy about.
Put the food on the pan and leave it undisturbed for a few minutes. You don’t have to unstick it, move it around, check if it’s cooking, etc. Leave it where you put it.
After a few minutes, pick the food up, rotate it 90°, and put it back in the pan. It will give your food a professional-looking cross-hatch pattern to wow your friends and family.
Continue cooking your food as normal.
Pro Tip: Once the food comes off the grill, it continues to cook for a few minutes. It is an important part of the whole process, and it’s why ‘resting’ food before you tuck in is crucial.
It is also significant to remember with meats that tend to dry out and toughen up when overcooked, such as lamb. Take it off the grill before you think it’s done so it can continue cooking to the perfect level while it’s ‘resting’ out of the pan.
The Last Word
With the step-by-step tutorial above, grilling food is now a year-round activity. I strongly recommend you invest in a cast iron grill pan for the best results. Not only do they cook your food evenly, but they also do so healthily. They are also the perfect tool to get the most out of grilling indoors.
What do you think? Will you be firing up the indoor grill this winter? Comment below with your favorite dish to grill indoors.


