Do you dream of having a beautiful rose garden? Of looking out into your yard, mesmerized by the beautiful flowers that have become a cultural icon for the British? We can help you achieve it.
When I was young, my mom wouldn’t start the car in the morning until all her children commented on how beautiful her rose garden was. It is the type of pride people have for their rose gardens. And you’ll have the confidence to grow one of these gardens after you read this tutorial.
For some reason, roses are believed to be notoriously difficult to cultivate and keep healthy. The truth is, with the right knowledge, everyone can enjoy roses, no matter where you garden. Read on for a detailed tutorial on growing a rose garden for beginners.
Gather Your Supplies
First things first, gather everything you need for this tutorial so that you don’t have any delays once you’ve started on the project. You will need:
- Shovel or garden trowel
- New rose plant
- Compost
- Bone meal (or superphosphate if you have dogs)
- Granular rose fertiliser
- Mulch
Step-By-Step Guide
Step One: Prepare Your Site

Image Credits: Pelargoniums for Europe on Unsplash
Once you’ve gathered all the supplies from the list above, it’s time to prepare your site. Roses love the sun, so provide them a minimum of 6 hours of sun a day is essential. Good drainage in your soil is crucial for healthy roses. They require deep, regular watering. But if their roots sit in water, they will rot, and the whole plant will be affected.
Once you’ve chosen your site, dig a hole where you want your new rose bush to grow. It has to be the same depth as the root ball of the new plant and an inch or two wider.
Pro Tip: Don’t crowd your rose bushes. Three feet between each bush is a good rule of thumb to follow. Fungal diseases are a big issue for roses, so giving them plenty of room between each plant will improve airflow and eliminate an environment where fungal diseases will thrive.
Step Two: Prepare Your Plant

Image Credits: Ennelise Napoleoni-Bianco on Pixabay
If your new plant came rooted in a pot, now is the time to remove the plant from the pot. Hold the stem (with gloves, roses have thorns), flip the whole thing upside down, and gently tap the bottom of the pot to loosen the root ball. Once it’s free, gently loosen the root ball with your fingers to encourage the roots to spread out once they’re in the ground.
If your plant came bare-rooted, it probably looks like an expensive stick with some roots at the end. Don’t worry, just follow this tutorial, and that stick will bloom in time. Remove any dead, broken, or rotten roots with a sharp blade. Soak them for 12 hours before planting to prevent the roots from drying out.
Pro Tip: Sterilise the blade with isopropyl alcohol before you make a cut to prevent infection.
Step Three: Plant Your Rose

Justin DoCanto via https://unsplash.com/photos/HUuXYr9rt9s
Mix some bone meal with the soil that you removed from the hole. It will reduce transplant shock when you plant the rose. If your rose came in a pot, loosen the root ball, while being careful not to damage the roots while spreading them. Place the plant in the hole making sure that the new soil level is the same as it was in the pot. Backfill the hole with the mixture of soil and bone meal.
If your plant is bare-rooted, use the bone meal pr soil mix to make a small mound in the middle of the planting hole. Spread the roots out evenly over the mound and gently backfill with more bone meal/soil mix.
Because almost all commercial varieties of roses are grafted, there’ll be a knobbly graft union somewhere at the bottom of the stem. You want this graft union to end up about an inch below the soil when everything has settled and been watered in.
Pro Tip: If you have pets (especially dogs), replace the bone meal with superphosphate to avoid enthusiastic digging by hungry dogs.
Step Four: Water And Mulch

Image Credits: congerdesign on Pixabay
Give your roses a deep watering and apply a thick layer of mulch around each plant. Water new roses every 2-3 days, especially in dry weather, until the plants are established. You’ll know they’re established when the plant starts sending out new growth. Once your plant has reached this stage, you can move on to the regular maintenance for rose bushes outlined below.
Maintenance For Your Rose Garden

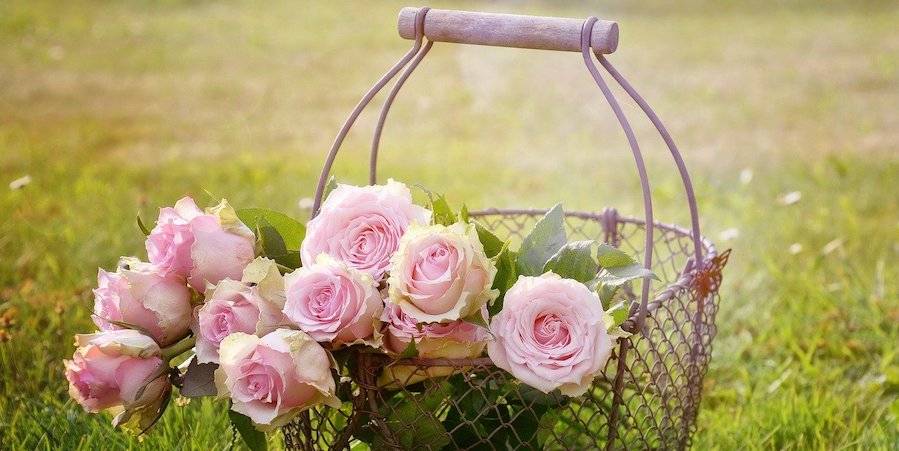
Image Credits: Mabel Amber on Pixabay
Roses thrive in neutral to slightly acidic soil (5.5 to 7.0 ph), so you may have to add amendments, depending on your soil. Roses are heavy feeders, so make sure you have rose fertilizer on hand.
Water deeply once a week. Roses thrive with deep, regular watering. It encourages a deep, strong root system that will support all those beautiful blooms.
Feed your bushes with a granular fertilizer mixed into the soil every six weeks during the growing season. Stop feeding six weeks before your first frost date, and stop watering when the ground freezes. If you live in a frost-free climate, continue watering all winter.
Pruning your bushes regularly will help with the appearance of the bush and is also an opportunity to remove any dead or diseased branches. Take a look at our tips for pruning roses for the full rundown.
Spring Or Fall, When Is The Best Time To Plant?

Image Credits: Nikita Tikhomirov on Unsplash
Planting in the spring is safest when it comes to roses. There’s less for them to contend with and easier for you to get them in the ground. The advantage of planting in the fall is that your new plant will have the whole winter to settle in and establish itself. So when spring finally shows up, they’ll be ready to start growing, and you may even get blooms earlier on in the year.
If you want to plant some roses in the fall, here are some things for you to consider:
- Winter lows. How cold does winter get in your area? If you can expect temperatures of -10℉, it’s best to plant your roses in the spring. Temperatures this low will kill a rose plant that hasn’t fully established itself.
- Bare root or potted? Bare-rooted plants take longer to establish themselves than their potted friends. Therefore, don’t plant bare-rooted plants in the fall. If you decide to plant roses in the fall, make sure you buy potted roses.
- When’s your first frost? When planting roses in the fall, make sure to do so at least one month before your first frost. It will give your plant a little bit of time to begin establishing itself before the cold weather arrives.
If you decide that fall planting is right for your situation based on the factors above, then go ahead and get yourself some potted roses and start planting.
Remember that the roses are entering their dormant season at this point, so there are a few things you need to do differently.
- Don’t fertilize. It can weaken the plant as it’s going into winter.
- Don’t prune. A fall-planted rose bush is gearing up to survive the winter. Don’t add to its challenges by hacking off limbs.
- Mulch heavily. It keeps the soil temperature stable and protects the roots of your new plant.
- Plant only dormant plants. Any plants with leaves shouldn’t be planted in the fall. Wait until spring.
Are You Ready To Start Planting?
Roses have a reputation for being delicate and fussy, but the truth is, following this tutorial will make growing a beautiful rose garden can be an easy and rewarding endeavor.
Are you confident that you have what it takes to cultivate a lovely rose garden? Let us know how your rose garden is coming along in the comments below, or send this tutorial to somebody you think should grow some roses.