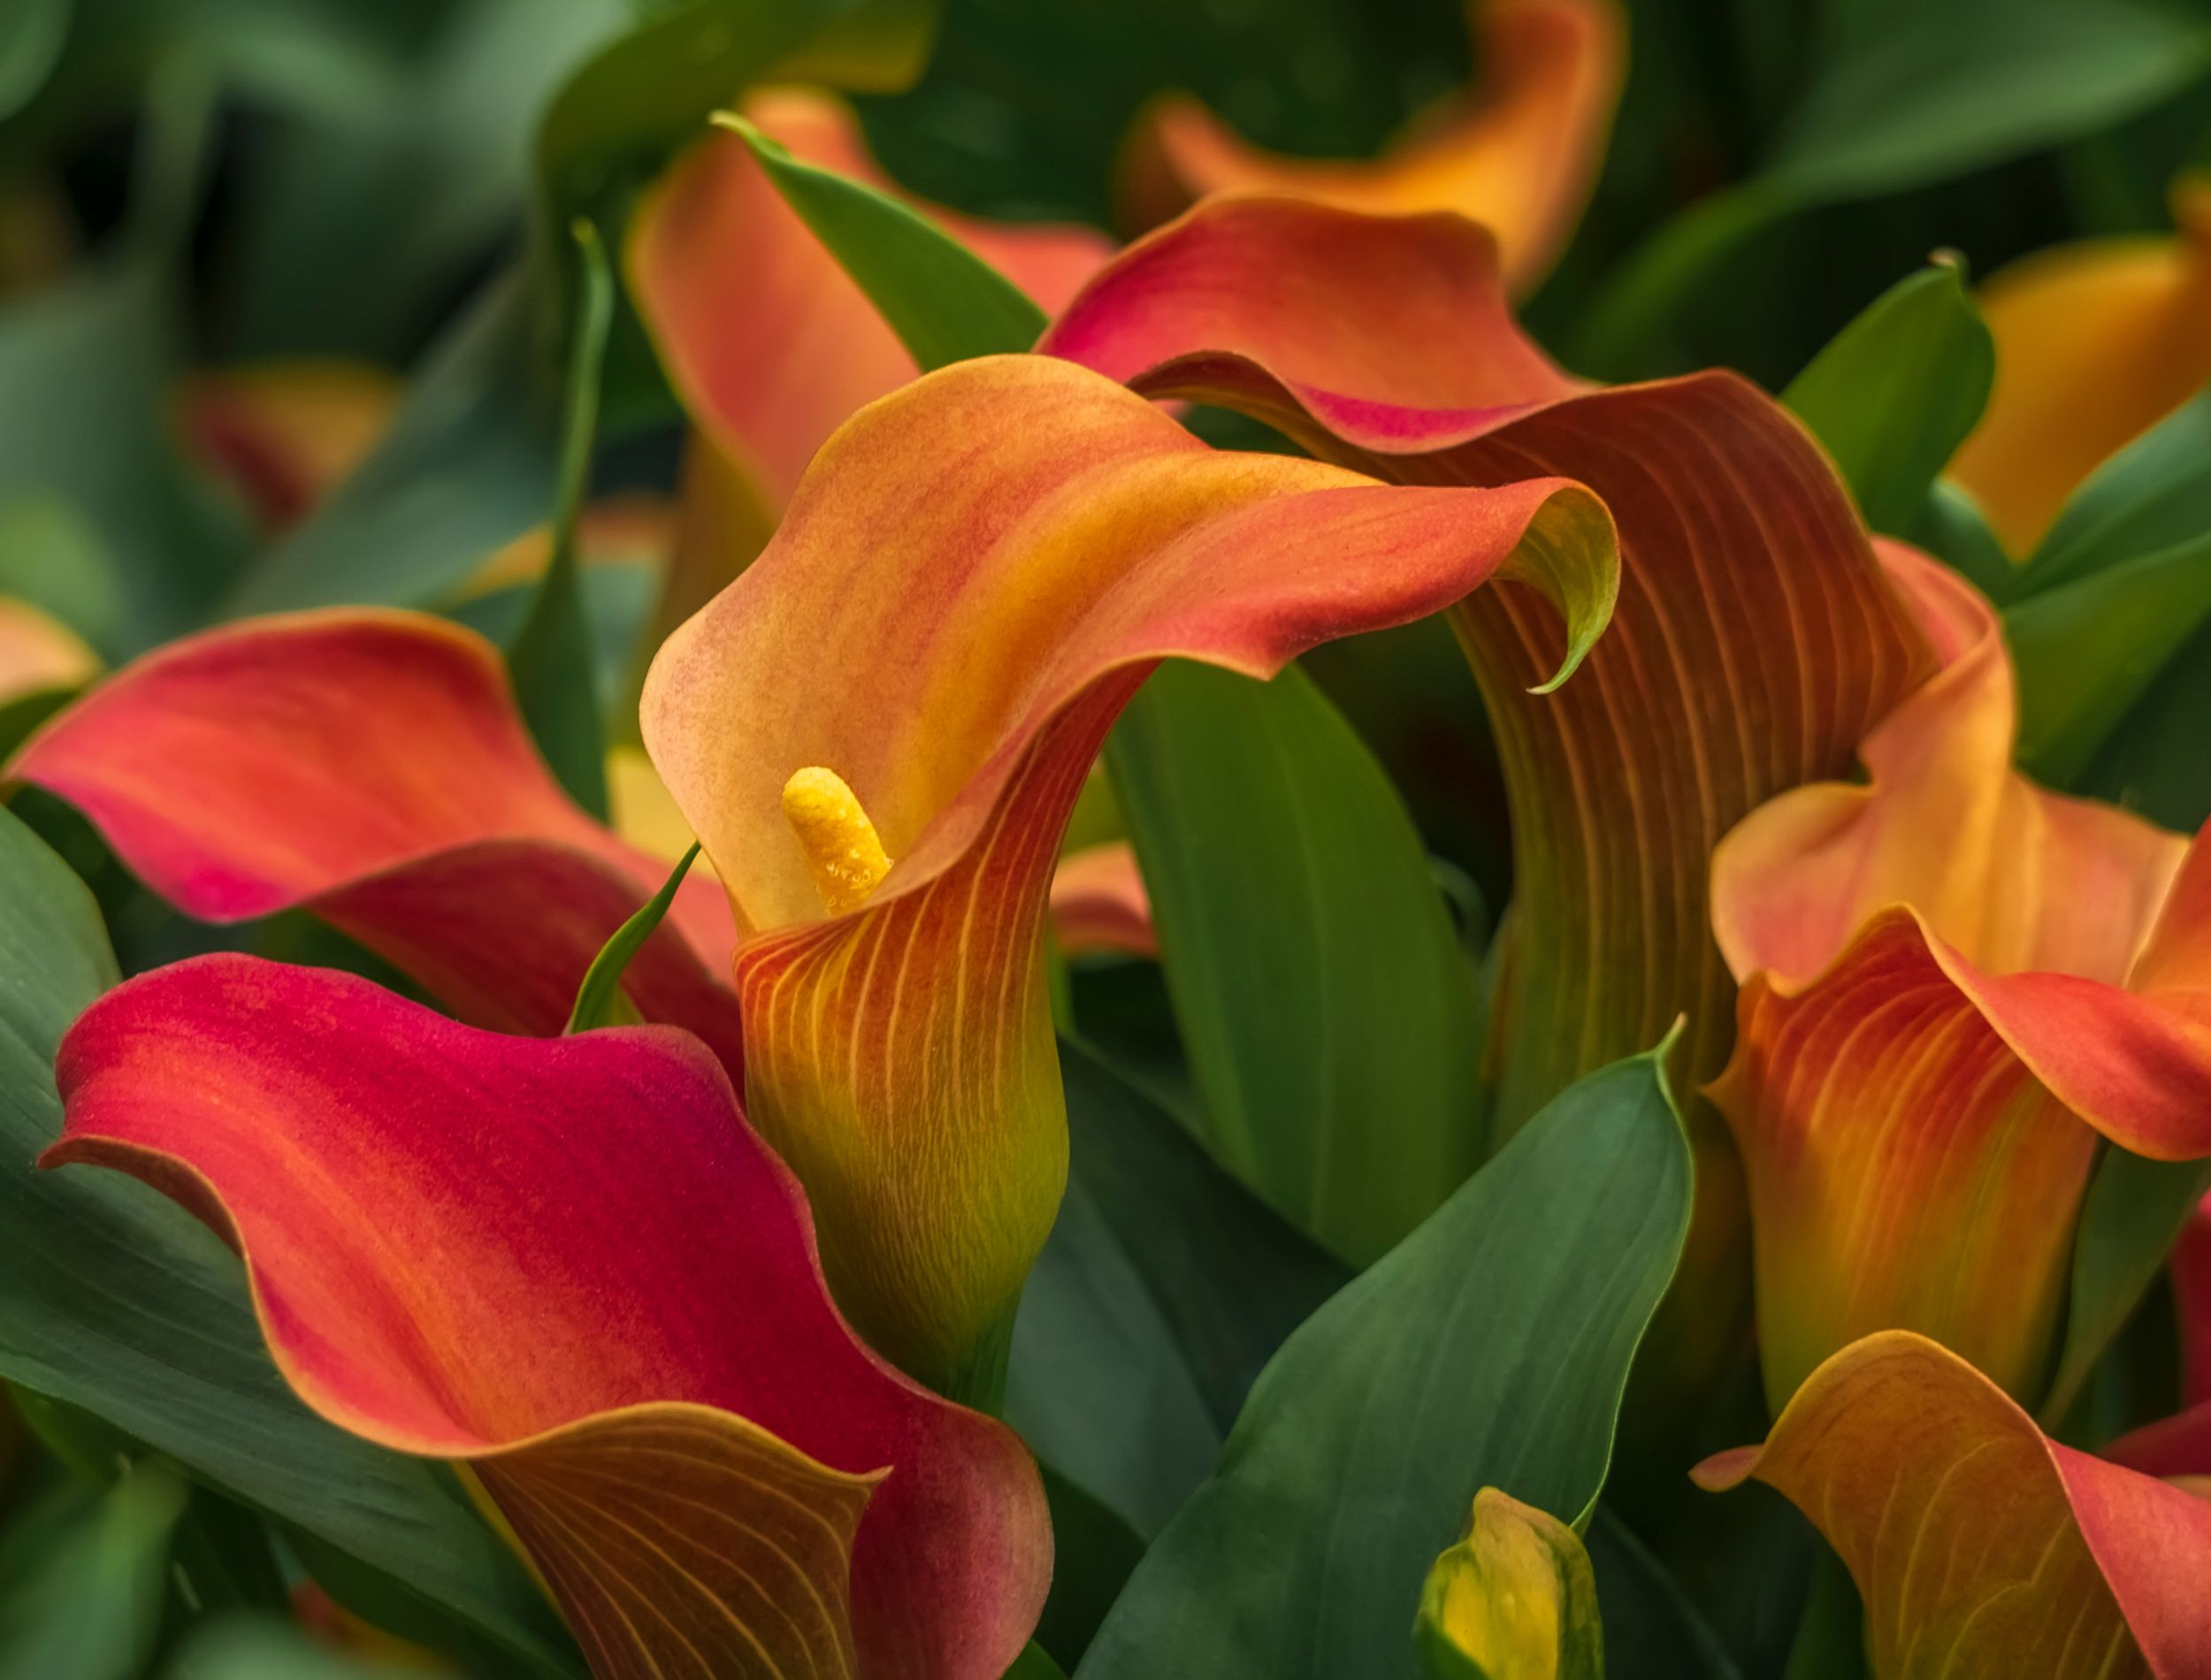
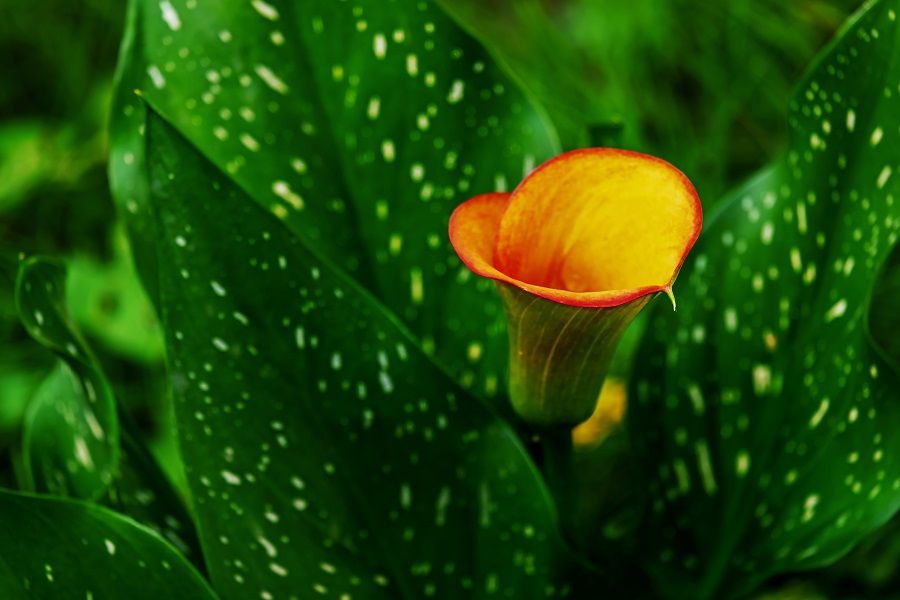
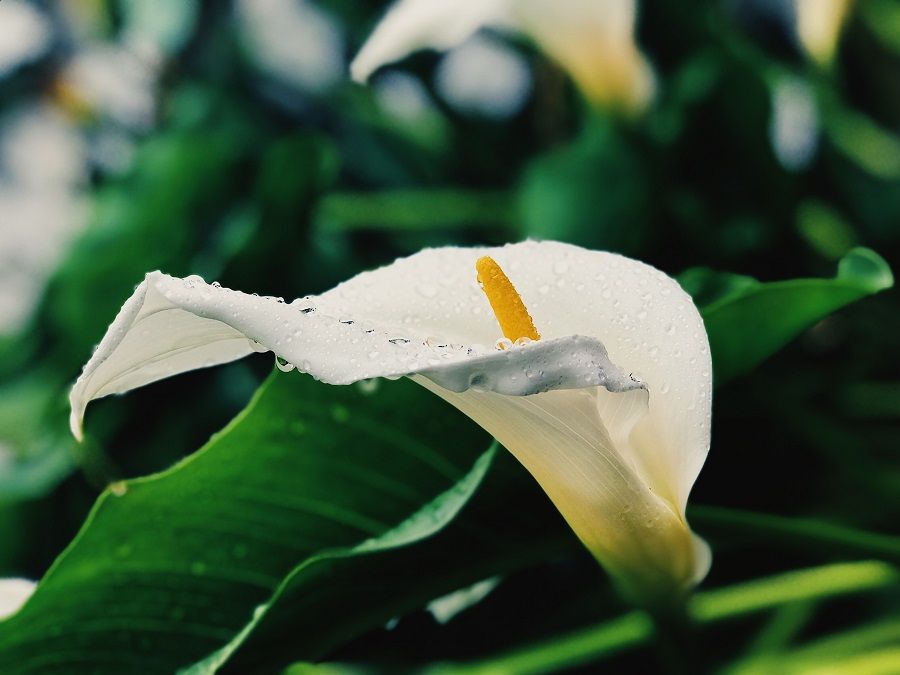
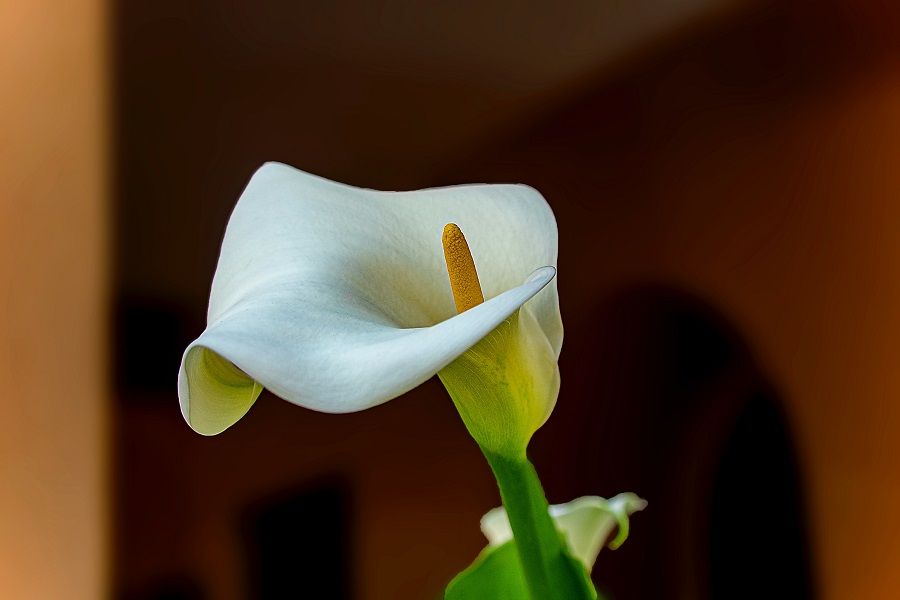
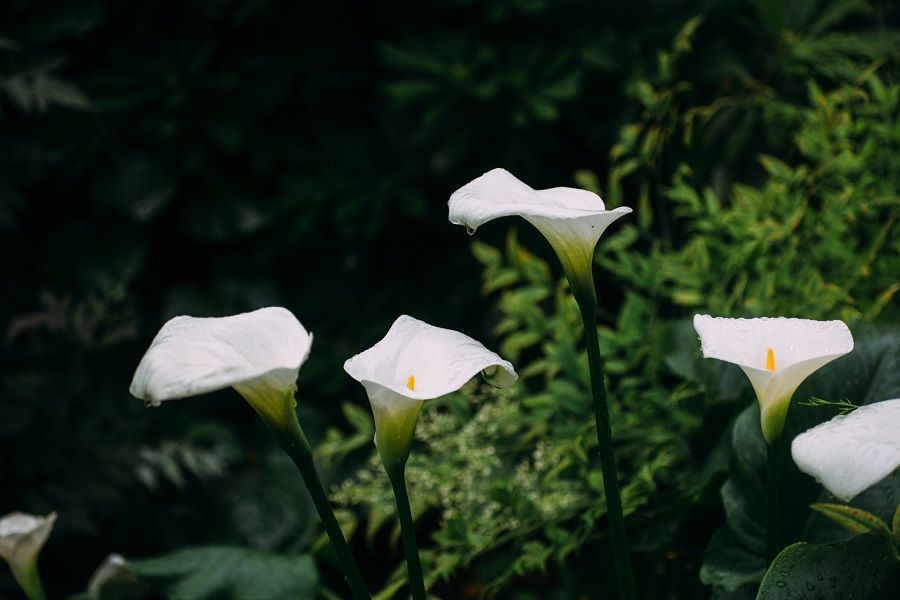
As one of the most popular flowers, the calla lily is a must-have for any home or garden. Not only are these flowers beautiful and easy to care for, but they also come in a variety of colors!
This step-by-step guide will teach you everything you need to know about growing and caring for calla lilies. So, whether you're just starting out or looking to learn more, keep reading!
What You’ll Need
- Calla Lily bulbs
- Pot
- Potting soil
- Organic matter
- Watering can
Step-By-Step Guide To Growing and Caring For Your Calla Lillies
If you're looking for a dramatic and elegant addition to your garden, calla lilies are the perfect choice. With a little know-how, you can have calla lilies blooming in your garden for years to come.
Growing
Step One: Finding Your Perfect Spot
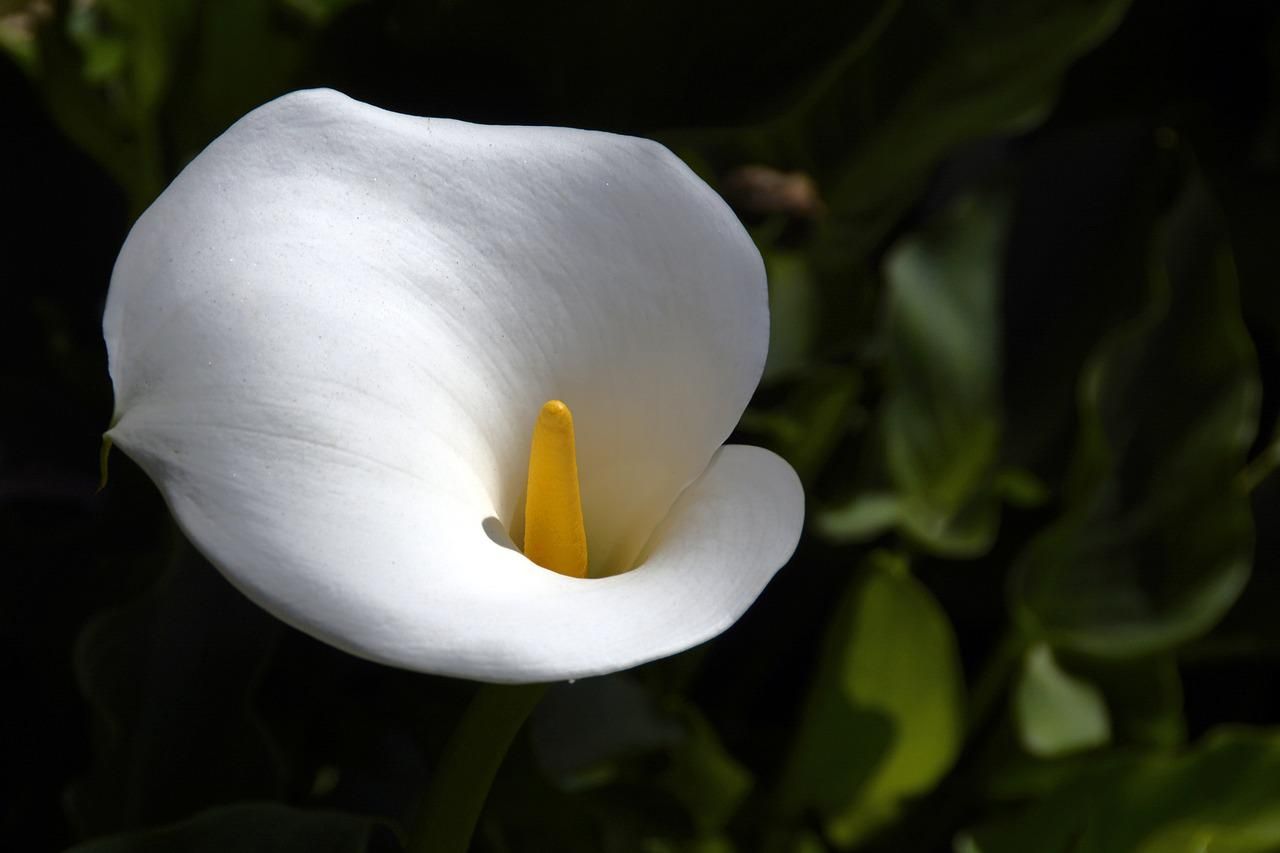
Image by anncapictures from Pixabay
Calla lilies are native to South Africa, so they thrive in warm climates. In colder areas, calla lilies can be grown as annuals or potted plants that are brought indoors during the winter months.
When planting calla lilies, it's important to choose a location that receives full sun or partial shade. They should be planted in an area that receives full sun for at least six hours per day. If you live in a hot climate, it is best to provide some afternoon shade to prevent the leaves from scorching.
Step Two: Planting
Image credits: Ilona Frey via Unsplash
Once you've selected the perfect spot, it's time to get planting! Calla lilies can be planted directly in the ground or in a pot. If you're planting them in a pot, make sure the pot has drainage holes.
Calla lilies prefer well-drained soil that is rich in organic matter. Most prefer a pH between 5.6 and 6.5, although some varieties can tolerate a slightly higher or lower pH. If your soil is too alkaline or too acidic, it can cause problems for calla lilies, such as stunted growth or yellowing leaves. You can test your soil's pH with a simple home testing kit.
To plant calla lilies, dig a hole that is slightly larger than the bulb. Then, place the bulb in the hole and cover it with soil. These stunning plants should be spaced about 4 inches apart in a pot or 6 inches apart in your garden.
In general, calla lilies should be planted in the springtime. This gives them plenty of time to grow and bloom before the summer heat sets in. However, if you live in a warm climate, you can also plant them in early fall.
Step Three: Watering
Image credits: John Bussell via Unsplash
These flowers are very tolerant of drought, but they will bloom more prolifically if they're given a consistent supply of moisture.
Water your calla lilies deeply about once a week and be sure to keep the soil moist but not soggy. Over-watering can lead to root rot, so it's important to let the soil dry out a bit between waterings. Secondly, calla lilies prefer filtered or distilled water to tap water, as the chemicals in tap water can sometimes damage the delicate flowers.
Caring
Step One: Fertilizing
Image credits: Manuel Torres Garcia via Unsplash
It's important to fertilize your calla lilies regularly to keep them healthy and blooming. Here are some tips on how to do it:
- Use a balanced fertilizer that is low in nitrogen and high in phosphorus. This will encourage strong root growth and large, vibrant flowers.
- Apply the fertilizer around the base of the plant, ensuring not to get any on the leaves.
- Do this once a month during the growing season, from spring to fall.
- In the winter, you can cut back on fertilizing to once every two or three months.
By following these simple fertilizing tips, you'll have beautiful flowers that will bloom year after year.
Step Two: Pests and diseases
Image credits: Nature Uninterrupted Photography via Unsplash
Pests and diseases are relatively rare in calla lilies, but watch out for aphids, slugs, and snails. These pests can be controlled with organic methods or with pesticides from your local garden center.
If your calla lilies start to yellow or wilt, it's likely due to a lack of water. Be sure to keep the soil moist, and they should recover quickly.
Step Three: Deadheading
Image credits: Kristina Skoreva via Unsplash
These flowers will bloom in late spring or early summer but if you want your calla lilies to look their best, you'll need to deadhead them regularly. Deadheading is the process of removing spent flowers and seed pods from the plant. This encourages the plant to produce new growth and prevents it from going into dormancy.
Calla lilies can be deadheaded by snipping off the dying flower stalk at the base of the plant. It's important to make sure that you cut cleanly through the stem so that new growth can emerge. You can also remove any seed pods that have formed on the plant.
After deadheading, calla lilies will typically produce new flowers within a few weeks. With proper care, these plants can bloom for several months out of the year.
In Summary
Have you ever grown calla lilies before? If so, we want to hear all about your tips and tricks! Share them with us in the comments below – we would love to learn from your experience. And if you’re just starting out, be sure to follow our simple care instructions – they will help get your flowers blooming beautifully in no time! Thanks for reading, and happy gardening!

