Growing your own garlic is a rewarding experience, especially since it's something everybody often uses in the kitchen. While the vegetable is a great addition to your garden, if you're on the hunt for some pest-preventing plants, there are many benefits to growing it in a pot.
If you're interested in growing garlic in pots, stay tuned. In this guide you'll discover different varieties, when and why you should grow this vegetable in pots, the tools you'll need, and step-by-step directions to ensure you do the job right.
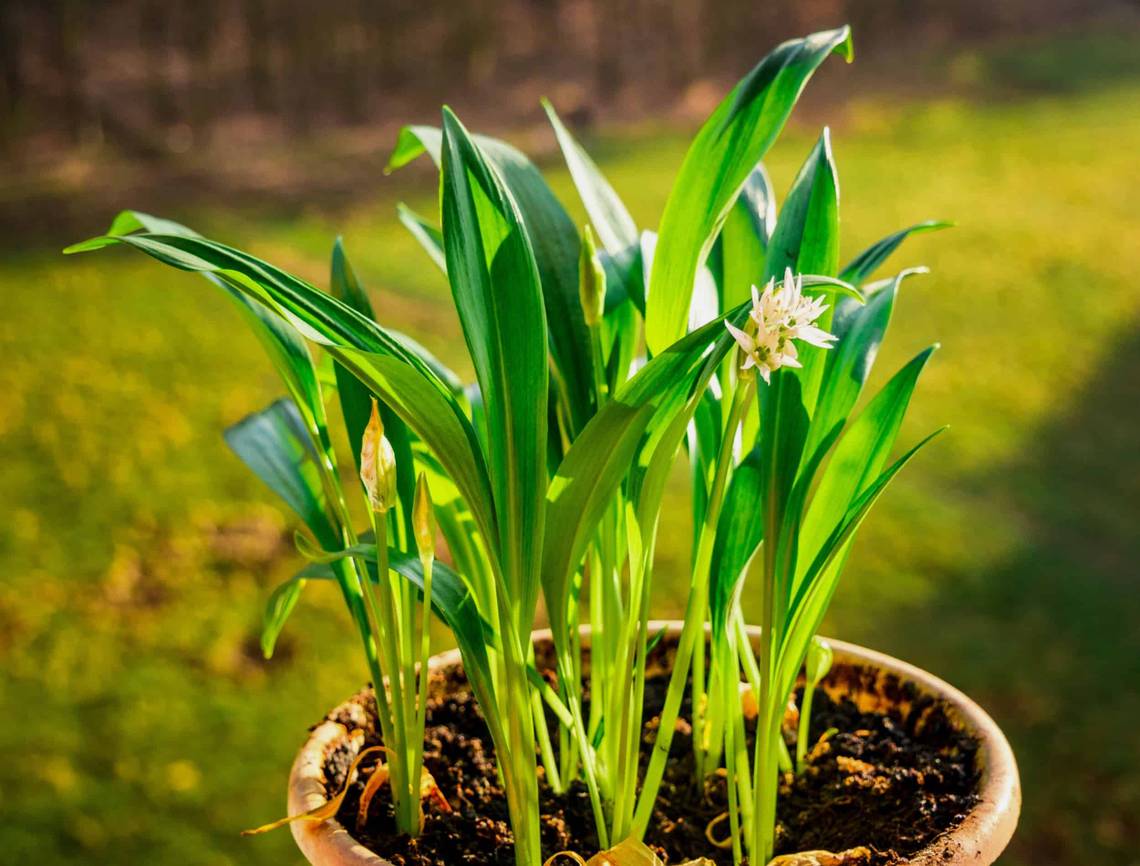
When and Why to Grow Garlic in Pots

Image credits: andres barrionuevo lopez via Shutterstock
Apart from being a delicious addition to almost any summer meal you can think of, garlic is incredibly easy to grow. But, there are benefits to growing it in pots. First, you will be able to control the soil quality and drainage. You can also adjust the temperature by bringing your plant indoors and outdoors when needed. All these factors will encourage the plant to thrive and produce as many cloves as possible.
Similar to growing garlic in the garden, plant garlic in pots in the fall before the first frost. In most places, you can plant garlic anywhere from September to November and harvest after around eight months.
Tools You'll Need to Grow Garlic

Image credits: Gary Barnes via Pexels
Once you're ready to plant garlic in pots, there are a few tools you'll need. Fortunately, they are simple items gardeners likely already have in their shed. Find the essentials listed below:
- Garden trowel
- Watering can
- Large pot with drainage
- High-quality potting mix
- Garlic bulbs or cloves
- Fertilizer (optional)
How to Grow Garlic in Pots
Step 1: Choose Your Garlic

Image credits: Ihar Leichonak via Canva
While garlic comes in many types, there are a few distinctions to consider. There are Hardneck and Softneck varieties on the market. Hardneck varieties grow green flowering stalks called scapes from the center of the clove. Scapes are an excellent and flavorful alternative to scallions and make a delicious addition to any meal. Softneck garlic does not grow scapes but will instead have a larger amount of smaller cloves and leaves.
There are 11 different varieties of garlic, two of which are soft neck: Silverskin and Artichoke. Hardneck varieties include Porcelain, Rocambole, Purple Stripe, Glazed Purple Stripe, Marble Purple Stripe, Asiatic, Turban, and Creole. There is also an abundance of different cultivars under each group. Remember that each variety of garlic will have a slightly different flavor or needs.
Step 2: Prepare the Container

Image credits: RobMattingley via Canva
To prepare the container, fill it with potting mix until it's about three inches from the top. A high-quality potting mix is essential. This is because potting mix (rather than potting soil) is full of organic material such as peat moss and compost. This will provide your plants with the nutrients and pH balance they need.
You can also add fertilizer if you'd like to. Also, use a large pot. A larger pot will allow for more soil, and the more soil it contains, the more moisture it will retain, which will lessen the time spent watering. Drainage is also essential to ensure the plant does not become overwatered.
Step 3: Plant the Cloves

Image credits: Aleksandar Tasevski via Canva
To prepare the cloves for planting, first, separate them from the bulb. You can leave the papery wrapping on them. Then, insert the clove into the soil with the pointed side facing up. Place each clove around three inches apart. Once you have planted the cloves, you can cover them with an inch to two inches of soil.
Step 4: Cultivate and Harvest

Image credits: troyanphotos via Canva
Garlic will thrive in at least six hours of direct sunlight daily, so it's best to place your pot in a sunny spot. Keep the soil moist but not soggy, following the tips for watering plants in containers. You can also check if the soil is dry by sticking your finger about an inch into the soil to avoid overwatering. Once the clove sprouts, consider fertilizing it every few weeks to encourage new growth and keep the plants healthy.
Garlic takes about eight months to fully mature, and you should harvest it when the lower leaves begin to turn brown. Mature bulbs should be firm, but you can also harvest early if you'd like to enjoy the more nutty-oniony flavor. Mature garlic will store for longer, but "wet" or immature garlic is ideal for immediate use.
In Cloving
While garlic requires plenty of time and attention to ensure it thrives, it is well worth the effort. Growing the vegetable in pots provides many benefits, from growing indoors to controlling the soil quality, temperature, and watering schedule. Once you've planted your garlic in pots, you won't go back.
Will you be growing garlic in pots this season? Let us know below!