Soon, pumpkin gardeners everywhere will wait for the perfect moment to harvest those plump pumpkins. Whether they plan to use them for cooking, decoration or carving for Halloween, the time is almost here!
For those who did decide to grow pumpkins this year, you probably wonder when it's the best time to harvest them. Do you cut them when they are green, orange, or somewhere in between? And how do you harvest them? Should you keep the stem short or long?
Have no fear pumpkin friends! Though Halloween scares are ahead, harvesting your pumpkins is nothing to sweat about. Here is everything to know about when and how to harvest your pumpkins!
When to Harvest Pumpkins
Image credits: t4no via Pixabay
When it comes to knowing when to harvest, most pumpkins take seven weeks to mature. During these weeks, it goes from a flower to the round, plump, and big squashes we all know and love.
Whether seven weeks pass or not, always pick your pumpkins before a hard frost. It is usually in late September or early October, depending upon your climate and location.
Pumpkins left out in a hard frost get damaged and become unusable, rotting quickly. Therefore, harvest sooner if your weather forecast predicts an early winter.
Materials Required:
Image credits: Malikova Nina via Shutterstock
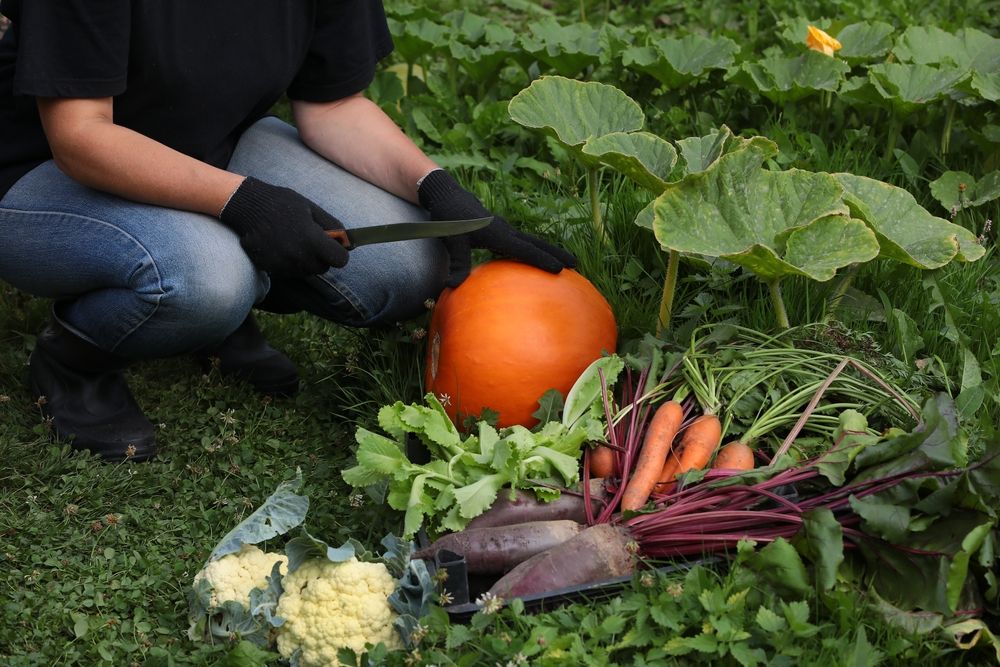
Before you walk out into your garden, make sure you have the tools your need to get started:
- Sharp knife or gardening shears
- Gardening gloves (optional)
- Straw, newspaper, blankets, or other means of coverage and protection
A Step-By-Step Guide On How To Harvest Pumpkins
Step one: Check if Your Pumpkin is Ripe and Ready
Image credits: Alexey Hulsov via Pixabay
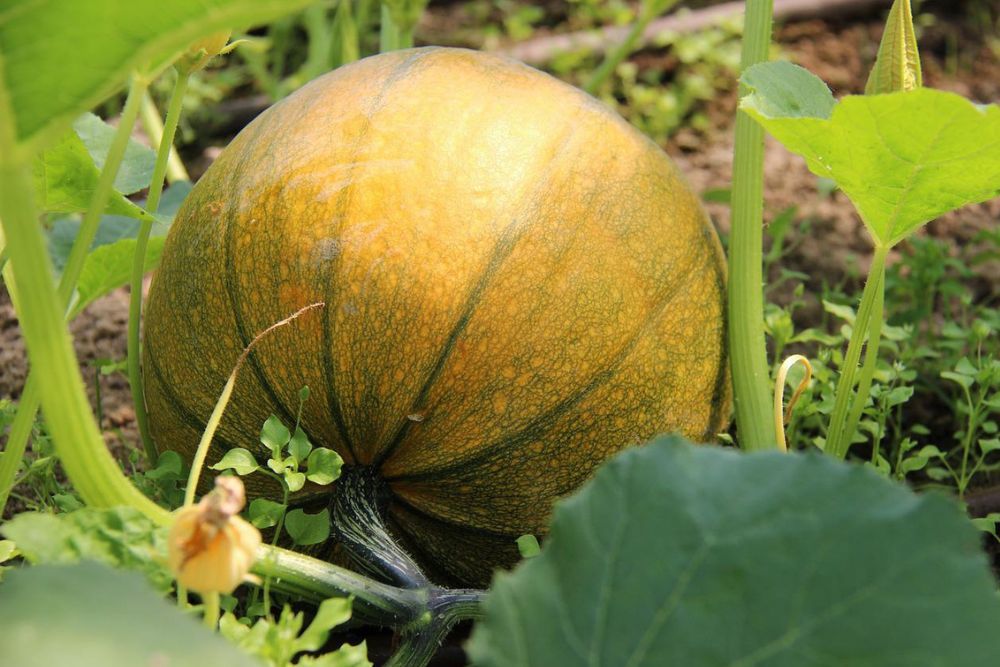
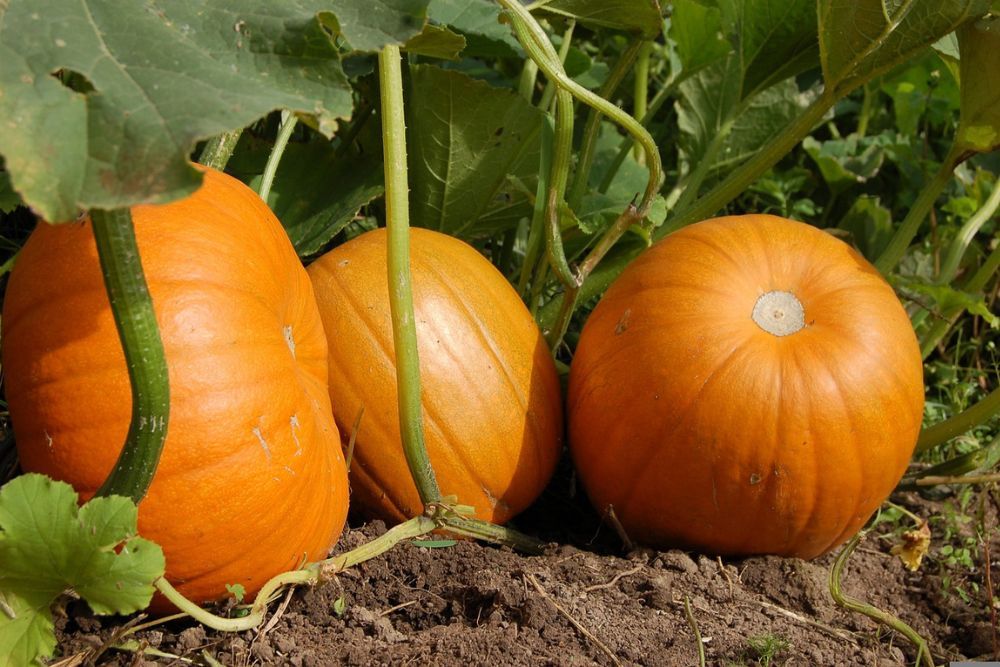
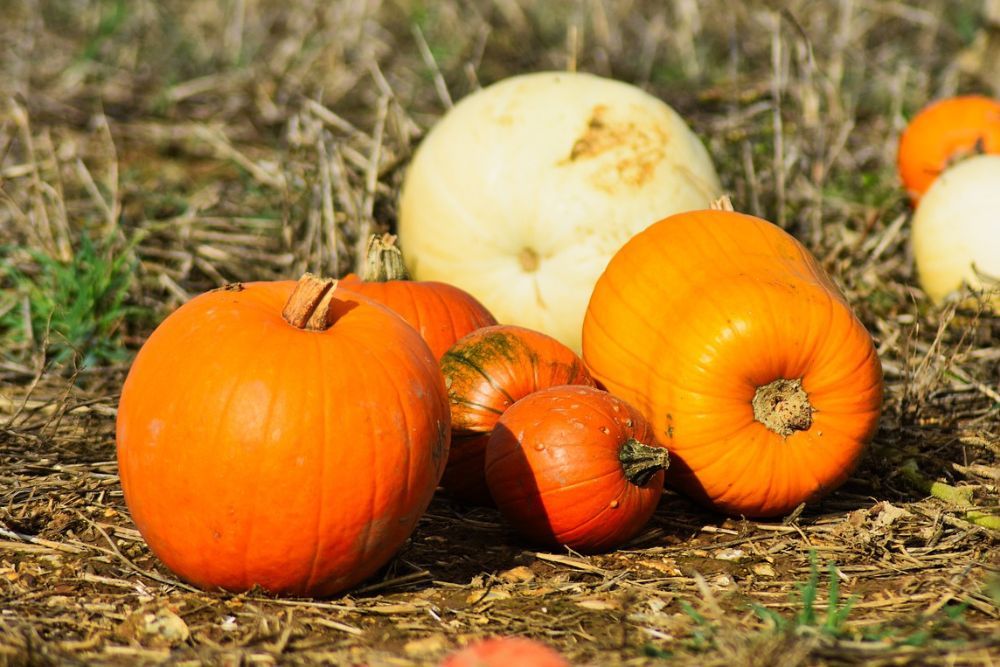
The first clue to identifying a ripe pumpkin is to look at the color. Pumpkins begin small, becoming larger, and changing in color as they grow. They start as a flower, become light green, turn dark green, and eventually transform to orange. When your pumpkin is that beautiful orange color seen in magazines and movies, it is time to harvest!
Another way to tell if your pumpkin is ready is through the fingernail test. Use a fingernail and scratch a small part of the pumpkin’s skin. If you struggle to get a nail to scratch the surface, it is tough, ready, and ripe for picking.
Finally, if you still aren’t sure about your pumpkin’s readiness, look at the vine! Is it beginning to dry and wither? Is it turning a light brown color? It means the plant is no longer providing nutrients to the fruit, and the pumpkin is ready.
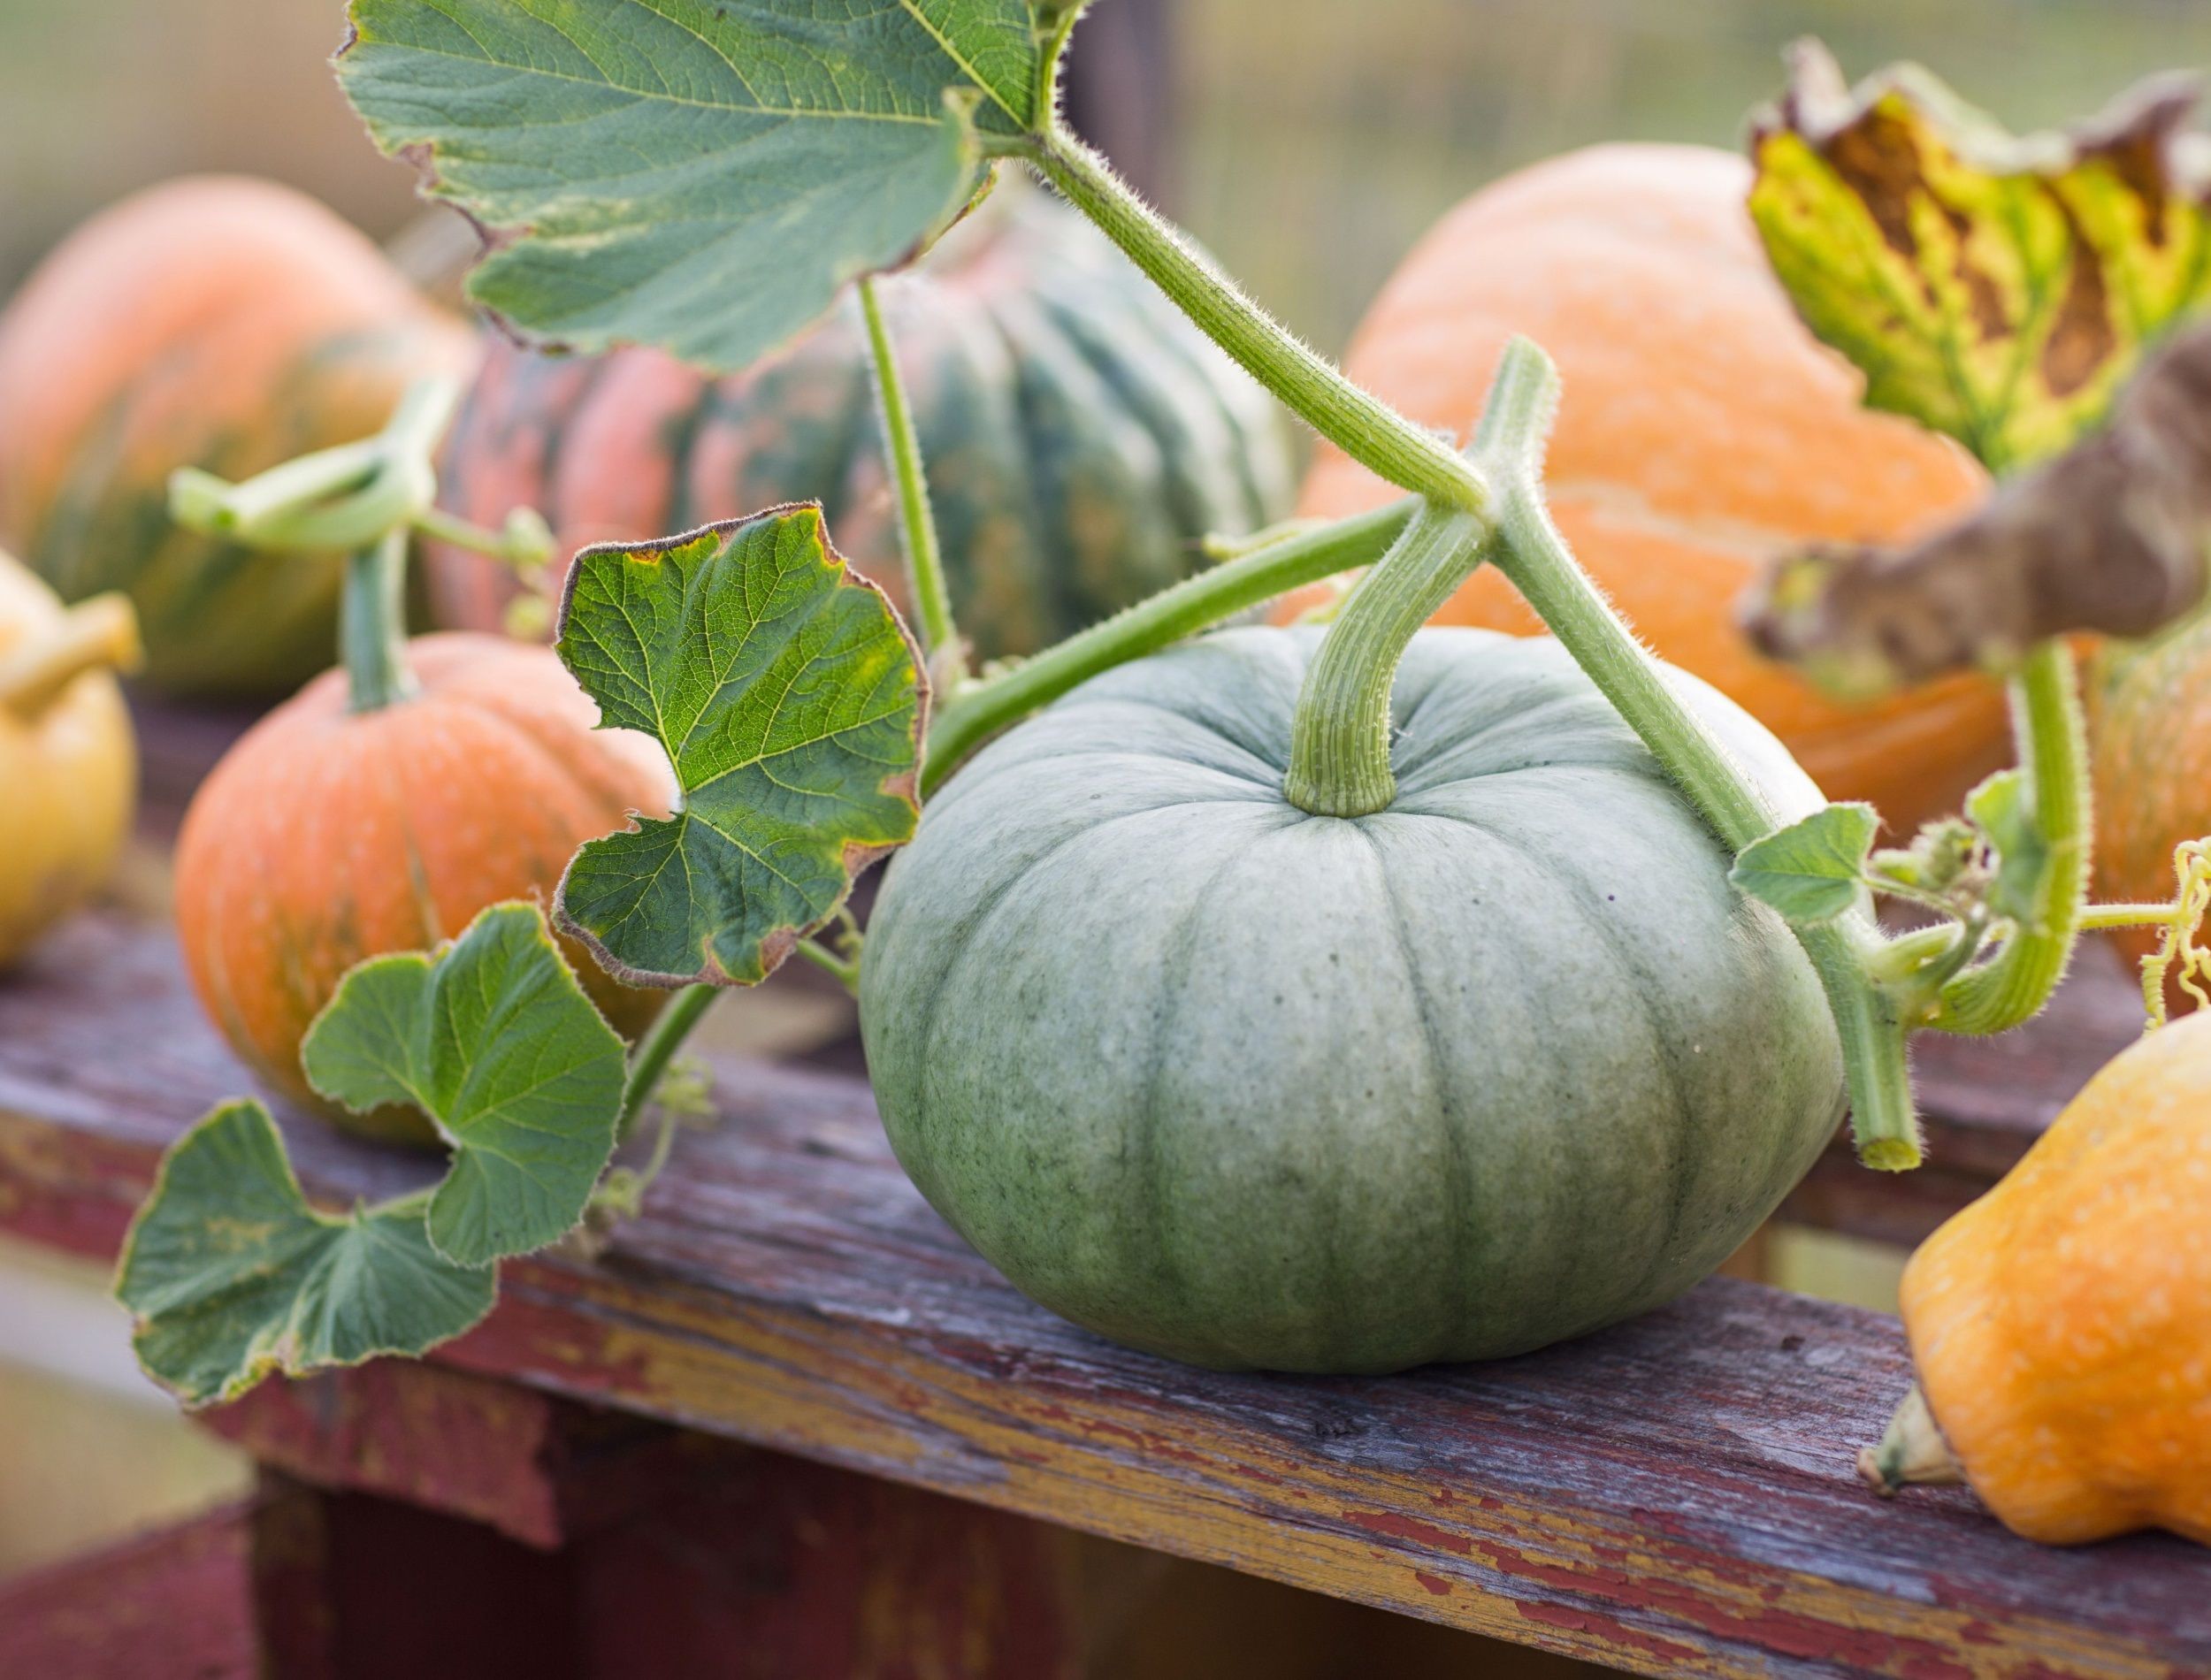
Pro Tip: Just remember, not all pumpkins are orange, so make sure you do your research for the specific kind your growing. If your pumpkin is of a different variety than the usual orange pumpkins, the mature color varies. Some pumpkins remain green the entire time, while others come in shades of pink, blue, yellow, brown, or white!
Step Two: Cut Your Fruit from the Vine
Image credits: ALong via Shutterstock
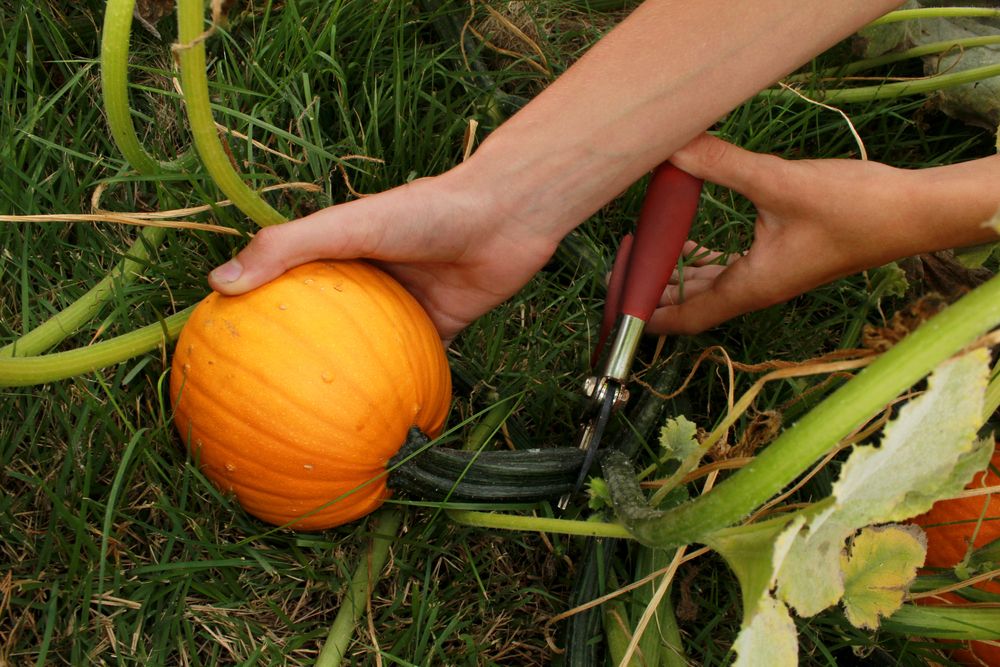
Use a sharp pair of scissors, knife, or gardening shears to cut your pumpkin from the vine. Do not snap off the vine because this often leads to fruit damage. Not to mention, it results in an awkward stem or a pumpkin without a stem at all! When cutting, leave about three or four inches of the vine attached.
It is important to use a clean blade and avoid bruising or damaging the pumpkin. These precautions prevent diseases from getting into the pumpkin’s skin or stem. The healthier the pumpkin, the longer it will live!
Step Three: Cure Your Harvest
Image credits: David Cardinez via Pixabay
Once your pumpkins are off the vine, cure them before storing them. This process improves the strength of a pumpkin’s skin, allowing it to last longer in storage.
Cure your pumpkins outdoors or in a greenhouse for up to two weeks. They require a dry and sunny location to cure properly. If the weather is favorable, cure your pumpkins in the garden before bringing them indoors. If not, protect your curing pumpkins from weather and pests by adding bases and covers.
Pro Tip: While curing, place straw, cardboard, or newspaper underneath your pumpkin to keep the bottom dry. If you expect cold weather while curing, cover your pumpkins with blankets. Still too cold? Bring your curing pumpkins into the shed or garage until the cold weather passes.
Step Four: Where and How to Store
Image credits: Mary Prentice via Shutterstock
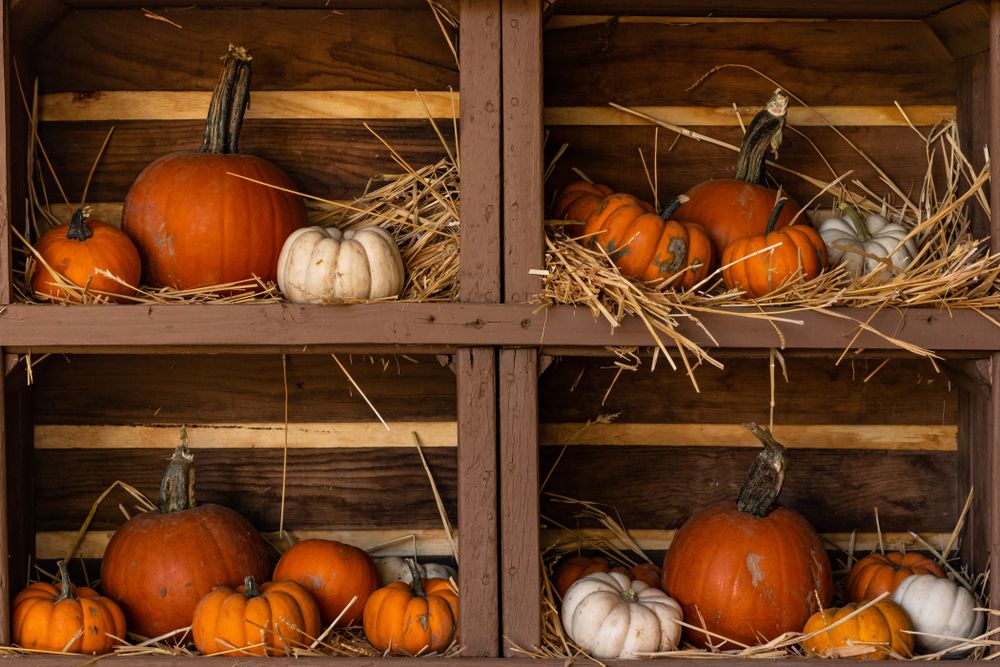
Once you cure your pumpkins, they are ready for storage! Keep them in a cool, dry place that has good air circulation. The ideal temperature for storage is around 50 to 60 degrees Fahrenheit.
Remember, too cold or damp, and pumpkins will rot and become unusable. If you cure and store your pumpkins properly, they will last up to two or three months!
Give ‘Em PUMPKIN to Talk About!
Ready to show off just how great your pumpkins are? Use this guide to harvest your pumpkins at the perfect time. A time when your pumpkins are that rich orange color, thick-skinned, and ready for use!
Harvest your pumpkins with a clean knife, allowing a few inches of stem to remain upon it. Once they are cut, cured, and stored – pull them out whenever you are ready to display or eat them!
Did you grow pumpkins this year? What do you plan to do with them? Comment below on your favorite use for home-grown pumpkins!

