Harvesting rainwater is a simple way to minimize your water waste which will have a positive impact on your wallet and the environment. It's a natural resource and very easy to access, but you may be wondering, how exactly does the process work?
From the benefits to the tools, this step-by-step guide will fill you in on everything there is to know about harvesting rainwater. Whether you're looking to water your flowerbeds or lawn with a simple, affordable, and eco-conscious solution, or want to waste less energy when using washing machines, toilets, and dishwashers, this guide is here to get you started.
Benefits of Harvesting Rainwater

Image credit: DJTaylor via Shutterstock
Since you're reading this guide, there's a good chance you already know the many benefits of harvesting rainwater. But in case you don't, here's a list of the many great things that come from collecting rainwater.
- Rainwater is free, so you don't have to stress about the water bill
- Collecting rainwater and reusing it is better for the planet
- It's all-natural and better for caring for your yard
- A rainwater collection system is easy to DIY
- It saves the energy required for tap water
- Reduces the amount of stormwater runoff on your property and is ideal for irrigation
The Tools You'll Need
Harvesting rainwater isn't as simple as setting a bucket out during a storm. The process usually involves water run-off from structures and surfaces, such as the roof of your home. For this, you need to think about a filtration system.
And while the tools you'll need are minimal and affordable, you may not yet have them in your arsenal. To ensure you're ready to set up your collection system, check out the required items below.
- Rainwater collection barrels
- Gutter screens or other filtration systems
- A downspout
- Gutters and gutter guards
- Pipe system
Harvesting Rainwater: A Step-by-Step Guide
Step 1: Prepare Your Roof and Guttering System

Image credit: Radovan1 via Shutterstock
Before you harvest rainwater, prepare your roof and gutter system. Rainwater is often harvested from a roof and collected by gutters that channel into the downspout and towards a vessel or barrel. This is a great way to maximize the amount of water you can collect.
So, the area should always be clean and clear from debris. Once it is clean, gutter guards are the best way to maintain your gutters so you don't have to keep climbing up and down a ladder to regularly clean.
Step 2: Include a Filtration System

Image credits: Glenn R. Specht-grs photo via Shutterstock
Whether you want to harvest rainwater for washing your clothes or watering your plants, it's important to filter out any debris, bugs, and dirt. Filters are easy to install, and you can also make them yourself since all you need is a simple screen. Of course, this will require cleaning every once in a while, especially after a big storm.
Turning rainwater into drinking water is a different story. It involves more than a simple filtration system, so be sure you have purified it if you intend to drink it.
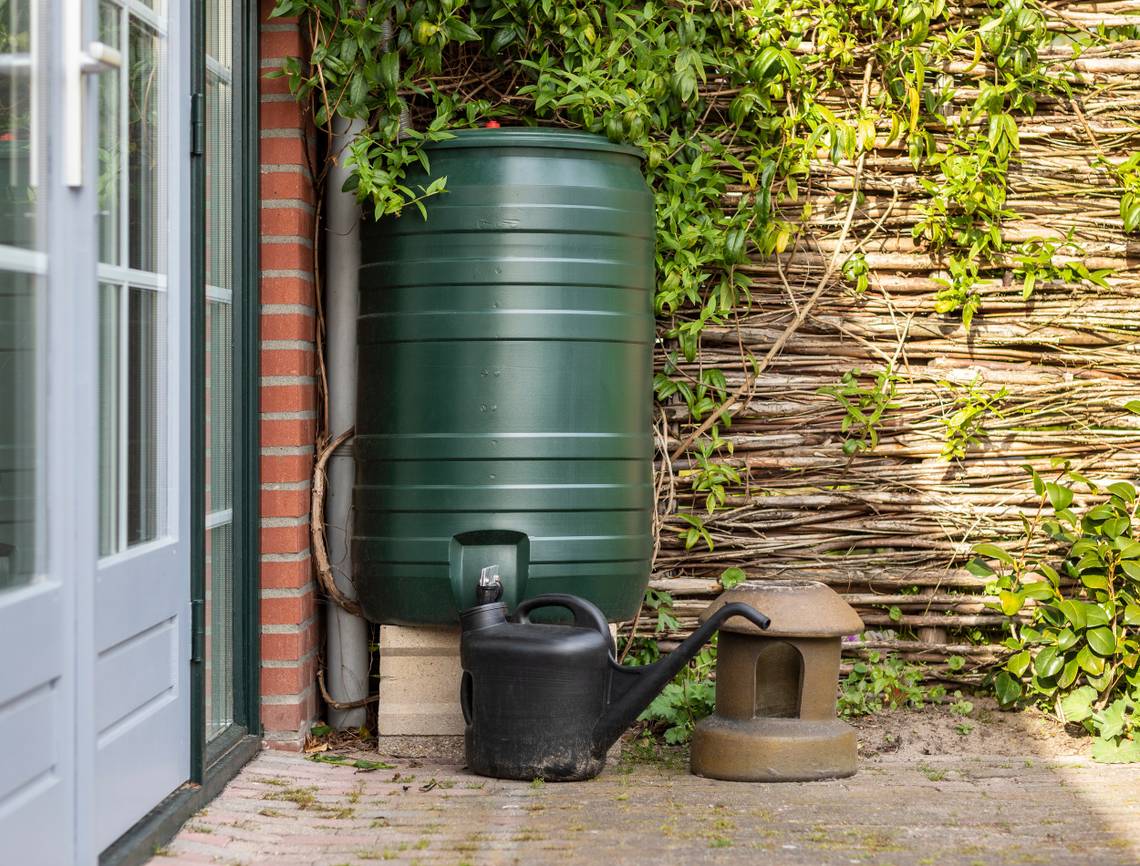
Step 3: Install your Collection System

Image credit: VPales via Shutterstock
Rainwater is generally collected in buckets of all different sizes. So, the first step is choosing a size that works with your needs. With that decided, there are two preferred methods for harvesting rainwater: a wet system and a dry system.
While a wet and dry systems both use rain barrels, or whatever sized barrel you'd prefer, they do have a few key differences. A dry system is the more simple, classic option. The pipes from your gutters run directly into the collection tank and dry out between rainfalls. A dry system is easier to install, but it is more susceptible to mosquitos breeding or anaerobic fermentation.
A wet system is a bit more difficult to contaminate, but it is also more difficult to install. It involves multiple collection pipes installed underground. They are attached to several different downspouts. As rainwater fills up the pipes, allowing them to overflow, the pressure causes the collection tank to fill up. The pipes, downspouts, and tank should all have water-tight connections to stop leaks or contamination.
Once you've decided how you want to harvest rainwater and what size tank you'll need, it's time to install the system! A simple dry system is quite easy to install - just connect your downspout to the collection barrel. A wet system, on the other hand, will require a bit more construction as you will need to create an elaborate pipe system.
Step 4: Store and Use the Water!

Image credits: glaslinse via Pixabay
Now that you've got your water harvesting and filtration systems in place, the only thing left to do is store and use your rainwater! You can transfer the water into different containers or hook it up to your hose system or home to use for things like watering your plants or showers.
Of course, some maintenance is necessary, such as ensuring your gutters are clear, and the water is properly filtered.
Enjoy Your Harvest!
Overall, installing a rainwater harvesting system is quite simple. All you need is clean, high-quality gutters and a rain collection barrel to get the job done. Once the system is in place, it's a great way to minimize your footprint and save on the energy and money used to produce tap water.
If you're ready to start collecting rainwater, you may also want to read up on the five mistakes to avoid to ensure the process is as seamless as possible. And if you're interested in creating a more climate-friendly yard, check out this guide for more tips.
Have you tried using your collection system yet? Let us know how it goes in the comments below!