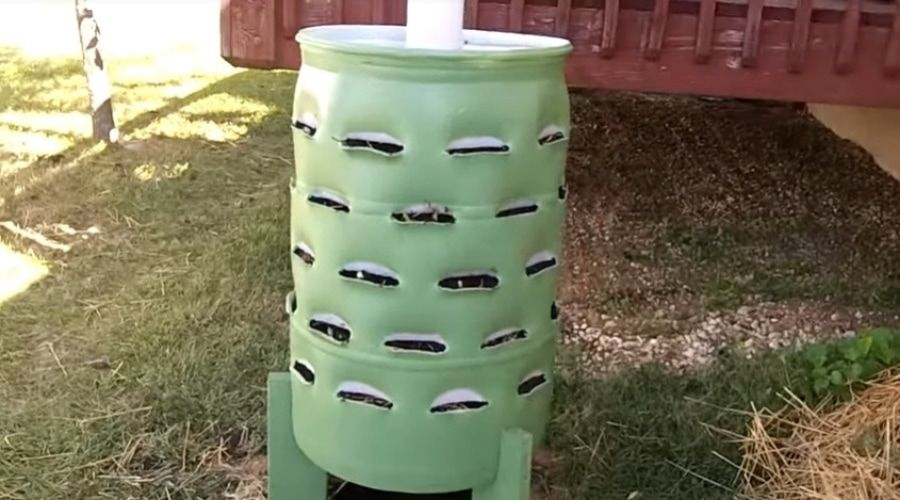
Garden towers are a very efficient way to cultivate some plants, herbs, and flowers, while also saving up space. As a vertical planting solution, garden towers are preferred in small yard or garden, but there are people that would even place these towers on their balconies. Despite their awesomeness, garden towers aren’t cheap, and one of these could cost you hundreds of dollars. But what if we showed you how to make a garden tower from a barrel?
Whether you already have a large barrel lying around the house or you have to purchase one, either alternative are less expensive than buying a ready-made garden tower. Most of the items you need are most likely in your household already, so this could make for a really inexpensive and cool Saturday afternoon project.
What You Will Need
While some of the materials you’ll be using are quite flexible (meaning that you can opt for alternatives if you find they are at hand), here is a list of the items needed to see this project through:
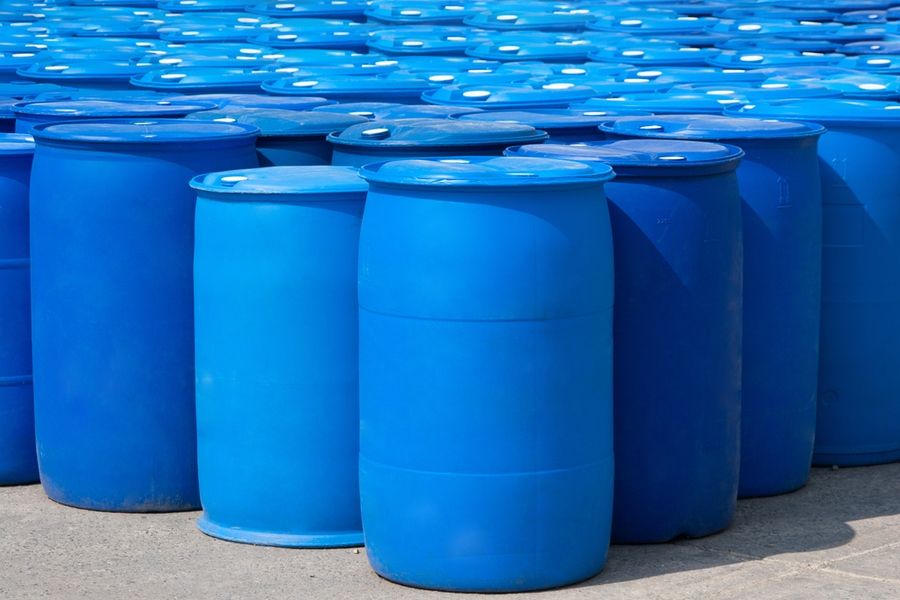
Barrel
To see this project through, you will need a large barrel, which provides plenty of space for you to plant all the things you want. The best choice would be a 55-gallon plastic barrel, one that comes with an open top.
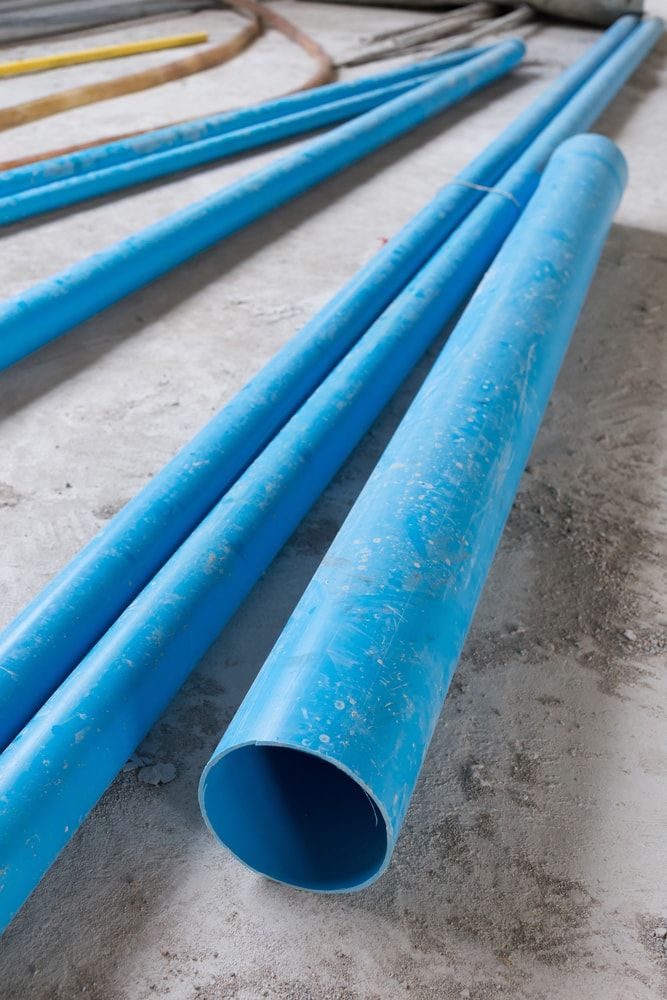
PVC Pipe
Passing through the barrel, a garden tower needs a compost tube. This is where the kitchen scraps and the worms will go. You can opt for a PVC tube that’s about four inches in diameter, and about 50 inches long. Of course, the actual length you’ll need depends on the height of the barrel.
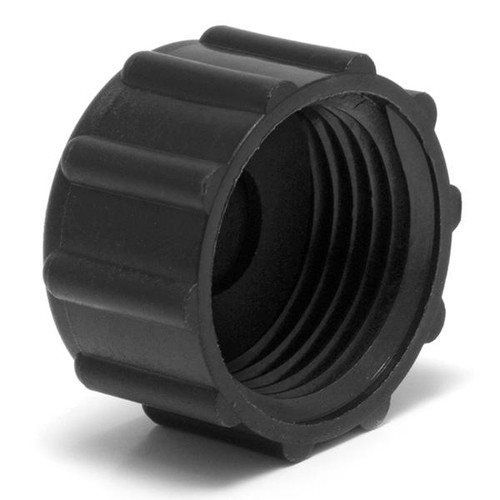
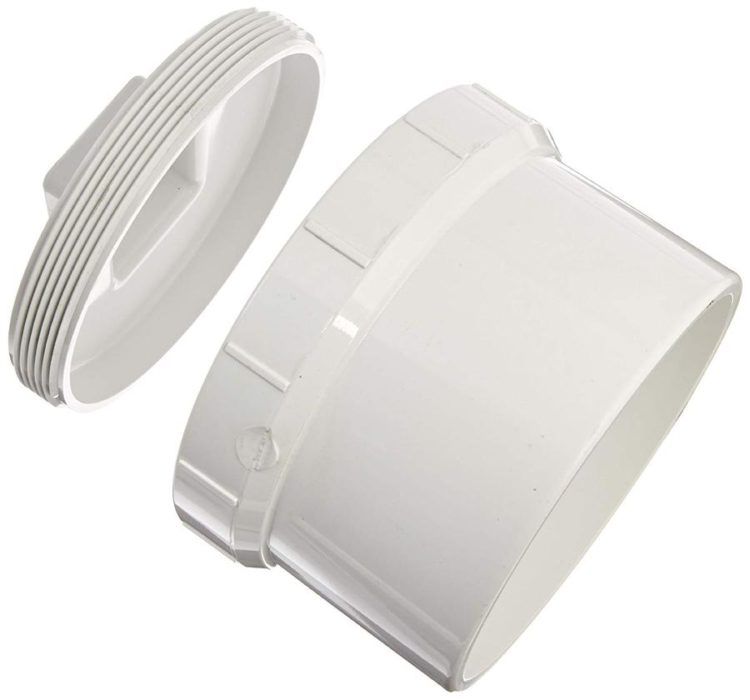
PVC Drain Cap & Cleanout Adapter
At the lower and of the compost tube, you will be required to place a cleanout adapter and a drain cap that matches the diameter of the tube.
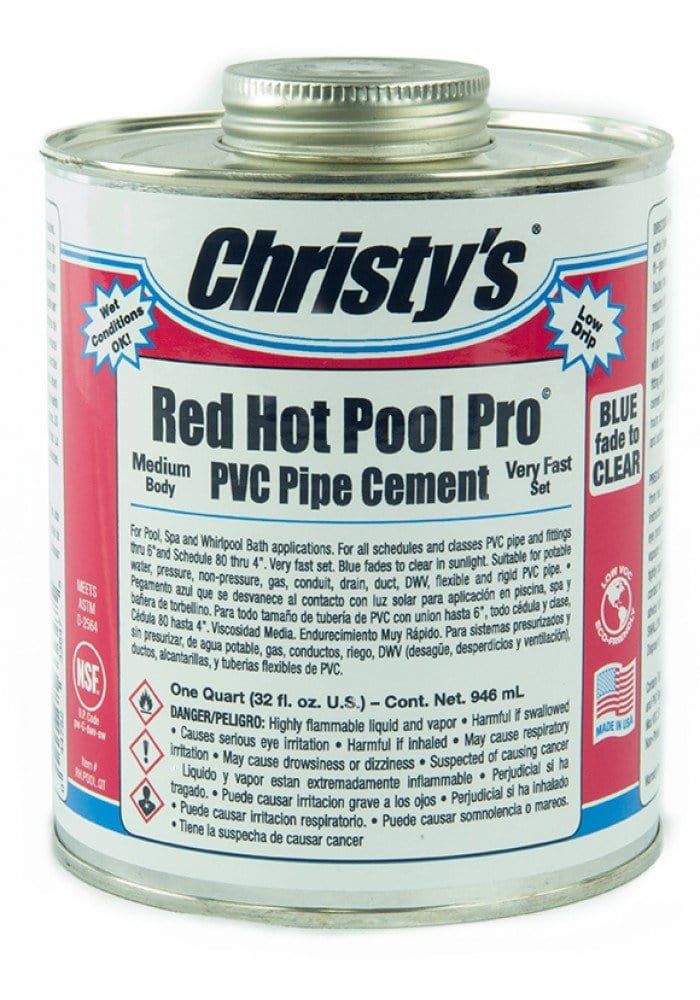
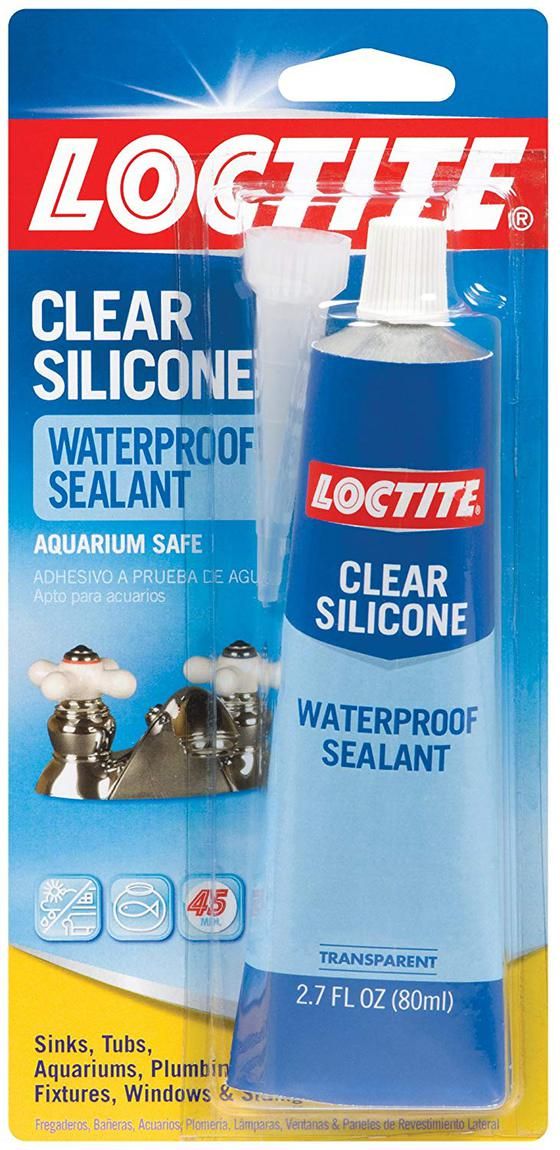
PVC Cement & Silicone
Once the tube and the cleanout adapter are in place, you will need silicone and PVC cement to fix everything in place.
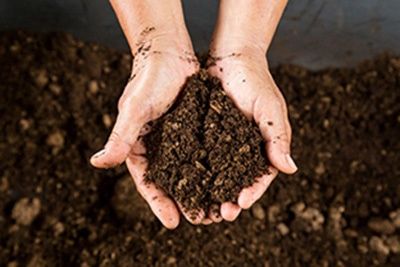
Soil, Kitchen Scraps, Plants, Worms
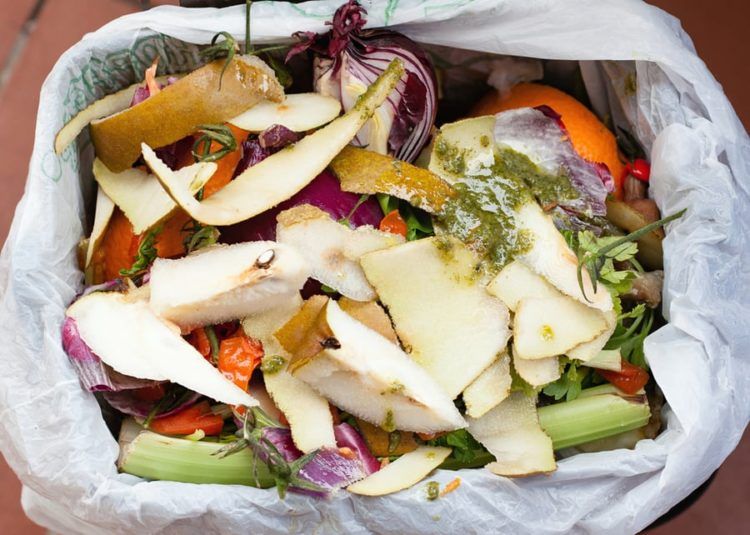
You will need about 50 lbs of soil mixture to add into a 55-gallon barrel. You will then have to add kitchen scraps and worms into the compost tube (about one lb of worms should suffice). Consider making a list with the plants you want to add to the barrel and acquire them as well.
Other items you will need for this project:
- A marker
- A ruler or some measuring tape
- A jigsaw blade
- Paint (in case you want to give the barrel a nice color)
- Sandpaper
- Items to elevate the barrel (legs, casters, cinder blocks, whatever you want)
Step-by-Step Instructions
Step 1: Making the Pockets
- The first step is to grab a marker, pen,or pencil, and start outlining the spots where you’ll be making the cuts for the pockets. You can use a ruler or some measuring tape to make sure that the lines are of similar lengths.
- These lines should be measured according to the diameter of your barrel. For example, you can draw six-inch lines, with four inches of space in between them, both horizontally and vertically. The end results should be different rows of six-inch lines, and four inches spacing between one another.
- Make sure that you don’t make lines that are too short, you want the pockets to be generous enough to fit the root balls inside them.
- Don’t stress too much over the precision of the length for each line. When your plants grow, you won’t be able to see the cuts, so it doesn’t matter if they are not all the same.
- At the end of each line, you previously drew, drill a small hole. This will now be referred to as the pilot hole, and it will make further cutting a lot easier.
- Be extra careful, as cutting the surface of a round barrel can be quite a complicated process in itself.
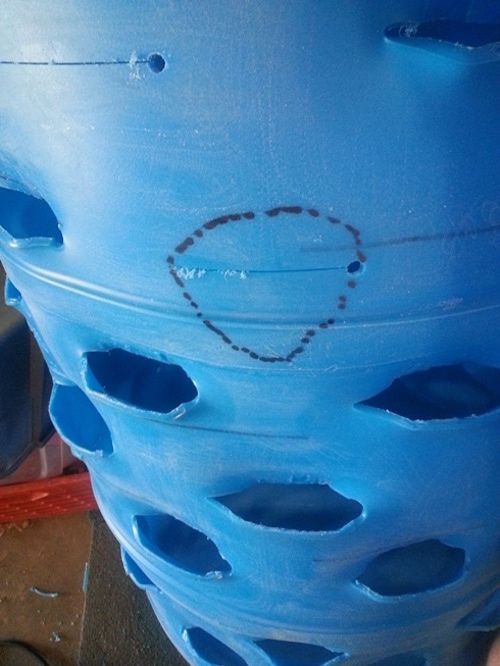
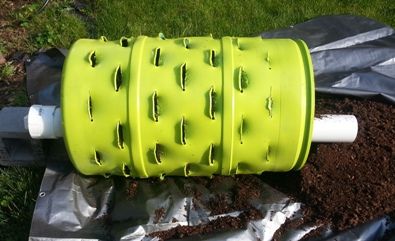
- Once you’ve finished cutting all the pockets, it’s time to make them moldable. Use a heat gun to apply heat to the top and bottom sides of each cut. This will allow you to ply the plastic. To make this step easier, use a marker to draw a triangular area that surrounds each cut. Then heat the edges of these triangles, for easier bending.
- Once the plastic is moldable, it’s time to make the actual pockets, using a 2x4 (this is a construction term used to describe a piece of wood of common format). After shoving the wood into the hole, push it against the barrel’s top, making sure that you force the upper side of the cut back into the barrel.
- If you are having any difficulties with the above process, you can always reheat the plastic and try shaping it into pockets once again. Tip: try not to force the lower side of the cut, as this could create loose pockets that has soil falling out of it.
- Each time you create a new pocket using the 2x4, leave it for about 15 minutes, to allow the edges of the cuts to harden that stay in shape.
- Once you have repeated these steps and created all the pockets you’ve drawn at the beginning of this step, you can grab a file and smoothen out the edges of the pockets, to avoid any future cuts.
Step 2: Creating the Drain
- In order for plants to grow healthy, they need to have just the right amount of water. Whatever you will be growing in this barrel makes no exception. Turn the barrel over to start working on the drainage system.
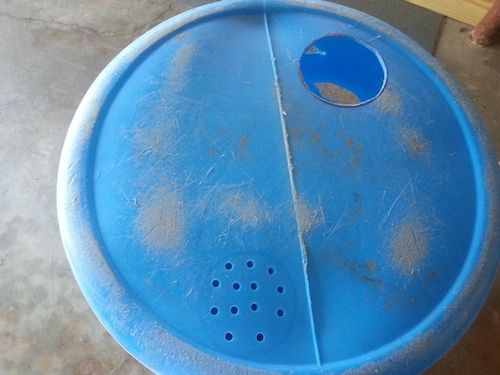
- Now picture what a round shower head looks like. It has tiny holes all across its surface. Try to recreate those holes on a six-inch area on the bottom side of the barrel. Draw a circle with a diameter of six inches, and then poke ¼ inch holes.
Step 3: Preparing the Compost Tube
- With the barrel upside down, cut another hole where the compost tube will go. For instance, if your compost tube is four inches, it has to fit through this hole. You can choose any size for the compost tube, as long as it’s wide enough for you to stuff kitchen scraps inside of it. While some people like to put this compost tube directly in the middle of the barrel, this can prove tricky when trying to retrieve processed compost. It’s better to place the tube (and make the bottom hole) closer to one of the edges.
- The compost tube should be given quite some consideration. Its height should be taller than the height of the barrel, in order to make sure that you can use it without disturbing the adult plants. You can measure the total height of the barrel and then add about 10 or 12 inches. This is how long the compost tube should be.
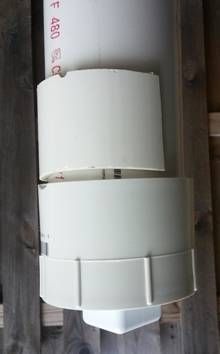
- When you are cutting the tube, also cut an additional two-inch piece. Then, cut a piece of this resulted circle, to remove about two more inches. This will act as a reinforcement piece that prevents the tube from sliding down the barrel.
- Now it’s time to drill holes into the compost tube. Through these holes, worms can feed on the kitchen scraps. You don’t need holes for the upper and bottom side of the PVC tube, as these parts will stay out of the barrel. What you’re interested in is making holes in the part of the tube that will stay inside the barrel. The size of the holes should be generous enough for worms to pass through.
Step 4: Elevating the Barrel
- The barrel needs to be elevated off the ground. To do that, you can use casters, legs, bricks, whatever you feel can support the extremely heavy weight of the barrel. Make no mistake, the barrel WILL be heavy, so plan this elevation support accordingly.
- The purpose of elevating the barrel is to give you access to the captured nutrient water. That means that a dishpan should go under it. Also, you will need to be able to harvest processed compost. The space between the bottom of the barrel and the ground below it should be generous enough for your hand to fit there.
Step 5: Installing the Compost Tube
- The tube and the extra reinforcement piece you create at step 3 will now need to be attached to the barrel. Inserting the compost tube in the barrel should be done after taking into consideration the placement of the cleanout drain.
- Place the cleanout drain and draw a mark where the top goes on the tube.
- Now remove the drain.
- Create another mark, this time about ⅛ inches above the other mark, to indicate the barrel’s placement.
- Place the reinforcement created at step 3 above this newly-created mark. If you’ve done everything right, the cleanout drain should be below the barrel, while the reinforcement should be inside the barrel.
- When you’re absolutely sure that the reinforcement is in the right place, use PVC cement to keep it in place once and for all. Keep in mind that PVC cement is very quick to dry, so you only get one shot at placing the reinforcement in the right place, or else you might need to redo the third step.
- Now place the barrel on one side, and place a bead of silicon on the reinforcement bottom side, right between it and the barrel. Slide the compost tube inside the barrel, to the reinforcement.
- Using PVC cement, attach the cleanout drain to the outer end of the tube, the one that’s outside the barrel. Also use silicone where the barrel meats the cleanout, to avoid any leaks.
Step 6: Sprucing Up the Barrel
- Since you want your carrel garden tower to look nice, you should consider adding a coat of paint, in the color of your choice.
- You can use sandpaper plus some cans of your favorite spray paint.
Step 7: Adding Soil, Plants, and Worms
- Position the barrel in place, keeping in mind that it will become really heavy after you’ve added soil. If the barrel sits on uneven terrain, make sure that the drain is on the lowest point.
- Time to add the soil. The mixture is entirely up to you, so try to find some suggestions and do your homework before choosing one type of soil over another. If you opt for fluffy soil, know that it stays moist for a longer period of time.
- As you add the soil, also add water. The best thing would be to add about 12 inches of soil, then add water to saturate it. Wait for a few minutes, so that the water you’ve added will soak the entire soil layer. Repeat the process until the barrel is full.
- Leave the soil and water to rest for about an hour, then water the entire mixture again, until you notice water coming out of the drainage hole. The soil should now be compressed, instead of floating inside the barrel.
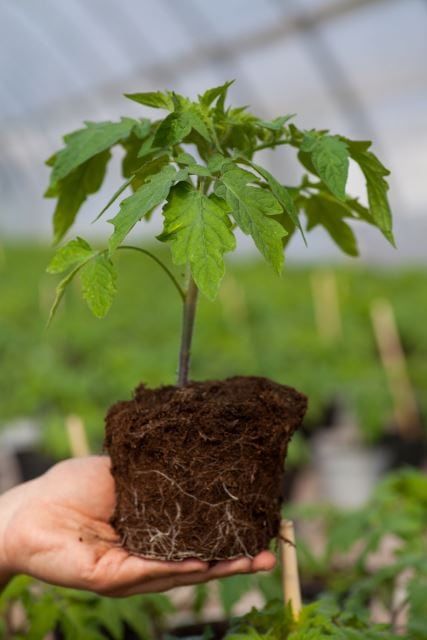
- Now place the root balls or seeds of your choice in the barrel. You can choose anything from flowers, herbs, vegetables, and others.
- Use kitchen scraps to fill the compost tube. Also, add water, and about one pound of worms.
- Place a cap on the top of the tube, to prevent any bugs and sneaky predators from reaching the insides of the tube.
- By adding new scraps every day, you will give the worms plenty of food, and they will be able to fertilize the soil properly.
Conclusion
With a little bit of patience and the strong desire to save some money and not buy a garden tower from the shop, you can create one from a large empty barrel that you may already have lying around the house. The process itself is not a complicated one, but it can be very time consuming, especially if you plan on taking frequent breaks.
It can be a wonderful way to save space, but still enjoy the satisfaction of planting your own flowers, growing your own herbs, and just sprucing up even that small yard of yours.

