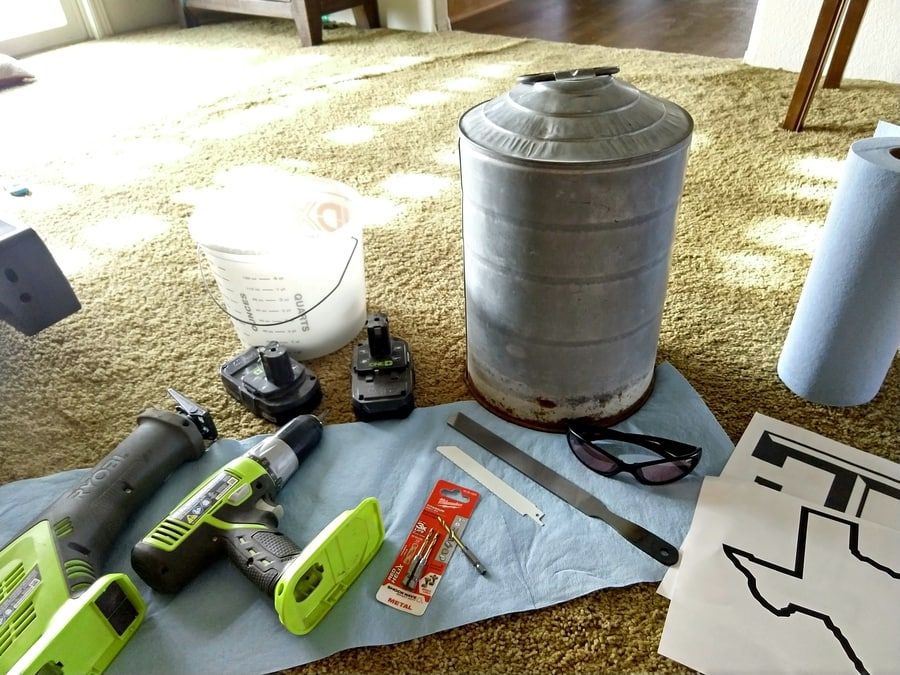
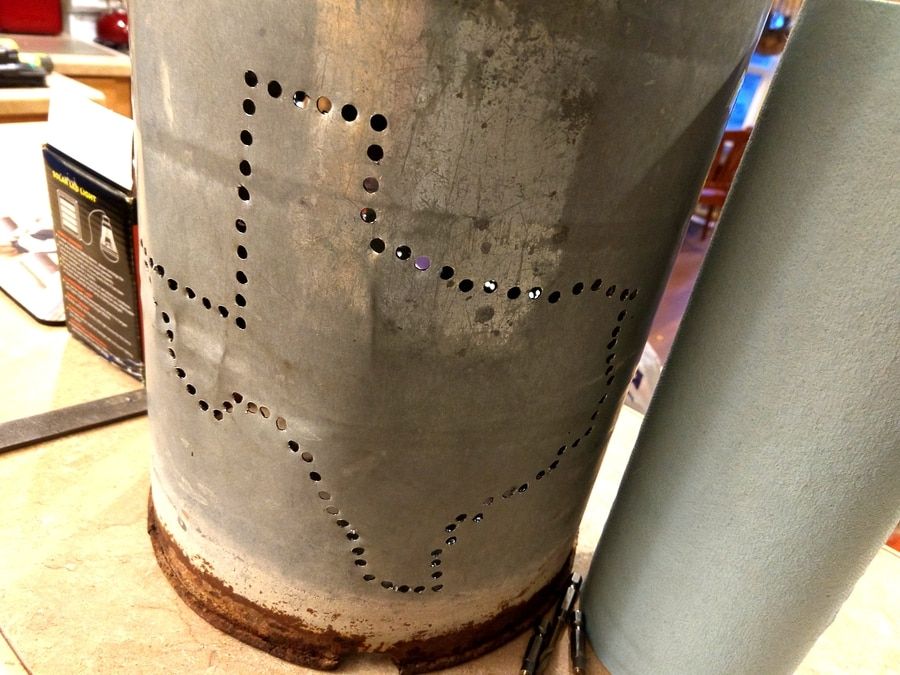
I love to display unique lighting on my deck and lean towards solar lighting options, but often find that many don’t stand up well to weather. I also hoard cool old things (junk) to craft with, and had been wondering what to do with an old rusted out chicken waterer for years. The bottom became a planter long ago, but the hood was just hanging out evading creativity.
Until I figured out what a great hanging light it would make. The idea is simple enough and, with the right tools, the task wasn’t that hard either, although it did take a bit of time due to the size of the project. If you have any cool junk hanging around, for about $10 you can find a cool solar light to use and make yourself a totally personalized hanging (or otherwise ) lighting source for your deck or patio.
What You Need:
Metal Container of Some Sort
Obviously this is going to be the main part of your project. I had an awesome old aluminum top to a chicken waterer that has been hanging out in my garage waiting for a project. You can use a variety of different things for this, such as old coffee cans, heat lamps, or anything that has a good shape to create a hanging (or even table top) light.
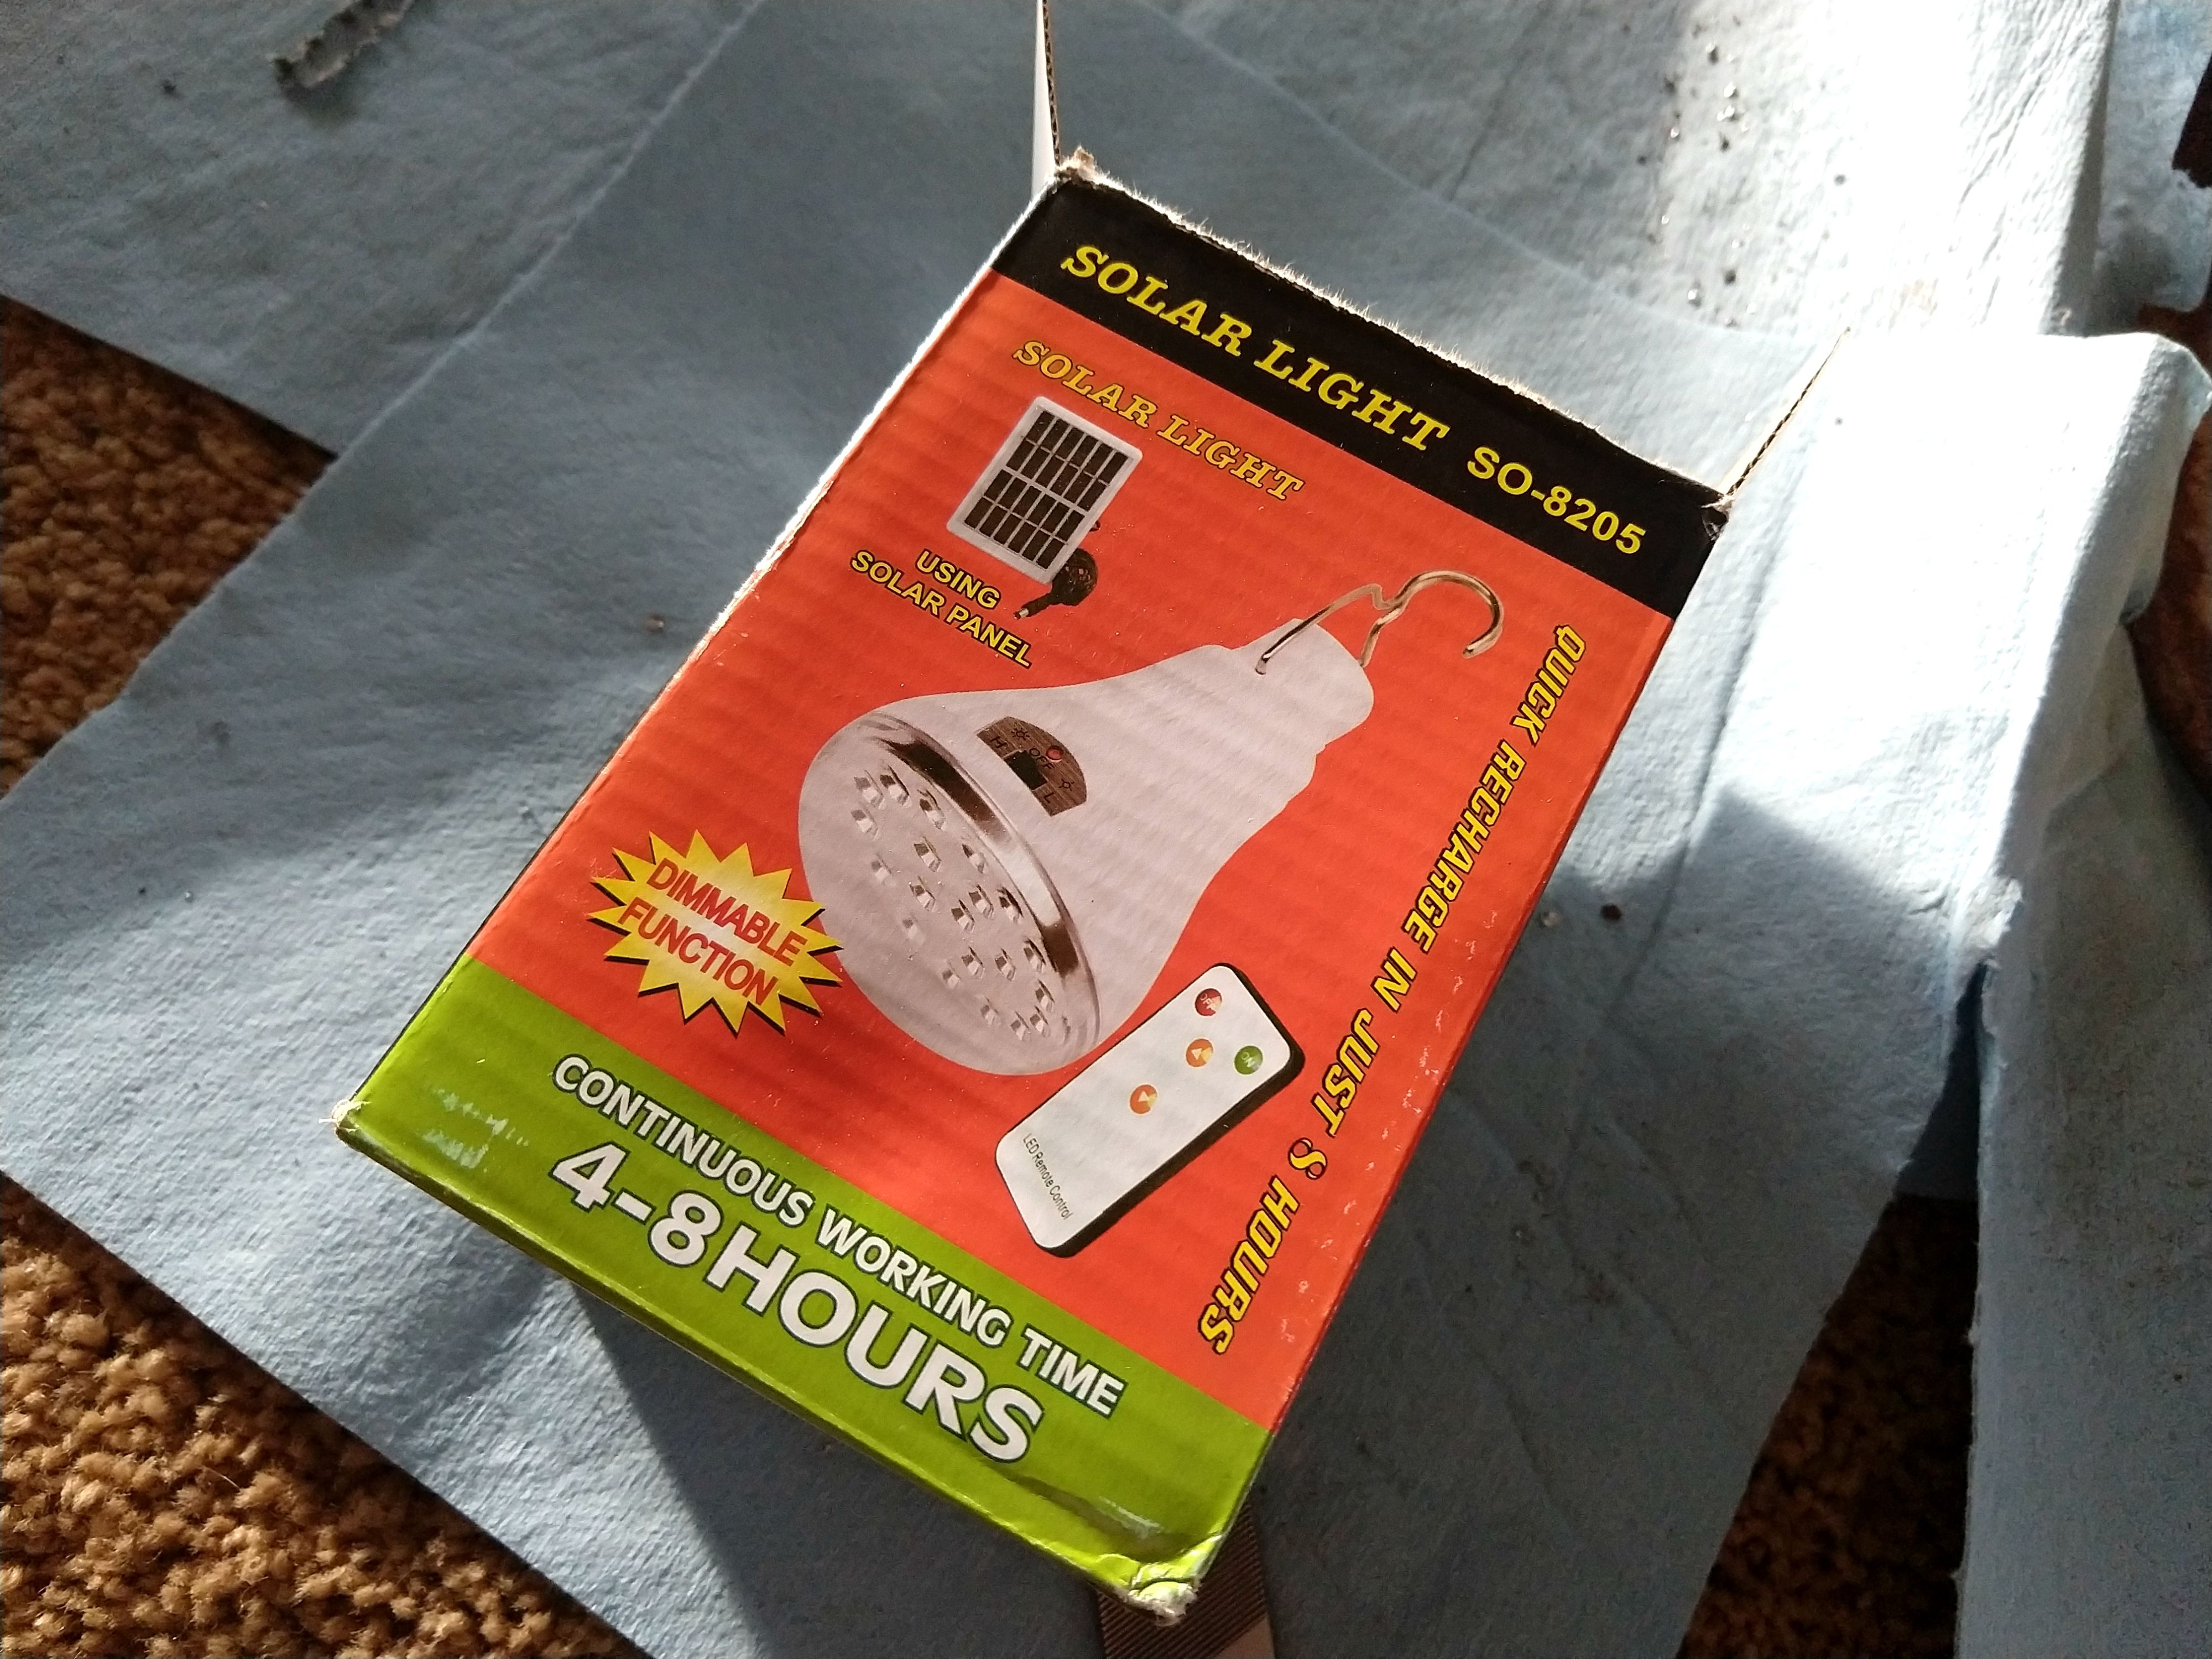
Hanging Solar Light
The whole purpose of my project was to make a hanging light for the deck or patio and I felt a good rechargeable solar light would be the best choice. You can use any number of things to light up your creation, including candles. I choose this light since it holds a charge, includes a remote control, and recharges easily with a unpluggable panel that has a long cord for placement in the sun. This way I wasn’t limited on where I could place it.
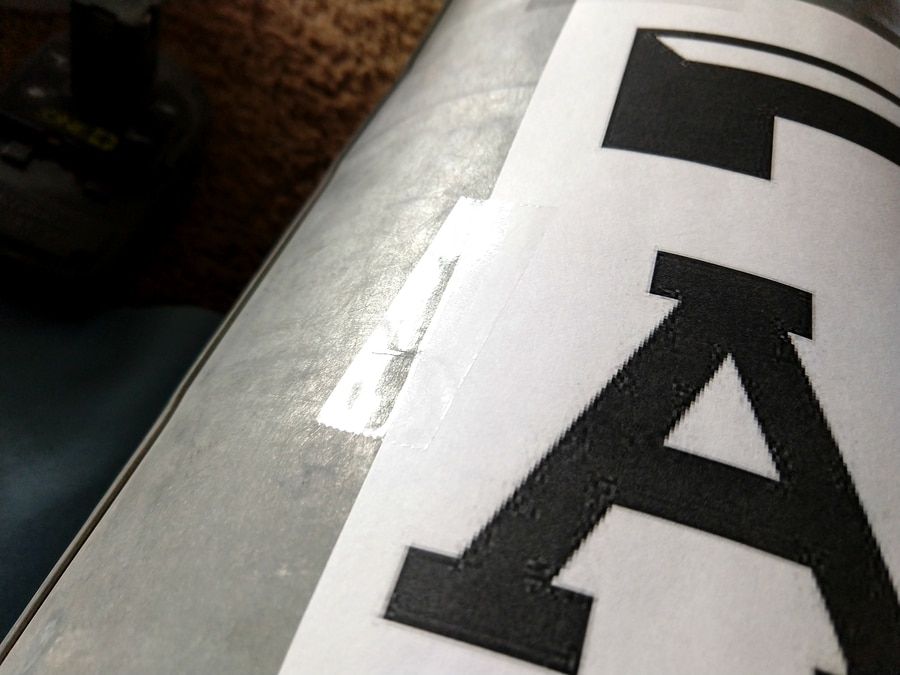
Stencil or Guide and Tape
Unless you want to freehand a design, I strongly suggest you print out what your design is to serve as a guide to tape it to your work surface.
Safety Glasses
Seeing as that you are working with a drill and metal wearing safety glasses is a good idea as the drill can slip and small pieces of metal will be present as well.
Work Gloves
This project is going to create some sharp edges as well as small bit of metal that can easily embed themselves in your hands. Plus, you will most likely want to support areas you are pushing against and will want to protect your hands against any slips of the drill.
Cobalt or Titanium Carbide Drill Bits
Either of these drill bit options are excellent for a smooth movement through any sort of metal (in fact, they can handle some pretty thick stuff). I wanted complete control over my holes without having to apply too much pressure. Choose the sizes you feel are best for your project (I suggest having more than one size).
Power Drill
Any dependable power drill will work! I prefer a cordless and just make sure keep my batteries rotated through the charger.
Metal File
Unless you want a rough edged look, a good metal file can help you smooth out, flatten, and shape your cuts.
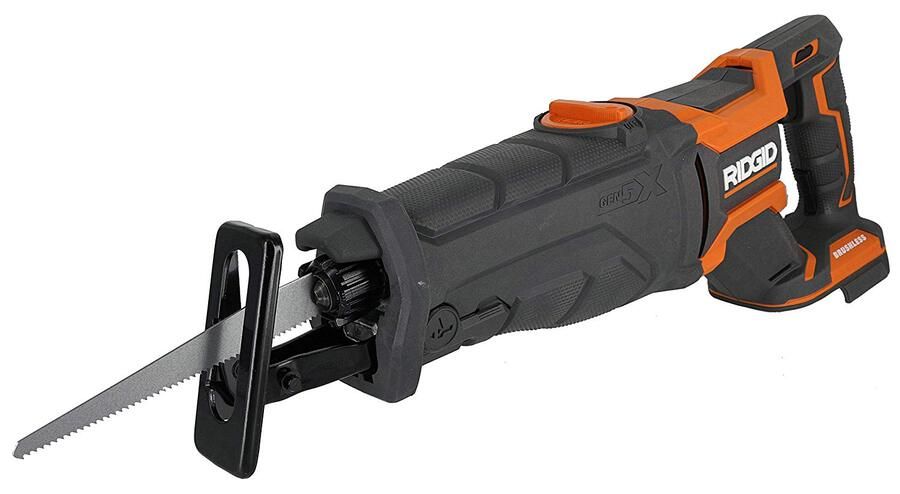
Optional: Sawzall w/ Metal Saw
I originally felt that I might want to take advantage of a sawzall to create my cut out areas or smooth the sides. Depending on what you are working with, and how sturdy it is, this might be a good choice- however, in my case it was not. I did not have enough leverage or a solid enough metal to work with to do this safely.
Optional: Magnet
The day I tackled this project the weather took a nasty turn so I decided to work indoors. Even though I spread out a drop cloth to work on I still had bits of metal everywhere. Keeping a good magnet close by was incredibly helpful in pulling up any small bits that had blown or brushed off while I worked (I simply used a wide refrigerator magnet).
Optional: Bucket
A place to dump metal shavings and place any torn paper is also helpful. A little bucket used as a portable trash let me separate out anything I wanted out of my way easily.
Steps
Step 1: Print Out Picture and Tape Securely
I was creating my light as a gift, and definitely wanted to have a sturdy guide as this was a new attempt at a new idea to keep from making any major mistakes. I found my patterns easily enough with a quick online search and printed them for personal use (no copyrights were violated).
Obviously the picture itself doesn't have to be perfect and you should definitely choose a simple, silhouette type design as you need to consider how your cuts will fall and you don’t want to leave behind a flimsy surface.
Tips to Consider: Tape your stencil down securely as the drilling and filing will begin to tear it. Add more tape as needed, and remove areas that are completed to help avoid additional tears.
Step 2: Drill Out the Outline
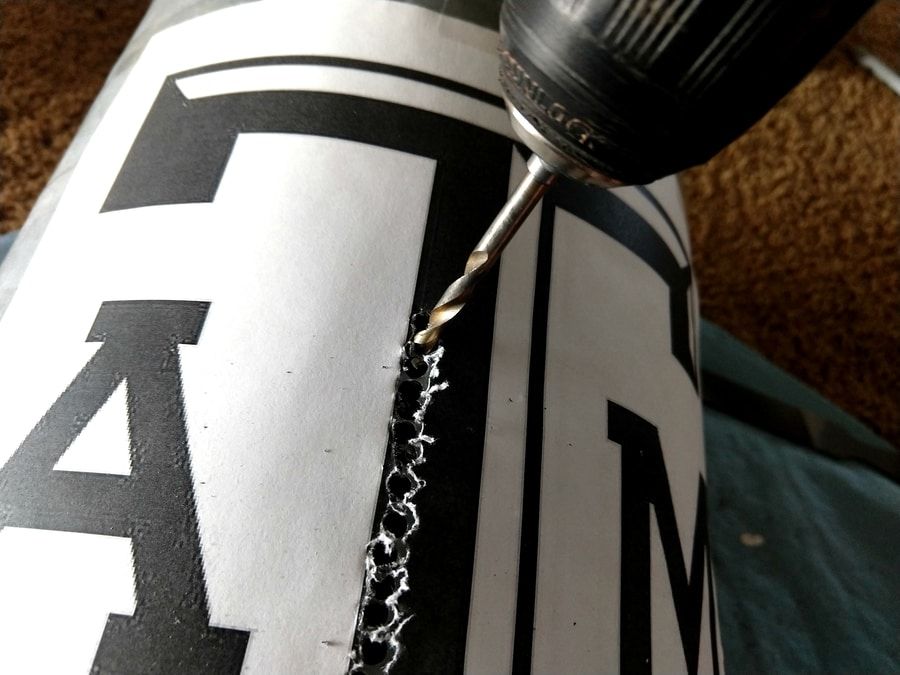
Once your stencil is secure begin to outline with the drill. I used my larger bit for the black areas because I planned on taking that entire section out and wanted to remove as much as possible from the start. Creating an outline allowed me to join together holes and follow up with a smaller bit to cut it out completely.
Tips to Consider: Don’t worry about any small strays you may make from the line. When you follow up with a file you can smooth these out as much, or as little, as you want. If you are looking for a more shot-out look like I was, then create some variations in the line for added interest.
Step 3: File Off Edges and Shape or Smooth as Desired
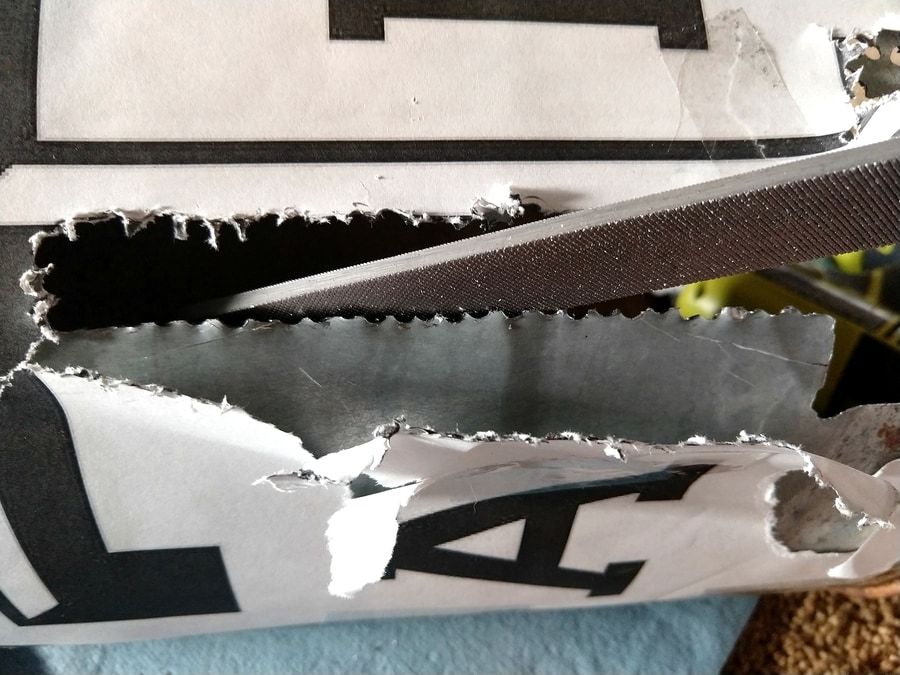
A good metal file will help you wear down any rough edges you have and sharpen corners. It may seem like not much is happening at first, but keep at it and alternate it with a smaller toothed file to get your desired effect. I smoothed mine out but choose to keep some rough patches for added interest.
Tips to Consider: Start with a smoother toothed file to create a more workable surface that you can come at with a more aggressive file later. I found that when you started with a more aggressive tooth it caught on the metal and was counterproductive.
Step 4: Cut Holes in Top to Fit Your Lighting Option
I have no idea how I didn’t get a good picture of this, but it is a small, important step to hang your light and accommodate your solar lighting. My container had a handle on top for hanging, but not inside for the light. Two small holes and a little wire was all I needed to create a simple crossbar to hang my hanging solar light from the inside ( the light I bought has a little hanging hook already). Since the light also charges from a plug in panel I drilled a hole to accommodate that wire if we didn’t want to remove the light for charging.
Tips to Consider: To keep from creating too large a hole from the start, simple drill a hole and then slowly shave away the edges to get the perfect fit.
Step 5: Apply Light, Hang, and Enjoy!
Once you’ve finished off your light it’s time to hang and enjoy! I like the versatility of this particular container as it can also sit on a table top for illumination.
Conclusion
This definitely was a project that I learned from as I went along. Poking holes in a tin can for small solar lights was child’s play compared to the size of this, and I suggest doing it in sections and giving yourself a rest. The pressure from the drill vibration gave my arm a workout even though the bits moved smoothly through the aluminum!
Obviously you can choose your own size light option from the material you have, but overall the process was fairly easy and the learning curve was quick to feel out. Different shaped containers and metals will respond differently to your work, but I do suggest a softer aluminum like this choice - just be careful of how easily it can bend when you place any force against it.

