Building a snowman is a must-do after the first snowfall of the winter. If you want your snowman to last all winter, however, you're going to have to use something other than snow to build your snowman. You could buy a snowman decoration from the nearest store, or you could go full DIY making building your own into a fun family project.
This is an easy craft that you can make out of scrap plywood. The only dangerous part is the cutting of the plywood, so as long as an adult does that part, this project is a perfect activity for the kids. Read on for a full breakdown of how to make snowman decor.
Materials You Need
- Plywood sheet
- Carpenters pencil/sharpie
- Jigsaw
- Jigsaw blades
- Sandpaper
- Paint
- Screws
- Rebar (optional)
- Accessories
Step One: Gather Your Supplies

Image credits: tango.mceffrie via Creative Commons
First up, round up all your supplies. You’re welcome to use scrap plywood for this project, as long as you have unbroken pieces that are wide enough to fit your snowman.
A jigsaw is the best saw to cut irregular shapes out of wood. Typical paint colors needed would be black, white, and orange, but you can use whatever colors you like.
Step Two: Trace The Snowman

Image credits: lilspikey via Creative Commons
For this step you can follow a strict template, with a large sphere at the bottom, staggering down in size until you get to the head.
You can also let your creativity run wild if you feel like it. No need for your snowman to follow the 3-stacked-circles design if you don’t want to.
Pro Tip: Here’s how to keep your circles consistent. Attach a nail to the center of the sphere you plan to trace. Tie a piece of string, the same length as the intended radius of the circle, to this nail. Attach your marker to the other end of the string and you know have an accurate way of tracing a perfect circle.
Make sure all your center lines are straight for a uniform and consistent snowman.
Step Three: Cut The Snowman

Image credits: Benjamin Thomas via Unsplash
With all the tracing done, it’s time to get cutting. Break out that jigsaw and cut as close to your lines as possible. A few squiggles here and there are no big deal as you’ll sand them down later.
Step Four: Cut The Support Piece

Image credits: chailey vis Creative Commons
The support piece is a vital piece to keep your snowman upright. The height of your support piece should be higher than half the height of your snowman. The higher the better.
Your support piece should look like a triangle, with the longest vertical side against the back of the snowman for the best support.
Step Five: Cut The Add-Ons

Image credits: Wonderlane via Creative Commons
You can use the leftover plywood to cut out any add-on’s you’d like on your snowman. Think about arms, hands and fingers, a hat, a nose, or all of the above. The great thing about making your own decorations is that they are endlessly customizable. These add-ons will be limited to the amount of off cuts you have unless you use another sheet of plywood.
Step Six: Sand The Edges

Image credits: Tamanna Rumee via Unsplash
Now that the cutting is done you can put away the jigsaw. It’s time now to sand down those rough edges that lead to splinters. This is also a good time to sand down any skew lines that may have happened in the cutting process. For best results, start off using a lower grit sandpaper (50 grit) and work your up to a higher grit for a smooth finish.
Step Seven: Paint

Image credits: russn_fckr via Unsplash
Here comes the color. Typically, a snowman will have a white body, black arms and accessories, and an orange nose. However, this is all up to you and you can paint your snowman whatever colors you like. It’s always a good idea to first prime any surface you plan on painting.
Since this decoration is intended for outdoor use, it’s best to use a heavy-duty wood paint designed for outdoor use.
Step Eight: Assemble

Image credits: Konstantin Evdokimov via Unsplash
When assembling your snowman use screws to hold everything together. That way you can easily take it apart for storage or repairs.
Lay your snowman face down and screw all the attachments in from the back side. This way, you won’t be able to see the screws in your display for a seamless look.
For the support piece, you could use a block of scrap wood to attach it to the snowman. One screw goes through the block into the support piece, and another screw goes through the same block and into the snowman.
For added support, screw rebar to the support piece and drive the rebar into your lawn.
Step Nine: Accessorize

Image credits: Roberto Sorin via Unsplash
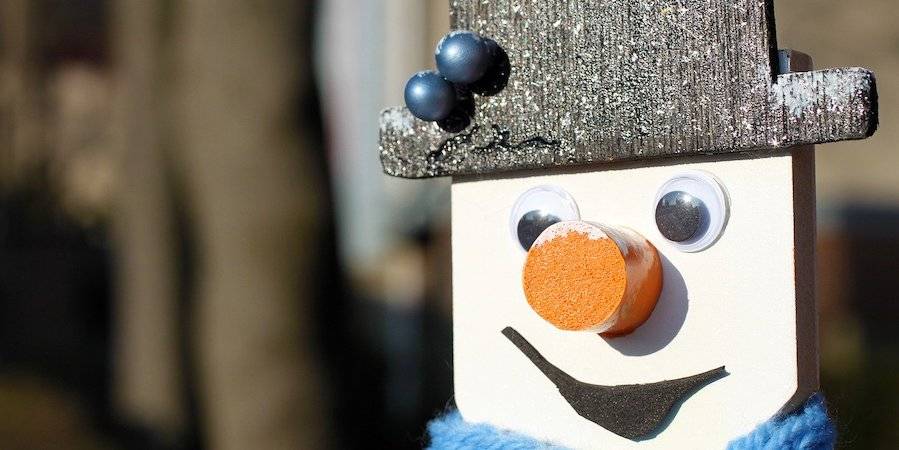
Here comes the fun part. Grab all those awesome accessories you want your snowman to be parading this winter and get accessorizing. Add a plaid scarf and shiny buttons for a cool winter look.
If you didn’t make a hat, find your snowman their own top hat or snow cap. You have hundreds of options when it comes to accessorizing your snowman so go wild! You could even have outfit changes for your snowman if you want to be extra.
With the tutorial above you'll have your very own snowman made out of plywood. If you choose a heavy-duty paint that can withstand the elements there's no reason this snowman shouldn't last years. You could also design it so that you can store it flat if you're short on storage space.
What do you think about this tutorial? Will you be making your own snowman this year? Comment below and let us know.