Have you ever tried to plant carrots or broccoli and had problems getting the seeds spaced out properly? Or went to shake seeds out of a flower packet and ended up pouring the entire pouch in one spot? We've all been there, and seed tape is an easy way to get around these common problems.
You can buy seed tape, but that comes with its own difficulties. Seed tape available for purchase can be expensive, and you may have trouble finding the correct mixture or types of seeds you are wanting. That's why we have the perfect DIY solution for you!
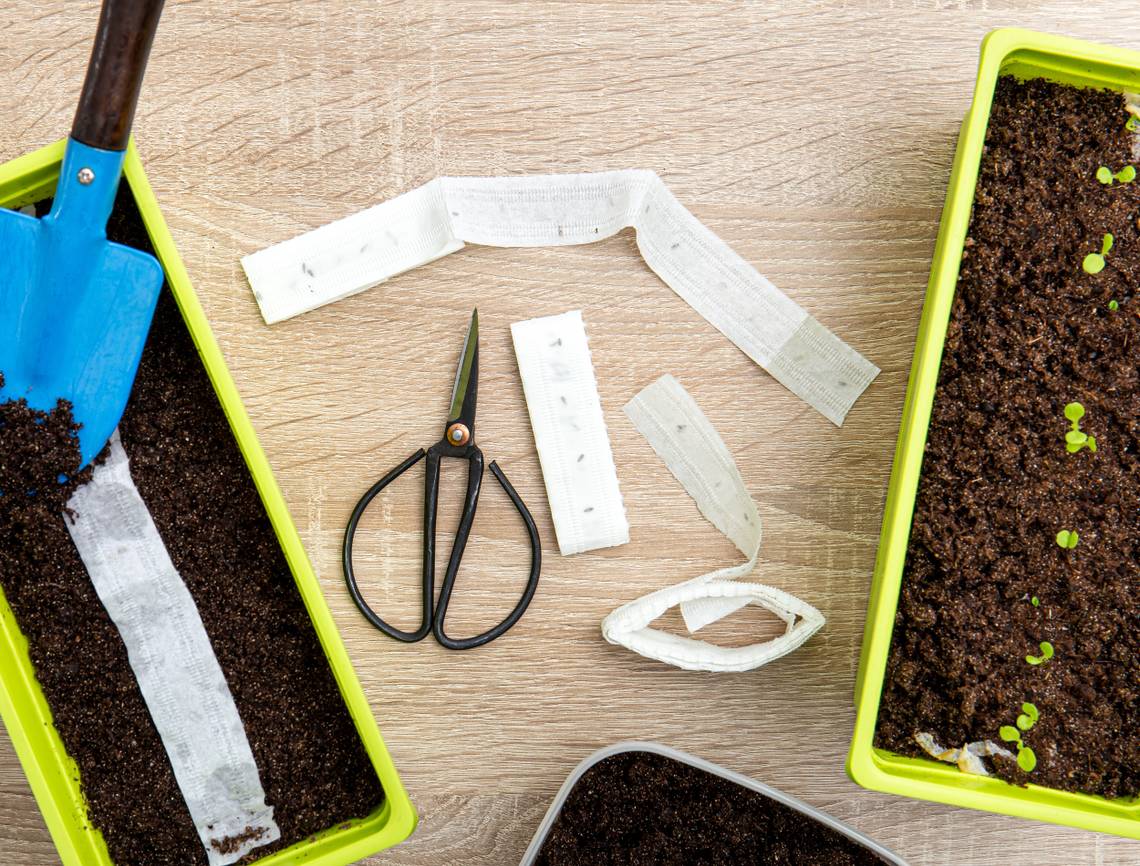
This project only requires a few things, and you may already have many of these lying around your house. If you have kids, you can also involve them in the process! Making your own seed tape will save you time when you are ready to plant.
Materials Needed
- toilet paper or paper towel (unbleached)
- scissors
- pencil
- permanent marker, for labeling
- measuring tape
- plastic bag or pouches for storing the tape
- paintbrush, pencil, or chopstick
- (optional) food coloring
-
non-toxic liquid white craft glue (food-safe!)
-
Or, you can make your own solution:
- 1-2 Tbsp. corn starch, or unbleached flour
- 1/4 cup water
- Bowl for mixing
- spoon for stirring
-
Or, you can make your own solution:
Step One: Cut the length of toilet paper or paper towel

Image credits: Engin_Akyurt via Pixabay
Choose the length of your paper towel or toilet paper. All toilet paper should be biodegradable, but we suggest checking brands for unbleached options. That way you can be sure no chemicals leach into your soil. You may have a certain length you need for your garden, but try to keep it manageable by cutting it into sections. We suggest keeping the tape between two and four feet. You can cut it longer, but it may get tangled when you go to place it in the dirt, especially if the winds pick up.
Depending on the width of the space you are planting, you may also want to cut the paper into narrower strips to place into the dirt.
Step Two: If not using bought glue, make your paste

Image credits: Cloud1902 via Pixabay
If using bought craft glue, skip this step.
Put a 1/4 cup of water into a bowl, and add cornstarch or flour by 1/2 teaspoons until the paste is a glue-like consistency. The goal is to have it thick enough that it won't drip from your paintbrush or chopstick.
Step Three: Place Glue/paste

Image credits: Pexels via Pixabay
Read on the packet of seeds what they recommend for spacing. This is how far apart you will place your glue. You may also choose to add some food coloring to the paste or glue to make it easier to see when placing it on the paper. This can also add another fun element for the kids to enjoy!
If you'd like, you can either place the measuring tape next to your paper and use the paintbrush, or the end of a chopstick or pencil to place glue directly on the spots. Or, if you think it may dry too quickly, you can use a pencil to mark the locations first.
Step 4: Place your seeds

Image credits: 41330 via Pixabay
Before it dries, place your seeds into the glue dots you've created. Make sure to push them into the paste so that they will stick.
Let them dry to the paper for approximately 10 to 20 minutes.
Step 5: Place them into bags
Label the bags clearly so you won't run into any issues once you go to plant them! Once your seed strips are dry, fold them and place them into the bags, making sure to seal them.
Step 6: Ready to Plant

Image credits: Hans via Pixabay
Once you are ready to start planting, create a valley in the soil at the same depth as indicated on your seed packet. Unfold the seed tape from the bags and place it into the dirt. Cover the paper and seeds with soil and water as instructed. The paper and glue/paste is biodegradable and will not prevent the plants from growing.
And there you are! You have made your very own seed tape and learned the wonders of no-hassle planting!
Conclusion
This craft is a great project that will help make gardening one step easier come Spring. This idea works great for small and medium-sized seeds such as peppers and lettuce. However, it will not work as well for larger seeds, like pumpkins, as the paper may not be able to hold the weight of the larger seeds.