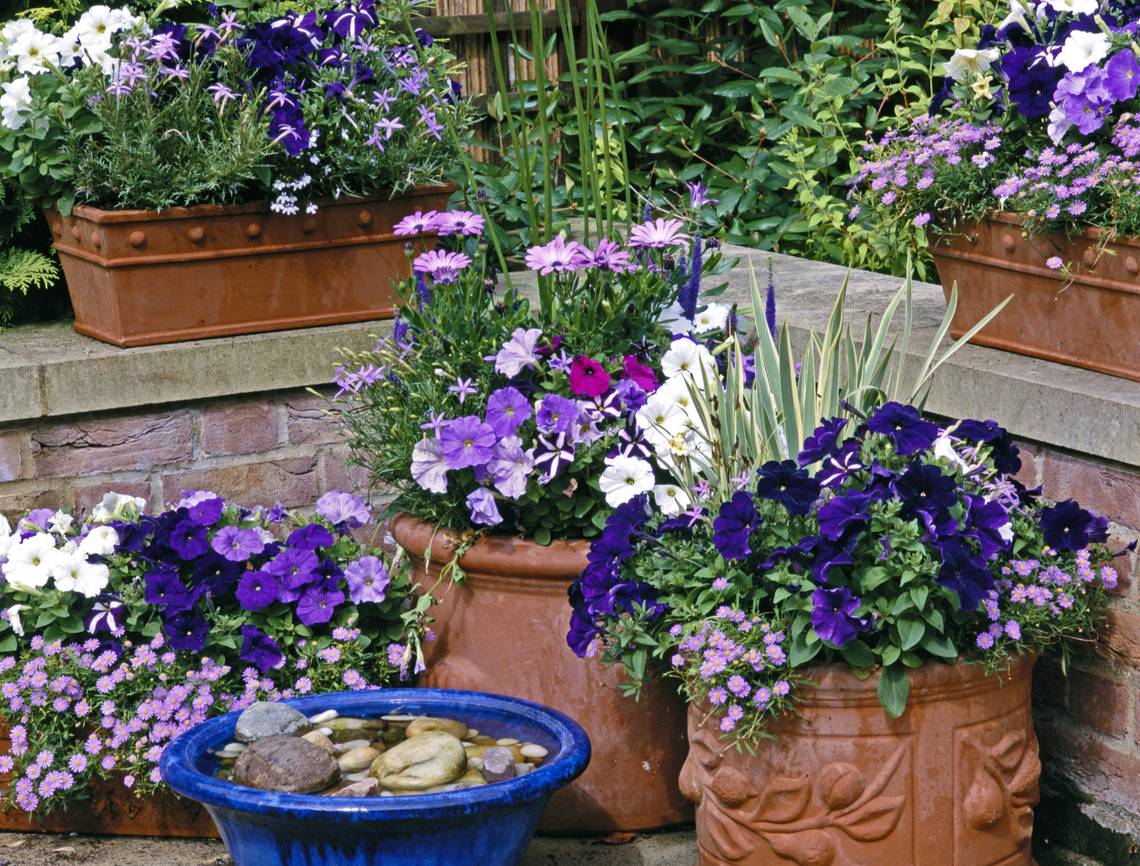
Are you a gardening lover limited by your lack of garden space? Planting a container garden is a great option for you! Container gardens are ideal for use on balconies or sunny driveways. You can adorn a front walkway or staircase with a well-needed splash of color. Or create a charming ambiance anywhere by placing containers on the ground, a windowsill, a shelf, or hanging baskets.
There are endless possibilities for container gardens. Grab a color wheel and mix different shades and tones for unique color displays. Create an edible container garden with vegetables and herbs. Or simply throw together some foliage for a decadent green container garden.
You can use a single pot or group of as many as you'd like together for aesthetic appeal. Regardless of the filler, container gardens are an excellent option for any level gardener with any amount of space!
Materials Needed
- potting container
- potting mix
- variety of plants
- fertilizer
- watering can or hose
Step One: Choose Your Container Type

Image credits: Kameleon007 via Canva
The most important thing to remember when choosing your potting container is to select one with proper drainage. Avoid pots that do not come equipped with drainage holes. While they may look pretty, your roots end up waterlogged resulting in root rot and plant death. Drill in some extra holes if your material allows. Aim to create holes 1/2 inch in diameter for small or medium pots and 1 inch for large.
There are advantages and disadvantages to each type of potting container. Below is a list of the most common types:
1. Clay/terracotta
Advantages: attractive, versatile, inexpensive
Disadvantages: breakable, crack in the cold
Clay and terracotta pots definitely have a certain aesthetic appeal. Their sensitivity to the cold prevents year-round use; though they make a great option for planting annuals!
2. Cast concrete
Advantages: long-lasting, suitable year-round
Disadvantages: heavy, difficult to move, not suitable for decks or balconies
Cast concrete is a great durable potting container. For a lighter option, choose concrete mixed with vermiculite, perlite, or fiberglass.
3. Plastic/fiberglass
Advantages: lightweight, inexpensive
Disadvantages: stiff, thin
Plastic or fiberglass containers are a great low-budget option. Choose a sturdy and flexible container, as the stiff, thin options weaken with age.
4. Wood
Advantages: attractive, natural aesthetic, protect roots from temperature fluctuations
Disadvantages: may rot/decay
Wood planters add an earthy feel to container gardens. Choose a naturally rot-resistant wood like cedar to ensure success.
5. Metal
Advantages: strong, durable
Disadvantages: conducts heat
If you're using a metal container, try lining it with garden fabric and reserve it for the shade. Your roots will thank you for the protection from potentially fatal temperature fluctuations.
Step Two: Choose Your Plants

Image credits: dheeraj11 via Canva
Now for the fun part! You can fill your container garden with an endless possibility of plants. Prepare an edible garden for your favorite family meals! Create a salad, pizza, or pasta garden using lettuces, peppers, tomatoes, and herbs. Choose an annual container garden as a creative way to mix things up each season. If you are geared toward a perennial container garden, hostas, daylilies, ferns, lavender, and ornamental grasses make great options.
The key to choosing successful plant combinations is to ensure they make good plant neighbors. Pay attention to plant tags from the nursery to determine light, soil, and water requirements. Group plants with similar needs together. Adhere to the expected growth and spacing requirements of each plant.
Use your imagination! Mix colors, textures, and different plants to brighten your day. If you feel clueless, use the "thriller, spiller, filler," rule. Plant an upright show-stopping plant or flower in the middle of your container as your "thriller. Find an elegant option to drape over the sides of your container as your "spiller." Then add in greenery or any other "filler" to frame your creation.
Step Three: Choose Your Container Size

Image credits: Monkey Business Images via Canva
Once you have a good idea of the types of plants you'd like to use, determine the size of the container they require. Remember, it is easier to grow in larger containers than in small. The more soil you can add, the more insulation there will be for your plant roots. Larger containers require less watering, as the soil retains moisture for longer.
Consider the size and shape of your root systems. If you're unsure what size container is appropriate, always air on the larger side. A 10 to 12-inch pot holds 3 to 4 plants generally. A 14 to 16-inch pot provides room for 5 to 7 plants. A large 16 to 20-inch pot should hold around 6 to 9 plants.
Step Four: Prepare Your Container

Image Credits: cottonbro via Pexels
Before you begin filling your container garden, find an adequate location with the proper light conditions for your contents. It is always best to place your container in the correct spot before filling; especially if you've chosen heavy materials like concrete or wood! If watering is an issue, place your container in a spot where it won't be baking in the midday sun.
Once you've determined your container garden location, fill your pot 2/3 full with potting mixture. It is not necessary to put in a layer of gravel or pot shards for drainage as these materials generally make it harder for water to run through. If you are worried about the mix spilling from your drainage holes, place a piece of paper towel or newspaper down prior to filling. Use small pots placed upside down in the bottom of your container if it is too large to fill completely with soil.
Moisten your soil by watering until you see run-off from the drainage holes. Mix the moistened soil before moving to your plants.
To release your delicate beauties from their nursery pot, gently squeeze the sides of the container to loosen the root balls. Carefully remove the plant and set it in your potting mixture. Ensure the top of the root ball is a couple of inches below the rim of the new container. Use more potting mix to cover the roots and ensure the stems are no deeper in the soil than they were in their nursery pot. Gently pat around the plant to hold it in place, then let it settle with a gentle watering.
Step Five: Container Garden Care

Image credits: Geo-grafika via Canva
Now that your container garden is set up in the proper location, there are a few things you can do for ongoing care. Keep your container garden moist, preventing a complete soil drought whenever possible. Use an organic fertilizer such as seaweed extract or composted tea approximately once every two weeks for plant prosperity. Adjust accordingly based on your plants' reactions.
Remember that no gardener is perfect! It may take some playing around to find the perfect combination of plants for your container garden. Allow your plants to flourish by removing dead leaves and spent flowers and keeping your garden pruned. Dig out anything that has completely died, and keep an eye out for pests. It is best to deal with a pest invasion immediately to avoid losing an entire container garden!
To Sum It Up
If you're disheartened with your lack of garden space, planting a container garden is a great solution. You can use a container to plant one small tree or fill it full of a plethora of different plants and flowers. Plant an edible container garden and surprise your family with fresh dinner ingredients! Or spruce up any outdoor space with brightly-colored combinations of flowering plants.
Not a watering lover? Try using drought-resistant succulents in your container. A container garden is a trial-and-error type of process, and the most important thing is to have some fun with it!