Nothing is better than hot corn on the cob, soaked in butter, eaten on your back porch with such gusto that kernels end up smeared all over your face. That is, nothing is better than hot, fresh corn on the cob. Corn that is freshly picked is unbelievably juicy and sweet to the point that it makes eating grocery store corn seem as appealing as gnawing on wet cardboard.
Don’t worry about fresh corn ruining grocery store corn for you, though, because with this complete tutorial, you will learn how to grow corn in your backyard. After following the six simple steps below, you can have an endless supply of fresh, sweet corn.
What You Will Need
- Corn Seeds
- Soil
- Water
- Fertilizer
- Common Gardening Tools
Types of Sweet Corn
Sweet corn is the easiest and tastiest type of corn to grow. Some other varieties of corn include popcorn, animal feed, dwarf corn, and decorative corn. Sweet corn comes in numerous types. Some of the best are listed below.

Super Sweet Corn
If you want sweet corn whose sweet taste lasts for days after harvest, try growing a super sweet variety.
Standard Corn
Standard corn has the normal corn flavor that we all know and love. It is more vigorous than the super sweet varieties but retains sweetness for less time.
Sugary-Enhanced Varieties
A combination of super sweet corn and regular corn that pairs their sweetness and vigor of the two types.
Synergistic Variety
This type of sweet corn produces sugary-enhanced kernels and super sweet kernels on the same ear.
How to Grow Sweet Corn
Step One: Here Comes the Corn
Corn loves sunshine, so pick out a spot that gets sun for the majority of the day. Corn does not grow well in heavy soil since heavy soil blocks its taproots, so use well-drained, loamy soil.
The pH of the soil should range from neutral to slightly acidic. It should be properly fertilized with a fertilizer that is high in nitrogen before you plant the corn.
Your soil should be at least 60 F before you plant the corn. There should be absolutely no threat of frost, so consider planting two weeks after the last frost. If you plant too soon your yield will be dramatically smaller.
Pro Tip: If you live in a colder climate and are anxious to get your corn in the ground, cover the soil with black trash bags so it warms up more quickly.
Step Two: Plant Your Corn
You should plant your corn seeds in blocks so that the corn can be more effective in co-pollinating. The male tassels need to be able to pollinate the female silks, and a block formation enables that.
The blocks should be at least 3 rows wide, with 2-3 feet between the rows. Within the rows, there should be at least 6 inches between each corn plant, and the seeds should be planted about 1.5 inches below the soil. If that sounds like far too much corn for you, you can stick to a couple of plants and hand pollinate.
Plant three seeds together. This will increase the likelihood of germination since the germination rate of sweet corn is 75%.

Pro Tip: Corn does not transplant well which can be a bummer for gardeners with short growing seasons. If you need to start your corn indoors, use a biodegradable pot so that you do not disturb the corn’s roots.
Step Three: Care For Your Corn
The corn life cycle can be 2-3 months. Throughout its life cycle, you are going to want to thoroughly water the plant with 1 inch of water once a week. You should water the surface of the soil over the roots. If the leaves start to curl or cobs start to swell, water your corn more.
Mulch the soil around your corn to help it retain moisture in the hot weather it thrives in and to keep the area around it weed-free.
Seeds will germinate about a week after being planted. Thin your plants so that there is only one every 15 inches. You can remove seedlings by cutting them off at soil level
Once your corn plant reaches a height of 8 inches tall, add a fertilizer rich in nitrogen, like compost or manure. Apply that same fertilizer again when your corn plant grows tassels.
Step Four: Protect Your Corn
It isn’t just humans who love corn, it also attracts pests like a magnet.
Spray your corn with organic pesticides like Bt (Bacillus thuringiensis) to keep bugs at bay.
Animals will also try to get at your corn. You can consider putting up cages, fences, using a scarecrow, and other methods to deter them. To ward off diseases, consider planting a corn variety that is disease-resistant.
Most importantly though, keep an eye out for smut. It looks like what it sounds like- a grayish-black fungus. Smut can destroy your corn harvest if it isn’t spotted soon enough. If you do not remove it, and the infected corn, it will burst, infecting all of your corn plants.
Step Five: Harvest Your Corn

When is sweet corn harvested? Corn is ready for harvest 2-3 months after it is planted in late summer and early fall. It is time to harvest your corn when the ears turn dark green and the tassels turn brown. The ear should be fat at this point with a rounded, not pointed, tip. Peirce a kernel, preferably with a fingernail. If the kernel spurts milky liquid then your corn is ready to harvest.
But, how do you harvest corn? Corn is extremely easy to harvest! Simply take the corn ear in one hand, and the stalk in your other. Grab the corn ear and twist it to the side, pulling down. It should come off the stalk.
Step Six: Enjoy Your Corn
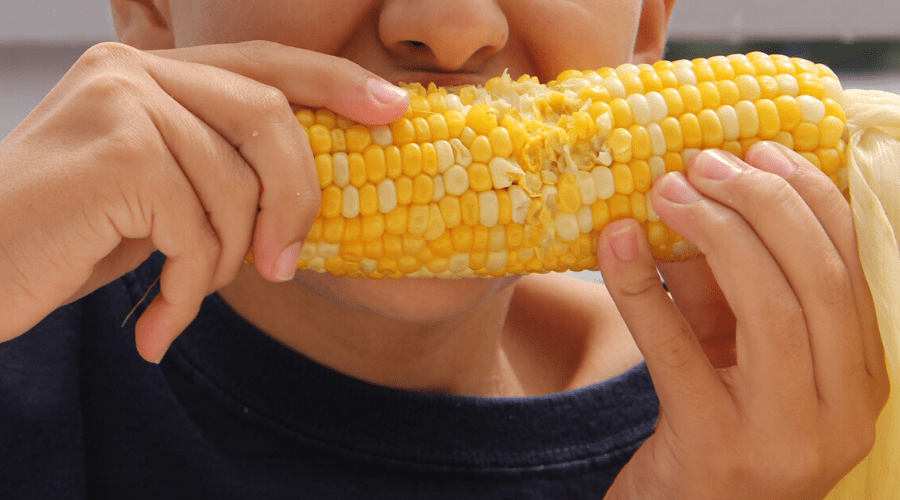
Now that you have harvested your corn, there are so many delicious corn recipes to choose from! Enjoy your corn boiled, baked, grilled, loaded with butter, or however else you may want to devour it.
Do keep in mind though that you should eat and store your corn immediately after harvest. Its sweetness will fade quickly after you harvest it because the sugar in the kernels will immediately start turning to starch.
If you don’t feel like eating a boat-load of corn right away, you can blanch and freeze your corn so that you can enjoy it throughout the year.
Alternative Methods for Growing Corn at Home
Grow Corn From the Cob
You can grow corn from the ears of your previous harvest!
It is a good idea to take seeds from as many ears as possible to avoid inbreeding.

When harvest time comes around don’t harvest some of your corn. Let the cobs dry out, leaving them on their stalks until the kernels won’t dent when you try to pierce them with your nails. If they are not dry yet when a frost comes, pull the stalks out by their root and hang them upside down inside until they dry.
Once the corn is completely dry, remove the husks, and then remove the kernels. You can do this by pushing them off the cob with your thumb onto a tray. Let them dry on the tray for a couple more weeks.
They may have some debris on them at this point which you can get off of by pouring them from one tray to another in front of a fan. Make sure someone you don’t like is standing in front of the fan.
When finished, store your kernels in an airtight container. You can then plant them next spring.
Grow Corn in a Container
If you don’t have garden space for corn, you can grow it fairly easily in a container. The only catch? It needs to be a BIG container.
Something like a large storage tub or a box container that is at least a few feet tall, wide, and long. Your container should be able to hold at least 3 rows of 3 or more plants to ensure proper pollination. Once you choose your container, make drainage holes in the bottom of it for water to flow through. Then, add bricks to the bottom to weigh down the container but do not cover up the drainage holes.
Why? Because corn is a heavy plant so the threat of your container tipping over is a real one. The average corn stalk can grow to be 8 feet tall which is, frankly, too tall for a container. You are going to want to choose a short dwarf variety of corn, like Great Bantam or Precocious. These will only grow to be 5-6 feet tall and their ears will be about 7 inches long.
The plants should be planted in the container’s soil 2 inches deep, 4 inches apart, in rows that are 8 inches apart. Thin the seedlings once they sprout to be 6-8 inches apart. Container plants do need more water than plants in the ground. Make sure you keep the soil moist, but not wet, watering when the top inch of soil starts to dry. Also, the container should absolutely be in a spot with sunlight.
Otherwise, you can follow all of the directions for how to grow sweet corn below!
Continuous Growing
By using a continuous growth strategy, you can have fresh corn to harvest for months!
One continuous growing strategy is staggering planting your corn. Every couple of weeks plant a new round of corn.
Another strategy is planting different kinds of corn, with 60-day, 70-day, and 90-day growing cycles. However, do be wary of cross-pollination if you use this strategy.
To avoid cross-pollination, plant your different varieties of corn far away from each other, 400 yards apart, or, if you don’t own an estate, plant your different varieties of corn so they tassel two weeks apart from each other.

Conclusion
Now you know everything that you need to for successfully growing corn in your backyard. You have the keys to the kingdom of corn, an endless supply of this golden fruit is available to you, grow it wisely, and most importantly, savor eating it!
Keep in mind: Corn is always best when enjoyed outside with family and friends. I hope you enjoyed this tutorial! If you did, be sure to share it, and let me know what you thought about it in the comments.