When it comes to getting a new lawn established, laying down sod is the quickest way to get results. Seeding your lawn will be cheaper and easier but will also take a while before all those seeds germinate and grow enough to create the lawn you're after. Also, it will probably look patchy and uneven as the seeds won't all germinate and grow at the same speed.
Laying sod takes a bit of time and preparation, but the results are more or less instant once you're done. It is also a surefire way to make sure that you have an even, uniform yard right from the start. For best results, you will have to do a bit of soil preparation beforehand. Let's get into the details about how to prepare your soil for sod.
Materials Needed
- Soil test
- Sod cutter/sharp spade
- Soil amendments
- Tiller
- Irrigation (optional)
- Rake
- Fertilizer
Step One - Test Your Soil
First up, you need to know what you're dealing with. A soil test can tell you all you need to know about your soil, which will give you a good idea about what amendments you need to add for the perfect lawn. You need to decide which tests to do and learn how to test your soil.
Once you've received your test results, it's time to move on to the next step.
Step Two - Remove The Old Sod
You can skip this step if you're starting from the bare ground.
If there's old sod that needs replacing, you will have to remove what's already there. You can rent a sod cutter to make short work of a large lawn. Alternatively, if you're doing a small section or you're on a budget, you can use a spade with a sharpened edge to cut through the sod and remove it, roots and all.
Roll up the old sod and discard it. You could choose to put it in your compost, but the grass has a habit of taking root anywhere and taking over, so proceed with caution.
Step Three - Amend Your Soil

Image credits: Neslihan Gunaydin via Unsplash
This is when the results from your soil test will come in handy. The types of amendments you use depend on what your soil is lacking. Common amendments are lime to increase soil pH, sulfur to lower soil pH, gypsum to flush salt out of your soil, and compost to improve the health and structure of the soil.
Step Four - Till The Soil
If your soil needs amendments, or if it is very compact, it's a good idea to till it before you lay new sod. It helps the amendments penetrate the soil and break up the soil so the roots of the sod can get a grip. If your soil is healthy and full of loam, tilling isn't necessary and may damage the health of your soil.
Step Five - Install Irrigation

Image credits: HenryAGL via Pixabay
If you plan on installing an irrigation system on your lawn, now is the time to install it. You're already digging up the area and making changes, so adding a bit of irrigation will be a cinch. Besides, you don't want to tear up your brand new lawn later to install irrigation.
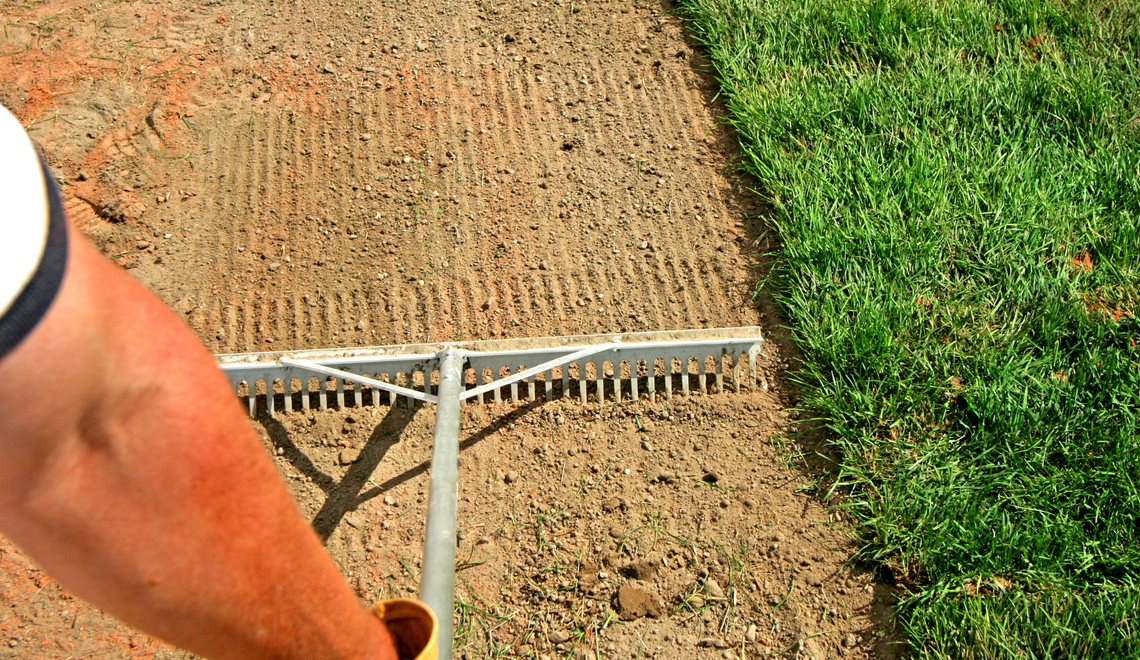
Step Six - Rake And Level The Area
Next up, you need to remove any larger debris and rake the area. Large debris will prevent sod to soil contact, which will hamper the establishment of your new lawn. Any low spots will be transferred to the finished lawn. You want a nice, even layer of soil with no large stones or debris or any low spots.
Step Seven - Fertilize
Now it's time to fertilize. You want to use a fertilizer with phosphorous since phosphorous helps with the development of roots. Not all fertilizer has phosphorous in it, so make sure to check the label. A fertilizer that contains phosphorous is sometimes known as a starter fertilizer.
That's It
There you have it! By following the steps above, this area will now be ready for fresh sod. When it comes to laying established strips of sod, all the labor-intensive work happens when preparing the place for sod. Once you've laid the sod, the hard work is done, and watering frequently is all you need to do.