During winter seasons, words that have been repressed into the back of your memory are being thrown around again, like snowfalls, blizzard warnings, freezing rain, and wind chill. These words invoke an automatic shiver that runs throughout the bones of the body.
There is also a dark side to winter that usually refers to shorter daylight hours and increased risk of injury due to slippery roads and walkways. This is why you need to ensure that you use preventive measures to avoid injury through slips and falls by properly salting/sanding your driveway. This will also make shoveling snow significantly easier.
So how exactly do you properly salt/sand your driveway and the accompanying walkways along with your decks, patios, and balconies? There are methods to complete this task and today we are going to break down exactly what they are so you know that both you and your family are fully protected during this winter season.
Why is it important to do this around your home
When it comes to winter preparation, people normally tend to focus on simpler or obvious tasks, such as changing their furnace filter, ensuring that their furnace is in working order, digging out winter coats and boots from the depths of their storage closet, and changing their vehicle tires to winter models for safer driving. It is always important to ensure that the around the home is also winter ready by placing summer furniture in storage, removing the hose from the water supply to avoiding freezing and to have snow removal tools (shovels, snow blowers, etc.) placed in easily accessible locations.
But it is super important to salt or sand around the home and here is why:

- It reduces the risk of serious injury through slips and falls.
- It prevents the asphalt of your driveway and walkway stones from cracking and splitting due to constriction and contraction caused by temperature change.
- It protects your lawn, shrubbery, and gardens from falling victims to the weight caused by ice and snow.
- It prevents potential damage to vehicles, as they can slip and slide into oncoming traffic or into your home when parked on ice (especially is there is an incline in the driveway).
- It reduces the chance of your family members or pets being hurt from hazardous conditions.
It is also important to note that some de-icing salt, especially the rock salt variety, can damage both the concrete and asphalt of your driveways/walkways when used improperly.
It is also important to note that some de-icing salt, especially the rock salt variety, can fatally harm delicate plants and shrubbery when used in abundance, so following the exact instructions and maintaining a set distance from your gardens is key.
What you will need


When it comes to properly salting/sanding your driveway, it is important to have a select arsenal of tools at your disposal. When the term tools are used, it doesn’t mean tools in the literal sense but rather those objects that will make this task easier and more efficiently completed.
- A sturdy winter shovel for snow removal
- A bag of de-icing salt or sand (personal preference combined with temperature averages are used in the decision-making process for salt or sand)
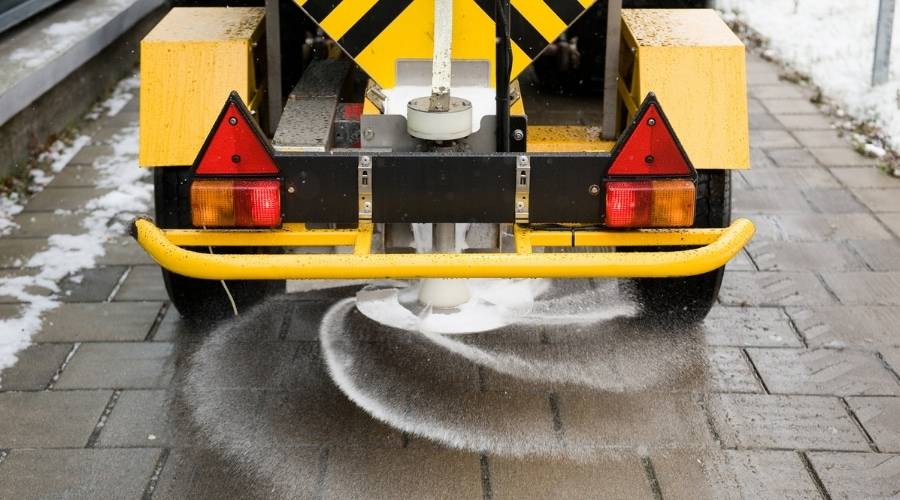
- A salt or sand spreader (if you do not want to purchase one, you can easily make one from an old container that can be manipulated into a funnel-like shape at the opening)
Once you have gathered the above, it is time to start the process of properly salting/sanding your driveway and all the accompanying areas that will see the most foot traffic to ensure a safe winter.
Step-by-Step
Now that all the tools are in your arsenal, it is time to conquer the beast: your icy driveway and walkways.
Step One
The first thing to do when going outside to properly salt or sand your driveway is to dress for the weather and task at hand – think warm pants, sturdy non-slip boots, and a pair of gloves that will not soak in water or the salt being used on the driveway.

Step Two
Take your shovel and clear all the snow away from the area that is being salted/sanded. If you leave clumps of snow where you are going to place the salt or sand, all you will do is melt the snow, allowing it to freeze on top of the ice. By removing the snow from the area, you will also be able to witness the ice melting and can remove the cracked up ice once the grit has done its job.
Step Three
Once the area is cleared of snow and debris, measure out the salt or sand as per the instructions on the bag for the best results.
Step Four
Using a salt spreader (or a plastic container manipulated to form a funnel) spread the grit evenly over the ice in a sweeping motion.
It is not recommended that you use your hands for the application of grit as some of the properties found within de-icing salt or sand can seriously damage the skin – causing rashes or chemical burns.
Step Five

Once the salt or sand has melted the ice – use the snow shovel to remove the ice chunks from the driveway and walkway until you can see the bare concrete below.
Step Six

Re-grit the driveway and walkway as per the instructions on the bag in preparation for the next snowfall or change in temperatures.
Step Seven
Place the chunks of ice away from the driveway and walkway to finish melting, either in a drainage ditch or to the side of the concrete.
If you place the ice chunks on the lawn, you run the risk of damaging the grass or plants due to the chemical content and you will create another task in having to scrape together the grit in the spring for disposal.
Conclusion
We just broke down why is it so important to take preventive measures against Mother Nature during winter and stop ice or sleet from forming on your driveway (and other areas of the home). So next time you are out completing your weekly shopping, drop by your local department store and pick up some ice grit that is guaranteed to break down those hazardous ice patches that form to the changing weather to protect yourself and your family from potentially serious injury.
Remember, all you need to complete this task are the following items:
- A sturdy winter shovel for snow removal
- A bag of de-icing salt or sand (personal preference combined with temperature averages are used in the decision-making process for salt or sand)
- A spreader (if you do not want to purchase one, you can easily make one from an old container that can be manipulated into a funnel-like shape at the opening)
Make the task of salting/sanding your driveway, walkways, and decks a family adventure by creating a game or challenge with the project; offering prizes for the one who salts/sands their section in a set time period or challenge your family to clear the most snow and ice in the shortest amount of time. Have a pot of hot cocoa ready to warm up those chilly fingers when the task is finished and enjoy some quality bonding time with your loved ones.