When I first started gardening, I was a home renter and was very protective of my babies, (I mean plants) and therefore always kept them in pots so they could go with me whenever I moved. I was the ultimate patio garden gardener, and through the years (and multiple moves), some of my plants were adopted by my mother and friends as they became too large to travel any distance.
However, I’ve kept a few choice favorites that have been repotted a few times, been dumped in moves, and dug up by dogs, but they keep coming back and so I’m careful to make sure they are well protected each winter.
Living in an arid, warmer planting zone, I have perfected what works well for my particular situation. But there are varied ways to keep your outdoor potted plants safe from freeze in almost any condition, and I will explain those below.
WHERE YOU NEED TO PROTECT YOUR POTTED PLANTS
Before we begin, it’s important to realize that any perennial you have potted will be less hardy within a pot. Depending on the zone you live in, you will want to make sure your plants are hardy to at last one (if not two) zones colder than where you are. Plants are zoned by on the assumption that they will be on the ground where it doesn’t receive that same conditions through the winter as potted plants. Potted plants have the added disadvantage in that they begin to freeze from the sides, and not only the surface of the soil, which can compromise the root system pretty quickly. Despite this, if your zone drops below freezing and stays there for any length of time, then you will want to make sure your plants are well protected from the elements.
As described in my previous article addressing this very issue, there are a variety of ways to take care of any sort of potted plant you may have, including bringing them indoors, for the winter. But hardy potted perennials often need a period of cold dormancy for their own health to rest and regenerate and should be left outdoors for the winter with proper protection.
ZONAL WINTER PROTECTION
Depending on where you live, you’ll want to approach your overwintering protection techniques with weather in mind. Northern climates will obviously need more protection than those located in the South. I break it down here with techniques you can use for each zone and then detail below what I use in my zone (zone 7) where we can have a week or two of single digits each winter, and a series of freezes followed by a thaw.
Don’t begin to insulate your pots until temperatures are dipping steadily below freezing and staying there through the nights. A good rule of thumb is to not begin insulating your pots until you have had at least three good freezes.
Zones 1-3
I don’t recommend ever trying to overwinter your plants in pots in zones 1-3 at all. If you have potted plants and want to try and get them to survive through the winter, your only real alternative is to bring them indoors, or into a cellar or basement where temperatures will stay cool or a semi-winter dormancy. You might have some success with burying your pots and adding a thick layer of mulch to it, especially if it is a very hardy and cold tolerant
Zones 4-7
You have a few options for overwintering in zones 4-8, the most successful being that you bury your pots so at least 80% of the pot is below ground each winter. This helps to mimic the natural protection it would receive if it was planted in the ground, and if you place a good layer of mulch over the top you are pretty much guaranteed that your plant to come back to life the following spring. However, this technique can be best left to the colder zones, such as 4, and possibly 5 as easier, and more popular methods are available for the warmer zones.
Another technique is to make sure that your plant is in a larger pot that what you think you need to provide the extra insulation it needs to keep the roots from freezing from the sides. Having used this technique many time with perennial strawberries and herbs in a zone 4 where temps regularly dipped into the -20s and 30s I can vouch for it’s effectiveness.
Another way you can protect your plants is by providing a layer of pot insulation as I will describe in further detail below.
Zones 8+
Despite the facts that temperatures may drop below freezing regularly in zones 8 and higher, they rarely stay there for any length of time, and certainly not long enough to cause a hard ground freeze – meaning that it is doubtful that your plant roots will ever been in any danger of freezing to death. If you want to error on the side of caution, you can certainly try one of the above mentioned techniques, but since I have unwittingly overwintered plants in a zone 7 with no protection, I imagine you would be fine just leaving them alone.
WHAT YOU NEED TO OVERWINTER YOUR POTS
If you aren’t going to bury your pot, or are unsure if your pot is significantly larger than your rooting system, you’ll want to insulate your pot using one of the following descriptions. At the very least you’ll need:
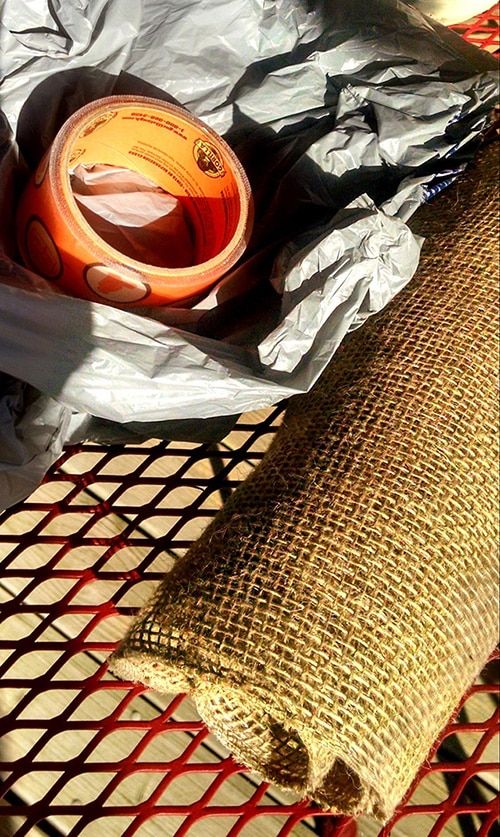
- Burlap – I prefer rolls of narrow burlap because it’s easy to wrap around larger pots.
- Plastic Wrap (alternative: used plastic grocery bags)
- Heavy duty paper stapler
- Mulch
OPTIONAL ALTERNATIVES FOR ADDED PROTECTION IN COLDER ZONES:
- Bubble wrap roll or Insulation
- Packing tape ( or duct tape)
OTHER CONSIDERATIONS
If you can, move your plants to a sheltered area, and group together to provide additional winter protection. Sunny, south facing walls are also a good location to consider. Providing a layer of mulch over the top of your pot is also a good idea once your plant has gone completely dormant. And if you have ceramic, concrete or clay pots, you may want to consider putting a weighed down sheet of plastic over the top to keep the soils from absorbing additional moisture and then freezing and expanding – which could crack the pot materials (I actually had this happen: it was so depressing).
STEP 1: LAYER IN PLASTIC
Despite living in a zone 7, it has always dropped into the single digits each winter and stayed there for a few weeks at a time in the past. I also am always wary of hard freezes followed by a thaw before freezing again; to me this indicates the perfect weather to wreck havoc on my potted perennials.
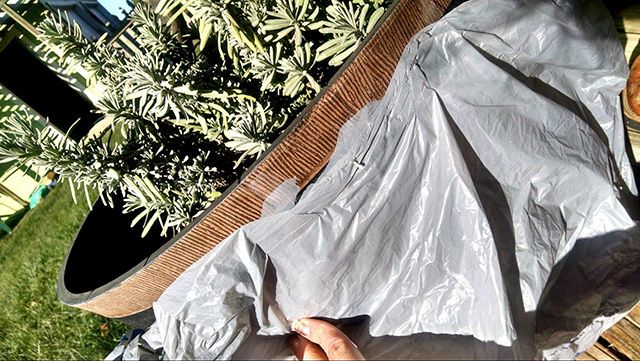
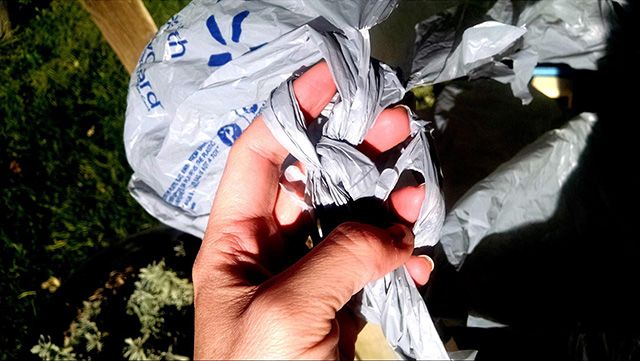
Because of this, I use a double layered insulation technique using a garbage bag, or my old plastic shopping bags (you can buy sheets of plastic, but why bother if you have a billion bags you can recycle?). And if you live in a cooler zone, you can even use rolled housing insulation or bubble wrap (consider lining it inside your pot walls as well before you even plant for a TRIPLE layer!) for further protection.
*You might also like: DIY Potting Table From an Old Wine Rack
Simply drop your pot into the bag and wrap it around before securing it with packaging or duct tape. If your pot is too heavy (as most of mine are), then wrap it around the pot- providing at least two to three layers of plastic insulation.
Helpful hint: Make sure the tape isn’t gapped so water can get in between the pot and layers of insulation. This may freeze and damage your pot. Also, I daisy chain my plastic bags together so all I have to do is wrap them around and secure with tape.
STEP 2: WRAP IN BURLAP
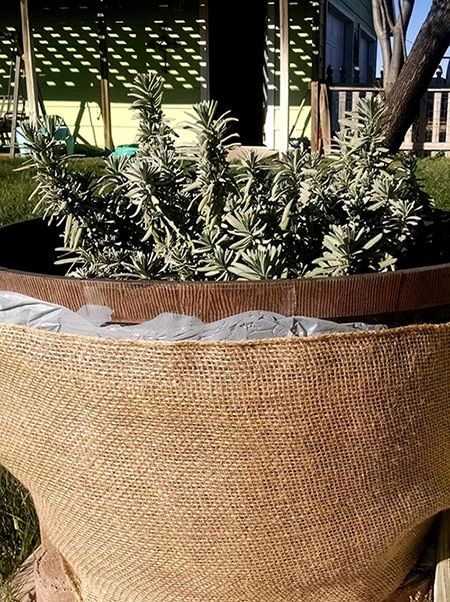
Once your plastic is secure, wrap the pot in burlap using at least two layers, and staple the ends shut. The burlap is breathable enough that through the winter weather it will dry out and avoid mildewing, but is made of jute plant fibers (also known as sisal) and provides excellent garden insulation.
Helpful hint: Wrap your burlap as tightly as possible to avoid it pulling away from the pot due to snow and ice accumulation if you live in an area of high winter precipitation.
STEP 3: MULCH
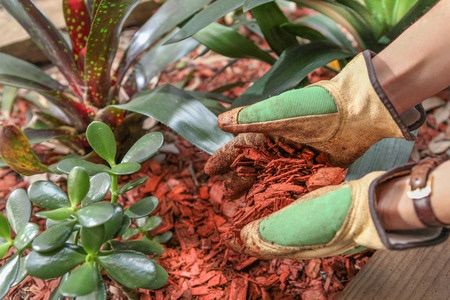
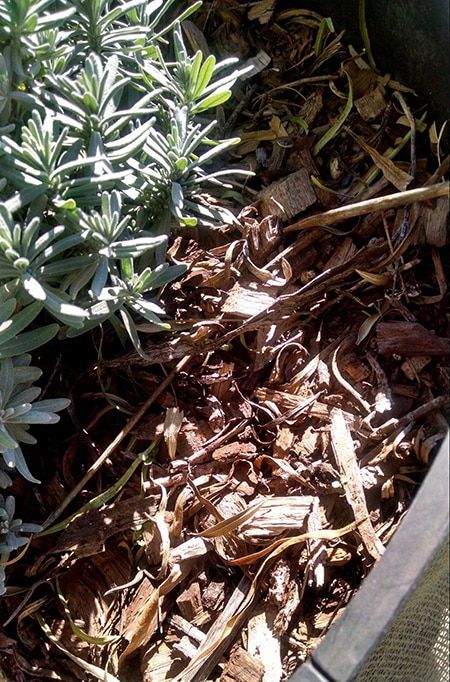
I think it is equally important to remember that the soil surface will be the first to begin to freeze during the winter months. Although most roots are deep enough not to be affected by a top-down freeze, it never hurts to error on the side of caution once the temperatures are steadily below freezing. You don’t need much mulch to make a difference, and generally, a two-inch layer is the perfect amount to offset any top-down damage. Just be sure to pull it back from your stems once spring arrives to allow the soils beneath to further warm for new growth, and to avoid holding moisture near the plant base. This can cause unnecessary rot or mildew.
HELPFUL HINT
Water your plant well (but do not soak) before adding a layer of mulch. This will help provide moisture to the roots through the colder months.
TIME TO WRAP!
As seen above this isn’t a very complicated or time-consuming process, and it is so worth the little effort it takes to secure your outdoor potted plants for the winter. First and foremost keep in mind the zone you live in, and how your plants weather each winter. You know your plants and yard’s micro-climate the best!
If you choose to wrap your plants over burying them, or providing larger pots, always be sure to not start wrapping until they have reached dormancy, and you know winter has set in to keep from overheating your plants. Three good freezes usually indicate that winter is trying to arrive, and you need to start taking providing some form of protection.
If you have any techniques you’d like to share or found the above article helpful, please let us know below! And as always share with your friends and family so they can keep their plants through the winter months!

