When the flowers wilt and the colder seasons arrive, the time comes to put the old pots away. Saving that old potting soil may look very cost-efficient, but will it do the work once the new year comes and the new flowers get planted?
Reusing your old potting soil may look useless for the new flowers. However, financially and environmentally, it makes sense. With a bit of effort, you can make it work!
Learn the step-by-step process on how to rejuvenate your old potting soil and everything you'll need.
What You Need to Consider Before Starting
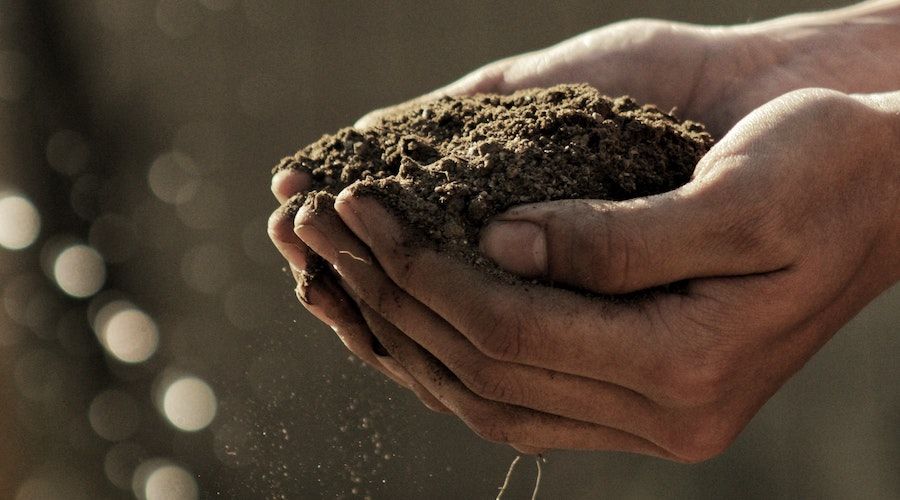
Image Credit: Neslihan Gunaydin via Unsplash
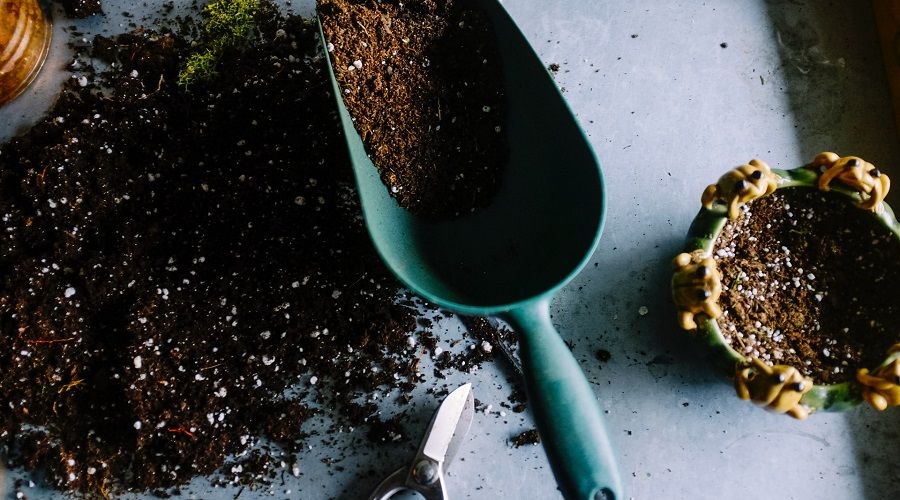
First and foremost, there are quite a few things to consider before rejuvenating your old potting soil. Being by determining whether the plants you grew in this soil beforehand were heavy or light feeders. ResearchGate has provided an amazing list that shows which plants need the most to the least nutrients.
Next, take note of any soil problems you may have had throughout the past year since some plants are notorious for bacterial infections or insect infestations. If your old potting soil was a victim of pests or disease it is best not to reuse it.
After that, check the soil level in each pot. Depending on what each plant went through, it will need to get topped up. You can do that with perlite, lime, or gypsum - they last longer, and you won’t need a new potting mix.
Pro tip: check out organic and inorganic potting soil to see which one is easily available to you. Organic soil is better for your garden, so it's best to see if there's a way to substitute inorganic potting soil with an organic one.
Finally, determine the pH of your soil. You can use a home pH test kit to do so. The ideal pH for potted plants would be between 6.2 and 6.6.
What Will You Need to Refresh Your Old Potting Soil
- A big enough piece of tarp to fit all the soil you’ll be working with
- A new bag of potting soil
- A rake or a garden fork
- A soil sifting pan (you can also make one yourself using some wood and a wire mesh sheet with 1cm holes)
- Perlite, lime, or gypsum for a pH boost
- Slow-release fertilizer (you don’t need a lot since you will use about a spoon per gallon)
- One or more large buckets with small holes in the bottom
- A bin big enough to store the soil you have prepared
Step-by-Step on Refreshing Old Potting Soil
1. Step one - Laying Out the Soil
Image credits: sacratomato_hr via Creative Commons
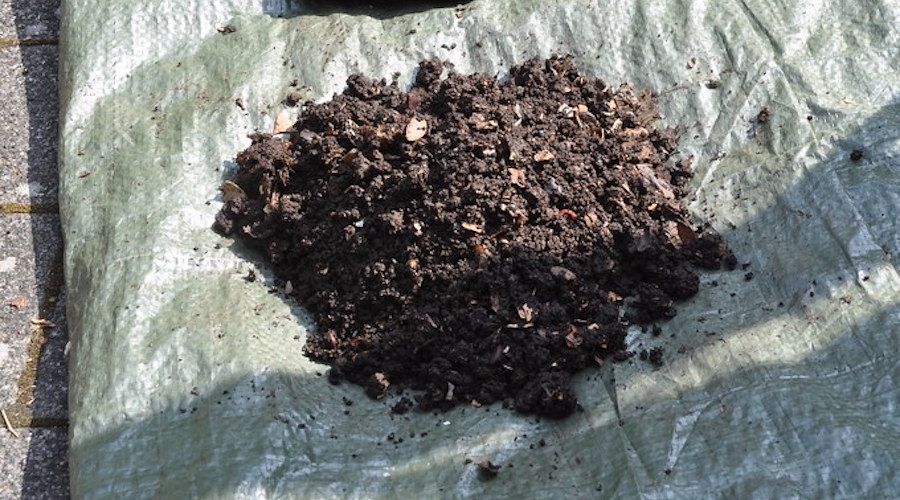
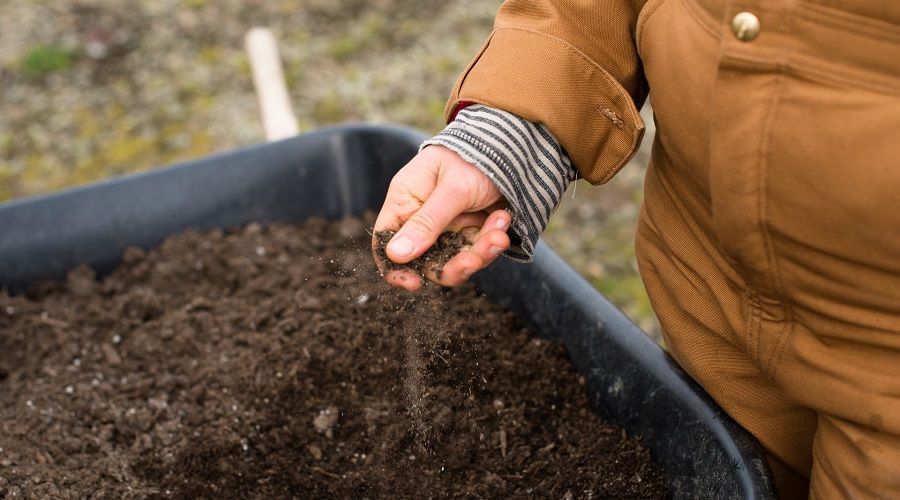
First things first, you have to make sure that the soil you are trying to revitalize doesn’t have any debris or weeds in it. Pour it onto the tarp and break it down using a hand fork or a rake. Once you have done that, remove all the debris.
Pro tip: After initially breaking down the soil, you can use the sifting pan to get rid of the bigger pieces of debris and weeds. You don’t need to remove all old roots from the potting soil since they eventually break down. It will give the new plants additional nutrients.
2. Wash Off Excess Salts
Image credits: sacratomato_hr via Creative Commons
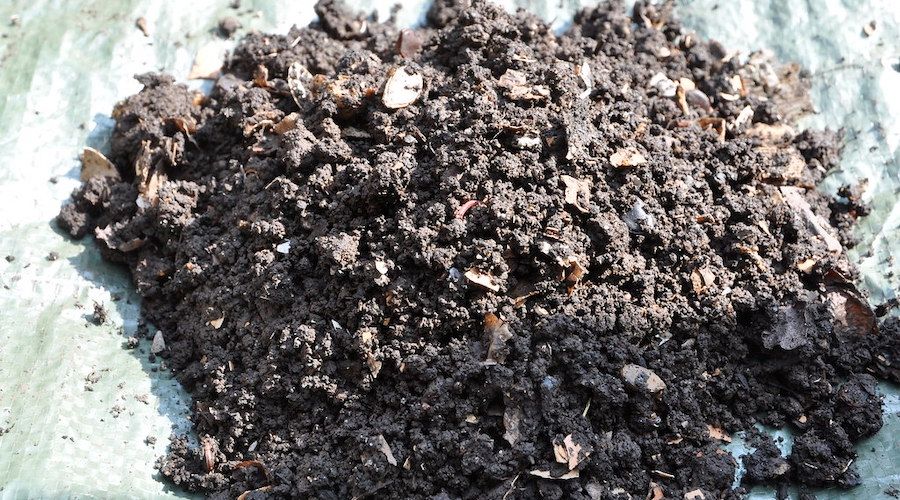
This next step is quite easy. Use a bucket with holes in its bottom and fill it with soil. Once you have done it, you should add water. Hang the bucket somewhere high until the water stops draining. After that, lay the soil onto the tarp again and let it dry. Once this has happened, break it down very well using the hand fork or rake. Finally, repeat the process of soaking the soil, letting it dry, and then making it loose again.
Pro tip: If you do not have a bucket with holes, you can grab any bigger bucket and make holes using nails. If you cannot do that either, you can always wet the soil while it is still on the tarp and let it dry in the sun like that. However, with this method, the drying time will be longer. After a day or two in the sun, you should cover it with a plastic bag so that no weeds start to grow in it. To know whether the soil is dry enough to work with, you can make it into a ball, and if upon flicking at it with your fingers it breaks apart, then it is ready.
3. Make a Mix
Image credits: vadim kaipov via Unsplash
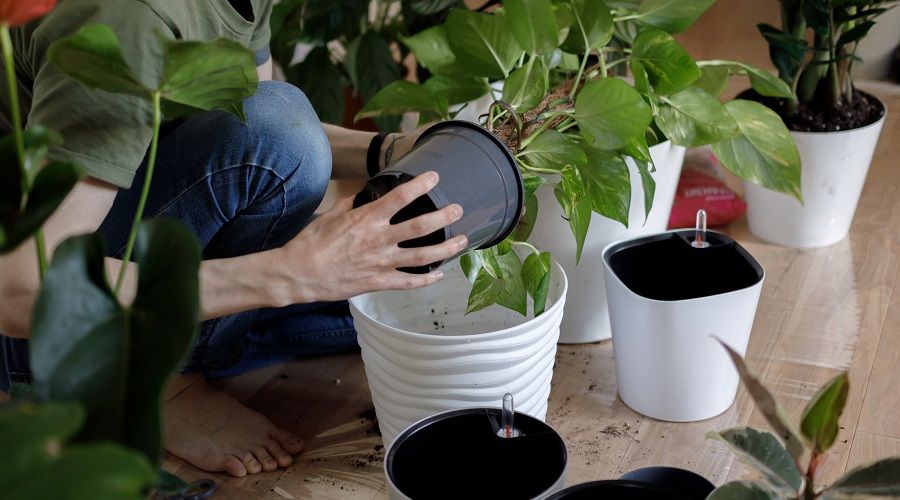
It is where the package of new potting soil comes into play. Mix your old soil with the new one so that it is a 50/50 mix. You should use the sifter to get rid of any clumps or debris that may be in there. If you do not happen to have a sifter and you are a DIY enthusiast, you can make one on your own by using a couple of pieces of timber and some wire net.
4. Test and Adjust the Soil pH
Image credits: Gabriel Jimenez via Unsplash
Before continuing, you have to ensure that your soil pH is just right by testing your soil. The sweet spot for garden soil is between 6.2 and 6.6. You should use a home soil pH test. If you find out that the pH is below 6.2, you should add in perlite, gypsum, or lime to mend that.
5. Add Fertilizer
Image Credit: Zoe Schaeffer via Unsplash
Next, add fertilizer. Make sure you do not over-fertilize since that will cause more issues than help! The optimal amount to put in is one teaspoon per gallon of soil. You have to add the fertilizer after any pH adjuster.
6. Curing Your New Soil
Image credits: Jonathan Kemper via Unsplash
Finally, fill your containers with refreshed soil. The best containers to use are plastic boxes. You must put it somewhere dark and dry for a few weeks before you use it.
In Summary
This easy-to-follow guide should help your potted plants without the need to buy new soil every season. While it may seem like something that you do not need to do, it could save you a lot of money in the long run. And if this isn’t enough of an incentive, remember that it is good for the environment, too!
Tell us all about it in the comments below. If you liked the article and it helped you share it with your fellow gardener friends. Who knows, maybe it will help them, too! Happy gardening!


