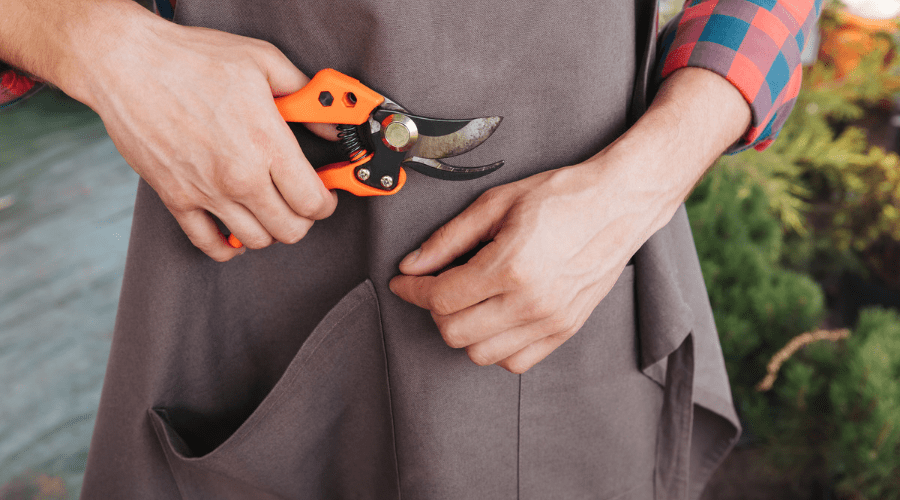

Alright, we’re all guilty of it. We leave our gardening tools outside, then they take the abuse from the elements and are left to rust. It happens. We’re all forgetful from time to time and it’s okay. After spending your time pruning and trimming your property, it’s expected that all you want to do is go inside and relax.
But it’s crucial that your take good care of your tools, especially pruning shears. They gum up very easily and when left outside, they rust quite fast. Regardless of a rust-proof coating. After a few uses, that coating wears away, leaving your shears vulnerable to the rain and rusting. But if you’re at the point that it’s too late and they’ve rusted, what do you do? How can you fix it? Well, this tutorial will show you how to remove rust and clean your pruning shears in the easiest way possible.
Before you make a mad dash to your nearest garden center, take a look through your shed or garage because you just might have all you need.
What You Will Need to Follow This Tutorial

- Your rusty and dirty pruning shears
- Bucket of water
- Clean wiping cloth
- A wire brush or coarse haired scrubbing brush
- A knife sharpener or metal file
- Nail polish remover
- Pure vinegar
- Oil (such as WD-40 or other lubricant)
For this particular tutorial, I actually used a wire scrubbing pad instead of a wire brush. I found I was able to bend it around the curves and really scrub the surface. It’s also what I had on hand and it worked just fine.
WD-40 is just the most popular and easily accessible oil but you can use just about any kind of lubricating oil brand. It’s just to help protect the metal surface and prevent future rust from happening so quickly. Also, lubing your tools prior to use helps cut down on wear and tear.
Also, this demonstrates how to clean and remove rust from your pruning shears but it really works for any rusty metal tool.
Step by Step Instructions
Here’s exactly what you need to follow and do in order to successfully revive your rusty shears.
Step One: Remove Any Dirt Build-up

Firstly, before anything else, you must remove as much dirt and sap as you can. This helps reveal as much of the rust as possible that may be hiding underneath a layer of crusty dirt or sticky sap.
Use your fingers to pick off any large clumps, then warm water, nail polish remover, and a durable cloth to scrub off any remaining layers the best you can.
Step Two: Soak in Vinegar

Next, take 100% pure white vinegar and pour into a bucket or small plastic tub. Submerse the rusty shears in the solution and soak overnight, or roughly 24 hours. The acid of the vinegar eats away at most of the surface rust and makes it super easy to scrub off the next day. This is a great method because it eliminates a lot of scrubbing which scratches your metal tools. So the least amount of scrubbing, the better. Always.
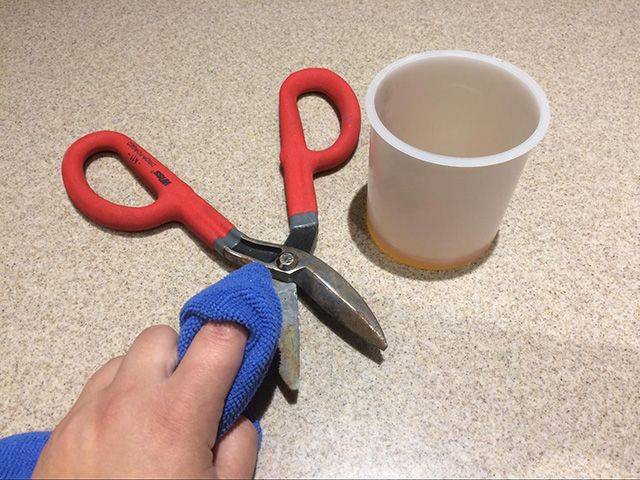
Step Three: Scrub Surface Rust

After you’ve soaked the rusty tool in the vinegar solution for a day, remove them and use the wire brush or pad (in my case, the wire pad) to scrub the surface area where you see rust. What didn’t come off in the solution should scrub away pretty easily with the coarse scrubbing tool.
Rinse the tool with more vinegar and wipe away any debris with water and a cloth. At this point you should have the majority of the dirt and rust removed.
Step Four: Coat in Oil and Scrub

Using WD-40 or some other brand, wipe and generous coat over the surface that gets used as well as the working parts such as the locking mechanism. Rub it into every nook and cranny that you can manage and then wipe the excess off with a clean, dry cloth.
This helps lubricate the tool for storing and prevents future rusting. It’s also great to have done when you’re planning to use again. Cutting and pruning branches with a coarse, dry tool can seriously wear on them.
Step Five: Sharpen

Using a knife sharpener or metal file, open the shears as wide as you can. Then hold firmly and position so that you can see the angle of the blade. In a swift movement away from yourself, scrape the file across the length of the blade. Repeat until you’ve got it good and sharp.
Then, flip over and run your finger over the back of the blade. You’ll feel a coarse ridge from the sharpening of the front. You’ll definitely want to smooth this out because it will damage the shears each time your scissor them in use. So, just run the file across the back a few times to smooth it out.
Step Six: Coat in Oil

After sharpening, the nice coat of oil will need to be applied once more. So, apply a generous amount to the areas you sharpened and the wipe excess off with a clean, dry cloth. This seals the deal on the whole process
Step Seven: Store Properly

This is probably the most important part of the whole process. Storing your tools properly will ensure their longevity and also makes sure that your efforts aren’t wasted. There’s no point in going through the motions of cleaning and protecting if you’re just going to leave them outside and dirty again.
After cleaning and sharpening, store the shears in a cool, dry place. If you keep them in a toolbox, check to see if the box is stored in a cool, dry place. If not, you can use silica packets to absorb excess moisture and keep it away from your tools.
I recommend hanging them up to store properly, if you can.
Conclusion
Did you enjoy this little tutorial? I try and make them as easy as possible, because it’s really not hard to take care of your tools. Think of them as investments. You need them to maintain your home which is also an investment and it’s important to ensure them a long life of use. Good, well taken care of tools will also make for a better gardening experience, which is something we should all enjoy.
So remember, clean your shears and other tools after use and store in a cool, dry place. If you found this helpful or have any tips of your own to add, please feel free to comment and share below!