Building up a collection of quality garden tools can be an expensive and time-consuming task. Protecting this investment is a great way to get the most out of your tools, and rust may be the biggest enemy to your tools.
Rust is caused by oxidation, which slowly corrodes the metal away over time. If you catch it in time, you can remove this rust with a few simple steps and avoid long-term damage to your tools.
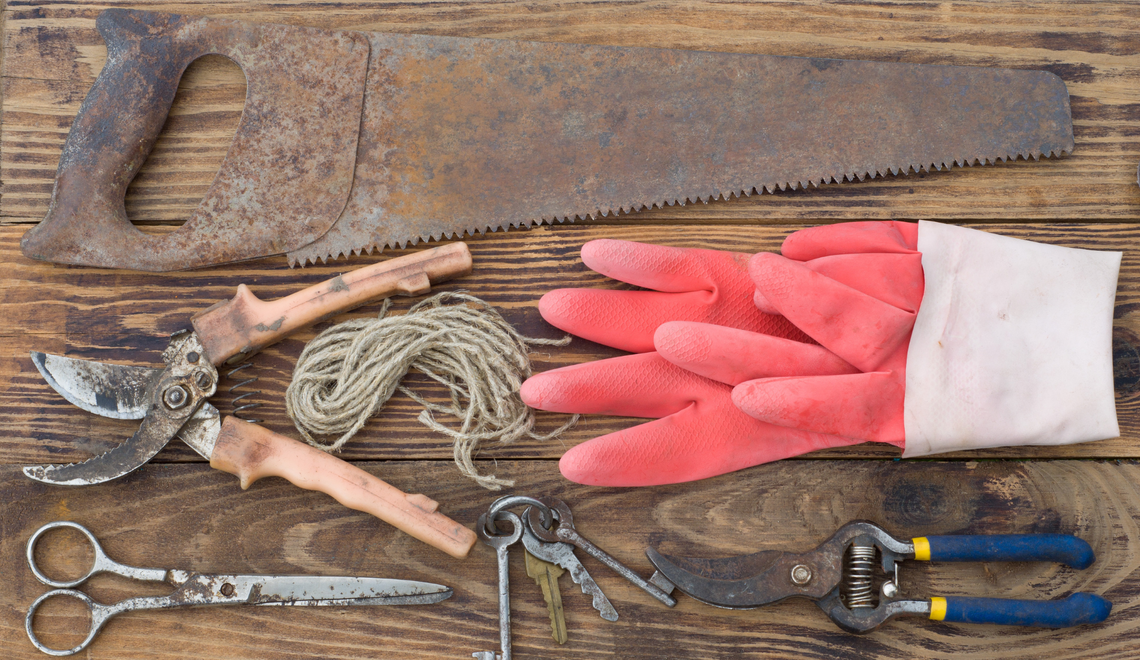
Alternatively, you could use the tutorial below to clean up some old tools that have been neglected and build up your tool collection at a fraction of the cost of all new tools. It seems like every garage sale has a pile of rusty tools in a box. These tools are just waiting for a new lease on life. With the tutorial below, you’ll be able to give them that new lease on life.
Follow along for a step-by-step tutorial on how to remove rust the easy way.
Materials Needed
- Rusty tools
- Bucket
- Degreaser
- Oxalic acid/white vinegar
- Rust removal solution
- Personal protective equipment (gloves and goggles)
- Wire brush/scotch pad/sandpaper
- Multi-purpose oil (optional but recommended)
A Guide On How To Remove Rust From Your Garden Tools
Step One: Clean
First off, you need to get any excess dirt or grease off your tools. You can use a mild degreaser or even dish soap to clean up your tools.
Step Two: Soak
Just like those dishes you don’t feel like washing right now, your rusty tools need to soak.
Grab a bucket. Fill it with water. Add either oxalic acid or white vinegar. Since both of these acids are quite mild, you don’t have to worry about adding too much.
Add the offending tools to the solution and let them soak for at least 24 hours.
Pro Tip: Yet another alternative is to use baking soda. Add baking soda to a bowl, add enough water to turn it into a paste, and add the rusty tools to this mixture.
For added excitement, use white vinegar to rinse the baking soda off your tools for an effervescent rust removal experience.
Step Three: Scrub
Next comes the elbow grease. Although, because you soaked them first, you have your work cut out for you. The acetic acid in vinegar or oxalic acid will slowly break down the oxidation that causes rust.
Make sure your tools are dry before you start scrubbing.
Take your chosen abrasion tool and start scrubbing that rust away.
A wire brush is helpful for all those nooks and crannies harboring rust. Sandpaper or a Scotch Brite pad will work on flat surfaces.
Start with the most abrasive and then work your way down to the least abrasive for the best finish.
Pro Tip: For the worst rust spots that won’t come off after a soak and scrub, you might need to use a rust removal solution, like this one from Amazon.
Bear in mind that this product is highly abrasive and will strip the finish off any surface if given enough time. Don’t use it on painted surfaces, concrete, finished wood, or any surface that has a finish. Make sure you wear personal protective equipment and always rinse thoroughly when you’re done.
Step Four: Protect
Even though the rust is gone, your job is not yet over. With all that soaking and scrubbing, the bare metal of your tools is particularly prone to further oxidation.
All that soaking and scrubbing will strip any protective coating that may have been on your tools, and that rust will be back in the blink of an eye if you don’t protect your tools from oxidation.
To add a layer of protection to the metal, you need some multi-purpose oil.
Add some oil to a rag and simply wipe your clean tools down with this oily rag. If there are any hinges, joints, or metal moving parts on the tool, make sure you squeeze a drop or two into this area as well.
A thin layer of multi-use oil covering your tools will prevent any more rust from appearing for quite some time. You should periodically oil your tools as part of your maintenance chores.
Step Five: Store Them Properly
You should view any moisture as the enemy of your tool’s health. If your tools get wet, dry them off and re-oil them when you’re done. Make sure you store them in a dry place, undercover, and off the ground.
Even humidity can provide enough moisture to cause oxidation on your tools. If your tool shed is particularly humid, or you live in Florida, you might consider adding a dehumidifier to your tool shed. It might seem like taking it too far, but your tools are sure to stay in a better condition for a longer period if you go this route.
All Done
And that's it. By following the tutorial above, your tools will be as good as new without you spending hours grinding rust off of them. When it comes to rust, prevention is better than cure, so make sure to keep your tools dry and off the ground.
It's best to tackle rust as soon as you see it appear. If you catch it early enough, some hard rubbing with an oily rag should do the trick. That way, you can avoid doing a big rust removal project a few times a year.