
It doesn’t take long for your pruning shears to become dull, does it? After a few good goes at your yard, trimming and pruning throughout the summer, the blades become dull and gummed up from use.
So what do you do? Cleaning them will only get rid of the sap and other build-up, but what you really need to do is give them a good sharpening. This can be done through the use of metal grinders but it’s not recommended as a DIY project unless you’re experiences and 100% comfortable with using the electric tool.
If you’d rather avoid super dangerous possibilities, then you’re left with a file or heavy duty blade sharpener. Both work in the same fashion, so whichever you have on hand is fine.
Now comes the fun part. How to sharpen pruning shears with a file. It has to be done a certain way, at certain angles in order to be done properly. So read on to learn how to do so in a few simple steps.
WHAT YOU WILL NEED TO FOLLOW THIS TUTORIAL:
You can go out and get yourself some fancy tools and products, but I used what was around my home and it worked great. So here’s the steps to learn how to sharpen garden shears by hand.
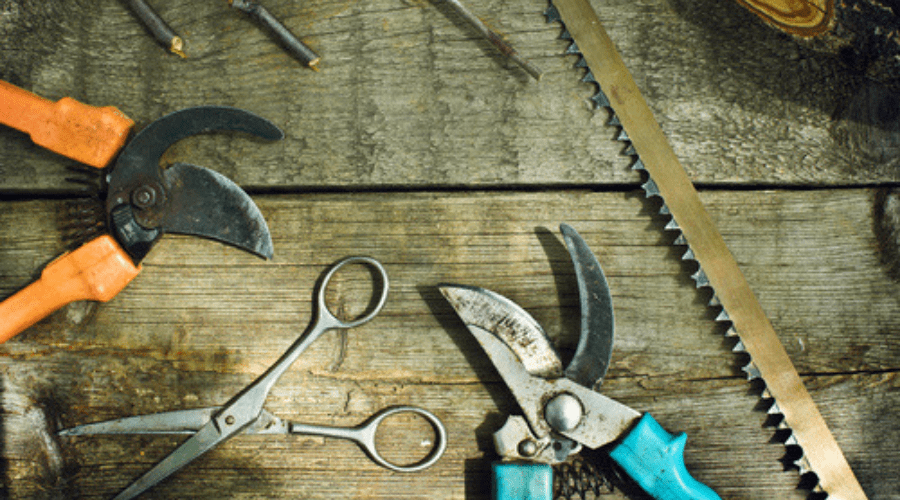
1) YOUR DULL PRUNING SHEARS

Obviously you can’t do much without these! Keep in mind that this tutorial will work for any garden tool that cuts or has blades. So save it for future use when you need to sharpen up your loppers or trimmers. For this particular tutorial, I’m using my Fiskars short handled pruning shears.
2) SAP REMOVER & RAG

Before you begin to scour a metal surface with another, it’s best to make sure it’s clean first. You don’t want to get sap mushed into the grooves of the file or else it won’t work properly. You can purchase specific sap remover for tools, or you can do what I did and just regular nail polish remover. It does the trick and almost everyone has a bottle lying around.
3) BLADE SHARPENER OR METAL FILE

For the purpose of this project, I used a blade sharpener. It works wonders and I find it easier to maneuver with my small lady hands. A metal file can be used as well, it produces the same results, I just prefer the aid of a blade sharpener for its ease of use.
STEP BY STEP INSTRUCTIONS
In terms of DIY projects, this one is pretty easy. And once you know how, you can apply this to any metal bladed tool that requires regular sharpening.
STEP ONE: PREPARE THE AREA
When you’re sharpening or filing metal you tend to make a mess. Tiny, dust-like particles of metal are produced and can be harmful if swallowed. So make sure the area you’re doing the sharpening is nice and clear of dishes, food, or drinks. You can lay down a mat or garbage bag if you want, but it is fairly easy to clean up the area afterwards so it’s not totally necessary.


STEP TWO: CLEAN THE BLADES
Like I mentioned earlier, you must have nice and clean blades before you begin sharpening them with the file. A blade sharpener or metal file have small lines and grooves that make the job possible. When you try and sharpen a sap covered surface, you gum up these grooves and make it difficult to use.
You can use a simple sap remover, bought online or at any hardware store, or you can do what I did and bust out the nail polish remover that I know you all have if there’s a female in the house.
With a cotton ball or an old rag, soak some of the nail sap remover into it and then generously rub over the surface of the blade in the gummed up areas. You’ll begin to see it disappearing and a clean blade emerging.

STEP THREE: SHARPEN THE ANGLE
So, there’s a right way and a wrong way to sharpen any blade. If you look closely, you can see that it has an angle to it, and this is what keeps it sharp. Never go against it and never sharpened the very edge.
Instead, hold the shears in the open position so you can access as much of the blade as possible. Then place the edge of the file or blade sharpener against the angle. Then, in one continuous and easy motion, drag the file across the angle and away from your body.
Continue doing that until you work your way up the blade.

STEP FOUR: FILE THE BACK
Now that you’ve filed the “front” you have to take care of the back. This ensures that no jagged edges are left behind and your shears will be nice and slick. Using the file or blade sharpener, turn the shears over and drag the file down the backside of the angle.
It may take a few go overs, but try it a few times and then lightly test the smoothness with your finger. It should be smooth to touch, not jagged or rough.
Tip: If you’re not sure you’re doing it correctly; I’ve taken the liberty of doing a quick video for you. It really is super easy; anyone can do this project if they’re shown what to do.
CONCLUSION
Did you enjoy my tutorial? Did it help you to sharpen your own pruning shears or other bladed garden tools? It’s important to take care of your tools, they’re like investments. Remember, always clean your tools first and always be sure to sharpen with the angle of the blade. This will ensure that you get the sharpest edge and also prolong the life of your tools. If you have any questions or tips to add, feel free to share and comment below!