Is your fence looking worn out? Whether a few years old or freshly installed, your wooden fence could greatly benefit from a simple and affordable makeover: staining. This process enhances the natural beauty of the wood, adds a touch of elegance to your outdoor space, and serves as a protective barrier against moisture, UV radiation, and pests. Staining your fence can extend its lifespan and boost your home's curb appeal.
Choosing the right stain, preparing the fence, and applying the stain are crucial steps for achieving a professional-quality finish. With a bit of effort and the right approach, it's possible to give the fence a fresh look. So, it's time to roll up those sleeves and get started.
What You Will Need to Stain a Fence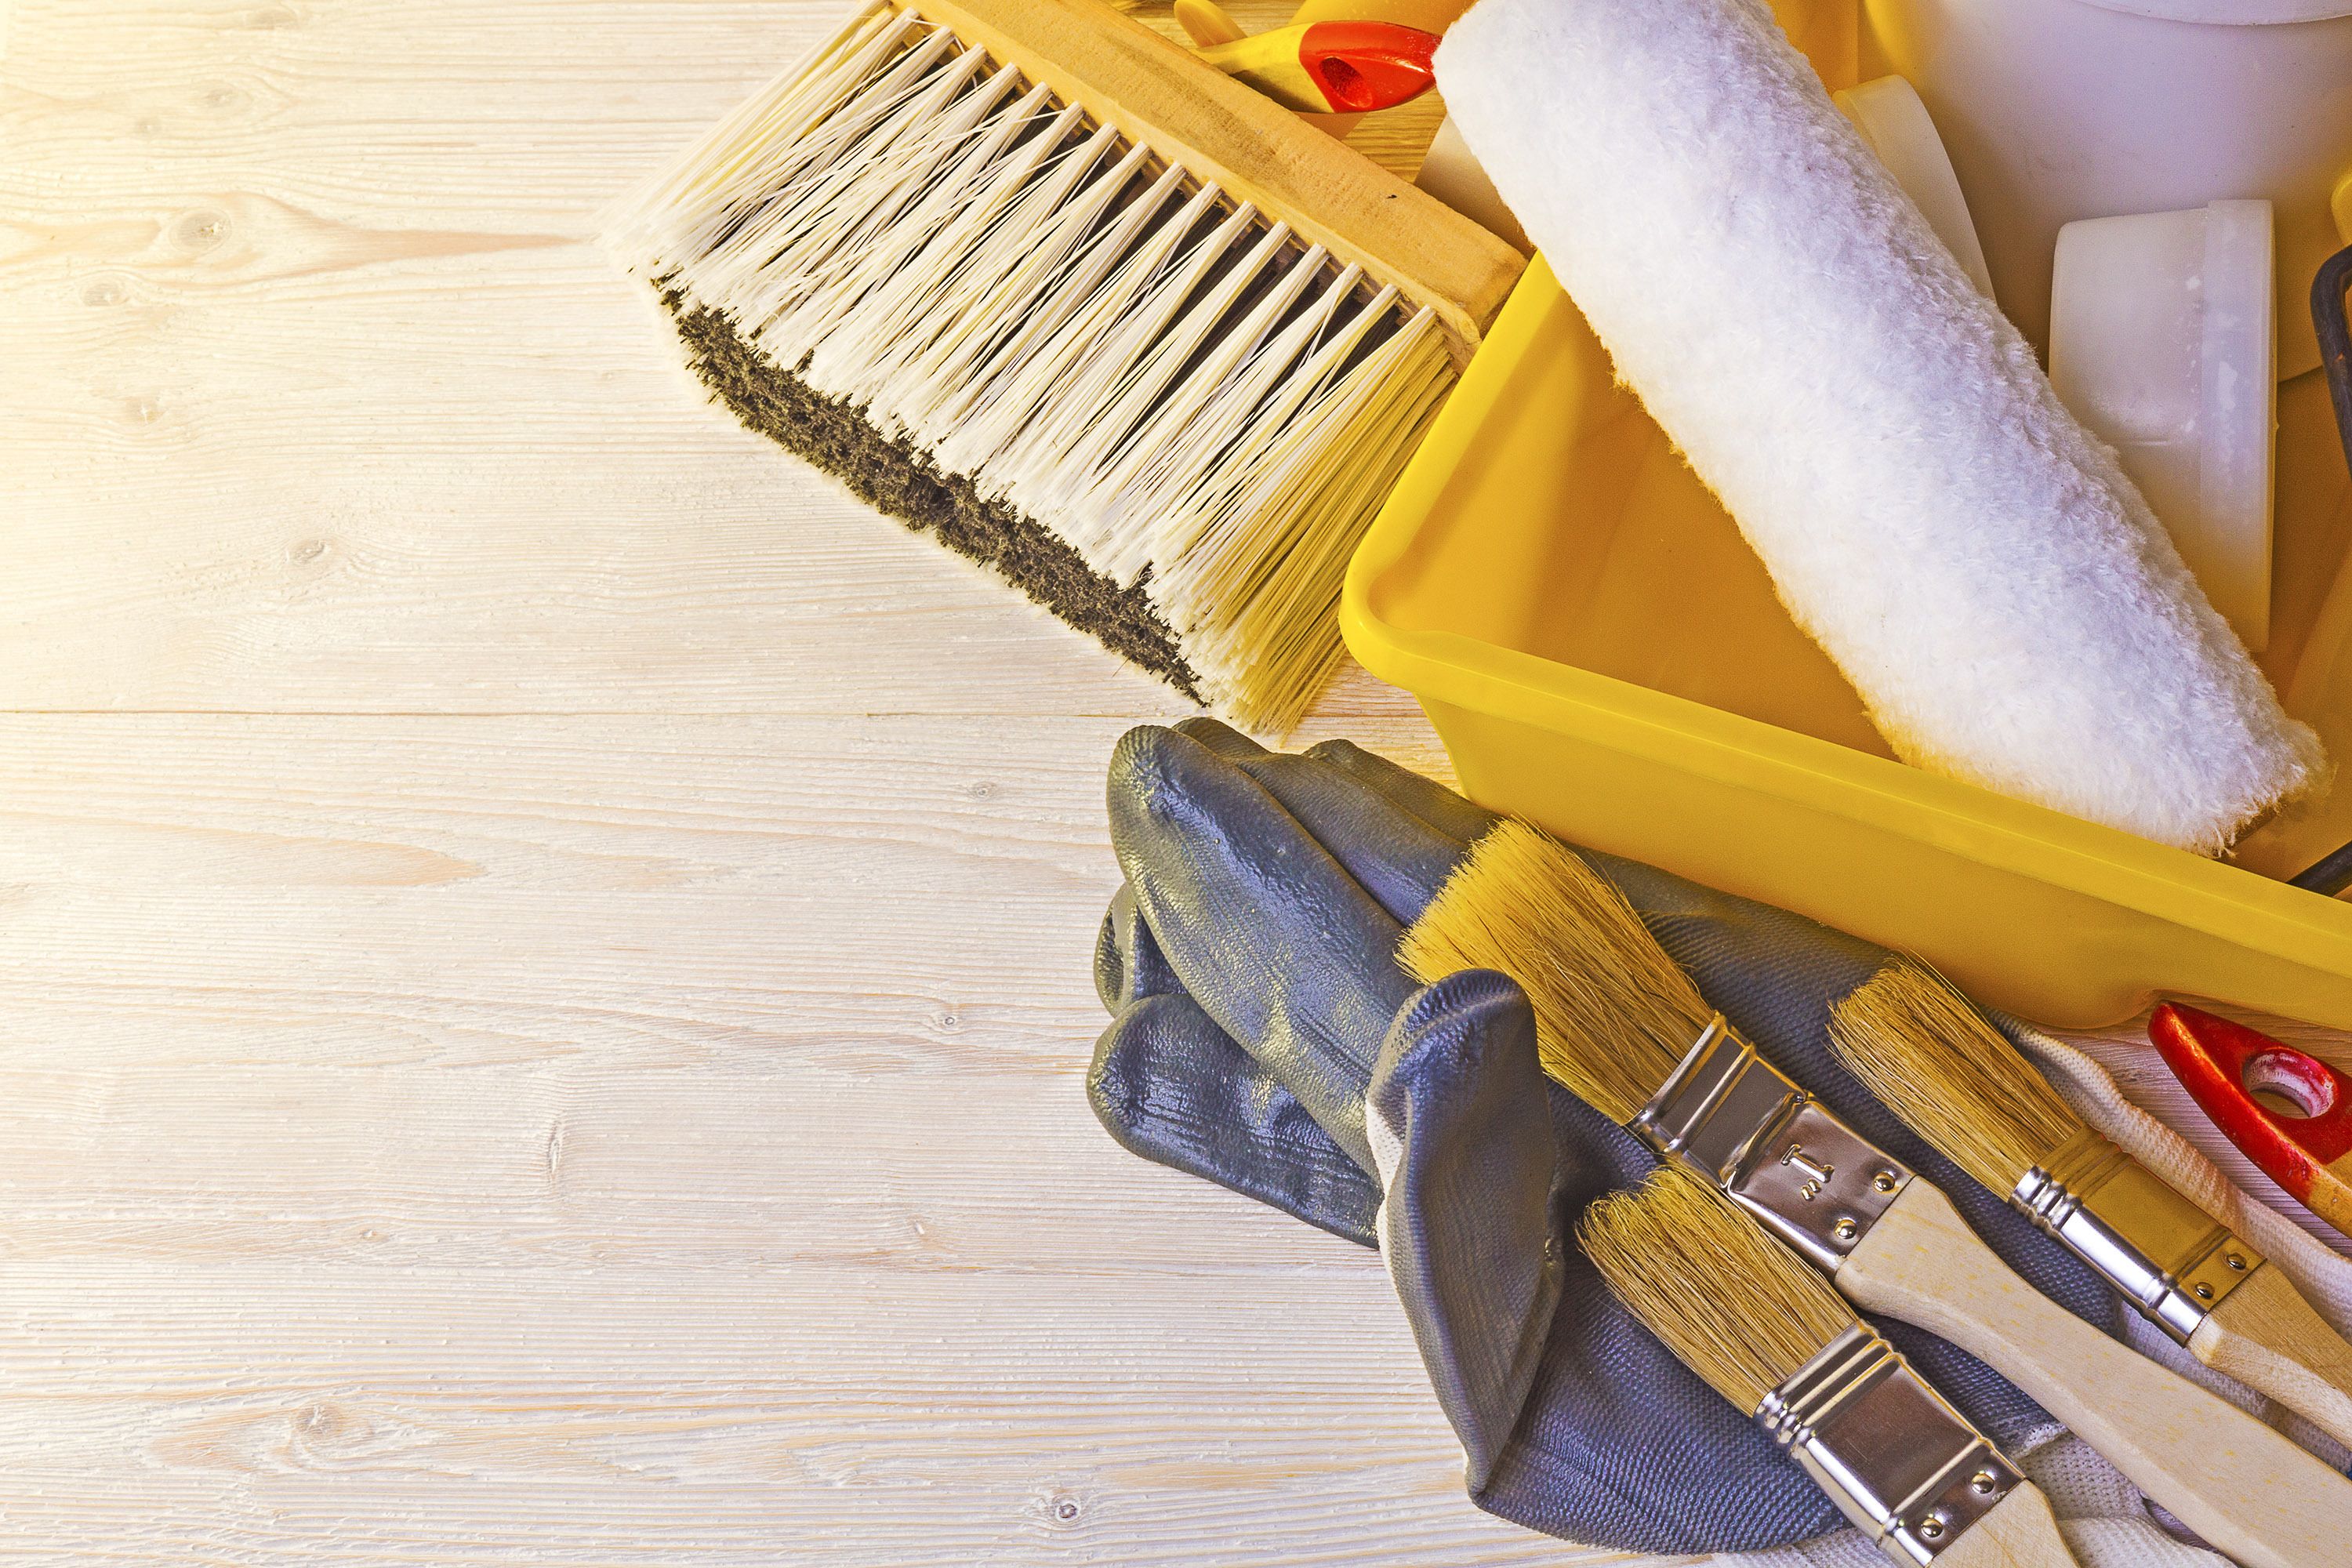
Before you begin staining your fence, you need to have all the necessary supplies. The most essential items you need for this task are:
- Wood stain
- Finish stripper
- Stiff-bristle brush
- Garden hose or pressure washer
- Sandpaper
- Plastic sheets
- Painter's tape (optional)
- Paint tray
- Paint brush, roller, or a sprayer
- Wood sealant
Step-by-Step Process on How to Stain a Fence
Staining a fence becomes easier when done properly, and you can achieve this in just a few steps.
Step One: Timing
You should begin your wood staining project at the right time. Ideally, this would be when the temperature ranges between 50 and 90 degrees Fahrenheit, the humidity is low to moderate, and it has not rained for three days prior, with no rainfall predicted for the next two days. Avoid starting the project in excessively cold or damp conditions, as it can prolong the drying period of the wood stain. Also, extreme heat can lead to quick drying and create lap marks — unsightly stripes caused when applying an uneven layer of stain over previously dried areas.
Step Two: Sand the Wood

If your fence has been previously stained or finished, the first order of business is to get it ready for a new coat of paint by stripping off the old stain or finish. You'll need to apply a finish stripper to the fence's slats. To apply the stripper, follow the manufacturer's instructions carefully. They should tell you how much to use and how long to leave it on the fence before scrubbing.
Once the specified time has passed, grab a stiff-bristle brush and scrub the slats to loosen the old varnish. Scrubbing will help remove the existing finish and upright wood fibers that could interfere with the smooth application of your new stain.
If your fence is new, you need to ensure it is ready to absorb the stain. Even though your fence hasn't been previously painted or stained, sanding it is still advisable so that you can get a smooth working surface.
Step Three: Cleaning the Wood

Even if you've newly installed your fence, you'll want to ensure it's clean and free of dust or debris to guarantee perfect stain adherence. A garden hose with a high-pressure spray nozzle can be an effective tool for this task. It quickly removes dirt, dust, tiny particles of old paint, tree pollen, and sawdust.
If your fence is heavily soiled, you can use a power washer. It's crucial to wait two to three days after pressure washing to guarantee the fence is completely dry. This drying period ensures the fence is primed and ready for the staining.
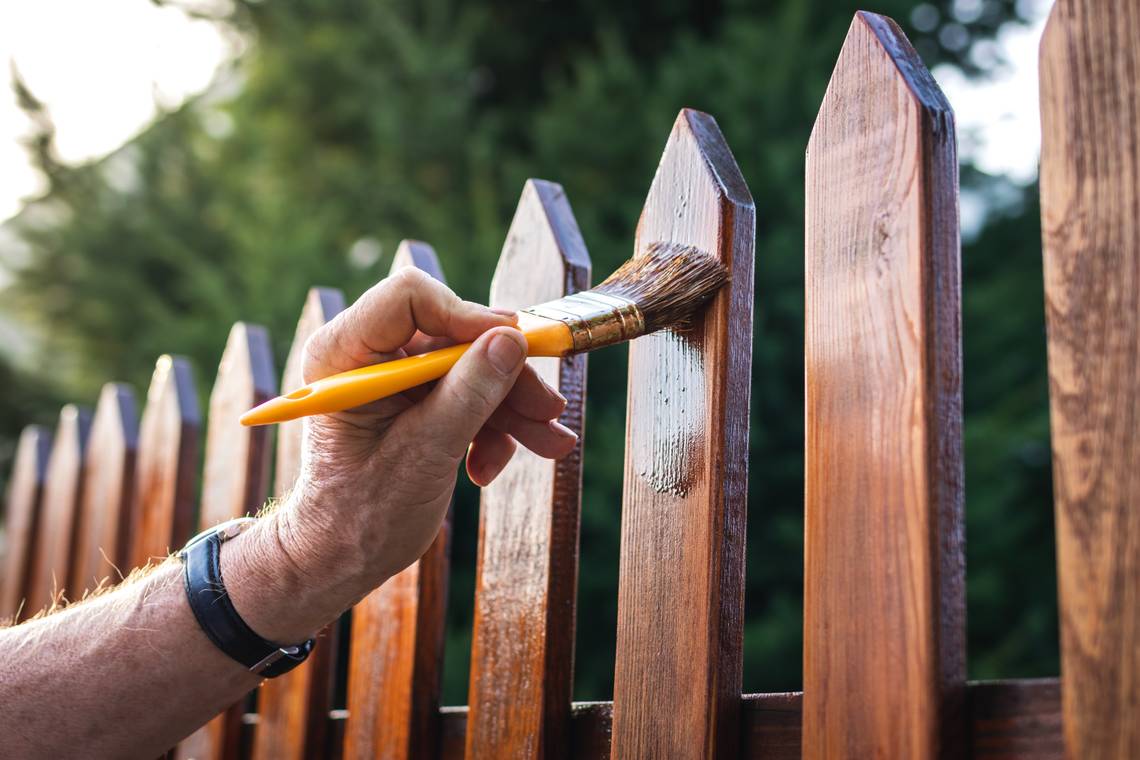
Step Four: Apply Stain

To prevent accidental stains, cover stones, walkways, flowers, or plants next to your fence with plastic sheets. If your fence is adjacent to your house or deck, use painter's tape to shield against unintentional discoloring. Then, you're ready to apply. For this, you'll need a sprayer, roller, or brush.
If you opt for a sprayer, fill it with the stain per the instructions given by the manufacturer. Aim the sprayer at the fence and spray with even, smooth sweeps.
If you prefer a paintbrush and roller, pour the stain into a paint tray. First, use the roller to apply the stain evenly. Move it smoothly along the wood's grain. The paintbrush helps cover the narrow crevices the roller may not reach.
Start at the top and work down, covering each board evenly, no matter what tools you use.
Step Five: Drying and Additional Coatings

After completing the first round of staining your fence, allow it to dry thoroughly. The drying time will largely depend on the instructions specified by the stain manufacturer (generally around two to three hours).
Once the initial coat is dry, you can assess if your fence requires additional coats for a richer color depth. A single application should be enough for new fences. However, the number of coats needed ultimately depends on your personal preference.
Typically, the stain should completely cure in 24 to 48 hours.
Step 6: Sealing and Clean-Up

After the stain has completely dried, apply a clear, weatherproof sealer. Sealing will not only prolong the life of the finish but also enhance the durability of your fence. You can apply a single coat of the sealer using a brush, roller, or sprayer.
Lastly, perform a quick clean-up. Remove all plastic sheets, peel off any painter's tape, and thoroughly wash your used tools.
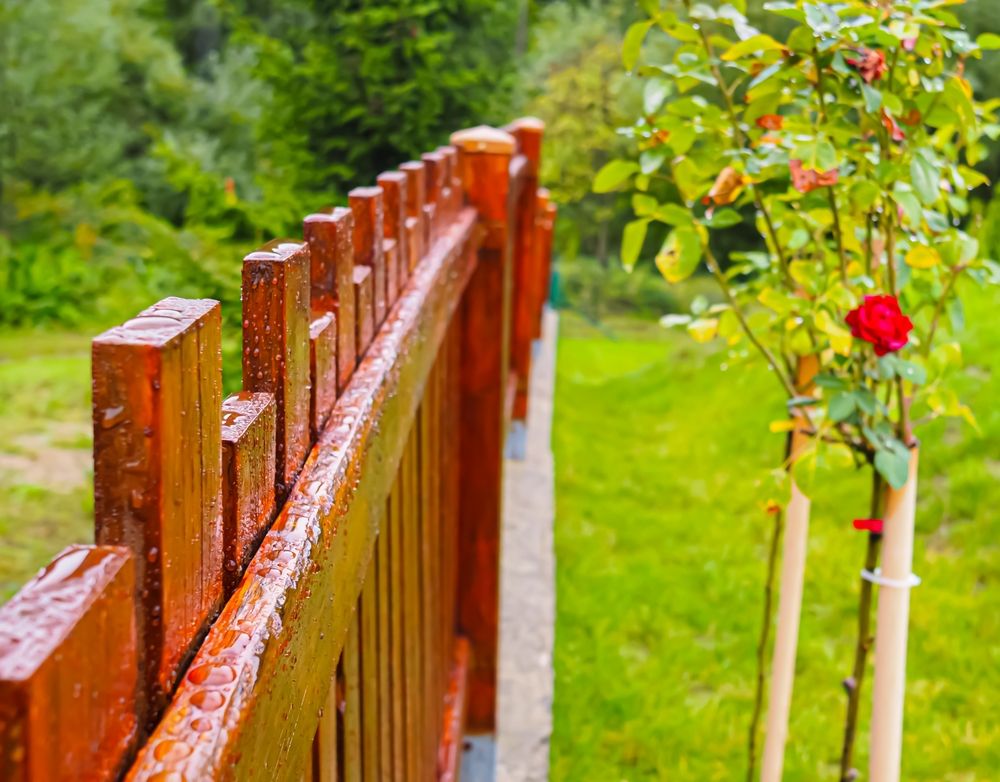
Admire Your Newly Stained Fence
Congratulations! You have successfully stained your fence, boosting its longevity and aesthetic appeal. Regular maintenance, including periodic re-staining, can significantly prolong the life of your fence. Whereas a wood fence typically lasts around 15 years, with proper care like staining, you can extend that to 20 years or more.
Now, admire the fruits of your labor — a beautifully stained fence that adds character to your property. Also, share this resource with your friends, family, or anyone planning to stain their fence.