Are you thinking about starting a garden in an area that’s covered with grass? Or maybe you have heavy clay soils that are close to impossible to dig? What if I told you that you could create healthy soil life without having to dig at all? You could even create a garden on bare concrete if you so wish. It is all possible with the right gardening method.
If this is all new to you, check out our rundown on what is a no-dig garden. Once you’re clued up on this gardening method and ready to take the plunge, follow the tutorial below to start a no-dig garden.
Gather Your Materials
Before you can start a no-dig garden, you’ll need to gather a few materials. Luckily most of the materials needed for a no-dig garden are cheap, if not free, and readily available. However, starting a collection of essential garden tools is always a good idea. We also recommend you getting the best gardening gloves before you start this project.
- Newspaper or cardboard. Remember to remove any tape or staples.
- Animal manure. Cow manure or chicken droppings are my go-to since it’s readily available. Horse and sheep manure also work.
- Straw bales. Alfalfa is preferable.
- Compost.
- Woody materials. Something like small sticks and logs if you’re building your garden on compacted soil or an inorganic surface, such as concrete.
- Watering hose or can.
Step One: Prep The Site
Image credits: NeONBRAND via Unsplash
Your site location should be relatively level and receive at least 6 hours of sun a day. The amazing thing about no-dig gardening is that the condition of the surface is not a hindrance at all.
If you’re starting your garden on concrete, rock, or heavy clay soil with poor drainage, lay down a few layers of larger logs, sticks, and woody materials. It will vastly improve the drainage of your garden.
Mark out the location of the garden, so you have some parameters to work within.
Pro Tip: If your garden is going on top of the grass, you might want to kill the grass first. It makes sure that it won’t take over your new garden. There are plenty of ways you can do this, but only a select few are effective. I find that mowing the grass low and then covering it with some light-blocking material, such as black plastic or tarpaulin, is the only way to get rid of the rampant Kikuyu grass on my property.
The light barrier will suppress any weed growth. The grass dies after being covered for about two weeks, but I recommend leaving it covered longer to make sure that the roots die. If you peel back the plastic and the stems of the grass are still white, the roots are not yet dead.
Step Two: Start Layering
Image credits: Stux via Pixabay
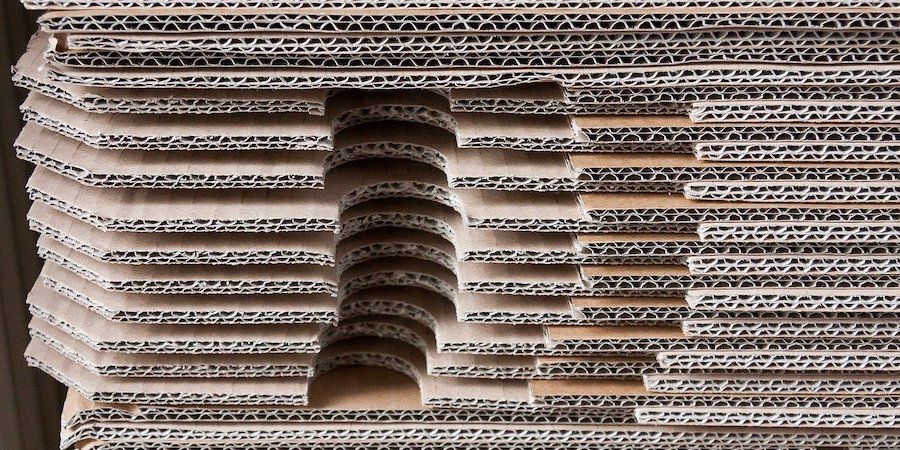
Start laying down sheets of newspaper or cardboard (or both) in the designated garden area. It is known as sheet mulching. This cardboard layer acts as a barrier to perennial weeds while your garden is getting established. Since it’s all paper and cardboard, it will decompose eventually.
You want a thick layer of cardboard with no gaps in between. Put down multiple layers on top of one another and make sure to overlap the edges by a few inches. Water the material between each layer. It helps keep it in place and kick starts the decomposition process.
Step Three: Lay Down Straw
Image credits: James Wainscoat via Unsplash
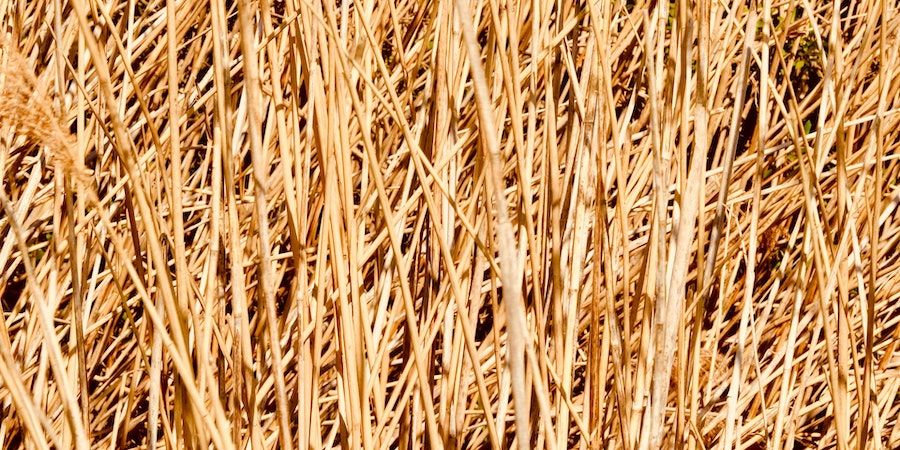
Once you’re happy with your cardboard/newspaper layer, it’s time to start laying down straw. You’re aiming for a good 4” layer of straw here. Alfalfa straw is preferable because it has a high nitrogen content that will slowly be released into your garden. Plants that have this quality are known as green manure.
If alfalfa straw is unavailable, any other straw will work. Grass clippings, sugar cane mulch, or even dry leaves will do the job. Wood chips in this layer seem to have adverse effects for some, while others rave about them. So experiment or do some research on your local wood chips before adding any to your garden bed. Water this layer of mulch.
Pro Tip: Consider growing green manure near your compost heap. It can activate your heap and lead to high-quality compost. You can also use it as mulch for your garden beds. Consider plants such as comfrey, yarrow, or any legume that grows rampantly in your area.
Step Four: Lay Down Compost/Animal Manure
Image Credits: Joke vander Leij via Pixabay
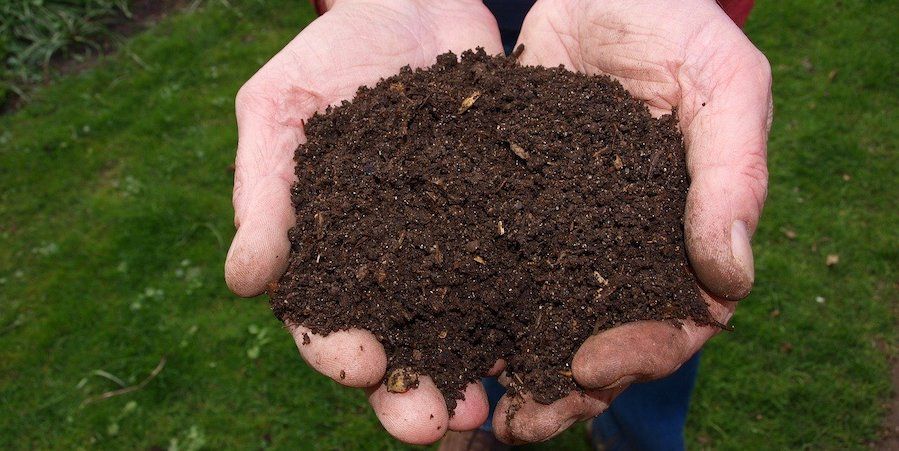
Next, lay down a 2” layer of compost or animal manure on top of the straw. If you have excess kitchen scraps that need composting, this would be a good time to add them to your garden. Water the compost layer.
If you're using animal manure it's a good idea to wear gloves. Take a look at our round up of the best gardening gloves to help you find a pair that suits you.
Pro Tip: Don’t add kitchen scraps to any layer besides this one. Vermin will be attracted to the kitchen scraps if they are any closer to the soil surface.
Step Five: Lay Down Straw
Repeat Step Three.
Step Six: Lay Down Compost
Repeat Step Four, minus the kitchen scraps.
Step Seven: Lay Down Straw
Repeat Step Three.
Step Eight: Plant
Image credits: truthseeker08 via Pixabay
Technically, you could carry on adding as many layers as you deem necessary. There’s no limit or rule of thumb here. The choice is up to the gardener.
Once you’re satisfied with your layers, it’s time to start planting. Make a hole in the garden bed by moving some layers to the side. If you’re planting deep-rooted plants, it’s useful to make a hole in the cardboard/newspaper layer below the roots before you plant anything. It is just a suggestion, as the roots will find their way through the newspaper as it breaks down.
Make a hole an inch or two wider than the root ball of the plant. Place the plant in the hole and backfill with compost. Add a layer of mulch around the plant.
Step Nine: Enjoy
Image Credits: Photo by Ochir-Erdene Oyunmedeg on Unsplash
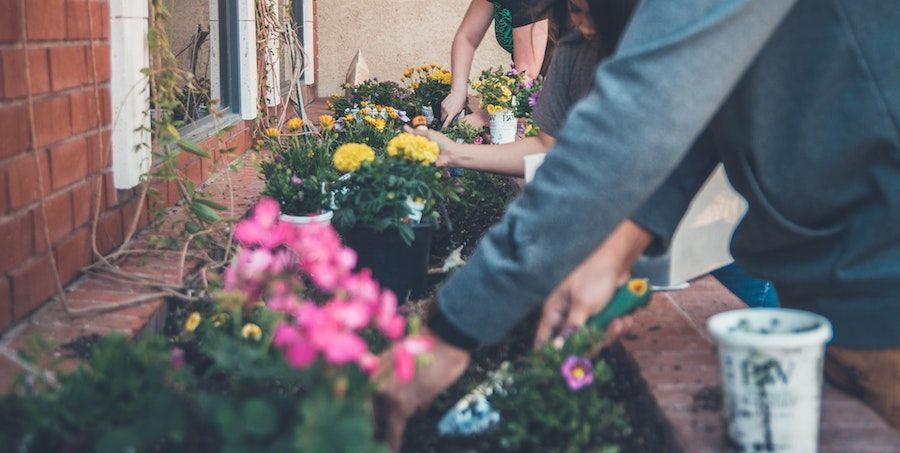
Once all the above is done, treat the garden as you would any other garden. Follow a regular watering schedule and mulch heavily to suppress perennial weeds. The no-dig method is best suited to organic gardening, so surface mulch and an organic fertilizer such as this kelp meal will help your plants thrive.
Notes
This gardening method is also known as lasagna gardening due to the multiple layers present. If you're making a lasagna garden on concrete or something similar, you may want to add additional layers to add more organic materials to the garden bed. It also results in a soil surface that’s at a comfortable working height. Perennial weeds will also be less of a problem because of the lack of weed seeds in native soil.
No-dig gardening is very forgiving. If you don’t follow this tutorial exactly, you’ll still end up with a garden bed full of healthy soil life and soil organisms. My neighbor swears that adding compost before the newspaper layer boosts the native soil ecosystem, while I’ve found no discernible difference in switching the layers around as I please. I prefer to put a layer of compost on top of the layer of newspaper before adding a layer of straw. Experiment to find a way that works for you and makes sense to your situation.
Once your bed is in place, DO NOT WALK IN THE BED. Compacted soil is detrimental to the soil structure that you’re trying to maintain. Make the beds narrow enough so that you can reach the middle of them without having to compress the soil.
The Wrap Up
This method will empower you to make garden beds full of healthy soil on any surface, even rooftops. Making a lasagna garden directly on native soil is preferable but not necessary. It is a very forgiving gardening method that relies on reducing compacted soil as much as possible.
Are you inspired to start a no-dig garden? You must know someone who could benefit from this information. Why not share it with them using one of the buttons below? If you’ve had success with a no-dig garden, comment below with your favorite top tip for a healthy garden.


