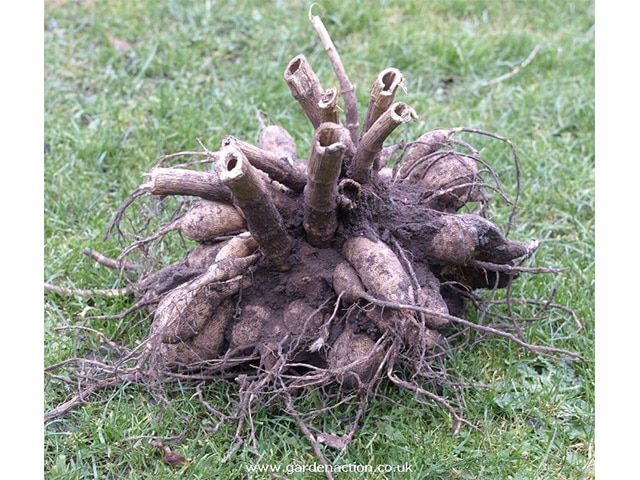
Plant bulbs are defined by the storing of the plant’s complete lifecycle in an underground storage system and are broken into two categories: tender bulbs, which cannot survive freezing and must be stored indoors over winter, and hardy bulbs, which stay in the ground indefinitely.
Flowering bulbs are a favorite amongst gardeners because many hardy varieties are the first to bloom each spring, bringing color and life to dormant landscapes long before perennials begin take on new growth. These include flowers such as tulips, daffodils, and hyacinths. Other varieties are loved for their magnificent and long-lasting blooms through the summer, such as gladiolas, and dahlias.
Bulbs are generally easy to care for and are mostly low maintenance, but it is important to note the different bulb varieties. After all, you wouldn’t want to kill off your bulbs accidentally by leaving the wrong ones to overwinter. How to store plant bulbs for winter, planting bulbs, the tools you'll need to do the job right, plus the general differences and bloom times of varied varieties will be discussed below, so read on to learn how to best care for your blooming tubers!
*You might also like: Protecting Your Plants From The Winter Cold.
GRAB YOUR BULBS: WHAT YOU NEED
Make sure to pick the spot you know you want your bulbs to grow in and don’t forget they are there and accidentally dig them up before bloom! You may want to use plant markers in areas you have planted in to keep this from happening. Bulbs also do well in containers and window boxes, so don’t feel limited by where you want to plant!
FOR PLANTING
- Bulbs of your choice
- Garden trowel or bulb planter
- Garden shovel (for deeper plantings and soil prep)
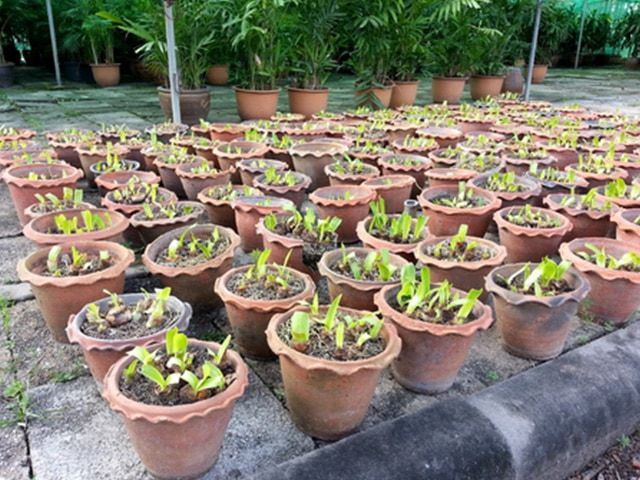
- Containers and potting soil for potted bulbs
- Optional: general fertilizer
FOR STORING
- Cardboard boxes, paper bags, or mesh bags (old pantyhose works also)
- Shovel, or gardening trowel
- Cool and dry, but non-freezing storage area such as a garage or basement
HOW TO PLANT YOUR BULBS
STEP 1: PICK THE CORRECT BULBS FOR THE CORRECT PLANTING SEASON
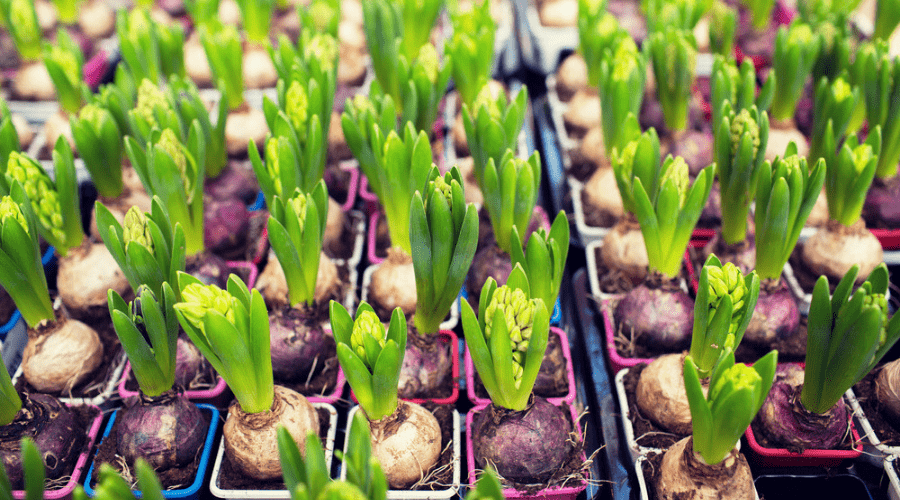
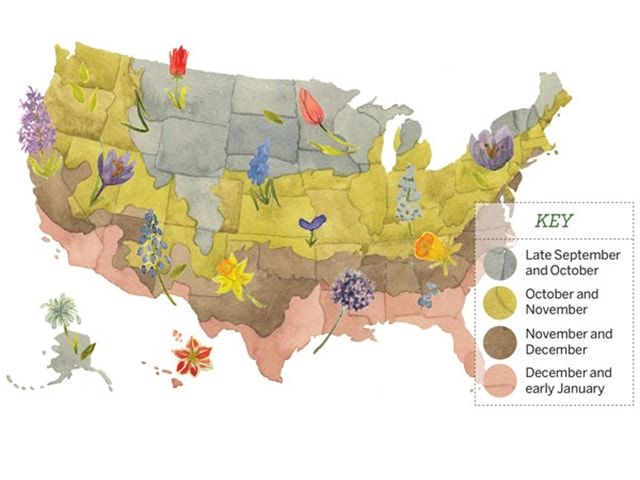
Whether you are looking for spring blooming bulbs, or a summer splash of bright colors, you need to determine whether your bulbs are of the hardy or tender varieties. As mentioned, hardy bulbs varieties need an overwintering in freezing temperatures, and are best planted in the fall to emerge in the spring.
Tender bulbs cannot handle freezing temperatures and need to be stored each fall in a cool, dry place to be replanted in the spring for summer blooms after the last hard freeze and the ground has thawed. The sack your bulbs comes in should be labeled with the variety type.
Source
STEP 2: LOCATE AN AREA TO PLANT IN
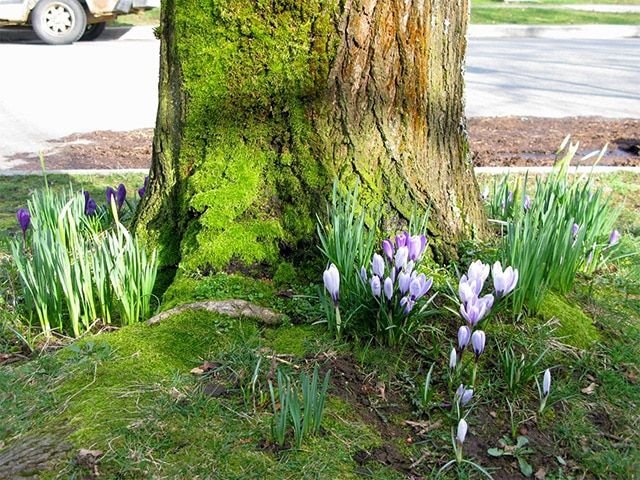
The beauty of bulbs are that once they have bloomed and spent their beauty, they go back into dormancy and allow subsequent perennials to grow up around them during the seasonal changes. This means that you can pretty much plant your bulbs anywhere you would like a splash of color, and one of my favorite sites is small beds of crocuses coming up early through spring snow around trees and bushes that are typically surrounded by a green lawn come summer.
Bulbs do like sunny spots, but since most shady areas are still full of sun come spring don’t worry too much about location as long as they will get daylight before bloom.
Just remember to keep in mind that hardy bulbs (the majority of varieties) will stay in ground year-round, and if you decide to do any landscaping changes you will need to transplant them to avoid accidentally destroying them.
Source
STEP 3: PREPARE THE SOIL
Like most plant roots, bulbs aren’t big fans of sitting in water and will die from lack of oxygen. Many can tolerate dry spells, especially during dormancy, so keep this in mind when you pick both your spot, and begin to prepare the soil. Obviously if the area you choose is underwater a good part of the year, you may want to reconsider your choice.
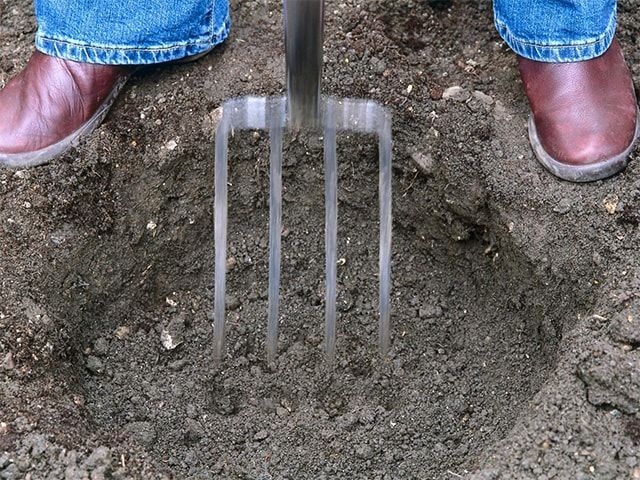
Bulbs can handle most any types of soils, and to ensure a good start, loosen up the soils you are planning to plant in and add in a little compost or peat moss to keep soils moist and nutrient rich upon initial growth – but otherwise you can pretty much plant them and walk away.
STEP 4: DETERMINE YOUR LAYOUT
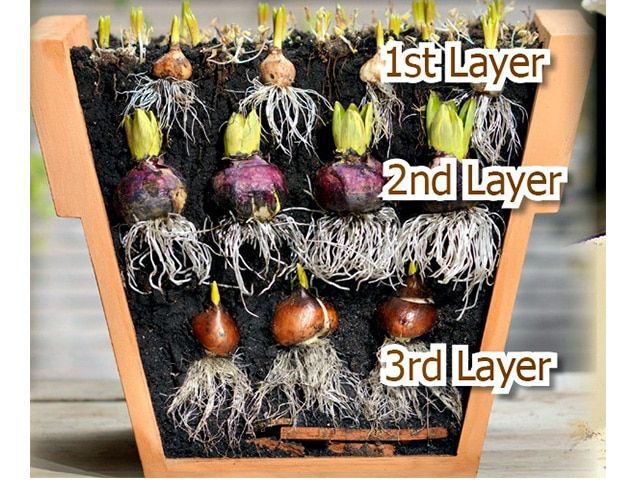
Depending on your bulb choices, you can layer different kinds to provide a continual bloom in one spot through each season. Layer early blooming bulbs, such as crocuses, above later bloomers, such as tulips. Larger, later blooming bulbs need to be planted deeper anyway, and as each plant bloom is spent, another will take it’s place! Feel free to create multiple layers to achieve the look you desire.
If layering is not your choice, be sure to plant enough bulbs for the space to get the color you want. Generally you want to take into account the bulb size and the amount of space you have. Consider plating each within about 4 to 6 inches of one another. Smaller varieties, such as crocuses or hyacinth you may want even closer.
Source
STEP 5: DIG HOLES
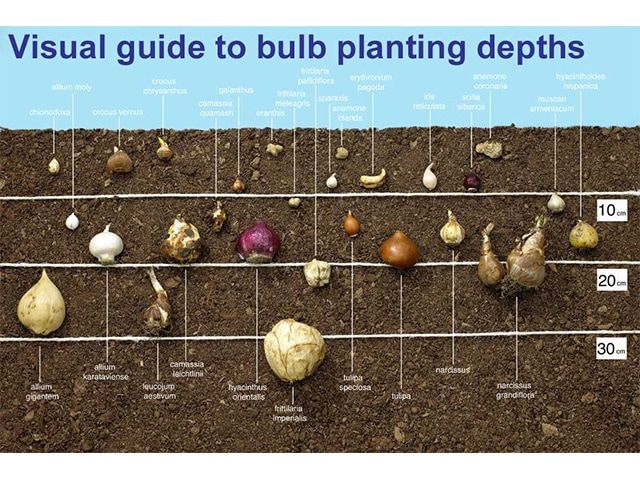
As mentioned above, different varieties do require different depths. Early bloomers are typically smaller, and require a shallower bed, whereas later bloomers have a larger base, and can tolerate a deeper depth. Special bulb planters are available to easily create the hole you need to drop each bulb in.
Take note of what types of bulbs you have, and either follow the directions on the bag, or research to make sure you are providing the best start possible. Also be sure to note your depths for tender varieties so you can make sure you get them all each fall when you dig them up for the winter.
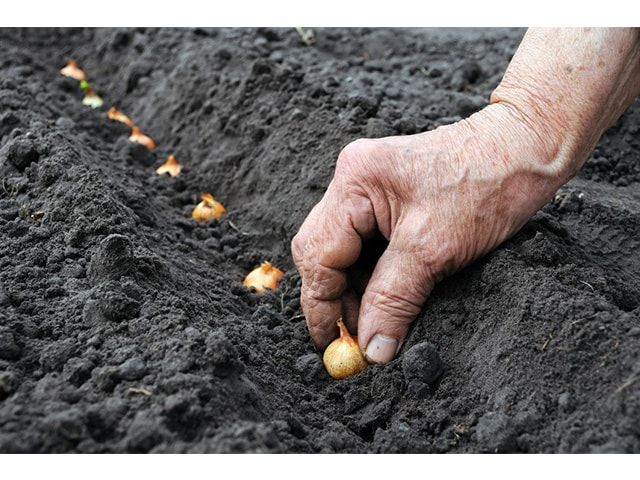
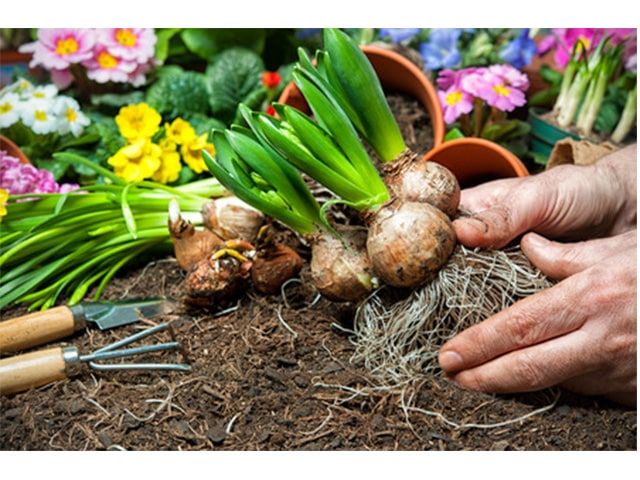
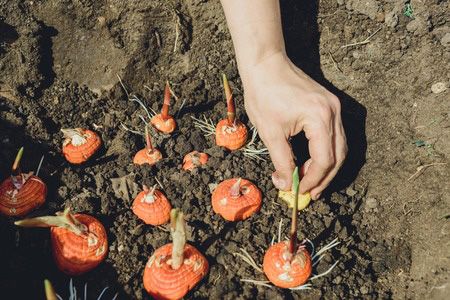
STEP 6: PLANT BULBS
Be sure to plant bulbs right side up so new shoots point towards the direction you want them to go. Some bulbs will right themselves, but for the most part they may stay in dormancy if unable to reach topsoil, and possibly die if they are unable to get the nutrients they need from the sunlight. Generally pointed tops indicate where leaves and buds will break from, and rounded bottoms are where roots will take hold.
Bulbs are extremely hardy for the most part however, and can stay in dormancy for two years or more in the correct conditions- and even I have had some that were accidentally dug up and reburied wrong, only to make an entrance after a few years when I thought they were dead.
STEP 7: COVER, FERTILIZE, AND MULCH
Once you’ve tucked away your bulbs for the winter (or summer) under a layer of soil, feel free to add a general fertilizer to the soil to give them an extra boost once they take hold. Mulching your topsoil is always a good option as well as it will help hold in heat once the area begins to receive sun, as well as dissuade weeds from taking root.
STEP 8: WATER
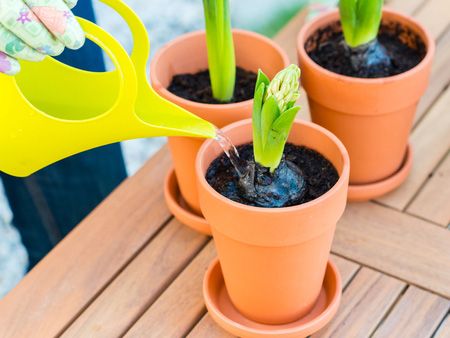
Like any newly planted vegetation, these little guys need water to get started. Be sure to water your soils thoroughly at first, and keep in it your regular garden watering rotation afterwards until the first freeze. Well watered areas are generally the first to bloom and have the largest flowers in my experience.
STEP 9: DIVIDE AFTER A FEW YEARS AND REPLANT
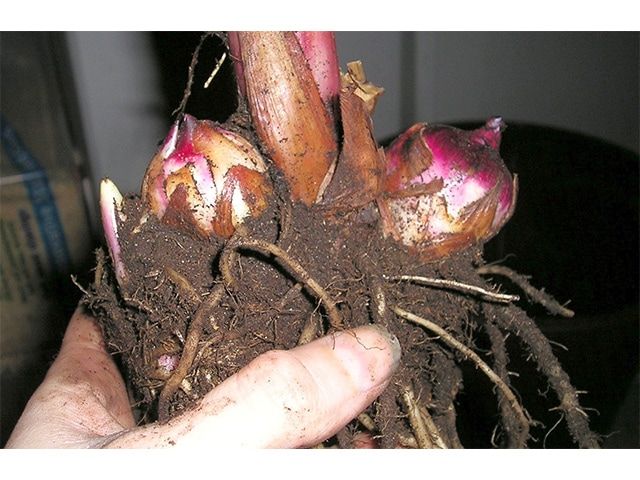
Since bulbs are self-propagating, after the foliage has died down, simply dig up the clumps (being careful not to damage the actual bulb). Then, divide the bulb clumps and replant to cover a larger area! Remember, smaller bulbs make take a few years to truly set, so be patient!
HOW TO STORE PLANT BULBS FOR NEXT SEASON
Your tender varieties need to be stored each spring before the ground freezes, and ideally the time to dig is once they have gone dormant for the season after the first frost. Each plant has a different way of showing dormancy, so it is important that you learn the needs of your bulbs if you will be digging them each fall.
STEP 1: GET A GOOD CONTAINER TO STORE YOUR BULBS IN
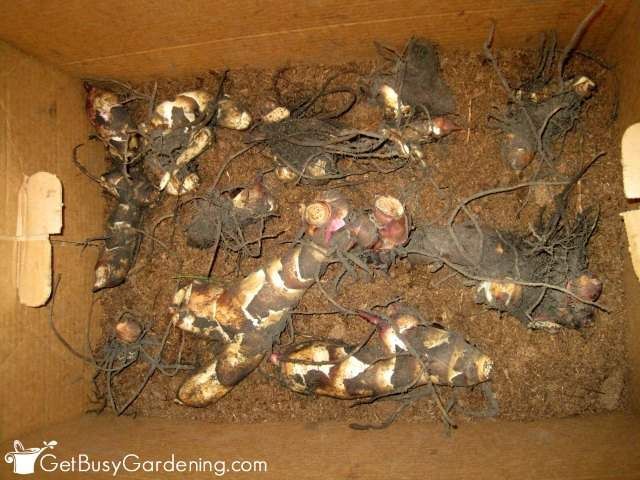
To start, you need to make sure you have something to put your bulbs in once you have them removed from the soil. Paper bags, cardboard boxes, or breathable mesh are all good candidates for your plants’ winter home over the few months they will be out of the soil.
STEP 2: CUT BACK YEAR’S GROWTH
With a pair of pruning shears, cut off spent stems and leaves down to about 3 inches from the top of the soil. If you choose, you can cut after you dig if old leaves make it easier to locate what’s beneath the soil. Be careful not to cut into the root bulb itself as mentioned earlier, and if you do treat it immediately with a fungicide.
STEP 3: DIG UP YOUR BULBS
Be sure to take care completing this step. You want to make sure you do not pierce any of the bulbs as you could introduce bacteria and rot, or even kill the individual bulb. If you do manage to have an accident, wipe the area with a fungicide to discourage any sort of yucky growth that could compromise your plants.
STEP 4: CLEAN, DRY, OR PREPARE YOUR VARIETY AS NEEDED
Gently brush off as much excess dirt as you can using a clean dry garden glove or towel. You do not want to use any water as this will introduce too much moisture to the bulb and can cause rot. You also will want to take care that your bulbs are dried out if you have dug them from moist soil to ensure proper storage.
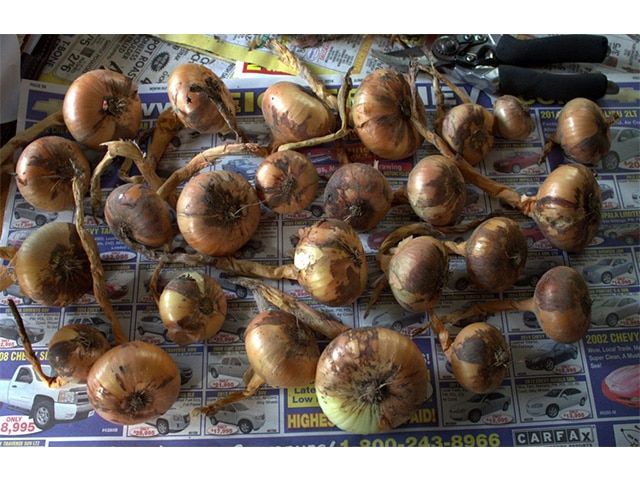
If your bulbs are wet when you dig them, simply lay them out separately on a piece of mesh or cardboard and allow them to air dry. Brush off any dirt that might have been stuck to them when wet at this point.
STEP 5: STORE BULBS
Congratulations! You are now ready to store your bulbs! If they are dried and cleaned off, place them into your storage container and put into a cool, dry place until the soil has thawed and any freezes have passed for the winter.
Feel free to layer your bulbs in boxes by placing a layer of newspaper between each layer, or packing into shredded paper. Remember, your bulbs need to breathe, so make sure you have ample air circulation. Also, make sure you label your bulbs so you can get them back where they belong in the spring!
FOR SPRING BLOOMING BULBS THAT MISSED THE FALL PLANTING:
Consider placing these bulbs directly in the refrigerator as they need 6-8 weeks of cold in order to bloom. Once the ground is malleable, you can plant them directly into their spots for seasonal blooms. Don’t worry if some don’t come up the first year, chances are they just need another season and will come up later.
WHAT ARE YOU WAITING FOR?!
I don’t know about you, but I am already thinking about where I want to add bulbs this fall for more spring color. I have a fairly young garden too, and have yet to add any tender bulbs to my plantings, but I think after all this research, the time has come!
Remember, bulbs are EASY to plant and take care of, so follow the few simple rules set out above and watch your garden come alive!
- Plant at the correct time of the season
- Prepare soils and plant at the correct depth
- Keep well watered, but not saturated
- Dig tender varieties after first frost
- Use correct, breathable storage methods
Questions, comments, tips you want to share? Please leave your messages below, and as always, please share!

