With all the winter preparations underway, you’ve probably winterized your house and made sure it’s all sealed up for the cold weather ahead. In all this preparation, have you considered your garage?
Although a garage is technically supposed to store cars, we all know that, in reality, a lot more happens in a garage. Whether it’s used as a makeshift workshop, tool shed, or you store your favorite car in there in cold temperatures, you could benefit from a warmer garage. For a quick fix, check out our guide on how to install a garage heater.
Read on for a step-by-step tutorial on how to winterize your garage.
What You Need
- Garage door insulation kit
- Caulk and caulking gun
- Weatherstripping
- Bottom seal (Garage door sweep)
- Threshold seal
- Waterproofing agent for the floor (optional)
- Paint roller (the wider the better)
- Telescoping pole
A Step-By-Step Guide On How To Winterize Your Garage
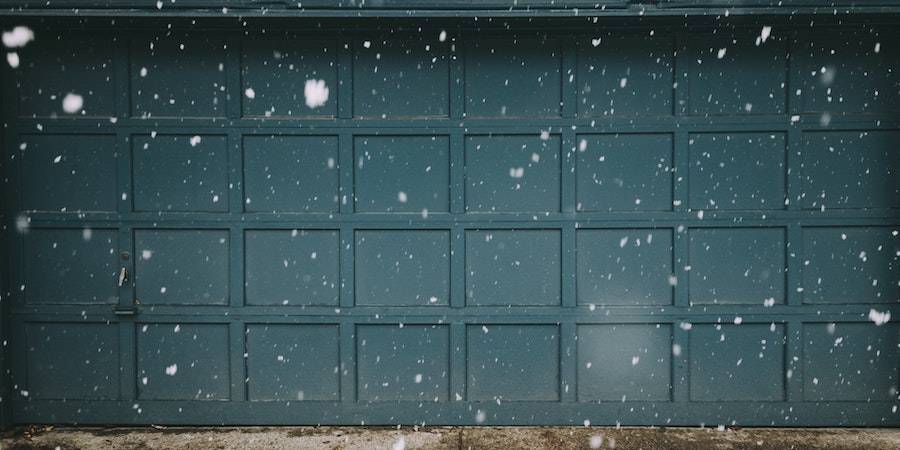
Step One: Insulate The Door

Image credits: Kevin Wolf via Unsplash
Garage doors perform poorly when it comes to energy efficiency. It is especially true in frigid temperatures. It is because garage door panels are often made from metal or vinyl, neither of which offer any insulation.
So if you’re looking for a big change in your energy costs, insulating the door is the first thing you should do.
The easiest way to do this would be to buy a garage door insulation kit. These come as pre-cut pieces of rigid foam board insulation with an adhesive backing on one side. You order the kit that fits your garage door make and model, and you can do the job yourself in the afternoon. Check out our reviews on the best garage door insulation kits to help you with your purchase.
All garage doors are different, and all insulation kits are different, so follow the manufacturer's instructions for the best results.
Alternatively, you could choose to use fiberglass batt insulation. I would recommend getting a professional to install that and wouldn’t do it myself.
Step Two: Caulk Windows, Doors, Outlets, and Gaps

Image credits: ephidryn via Creative Commons
Next up, you want to seal up any air gaps you may find in your garage. Air gaps lead to cold drafts, which is a major source of heat loss. The most common place to find air gaps is around window and door frames.
Load up your caulking gun with your favorite type of caulk, and get to it. Remember that caulking is a more effective sealant when it has a gap to squeeze into, as opposed to sitting on the surface.
Once you’ve done all the doors and window frames, inspect the rest of the garage for any obvious air gaps. Common places to find gaps are under eaves, at the top of walls, where two planes meet, where two materials join, and around electrical outlets or light fittings.
Pro Tip: Keep a dish of soapy water nearby. When you’ve laid the caulk, and it’s time to smooth it out, dip your finger in the soapy water first. Then slide your finger, maintaining even downward pressure, along with the bead of caulk.
It will cause excess caulk to stick to your finger instead of itself, leaving you with a smooth and neat bead. Do this in short sections, removing excess caulk from your finger as necessary.
Step Three: Replace Weatherstripping

Image credits: theilr via Creative Commons
Now it’s time to inspect and replace your weather stripping where necessary. If your current weather stripping is in good shape, you can skip this step.
To replace your weather stripping, you need to remove any of the old weather strippings first. Make sure you remove all the old nails and bits of weather stripping you can see.
While it’s off, it’s a good idea to give the area under the weather stripping a good clean. I like to clean areas like this with a solvent instead of a detergent.
The reason is that solvents evaporate after use, whereas detergents tend to hang around and coat the surface of whatever you’re cleaning.
It is great for areas exposed to open air and get a lot of use, but you don’t want this when you’re cleaning something that requires adhesive or if this area will be sealed or undercover for long periods.
Cut your weather stripping to size, remembering to cut the 45-degree angles for the corners. You’ll then want to lightly tack the weather stripping in place to ensure a snug fit. When you’re satisfied, you can drive the nails home.
The manufacturer may have product-specific methods or additional details about installation, so always check their recommendations before using a product.
Don’t forget to update the stripping in between the panels of the doors as well.
Step Four: Replace The Bottom Seal
Image credits: blakeimeson via Creative Commons
The bottom seal is the seal that runs along the bottom of your garage door. It does a great job of stopping dirt, dust, moisture, snow, and cold air from blowing into your garage.
Unfortunately, after time, this seal flattens and ends up cracking. But the good news is that it’s really easy to replace.
Here’s what you do. Open the door. Remove the old seal by sliding it out of the track. It may require a bit of tugging with older seals. If your garage door is wooden, there could be nails holding the seal in place.
Once the seal is out, give the track and bottom of the door a good clean. Remember; clean these areas with solvents, not detergents.
Lubricate the track with a few drops of liquid soap, and slide the new seal into the track. For best results in colder climates, choose a seal made out of silicone or a similar material.
Pro Tip: Have somebody feed the new seal into the track from one end while you pull the seal along with the trick. It will make it much easier than doing it alone.
Step Five: Replace/Add A Threshold Seal

Image credits: jheidebrecht via Creative Commons
A threshold seal acts in a similar way to a bottom seal. The main difference is that the threshold seal is attached to the floor instead of the door.
You can install either seal or both, for similar results. An added benefit of a threshold seal is it’s better at stopping excess groundwater from entering your garage door if it’s at the bottom of a slope.
Installing a threshold seal is even easier than a door seal. It’s fixed with an adhesive that’s usually included in the purchase. All you need to do is line up the position of the threshold seal, clean the area (solvents not detergents), and push the adhesive firmly into the floor. Done.
Step Six: Waterproof Your Floor

Image credits: Ennio Brehm via Unsplash
Many garage floors are waterproofed during installation or at a later stage. If your floor is already waterproofed, you can skip this step.
Waterproofing your floor is a big job, so I’ll focus on the highlights for this tutorial. If you’re uncomfortable using harsh waterproofing chemicals, it’s best to hire a professional for this job.
First, empty your garage. You want a completely clear floor because you need access to every inch.
Next, prepare the surface. How you do this will depend on the kind of material your garage floor is made from. At a minimum, you’re aiming to remove any oil and grease, loose material, dust, and moisture.
Then you need to spread your waterproofing agent. Once again, how you do this depends on what agent you’re using and what the manufacturer recommends. It’s always recommended to cut the edges with a brush first before rolling the majority of the area.
I find a wide roller on a telescoping pole is the most efficient way to spread large amounts of material across a floor.
Once the waterproofing is done, you’re going to have to avoid the garage for a few days while it dries. It would be a good idea to have some extractor fans going inside your garage to remove the fumes that the waterproofing agent will off-gas as it dries. It is especially true if your garage is connected to your house.
Done And Dusted
By following this step-by-step tutorial, you’ll find that your garage will be quite a bit warmer than the ambient temperature in winter. It will save any tools you may be storing in your garage since many tools can’t handle very low temperatures.
If your garage is attached to your house, then winterizing your garage could have a significant effect on the comfort of the interior of your home! How cool is that?
What do you think of this tutorial? Let us know in the comments below. Or share this article with a friend that needs to winterize their garden.