Xeriscaping is the act of turning your yard into a water-wise oasis. There are many reasons why you should xeriscape your yard, but that’s beyond the scope of this post.
You know all about xeriscaping for beginners. You’re here to find out how to xeriscape your yard. And I’m about to show you the step-by-step process for getting it done. Read on for the full tutorial.
Things You Need
- Pencil and paper
- Soil test kit
- Native plants
- Drought-tolerant plants
- Shovel
- Landscape fabric
- Garden tools
- Landscaping features
Step One: Draw Up A Plan
Image credits: Pexels via Pixabay
The first step to this whole process is planning out exactly what you’re going to do before you do it. To do this, you’ll need a base map of your property.
You need to know the location of the boundaries, any access roads, and any buildings that are on your property. There are many resources online where you will be able to find this.
Print a few so you can try different designs, and for the next step
Step Two: Sun Chart
Image credits: Timon Studler via Unsplash
A large component of xeriscaping is working with what you have and matching specific plants with the characteristic conditions in your area. To do this, you need a better understanding of the way that the sun moves across your yard.
With an empty base map in front of you, mark down the areas in your yard that receive full sun, partial sun, and full shade. You might need to do this over the day, checking on the sun's path across your yard every hour or so.
Remember that this will also change with the season, so if you’re really into it, make a sun chart for each of the solstices and each of the equinoxes.
Step Three: Soil Test
Image credits: Jing via Pixabay
The next information you need to gather comes from below the ground. Dig up some samples of your soil from a few different areas in your yard and have them tested. You can send the samples away or do a soil test at home.
This information will help you understand what your soil lacks and help you group plants according to their needs.
Step Four: Select Your Plants
Image credits: petrafaltermaier via Pixabay
Here comes the first fun part; selecting your plants from garden centers. It’s important to know what your climate is according to the USDA because it will help you choose appropriate plants.
Focus on native plants since they are already adapted to your area; and drought-resistant plants due to their low water needs. Your plant selections will play a big role in a thriving xeriscape. Group plants with similar needs together to reduce maintenance and increase their chances of survival.
Step Five: Draw Another Plan
Image credits: Kelly Sikkema via Unsplash
Now it’s time to put these plants into the plan on paper. To do this, use your sun chart to match plant needs and their location. Remember to group plants together according to their watering, feeding, and sunlight needs.
A popular element in xeriscaping is oasis zones. These are focal points filled with flashier plants, like flower beds, that need larger amounts of water. In the spirit of working with what you have, place these oasis zones where there is already an excess of water. Places like near downspouts or even an area that has access to a retention pond for road water runoff.
If you don't have any naturally wet spots in your yard, you could add a water feature.
By this stage, your plan should be taking shape.
Step Six: Prepare Your Yard
Image credits: John Bogna via Unsplash
This step completely depends on what you’re starting with. If you’re converting a huge lawn into a xeriscaped yard, you’ll need to remove the lawn first and possibly put down landscaping fabric to prevent it from coming back.
If your yard is already a dustbowl, you might have your work cut out for you. Although, you’ll most likely need to import nutrient-dense soil. It all depends on the results of your soil test.
Step Seven: Place Your Plants
Image credits: Christine via Unsplash
Before you get to planting, it’s a good idea to place the plants in their intended positions before planting. That way you can get a visual on spacings between plants and any clashes you may not have noticed.
It also gives you a good idea of how things will look once everything is planted.
Step Eight: Plant Your Plants
Image credits: Vitor Monthay via Unsplash
The fun part; plant your plants. Because you’ve done so much meticulous planning beforehand, this should go smoothly. Make sure you give each plant plenty of compost when planting and water them thoroughly.
Step Nine: Consider Irrigation
Image credits: Luis Tosta via Unsplash
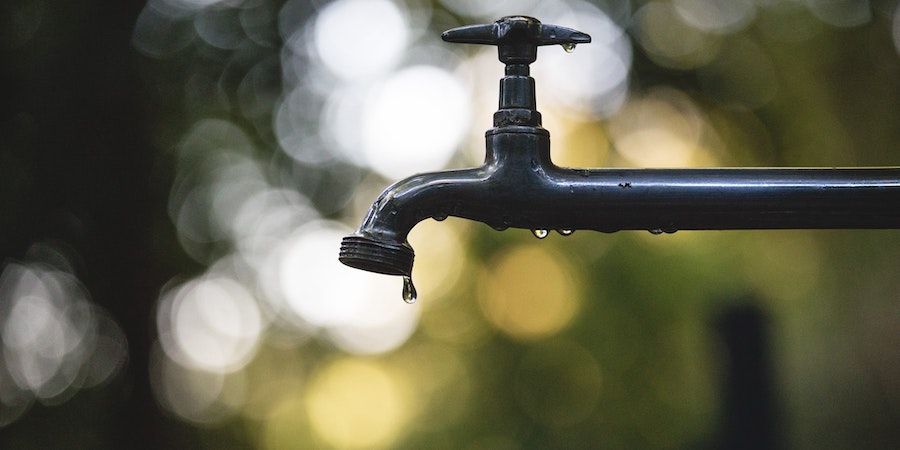
While xeriscaping is all about water conservation, your xeriscaped yard still needs supplemental water. This is especially true in the early stages of your xeriscape where things are getting established. As the garden becomes established, your water usage is likely to drop.
For a large yard, drip irrigation is the most hassle-free. You can rig the whole system up to one tap, so opening the tap will water your garden. You can even put it on a timer if you're so inclined.
For smaller yards, hand watering or using sprinklers is an easy way to go.
Step Ten: Mulch
Image credits: Nico Smit via Unsplash
Mulch is a garden's best friend. Once you’re done planting and laying out irrigation pipes, you should cover any bare soil with a thick layer of organic mulches.
If you go out into nature and look down, you’ll see very little bare soil. Any bare soil is quickly taken over by organic matter and what many would consider weeds. The act of mulching mimics this feature in nature.
Mulching not only limits weed growth but also keeps your soil moist for longer during dry periods. Once your ground covers have taken over and there’s no bare soil insight, you can stop mulching.
Wrap Up
There you have it, how to xeriscape your yard in ten steps. Planning before you do anything else is a surefire way to set yourself up for success. Identifying all the microclimates in your yard will help you to plant the right things in the right places, which is setting yourself up for success.


