Lasagna gardening is a popular way to build a nutritious raised garden bed. Like lasagna, this type of garden has several different layers serving a unique purpose to support your garden and help it thrive. Plus, it can make gardening much easier. Lasagna gardening is a type of no-till gardening meaning not only will you be packing your garden bed with nutrients, but you can also skip labor-intensive digging!
With so many amazing benefits, lasagna gardening is a must-try technique! Find out how easy it is to make and discover how rewarding a luscious garden with healthy soil can be.
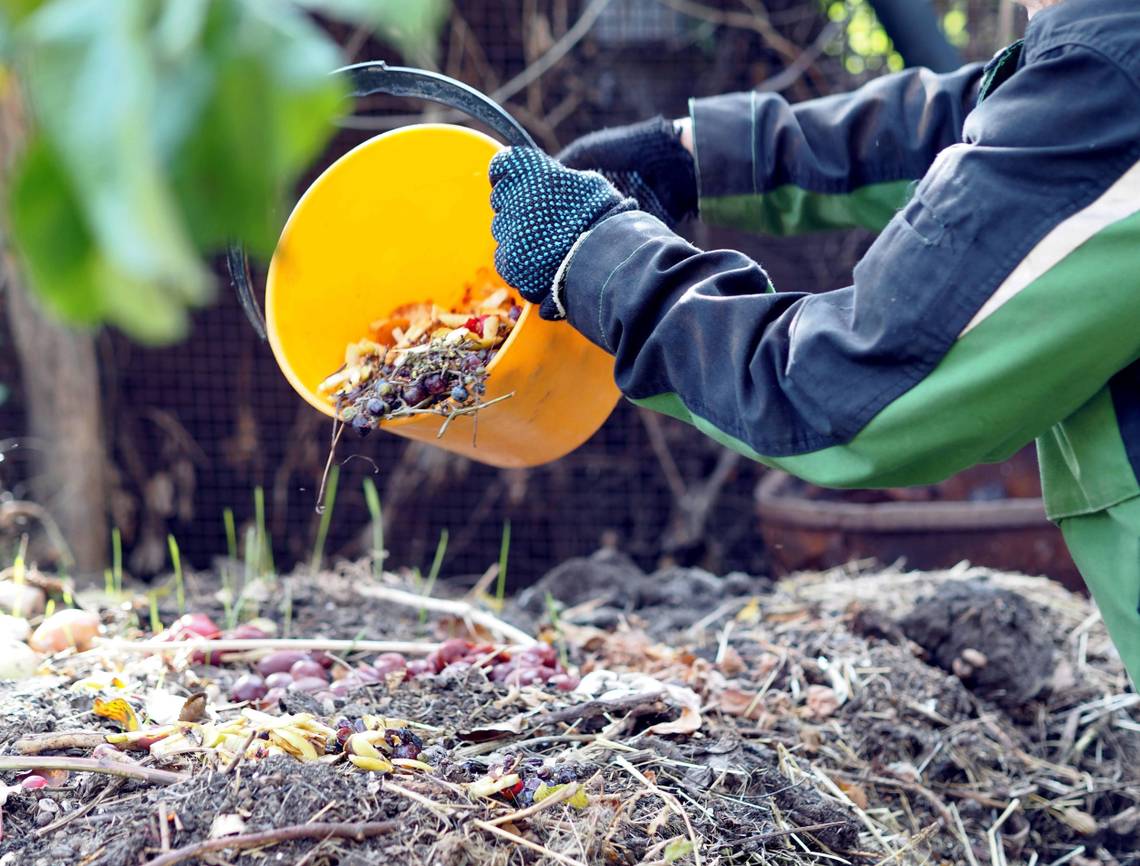
Materials

Image credits: Rodnae Productions via Pexels
Lasagna gardens incorporate a variety of different materials. Before you jump right into the garden, make sure to check off these important essentials so you have everything you need at your fingertips.
- Garden bed frame (optional)
- Garden shovel and wheelbarrow (optional)
- Watering can
- Twigs or small branches
- Cardboard, newsprint, leaves, straw, or sawdust
- Compost, manure, lawn clippings, salad leaves, coffee, or tea
- Topsoil
Step One: Lay Your Base Layer

Image credits: Veryhighfrequencydesign via Pixabay
To create the base layer of your lasagna garden bed you will need to loosely place twigs or small branches. The wood pieces should be about 1 inch in length and the layer should be 4 inches deep. The mix of wood materials offers both a sturdy base that won't sink as you add more layers and creates great drainage for your future garden.
Step Two: Create The Brown Layer

Image credits: Hans via Pixabay
The second layer of the lasagna is the brown layer. This is made with a mixture of shredded newspaper, cardboard bits, a mulch of dry leaves, straw, or sawdust. Keep adding to your brown layer until it is 2 to 8 inches deep.
Essentially what you are setting up in this layer is a decadent meal for earthworms. These friendly earthworms will help to eat up and decompose compost you add in later layers. This will infuse the garden bed with nutritious material for your plants or vegetables to grow in.
Finally, before you jump into the next step thoroughly water the brown layer.
Step Three: Set up The Green Layer

Image credits: Ben_Kerckx via Pixabay
Now it's time to set up your green layer. The green layer includes a combination of different organic materials. Some of the things you might add to this layer are, compost (vegetables only, no meat scraps), well-aged manure, cuttings from your lawn, old lettuce leaves, used coffee grounds, and tea leaves. Adding several different types of organic materials to this layer will provide your garden bed with a variety of nutrients. Just make sure to avoid any meat scraps as this can attract wild animals.
Keeping adding to this layer until it is 2 to 6 inches deep. How you choose to add these organic materials is up to you. However, some gardeners find it helpful to first put down 2 inches of compost and manure and then add 2 to 4 inches of coffee grounds or grass cuttings to top it off. This acts almost like a small lid on top of the more fragrant compost as it decomposes.
Step Four: Repeat!

Image credits: Eva Bronzini viaPexels
Now it's as simple as continuing to add layers, alternating as you go between brown and green layers. This will build up the lasagna of levels within your garden bed, providing your future garden with an abundance of nutrients.
When you are almost at the top of your garden bed, complete it with a brown layer. By ending with a brown layer you will help to keep rodents and pests away from the compost. Before you step back from your garden for a bit, water it thoroughly to help the nutrients spread throughout the lasagna.
Step Five: Wait Patiently, Then Garden!

Image credits: Jonathan Hanna via Unsplash
Once your lasagna garden bed is all set up now you just need a bit of patience. If you start your lasagna garden in the fall, wait until spring to start planting -- Otherwise, wait four to five months. This will give the layers time to decompose and create decadent soil that is just brimming with nutrients for your plants.
When spring arrives or the time is up, add one last layer to your lasagna. This time, use about 6 inches of topsoil to top the garden. Then, let your green thumbs get to work, your lasagna garden is now ready for you to start planting!
A Beautifully Layered Lasagna
Lasagna gardening is a highly rewarding way to create a nutrient-rich garden for your home. It can be a fun activity for the whole family or a great hobby! With a few twigs, a bit of compost, shredded newspaper, topsoil, and patience, you'll soon have an amazing raised garden for planting vegetables or flowers.
Have you ever tried lasagna gardening? Share your insight into one below. Then don't forget to share this on socials so all your fellow green thumbs can give lasagna gardening a try too!