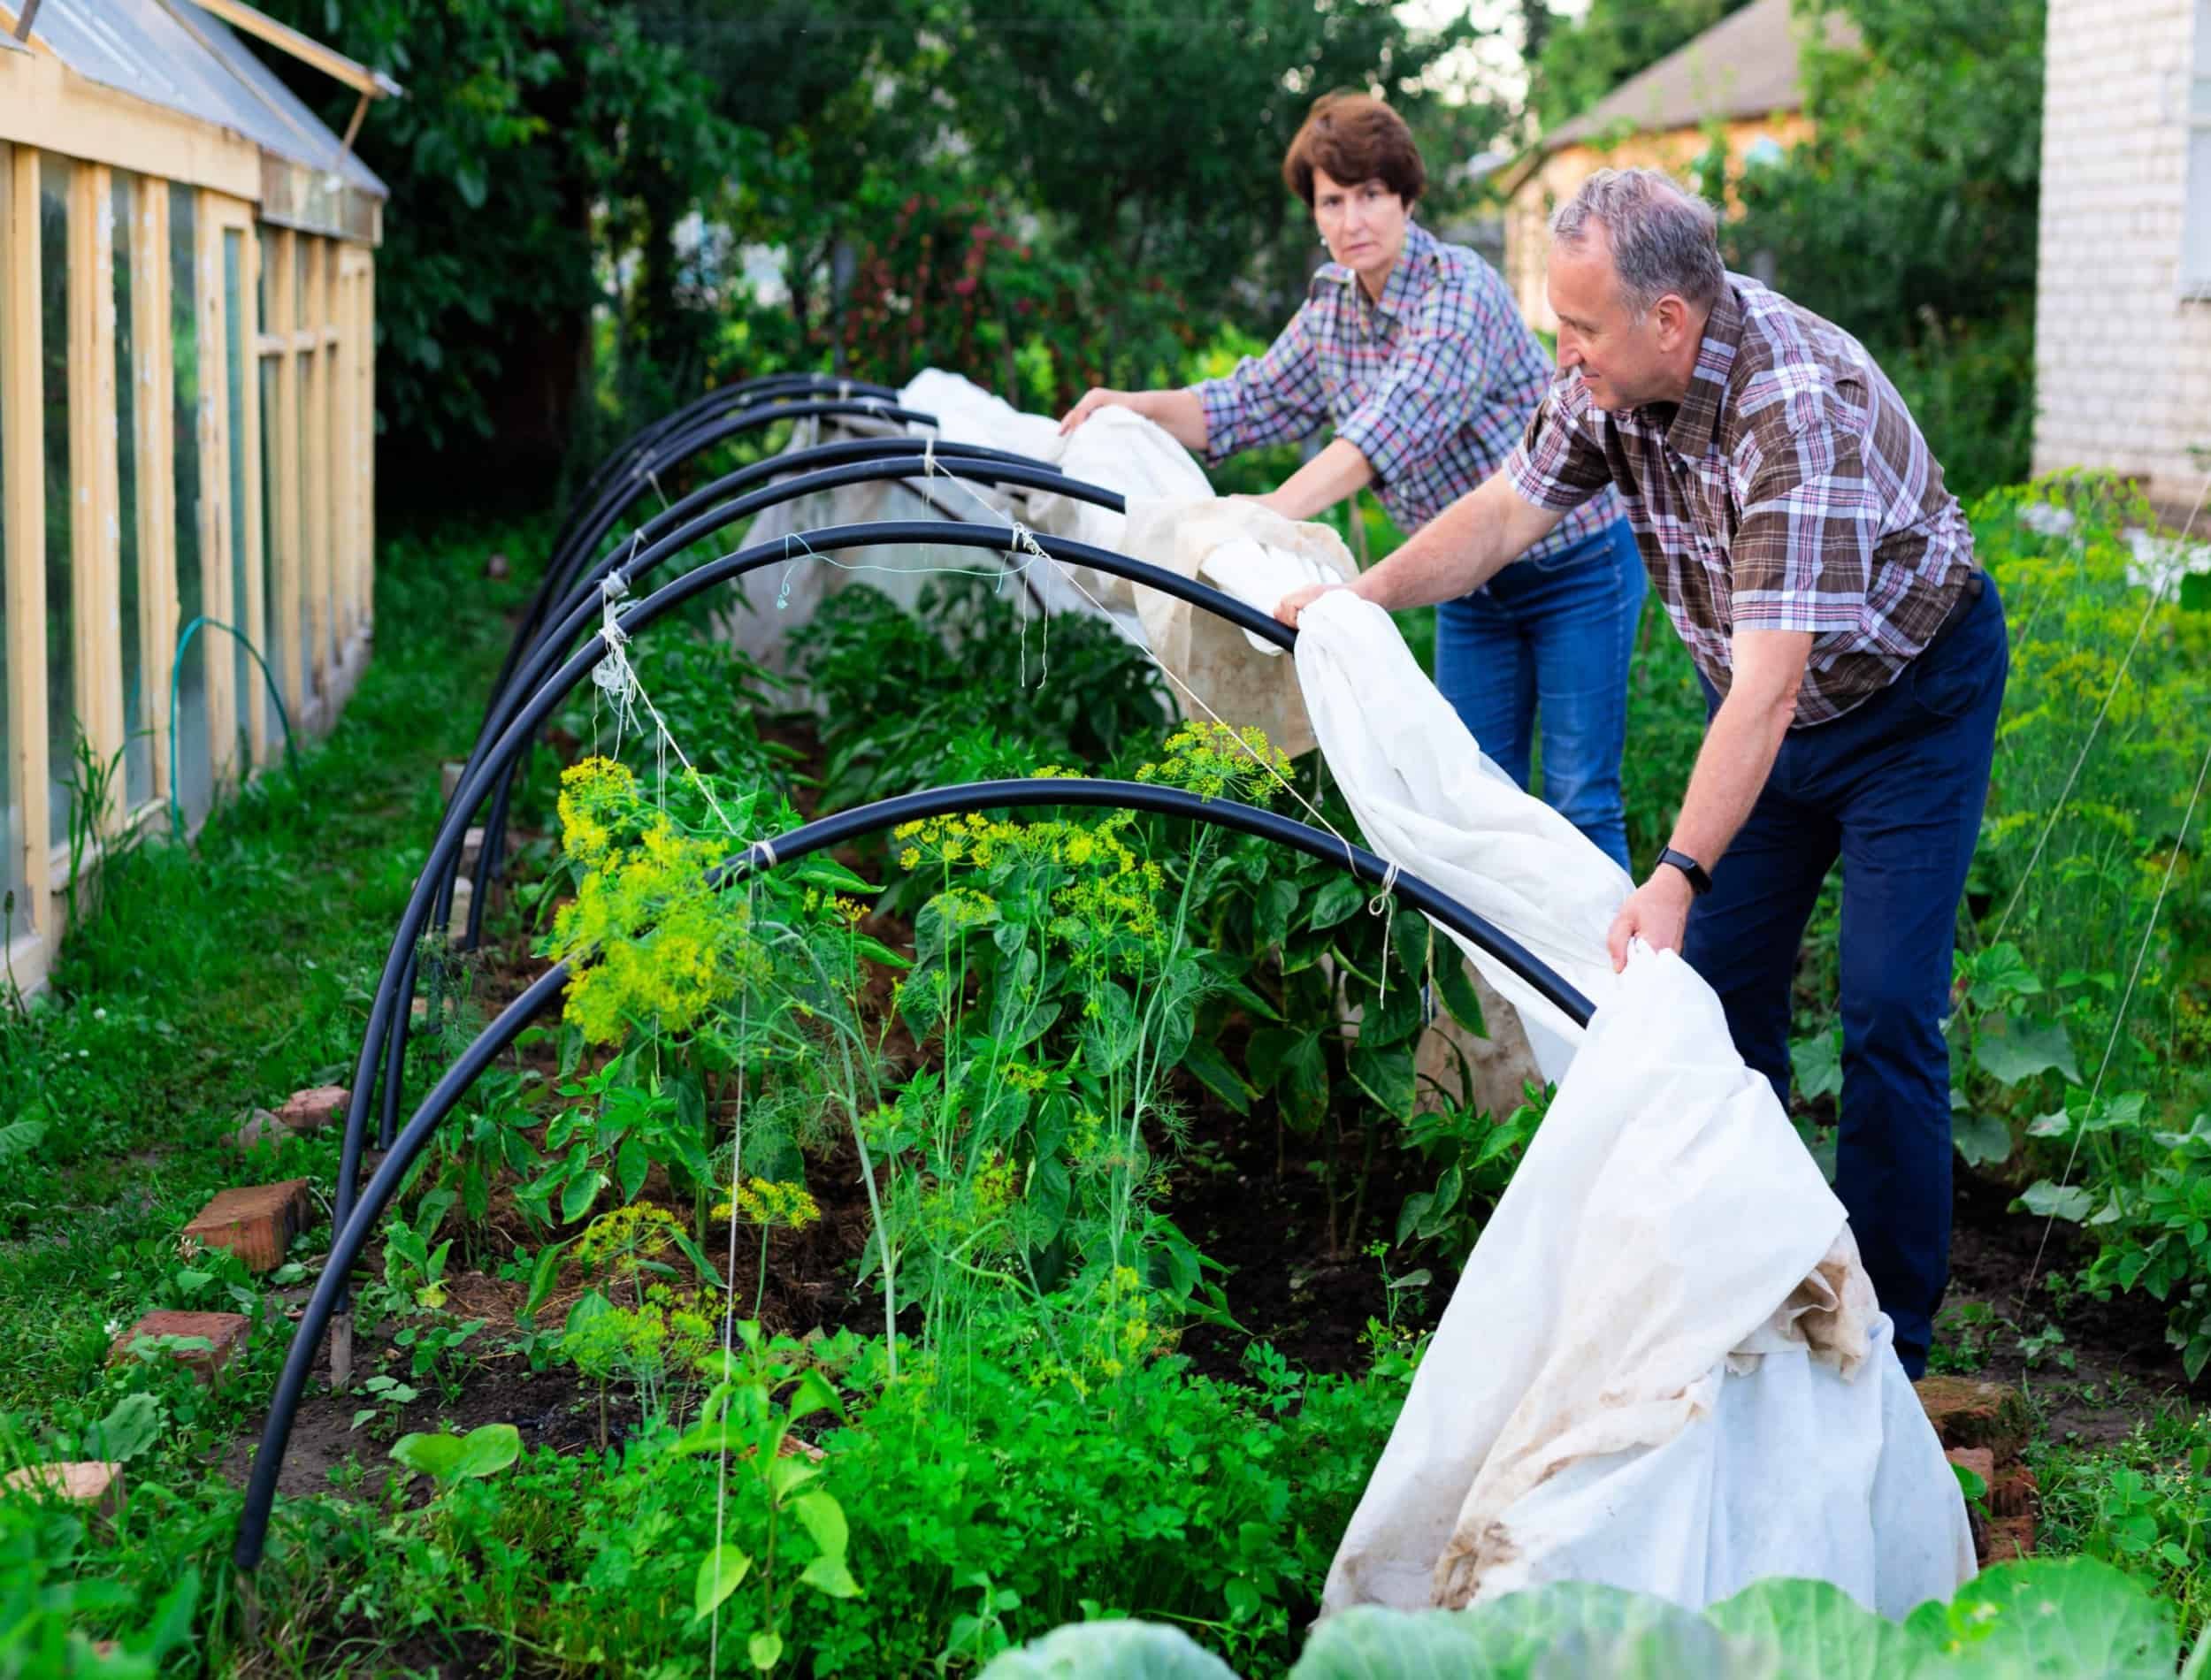
A beautiful backyard is every gardener’s dream. However, sometimes diseases, pests, pets, and even wandering wildlife can destroy your delicate crops. But did you know that there's an easy way to protect your plants? Instead of getting discouraged, put on your creative hat because it's time to make your own garden hoops!
Garden hoops are a very easy and cost-efficient way to ensure that your plants stay safe from the weather, too. If you are expecting a cold winter, hail, or you have an issue with an infestation, garden hoops are the way to go. Just follow this step-by-step guide to make your own garden hoops.
Pros of Garden Hoops
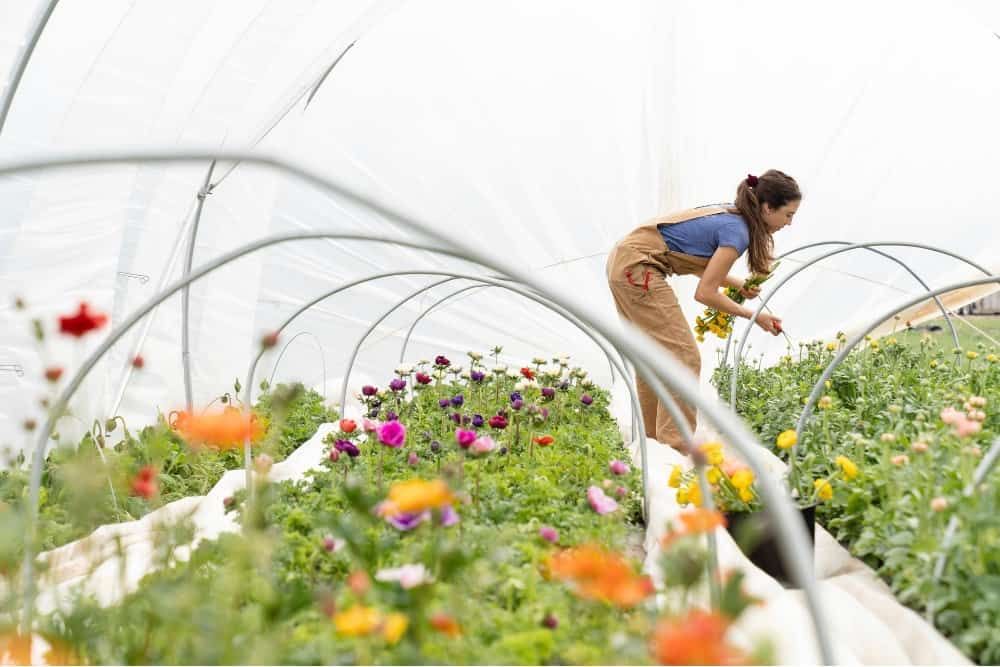
Image credits: Zoe Schaeffer via Unsplash
In addition to protecting your garden, there are many benefits that garden hoops bring you:
1. Extend Growing Season
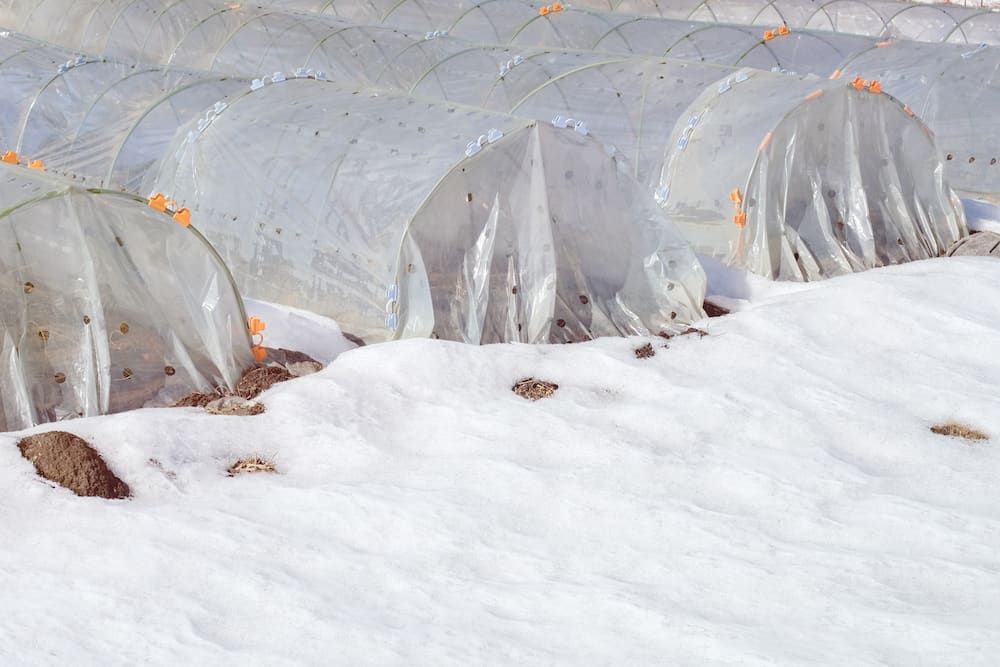
By covering your plants with garden hoops, you give them frost protection and allow them to grow for a longer period. If built properly, garden hoops can protect your crops from the elements all year round.
2. Bountiful Harvest
Since your crops will be protected from hungry animals, birds, curious pets, and diseases, you're likely to harvest more than you would without garden hoops.
3. Easy and Inexpensive to DIY
While store-bought garden hoops are often on the expensive side, DIY ones require very little in terms of money and materials. Furthermore, they are extremely durable and will hold up quite well in pretty much all conditions.
What to Consider Before you Start
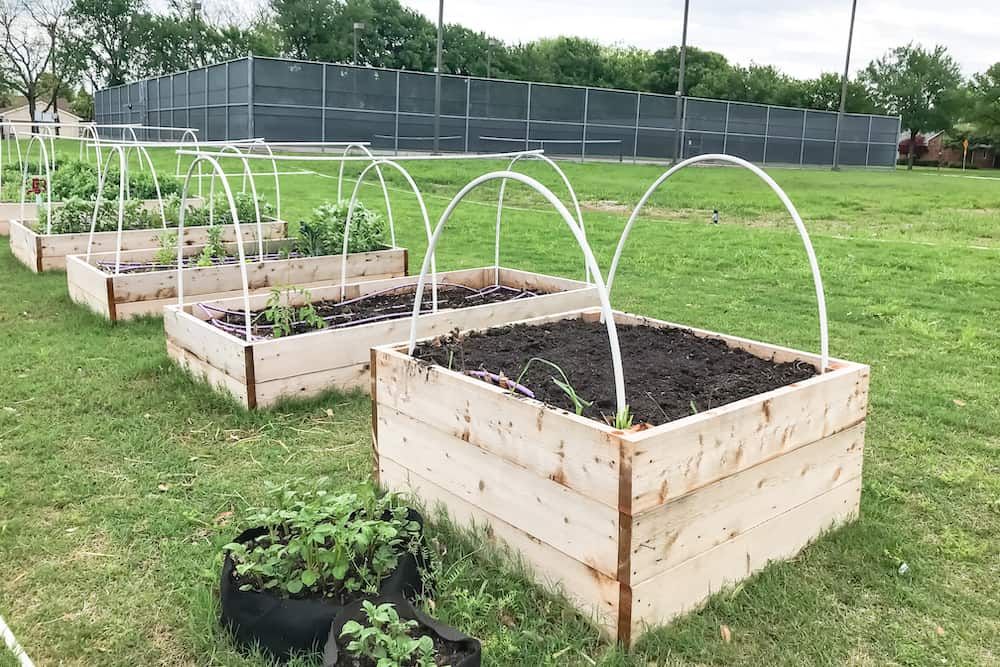
Image credits: Trong Nguyen via Shutterstock
First, you will need to look at your raised garden beds and figure out how many hoops they can fit, and where your access point will be. To do so, sketch out how you want it to look! Down below, you will find a full plan for setting the base inside the beds before adding soil.
Materials and Tools Needed to Make Your Own Garden Hoops
Image credits: Andres Siimon via Unsplash
- Raised garden beds
- Soil and shovel
- Measuring tape
- Pipe cutter
- ½ to ¾ inch PVC pipe (depending on bed measurements)
- 4 socket fittings
- 2+ tee fittings
- 4+ couplings
- 1+ cross fitting (optional)
- Cover material (tarp, netting, fabric, etc.)
- Scissors
- Duct tape
- A few small clamps
Step 1: Building the Base
1. Measure the interior of your raised garden bed. This will help you determine how much PVC you need.
2. Cut the ½-inch pipe into two. These will be your width pipes, but each piece should be the same width as the bed interior. Keep these width pipes aside.
3. Now measure the pipes lengthwise and cut them where you want a hoop to have support. In the image below, the lengthwise pipes have one support structure in the middle, and they are connected to each other using tee fittings. You should keep the hoops two feet apart if you want a sturdy structure.
4. Depending on how big your structure is, you'll connect all pipes with tee fittings. For example, in the image below, all six pipes are connected with tee fittings. This will leave you with a rectangle base that fits inside your raised garden bed.
Image credits: Lakeisha Ethans via Backyard Boss
Step 2: Building Support
1. Next, get cracking on the support. Cut the PVC pipes into lengths that will make your support structure. For example, in the image above, you'll need six same-length pipe pieces for vertical support of the hoops.
2. Stick those pieces into the tee fittings and top each of them with a coupling that you'll use to attach the hoops. See image below for example.
Image credits: Lakeisha Ethans via Backyard Boss
Step 3: Making the Hoops
1. Cut the PVC into pieces that are the same length as the base side. Keep these horizontal pipes aside. You'll use them to secure your hoops to the entire structure.
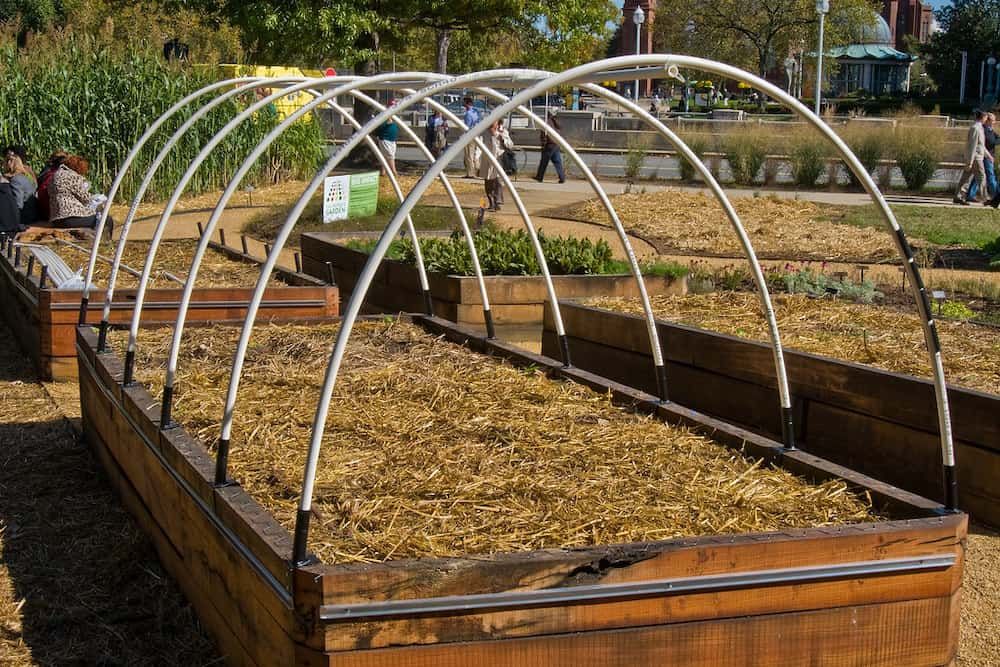
2. Next, cut the PVC into pieces that will be the arched hoops. If your PVC pipes aren't naturally bent (like the image below) don't worry. Cut the heights you want your hoops to be.
3. Finally, use tee fittings to connect the hoops on both ends and cross fittings to connect the hoops in the middle, using the pipes you cut in Step 2.1. Assuming you plan to make three hoops, hoops one and three will be connected with tee fittings, whereas hoop two will use cross fittings to connect with vertical pipes.
Image credits: USDAgov via Creative Commons
Putting it Together
1. First, you will want to put the rectangle base that you created in Step 1 inside of your raised garden bed.
2. Fill the beds with a potting mix or garden soil of your choice. However, remember its location will be very difficult to change once placed, so you will need to consider this carefully.
3. Now it's time to secure the vertical structure that you created in Step 2 inside the base.
4. In the couplings, attach the hoops from both sides and secure them with tee fittings and cross fittings for central hoops.
5. Now it's time to take the horizontal pipes you cut in Step 3 to secure your hoops to the entire structure. Fit horizontal pipes in the hoop's tee fittings and cross fittings to secure the entire frame and keep it from moving.
6. Cover the structure with the material you have chosen (tarp, net, fabric, etc.)
7. Cut two pieces of said material. Make sure that they are a tad larger than the end hoops, then secure them around each hoop using duct tape.
8. Cut another piece of the material, large enough to cover the entire structure. Put it over the top, make sure it’s smooth, and secure it using the clamps.
9. Cut off the ends of the plastic -- they should meet the soil but not hang out of the bed.
Image credits: SewCream via Shutterstock
And simple as that, you have your own garden hoops!
If you'd like to see one made from scratch, here's a video by Poor Man's Greenhouse that you can check out:
Frequently Asked Questions
1. What is the difference between a hoop house and a greenhouse?
While both of them can be DIY-ed, greenhouses are permanent structures that can regulate climate conditions. Some greenhouses are large enough for you to walk in! They also often have units to control heat, ventilation, temperatures, and humidity inside the structure. Garden hoops, or hoop houses, are portable semi-transparent structures that don't come with all the bells and whistles greenhouses carry! That said, they're both efficient ways of preventing external forces from destroying your crops.
2. How long will garden hoops last?
Depending on how you've built it, you can expect it to last anywhere between three and 10 years.
3. Which direction should a hoop house face?
This will depend on the size of your hoop house and the crops you're protecting. For longer hoop houses, the ends can face east and west so that all the crops inside the hoops get a fair amount of sunlight. If you're growing crops that require little sunlight, or if you live in an area that experiences severe temperatures, it's a good idea to have the ends face north and south.
4. Can hoop houses be used to grow crops during winter?
With supplemental heat, you can grow carrots, kale, spinach, beets, turnips, radishes, cilantro, salads, bok choy, parsley, and even fennel inside a garden hoop house during winters.
5. How to heat a garden hoop house?
Some of the best ways to heat a garden hoop house are by storing thermal energy, using insulation, or adding compost to your plants. Compost naturally generates heat, but be careful to not overload your plants with fertilizers present in compost. Over-fertilizing your plants can cause stunted growth and even premature plant death. As far as storing thermal energy is concerned, the most economical way is by using barrels of water to heat your hoop house. Since water heats faster and can hold four times more heat than air, keeping a couple of barrels of water inside your hoop house will help you heat it up.
Hoop Home!
Garden hoops will provide your plant with most of the protection it needs. Moreover, they will help your plant live longer and grow more out of season. They can also be very cheap to make since they do not require a lot of tools and materials to make.
Hopefully, this guide will help you build your own garden hoops! Let us know in the comments below if you have any questions or ideas about making your own garden hoops.

