Soil plays a massive role in your plant's health and lifecycle. Soil moisture, on the other hand, is a double-edged sword with positive and negative outcomes. If your plants are often droopy, lifeless, or limp, your first instinct is to check the soil for moisture.
If your soil is moist, but your plants aren't happy, it means it lacks proper drainage or the soil is compacted. While you can use a soil moisture tester, learning other ways to test soil moisture can help you prevent root rot, mold, and other problems that come with excessive and low levels.
Understanding Soil Moisture 101

Image credits: Rita Meraki via Shutterstock
If you manage large gardens, you probably use a garden irrigation system to help your plants thrive. However, excessive irrigation means higher energy bills due to the electricity needed to pump water. If you learn how to measure your soil's moisture, you will save water and cut down on your energy costs. You'll want to take care of this issue sooner rather than later.
Excessive soil moisture can cause:
- Waterlogging,
- Topsoil erosion,
- Soil runoff,
- Possible leaching of fertilizers or pesticides;
- Root rot, fungus or mold, and premature plant death.
Conversely, a lack of soil moisture:
- Affects a plant’s developmental processes,
- Prevent the plant from absorbing the soil's nutrients,
- Cause the plant to droop and wilt,
- Yellowing leaves or brown tips,
- Leaf dropping and premature plant death.
How To Measure Soil Moisture

Image credits: Alicia Christin Gerald via Unsplash
To control irritation, you'll need to learn how to test your soil's moisture levels to understand how often it needs watering. Here are some effective ways to measure soil moisture.
Method 1: Gravimetric
This is the most commonly used method of measuring soil moisture. Also known as ‘in-situ instrumentation,’ it is a direct method that doesn’t involve sensors but relies on thermogravimetry. Thermogravimetry is a method used for the rapid analysis of soil characteristics.
What You Will Need to Follow This Tutorial
|
Baking tray |
Desiccator |
|
Handling tools (tongs, spoon, spatula) |
Gloves |
|
Oven |
Soil sample (below 0.22 pounds) |
|
Tube auger |
Electronic scale |
|
3-5 Moisture cans |
Somewhere to record your findings |
Step-by-Step Method
1. Collect Your Soil Samples With a Tube Auger

Image credits: Permaculture Association via Creative Commons
Since the gravimetric method relies on soil samples from different locations and depths, use a tube auger to collect equal samples of moist and dry soil. A tube auger is a tool that comes with many handles and lengths, allowing you to take a deep sampling of the soil.
That said, they're not effective in areas with many rocks. The downside of using a tube auger is that while sampling, you can contaminate different types of soils, leading to inaccurate results.
2. Weigh the Moisture Cans and Fill Them With Different Soils

Image credits: Joanna Bourne via Creative Commons
A moisture can is a small container preferably made from aluminum or tin. Take a piece of paper or a book and draw four columns. Label the first column as Weight 1, the second column as Weight 2, the third column as Weight 3, and the fourth column as Difference.
Weigh the empty moisture cans and record their weight under Weight 1 to have them as a control variable. After collecting soil samples, put them into your moisture cans, and then weigh the filled cans again. This time, record their weight under Weight 2.
3. Place the Cans in the Oven

Image credits: cottonbro studio via Pexels
Set your oven to 220 degrees Fahrenheit and place the soil-filled cans on a baking tray. Leave them inside the oven for 24 hours.
4. Calculate the Amount of Water Lost

Image credits: Queensland State Archives via Creative Commons
After 24 hours in the oven, your soil sample will be dry. Weigh your moisture cans again and record them under Weight 3. Now calculate the difference between Weight 2 and Weight 3 and record it under the fourth column titled Difference. This difference will give you the weight of your soil after water evaporation.
5. Calculate the Water Content of the Soil

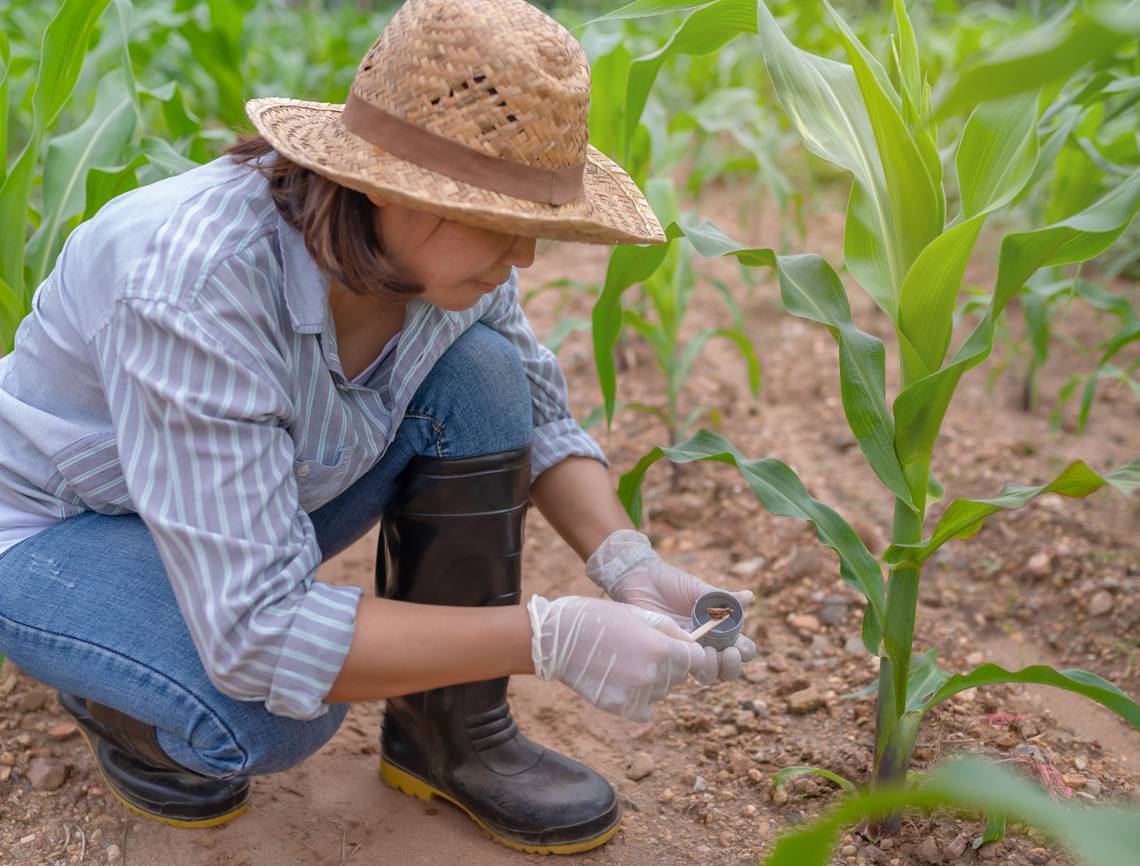
Image credits: Zen Chung via Pexels
The water or moisture content of the soil is expressed as a percentage, and you can calculate it by using this formula:

If you're testing larger soil samples (0.44 pounds or more), you'll need to stir the soil during the oven-drying phase so it can dry well. This is important to have accurate measurements.
Method 2: Tensiometer
Equipped with a vacuum gauge, the tensiometer is a nifty tool that measures soil's negative pressure or water suction. This suction is comparable to a plant's force when it draws water from the ground.
What You Will Need to Follow This Tutorial
|
Tensiometer |
Step-by-Step Method
1. Soak Your Tensiometer in Water Before Placing it in the Soil

Image credits: nop16 via Shutterstock
Before you use your tensiometer, soak it in water overnight to fill the plastic tube with water. Remember to place the tensiometer properly to get accurate readings. Place the porous cup that it comes with in the soil at your desired depth for 24 hours to reproduce the same force as the water in the soil.
2. Pay Attention to the Vacuum Gauge

Image credits: nop16 via Shutterstock
As the tensiometer creates equilibrium with the soil's water pressure, the suction at the porous tip is transferred to the vacuum gauge. The suction between the soil and water is measured in centibars (cb), and the gauge range is from 0 to 0.8.
If it reaches the 0.8 mark (80 cb), the force has crossed a point of no return because the suction and water molecules have separated. This renders the tensiometer unusable because air can enter the tube through the porous tip.
3. Interpret the Gauge Reading

Image credits: nop16 via Shutterstock
For moist soils, the readings mean the following:
|
0 cb |
The soil is saturated to the point where plant roots will suffer from poor aeration and infection from waterlogging. |
|
10 to 25 cb |
The soil is at field capacity. A low reading indicates sandy soil, and high reading indicates finer soil. |
|
70 to 80 cb |
The soil is dry. |
For silt and clay soils, you'll need a tensiometer with a higher range (80 cb to 110 cb).
Method 3: Gypsum Blocks
Electrical resistance blocks or gypsum blocks are made of two electrodes encased in a porous substance called gypsum. Gypsum is a chemical compound that contains calcium and sulfur.
Also referred to as moisture blocks, the electrodes have two lead wires sticking out of the soil while the measurement is performed.
What You Will Need to Follow This Tutorial
|
Gypsum or electrical resistance blocks |
Voltage source |
Step-by-Step Method
1. Place Your Resistance Block in the Soil

Image credits: Irrometer via Amazon
Much like a tensiometer, the moisture blocks measure soil water suction after you submerge it at a specific level in the soil and recreate the suction of the surrounding soil. The overarching principle is that water conducts electricity. So, if the soil’s moisture changes, so does the moisture content in the block.
As the electrical resistance of the two electrodes increases, the water content in the moisture blocks decreases.
2. Collect and Interpret Reading

Image credits: Los Muertos Crew via Pexels
To get a reading of the soil water content, connect the lead wires to a resistance meter with the range 0 to 100 or 0 to 200. Generally, low meter readings mean low levels of soil-water, and high readings indicate high levels of soil-water.
Method 4: Assessing Appearance and Feel
The last method is seemingly the most obvious; however, it takes a lot of skill to assess the soil's moisture effectively by feeling it. Likely led by intuition, this method is simple and can help develop a hypothesis about your soil’s moisture before implementing other elaborate measurement methods.
What You Will Need to Follow This Tutorial
|
A spade or soil probe |
A good sense of sight and touch |
Step-by-Step Method
1. Collect Samples of Your Soil at the Following Depths
|
0.0 in./ft. |
0.2 in./ft. |
0.4 in./ft. |
|
0.6 in./ft. |
0.8 in./ft. |
1.0 in./ft. |
|
1.2 in./ft. |
1.4 in./ft. |
1.6 in./ft. |
|
1.8 in./ft. |
2.0 in./ft. |
2. Feel the Soil, Assess its Appearance, and Compare to Gauge Soil Moisture

Image credits: Zoe Scaeffer via Unsplash
According to research by Colorado State University, the hand-feel estimation can be off by 10 percent or more. However, the USDA Natural Resources Conservation Service has produced a guide to help you estimate moisture deficiency by feel and appearance at various levels of soil samples.
This guide has descriptions for the feel and appearance of loamy, sandy, and clay soils at the various levels, which you can interpret and compare as a benchmark to help pinpoint your soil’s moisture levels.
Lettuce Talk Dirt!
Who would’ve thought that measuring soil moisture could be simple yet so elaborate? Of course, you could rely on the garden soil tester or the classic look-and-feel method, but the more technical methods have more accuracy to offer.
Within the technical methods, you could opt for the more experimental gravimetric method or keep it simple with a tensiometer reading; either way, you should pick the method that will meet your soil’s needs.
Leave your experiences, thoughts, and questions in the comment section! And share with friends and family who might find this helpful.
Happy gardening!