If you love adding a natural aesthetic value to your home, you probably have a ton of potted plants. Greens bring a beautiful touch of warmth to your space and makes for a wonderful oasis. While you may have planted several shrubs and perennials in pretty pots, you must know that repotting is a crucial part of gardening, offering a renewed life!
Like all plants, potted ones must be tended to just the same as they continue to mature. Not repotting your plants leaves them sitting in less then ideal conditions, hampering their natural growth. So, without further ado, read on to know all the particulars about repotting your beloved plants.
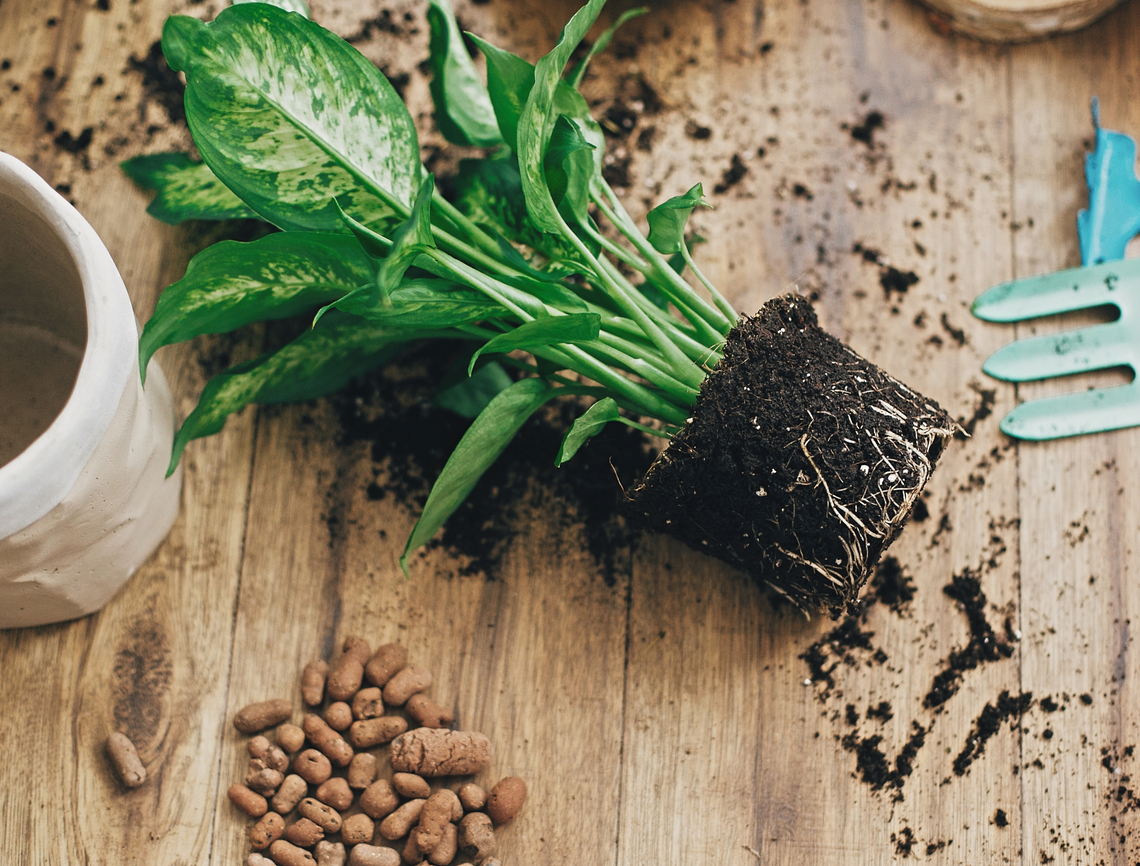
Evaluate These Signs Before Repotting

Image credits: cottonbro via Pexels
Before you move on to repot your plant, you must look through these signs that dictate whether your greens require a home switch.
- There is slow to no growth, even during the blooming season
- Signs of root rot: A bad smell and an unhealthy looking plant can indicate root rot. Of course, you will need to examine the roots to determine this.
- The pot or container is unable to hold the roots - The roots are overflowing from the bottom of the container
- The leaves are falling out, and the plant looks dehydrated - This could be a sign that the roots are unhealthy or are unable to absorb nutrients from the soil
- Signs of overwatering. This could be soggy soil, possible pests, foul stench, and wilting plants.
- The soil looks dry with a salt buildup on the top surface - The top layer may also have dry crack
Now that you know how to identify if your plants require repotting, you must avoid these seven mistakes during the process.
Wrong Size Pot

Image credits: Giulia Bertelli via Unsplash
As you already know, the right size of the pot determines the future health of your plants. As a rule of thumb, pick a pot that can accommodate the last two years root growth. Most plants will appreciate a pot that is 3 to 4 inches bigger in diameter then its previous home.
Remember to factor in aspects of your plant such as the variety, preferred weather conditions, and the plant's growth pace. While some plants require enough room for their roots to spread out, others thrive well with bounded roots, like snake plants. Although, if you're working with perennials its best to move them from a 1 gallon pot, to a 9 inch wide container.
Pro Tip: Another mistake gardeners make when repotting is doing it at the right time. Spring is ideal.
Few Drainage Holes

Image credits: Pixel-Shot via Shutterstock
The water from harvesting has to drain well for healthy plant growth. Water logging and wet roots can lead the plant to rot. It also cuts the air supply to the roots and supports bacterial breeding.
Ensure that the pot has drainage holes. While most pots today come with proper holes, drill some if yours does not have them.
Mishandling the Plant

Image credits: isilterzioglu via Shutterstock
Once you prepare the new pot for planting, you must gently move the plant from its original container. Cautiously move the soil around the roots and turn the container over. The plant will gently fall into your hands.
In the process, try not to damage the foliage or rip off any healthy tiny roots. Examine the root health and look for unhealthy patterns such as rotting or drying.
Not Pruning the Roots

Image credits: Tatami_Skanks via Canva
Separate the roots and allow them to fall loosely. If the roots are tightly bound, you can remove about 1/2 inch of the outer layer of soil and roots. Do not do this in a haste!
Next, trim the roots that look dead or weak. Try your best to save as much healthy root mass for effective regrowth.
Incorrect Planting Position

iva via Shutterstock
The procedure of repotting does not end at simply picking a pot and placing it in the container. Fill the pot with soil after evaluating the root crown of the plant.
Place the root crown at the level with the soil or just above. It ensures that your roots are well-covered with soil and can absorb enough nutrients while providing proper aeration.
Do note, you must also leave an inch or two of space between the brim of the pot and soil to allow enough room for watering.
Not Adding Enough Soil

Image credit: Teona Swift via Pexels
Once the plant is repotted, you must fill in organic and nutrient-rich soil. Gently press the soil into the pot without applying too much pressure - you don't want to compact the soil. A good layer of soil offers your plant enough room to breathe and nutrients to absorb.
Leaving the Plant Unattended

Image credits: Regina Burganova via Shutterstock
Every plant has different needs. However, most plants require additional care when freshly repotted. For better growth support, add a thin layer of organic mulch like straws or dry leaves around the roots. Be sure to leave the root crown uncovered. Water the plant and moisten the soil as its roots to help regain strength.
Repot For Healthy Plants
Repotting offers your plants a new lease of life. It helps to watch out for the needs of your plants regularly and ensure that they are growing within a healthy environment. If you avoid these 7 common repotting mistakes your plant should have a bright future ahead!
Do you know of any more requisites that must be followed when repotting plants? Share in the comments below.