Since living in small spaces with balconies and patios as my only outdoor zones for growing my garden, my container gardening game has gotten interesting (and actually a lot more fun!). But one of those things that have been challenging has been starting the plants. I have an indoor greenhouse, but I’m limited on space in there with my Aerogarden and healing plants like aloe taking up a lot of room. So, finding some great plant starter pots has been important.
Here are some of the best ideas I’ve found that might just do the trick for you as well, whether you’re keeping the starters on a shelf under grow lights, in a greenhouse, or on the kitchen counter. For best results, use a good, healthy seed starting mix (soil) option.
Egg Cartons
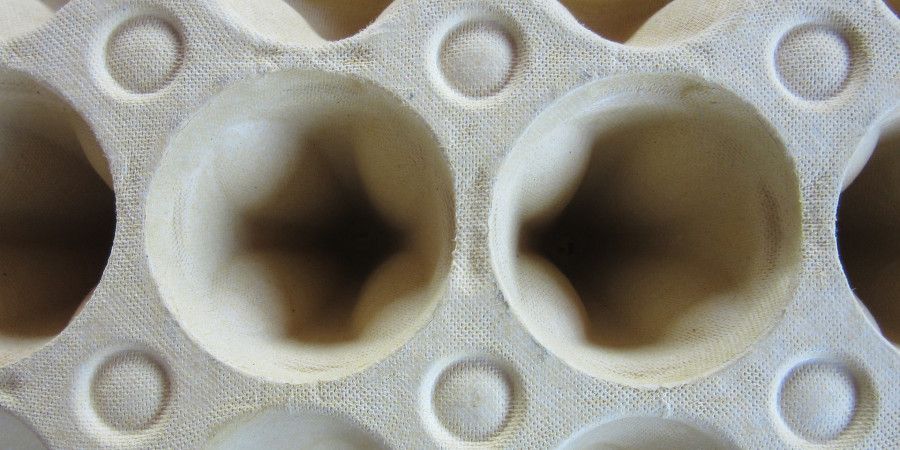
If you eat eggs at all, this is an easy way to get those little seedlings started. You’ll need to fill each section of the egg carton with soil, add seeds, and gently water to get them going. Once they’re ready to plant, tear apart the sections and remove the seedlings (dirt and all) from the container and plant directly into a larger pot or the ground. If the egg carton is a biodegradable carton instead of Styrofoam, you can directly plant the whole thing as is.
Toilet Paper Rolls
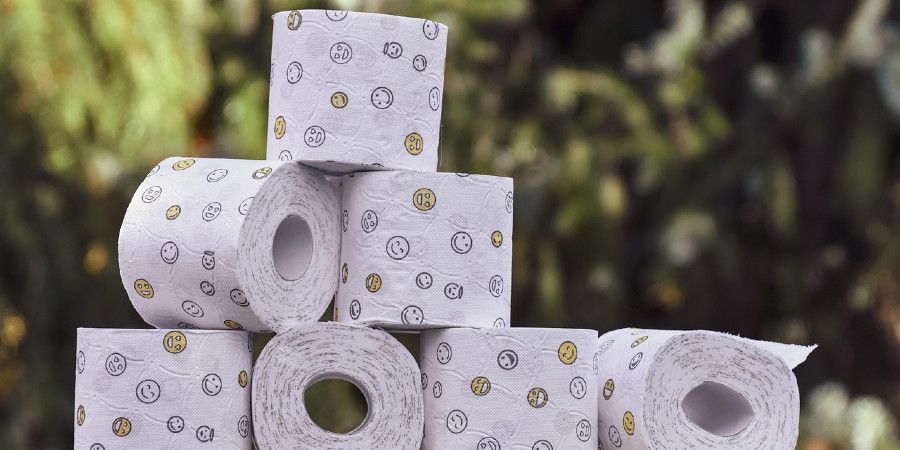
Another great option is recycling your TP rolls into seed starters.
- Cut the rolls in half.
- Make four cuts in the roll, one-third of the way up.
- Fold up the bottom. Seal with tape, if needed. (Remove tape before planting into the ground or pots!)
- Fill them with potting soil, packing it down.
- Add your seeds.
- Place the starters into an airtight plastic container and water them thoroughly, completely soaking the soil and paper rolls.
- Next, cover the container with a lid or put it into a zipper-seal bag. This turns the container into a mini-greenhouse.
- Once the seedlings pop up and hit the top of the container, remove them from the container and plant them.
Egg Shell Pots
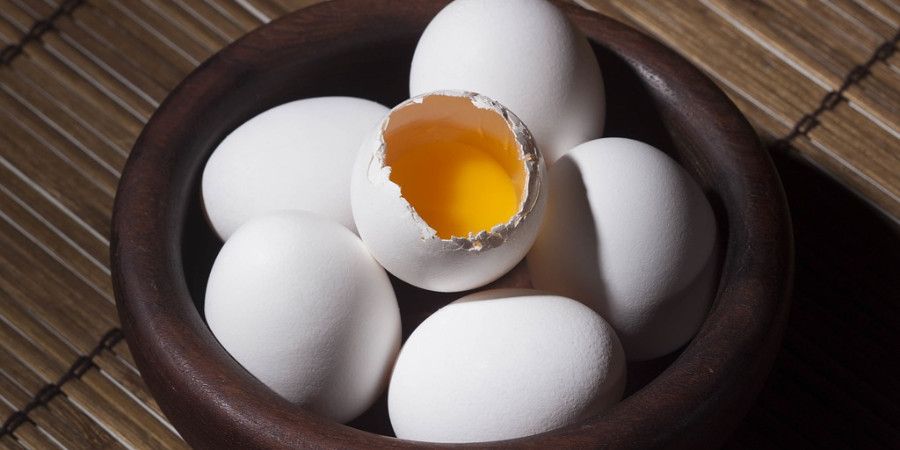
An even more compostable option is literally something you usually put into compost: eggshells. To use these, you’ll need to make sure that you crack the eggs so that the shells remain at least halfway whole. First, rinse the shell out thoroughly. Then pierce the eggshell to allow water to drain (check out this video if you’re not sure how to do so). Situate the shells into the egg carton to give them protection and stability as the seedlings grow. Then, fill the shells with pre-moistened soil, insert the seeds, then lightly mist the soil again with water. Place the carton in a sunny spot, south-facing, ideally, for best results.
Be sure to keep the soil moist as the seedlings develop. Once the first set of true leaves appear, they’re ready for planting into your garden or planters. Be sure to gently crush the shells and remove a few of the larger shards around the bottom to allow the roots to reach the soil sooner. The eggshells will decompose and add nutrients to the soil for your plants.
Newspaper Pots
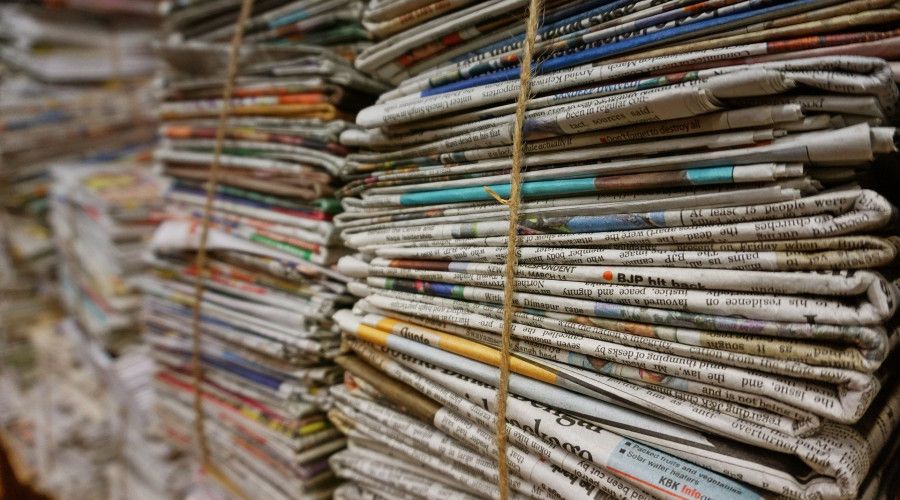
Newspaper is another great way to make some DIY seed starter pots. Wet the paper and form it into pot shapes or use them to line a muffin tin or a tin can. Let the newspaper dry, then plant your seeds the way you would in any other planter (add soil and seeds, keep moist, etc.). The newspaper will decompose, so you can also directly plant these when the seedlings are ready, just be sure to degrade the bottom of the pot a little to make it easier for the roots to spread.
Paper Towels
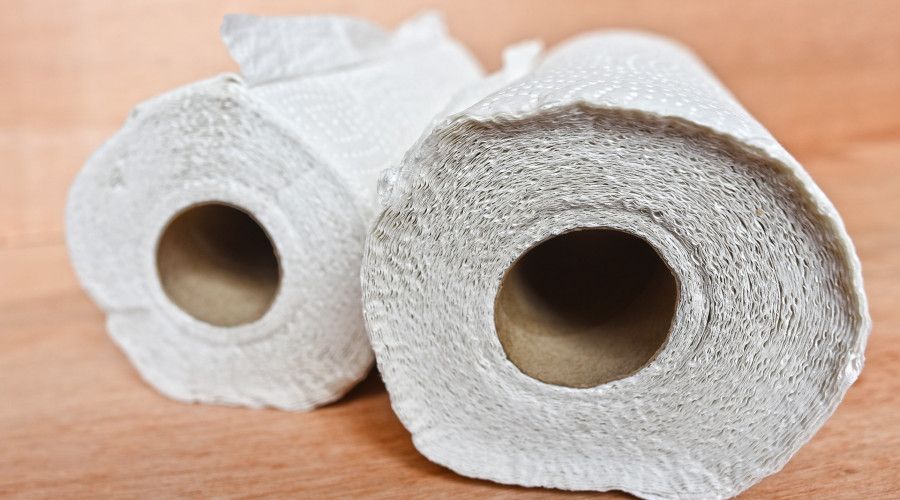
Grab some cheap paper towels (skip the expensive ones, as they make harder work for your plants!) and make yourself some easy planter pots. Moisten the paper towels and shape them into planters using tin cans or muffin tins, custard dishes, or whatever you’re planning to use. Add in the pre-moistened soil and then the seeds. Lightly mist with water and place the planters into a south-facing window or under grow lights. When the seedlings produce true leaves, they’re for planting.
Depending on the paper towels, some are better for compost than others. If you’re not certain, remove the paper towels and plant the seedlings in the soil. If you do plan to leave the paper towels on, ensure there’s a good solid hole in the bottom to allow the roots to break free from the pot easily.
Shredded Paper
This is a great way to get rid of that junk mail that piles up!
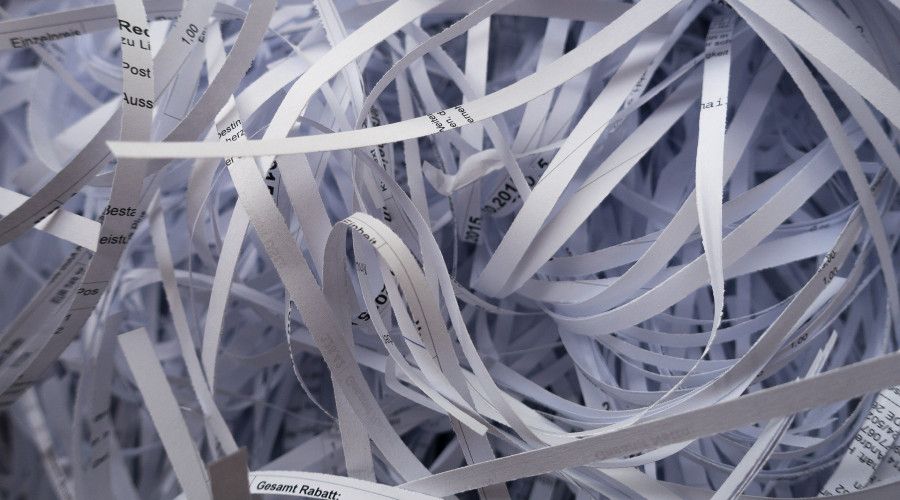
To make the shredded paper cups, you’ll need that load of junk mail (or newspaper or paper bands, or other paper products), a blender, some water, a mesh strainer, a large bowl, a small sponge, some flour, and a muffin pan.
First, you’ll fill your blender up with the shredded paper and cover it completely with water. Let the paper sit and soak for five to ten minutes to soften, then blend the paper until it’s smooth. Put the oven on 200 degrees to pre-heat.
While the oven’s preheating, strain the paper mixture through your strainer over the bowl. Press down on the paper blend in the strainer with a sponge until it has a wet clay kind of consistency. Then pour the paper into a clean bowl and add two tablespoons of flour. Combine everything with your hands until it’s an even consistency. Then press the mix into the muffin tin in as thin a layer in each as you’re able to do and have a solid “shell” layer. Bake them in the oven for an hour, then let them dry and cool completely, ideally overnight.
Plant your seeds per usual with soil and plenty of moisture.
Yogurt Containers
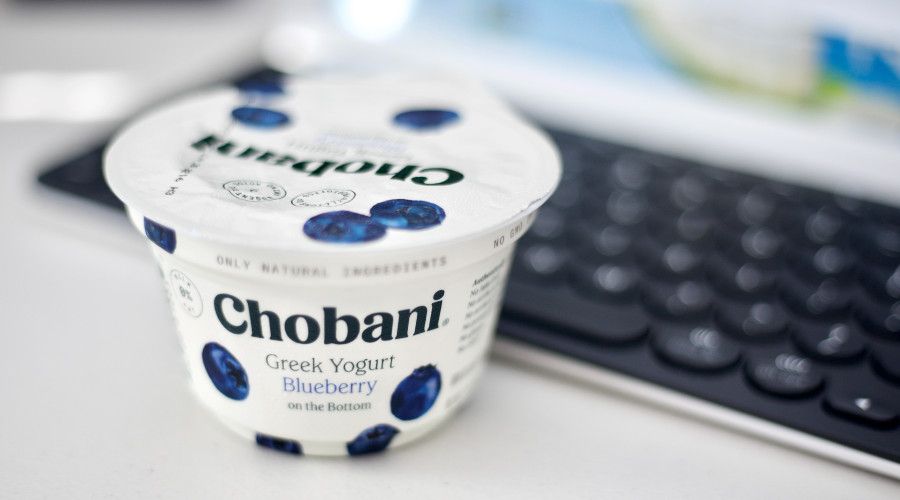
Here’s another super easy method for your seed starter pots. Basically, with this, you need individual serving yogurt containers, soil, seeds, and water. Fill the thoroughly washed and dried containers with soil, moisten it, plant the seeds, and place them in southern-facing windows. Grow as usual and remove from the containers once the seeds have fully germinated.
Biodegradable Pots
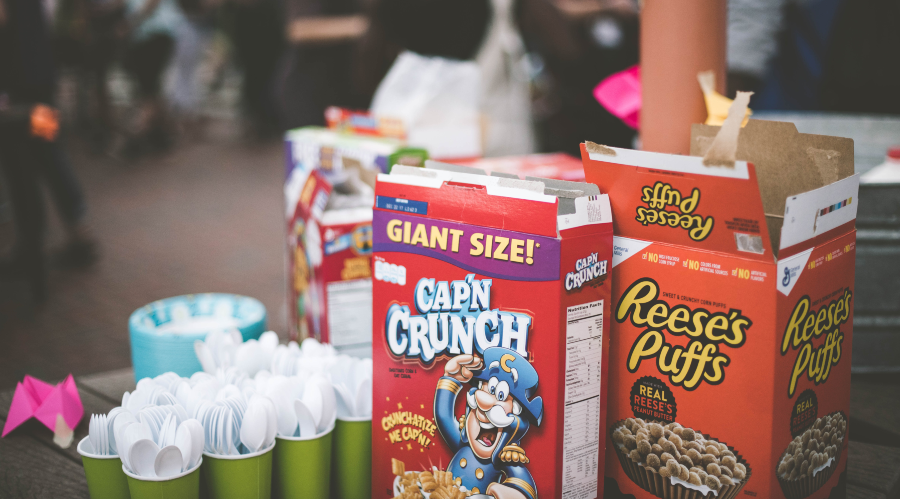
Great biodegradable pots can be made from thin cardboard, like cereal boxes. These are known as pulp planter pots and they’re a great project to do with the kids. You’ll need to shred the cardboard into small pieces and soak them in water for a few hours.
Combine the soaking cardboard and some water into a blender and blend. Then, press the mixture into muffin tins and let them dry overnight. That’s it!
Plant the seeds as usual with moist seedling-ready soil, keep them in a south-facing window, and plant directly into the ground or larger pot, starter pot and all, when the seedlings are about two inches tall.
Paper Cups
Another super easy starter pot is paper or plastic cups. Dixie and Solo cups are perfect for this, though neither are biodegradable. If you want biodegradable paper cup pots, make sure you get unwaxed paper cups.
Punch a hole in the bottom of the cup, fill with pre-moistened soil, plant the seed, and care for as usual.
Citrus Fruit Rinds
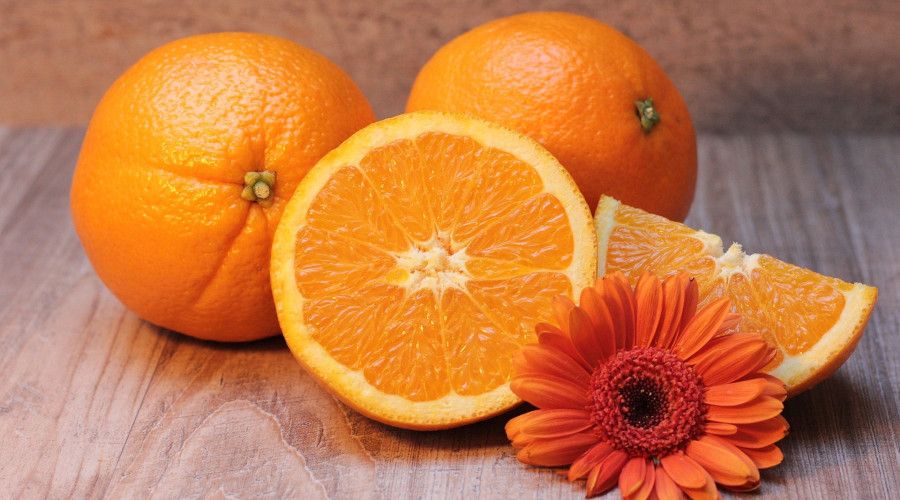
This is a particular favorite option of mine – using lemon, orange, and grapefruit rinds to grow those seedlings! The rind naturally provides the seedlings with plenty of healthy nutrients throughout and can be planted as-is.
Cut the citrus fruit (any with a solid ring works) in half, crosswise. Hollow out the fruit, then drill or cut a hole in the bottom of the rinds to allow for drainage. Fill each half with premoistened soil, then plant the seeds.
Keep the rind planters on a plate or tray that has an edge to trap in draining moisture.
Muffin Tins
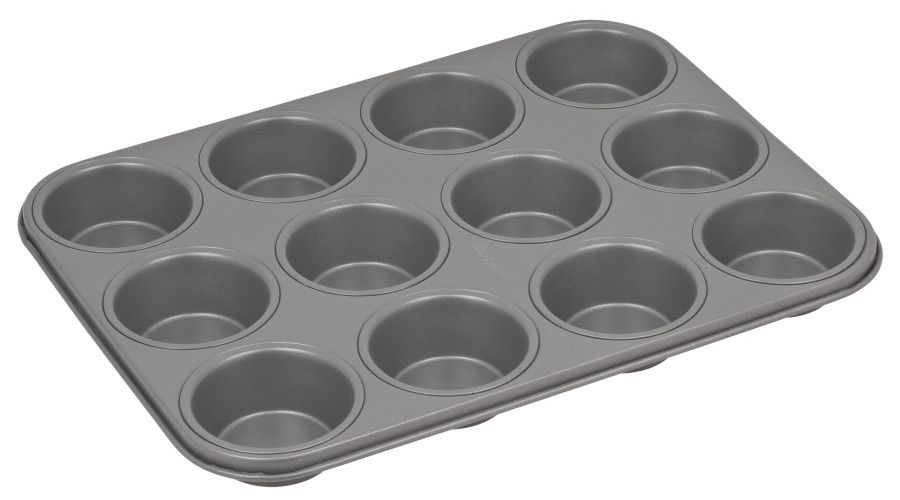
As you’ve seen in several of the other ideas mentioned, muffin tins are great for holding these planters. But they can also make great plant starter pots as well. You’ll probably want to grab some of the disposal muffin tins from the dollar store or snag some standard tins from yard sales and thrift stores so you can pierce the bottoms for proper drainage.
Clean the tins thoroughly, pierce the bottoms of each cup with a few small holes, then fill with pre-moistened soil. Add the seeds and mist them with water before placing them in a south-facing window. If you like, create a greenhouse tent over them with some popsicle sticks and plastic wrap, tugging the wrap beneath the tins. Don’t forget to lay down a tray or other plastic object with a lip to catch any draining water.
Tips for Best Growth Practices
Whatever planters you decide to create and use, be sure to remember to label each one so you don’t mix them up and so you know which is which and where to plant when the time comes. You’ll also want to remember to keep everything moist and cared for throughout the whole process. If the plants in “greenhouses” don’t seem to have enough moisture, add more. For those in the open air, be sure to check soil twice a day to make sure they don’t get dry at a critical point in growth.

