Snake plants, scientifically known as Dracaena trifasciata, are one of the most popular houseplants because of their low maintenance requirements and unique appearance. Apart from being an attractive addition to your home décor, snake plants also help improve air quality.
If you're thinking of expanding your collection or gifting one to a friend, propagation is a fantastic and sustainable option.
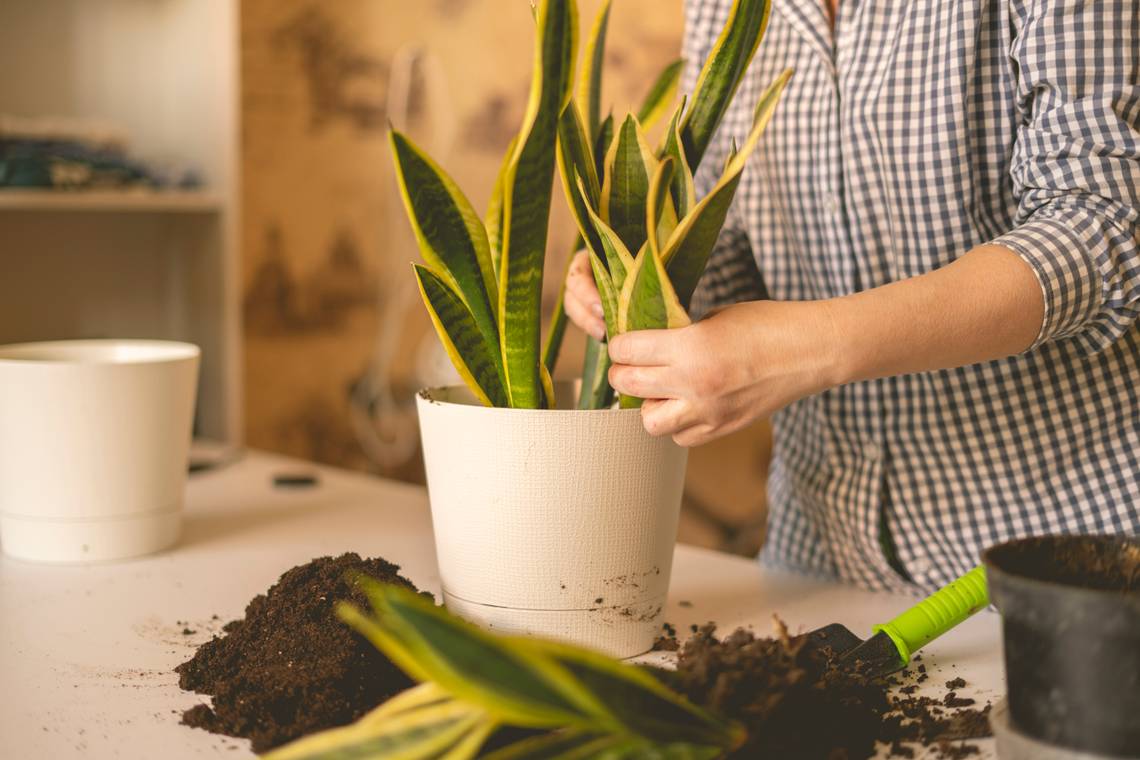
Explore two popular methods of propagating a snake plant: leaf cutting and root division.
Benefits of Propagation

Propagation offers gardeners a multitude of benefits, stretching far beyond the simple joy of watching new growth emerge. First, it's a cost-effective way to expand your garden. Instead of constantly buying new plants, you create a fresh batch from the ones you already own, saving both money and trips to the nursery.
Moreover, propagation ensures you're cultivating plants perfectly suited to your environment. The parent plant, having already thrived in your care, is evidence of this. Therefore, its offspring, bearing similar traits and requirements, are likely to flourish under the same conditions.
Lastly, one of the most heartwarming benefits lies in sharing. Propagated plants make thoughtful gifts. Sharing cuttings or young plants with friends and family not only spreads the love of gardening, but also carries a piece of personal history!
Option 1 — Leaf Cutting

Leaf cutting is a popular and effective propagation method used by gardeners to multiply many types of plants, including snake plants. By taking a section of a healthy leaf and planting it in the right conditions, you nurture a whole new plant, mirroring the characteristics of its parent.
What You'll Need
Propagating a snake plant through leaf cutting is relatively straightforward. Before you begin, gather the right tools and materials to ensure a successful propagation journey.
- Healthy snake plant
- Sharp scissors or knife
- Well draining potting soil
- Pot or container
- Gloves
- Water
Step 1 — Prepare the Mother Plant
Begin by selecting a healthy snake plant with no visible signs of disease or pests. Clean, sharp scissors or a knife are your tools of choice for propagating via leaf cutting.
Step 2 — Cut a Leaf Section
Using your clean scissors or knife, cut a healthy leaf from the snake plant. Ensure the cut is straight and neat. Depending on the size of the leaf, you can then cut it into smaller sections, usually around 3 to 4 inches long. Make sure you remember the orientation of the leaf (which end is up and which is down) as this is crucial for successful propagation.
Step 3 — Let It Callus
Place the cut leaf sections in a dry, shaded place for a day or two. Doing so allows the cut ends to form a callus. This step prevents the leaf from rotting when you plant it.
Step 4 — Plant the Leaf Sections
Fill a pot with well-draining potting soil. Insert the leaf sections (with the bottom end down) about 1 inch deep into the soil. Water sparingly. Make sure the soil is moist but not waterlogged.
Step 5 — Wait For Roots to Grow
Place the pot in indirect light and maintain a consistent environment. After a few weeks to a month, roots should form. The snake plant is ready once the roots have established.
Option 2 — Root Division

Root division is a traditional propagation technique involving separating a plant's root system to create multiple new plants. It's useful for mature plants too large or dense and offers a quick way to obtain established offshoots ready for immediate planting.
What You'll Need
When diving into root division, especially with snake plants, having the right tools and materials on hand is pivotal to ensure a smooth and successful process.
- Mature and healthy snake plant
- Pot or container
- Well-draining potting soil
- Sharp knife or garden spade
- Gloves
- Watering can
Step 1 — Remove the Snake Plant From Its Pot
Gently remove the snake plant from its current pot. If it resists, tap the sides of the pot, or run a knife along the inside edge to loosen the soil.
Step 2 — Expose and Separate the Pups
Gently shake off excess soil to expose the root system. Identify the pups, which are the smaller plants growing alongside the main plant, connected by underground rhizomes. With a sharp knife or garden spade, carefully separate the pups from the main plant, ensuring each pup has at least three rhizomes and some roots attached.
Step 3 — Plant the Divisions
Prepare new pots with well-draining soil. Plant each division so the base of the leaves is just above the soil surface. Water the newly potted divisions thoroughly.
Step 4 — Offer Optimal Growing Conditions
Place the new pots in a location with bright, indirect light. Water them when the soil feels dry to the touch. In a few weeks, the divisions establish themselves and begin to grow as separate plants.
Sssssss-Start Propagating!
Congratulations! You're now equipped with the knowledge to propagate your snake plant. Whether you choose leaf cutting, root division, or both, remember patience is key. Gardening is as much about the journey as it is about the results.
Don't forget — sharing is caring. Share this guide with your friends and family who would also love to propagate their snake plant. Happy planting!